Pi Day Pie


The two past weeks have been total back to back charette weeks. I started working at Bluestone Lane as a barista trainee / cashier / avocado toast maker / banana toast maker / whatever toast maker, while graphic designing avatars and logos for my UCLA doc friend’s health app, preparing UX/UI design slides for a grocery store while applying for a UX/UI bootcamp program, and collaborating geeky projects with AutoCAD like preparing this tantalizing pie for every mathematician’s favorite holiday: PI DAY.


Every time I think of the pi day, I flashback to my high school moment of being confused and excited to see swarms of tiny students carry all kinds of magnificent pies to their classrooms before first period started. Yet once I wiggled my way through geometry, I learned that geometry wasn’t as terrifying, that proofs weren’t as difficult as everyone made them seem, and pi was more than just a strange 3.14 number to memorize; it’s a glorious number that enables us all to calculate anything circular. Oh pi, I’ve always loved working with you in the classroom and in my kitchen.
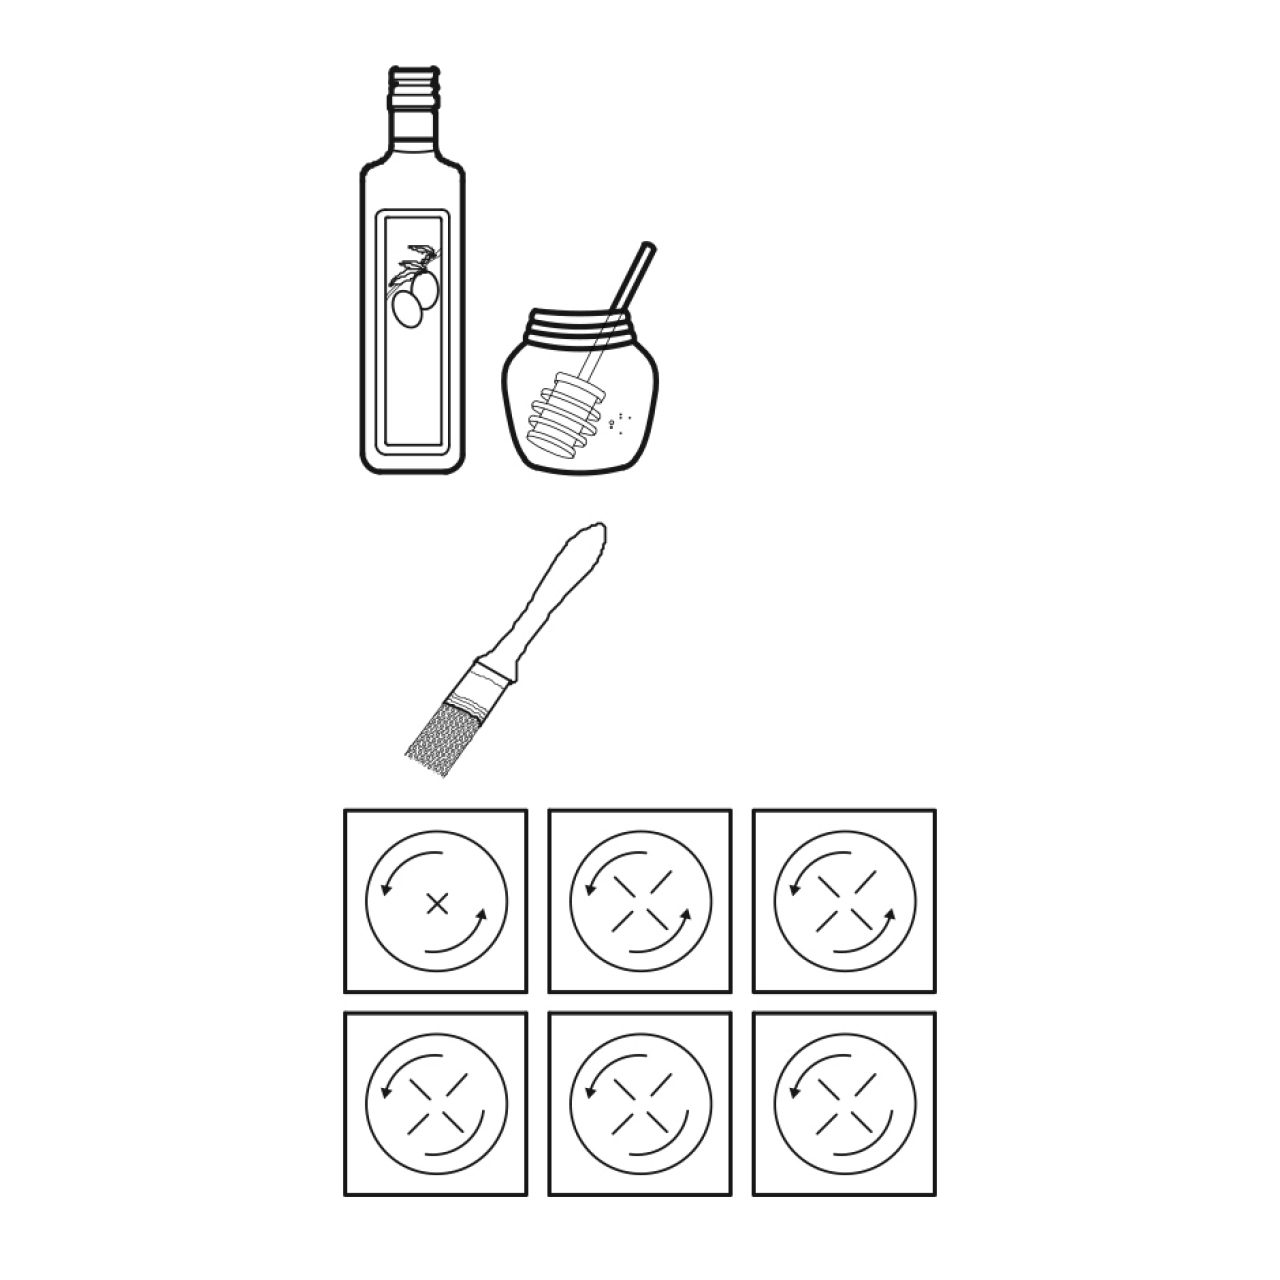
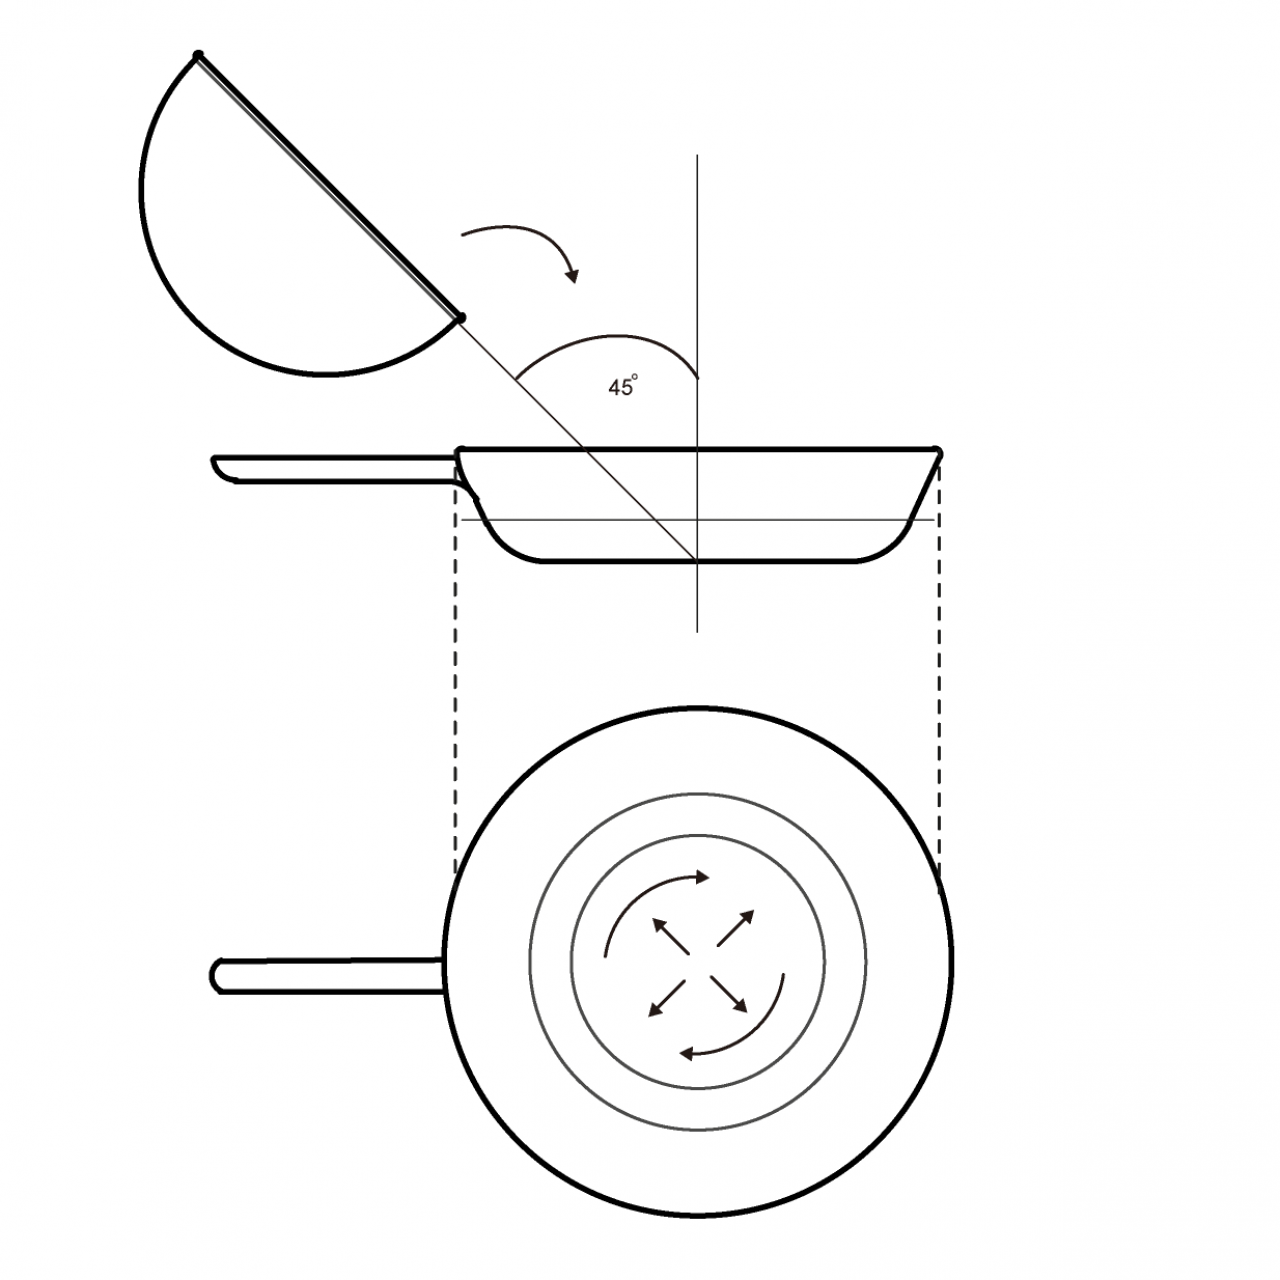
So, what pie do we have here? I wanted to prepare a green dessert because I’ve realized I haven’t had a recipe for St. Patrick’s Day and found a cool lime pie recipe, but required too much work for me with the handmade crust and tools that I didn’t want to purchase, especially because I’ve been living with my brother in his tiny cute apartment. So I figured I could save myself (and ourselves) tons of time and money by preparing a St Patrick’s Day pie with a ready made crust that we can all find in Target and/or other grocery stores, and focus more on a creamy boooozy part, with the magic of 2 tiny bottles of tequila, fresh limes, and a tub of fluffy cool whip.Yes, every spoonful or forkful of it… is purely tantalizing. So, go grab your ingredients, your bottles of booze, and whip up some of your own pi day pie for pi day / St. Patty’s / whatever spring holiday or gathering.


PI DAY PIE
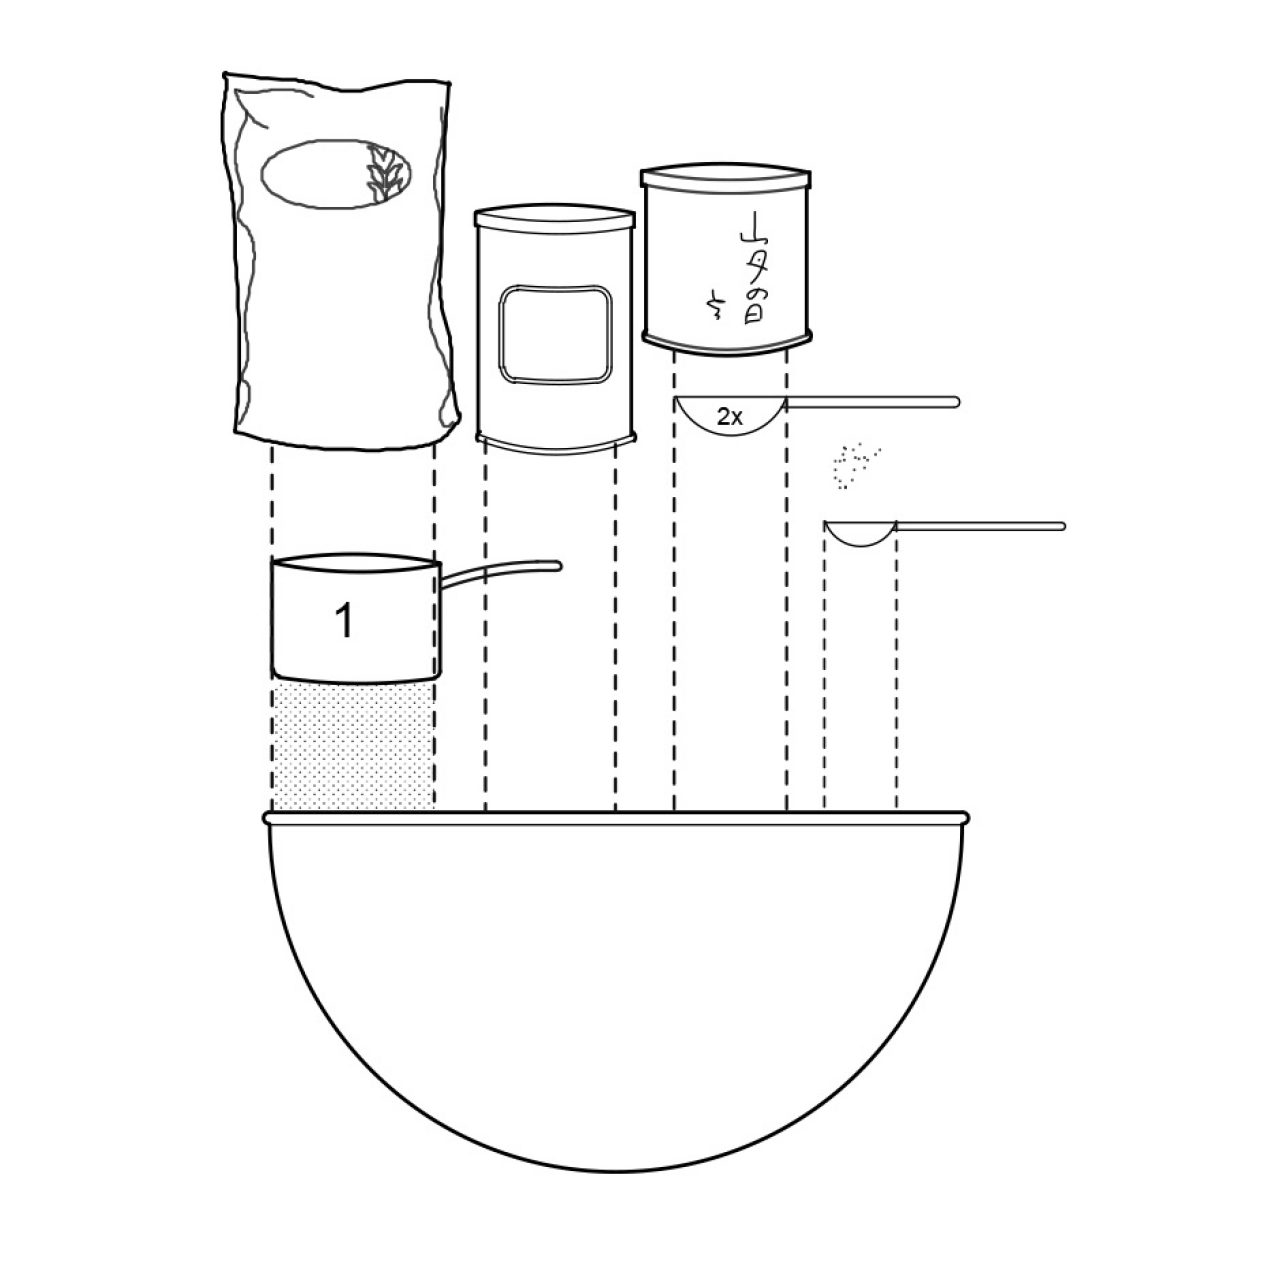
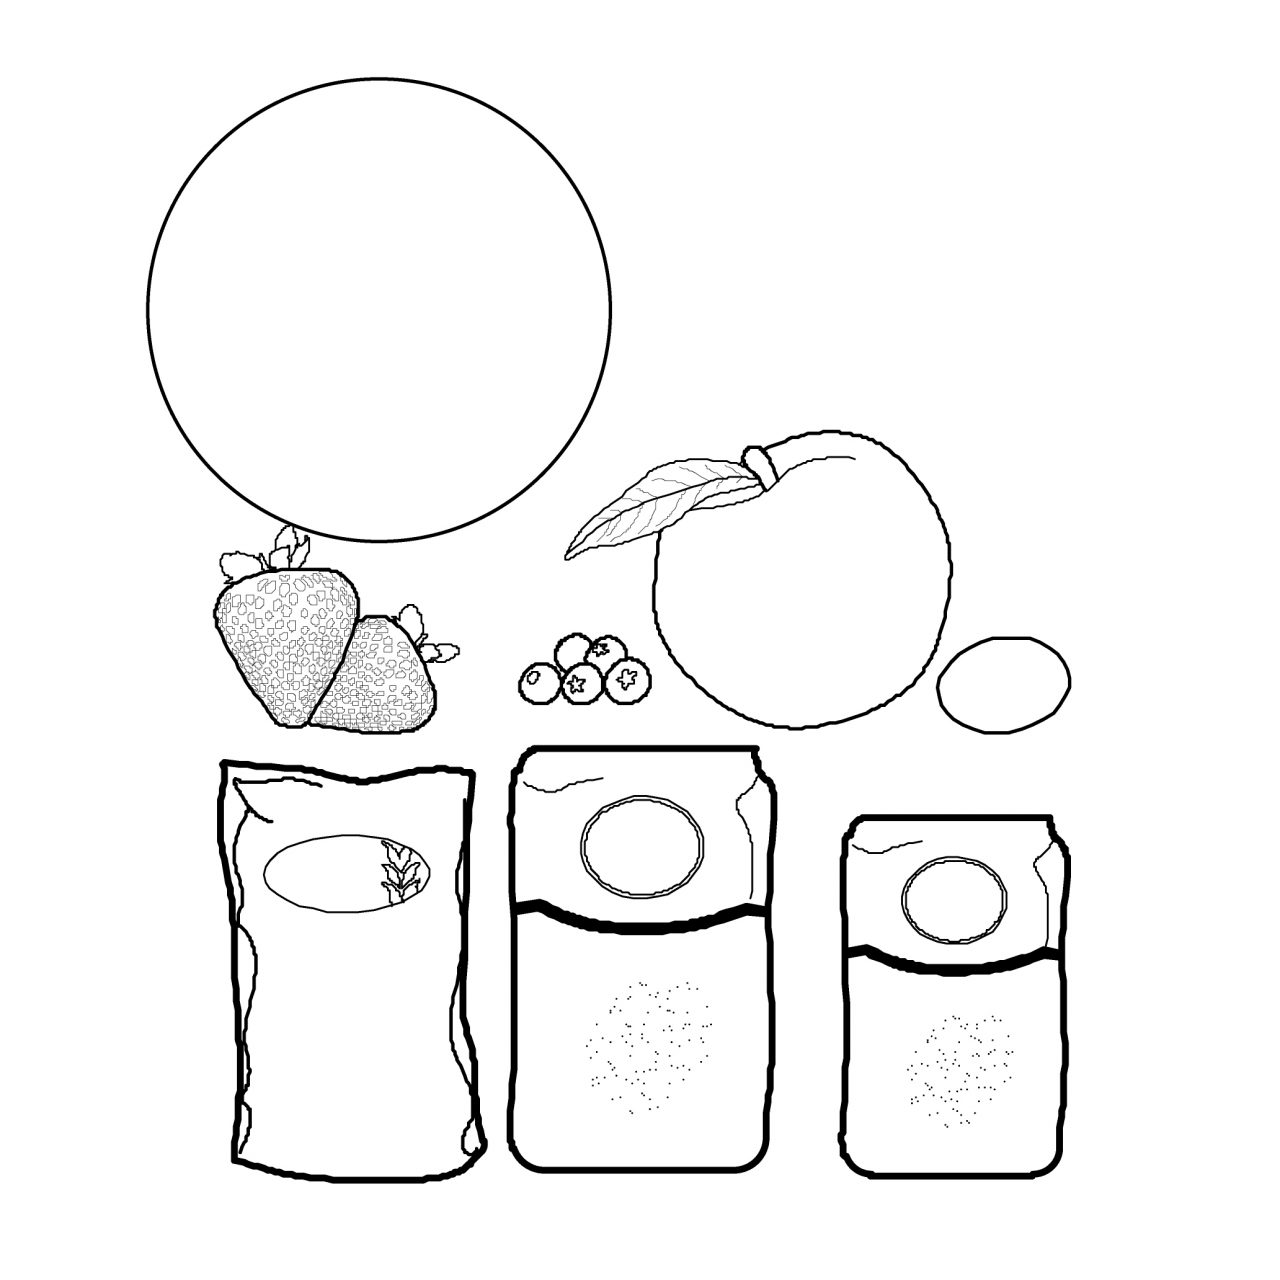
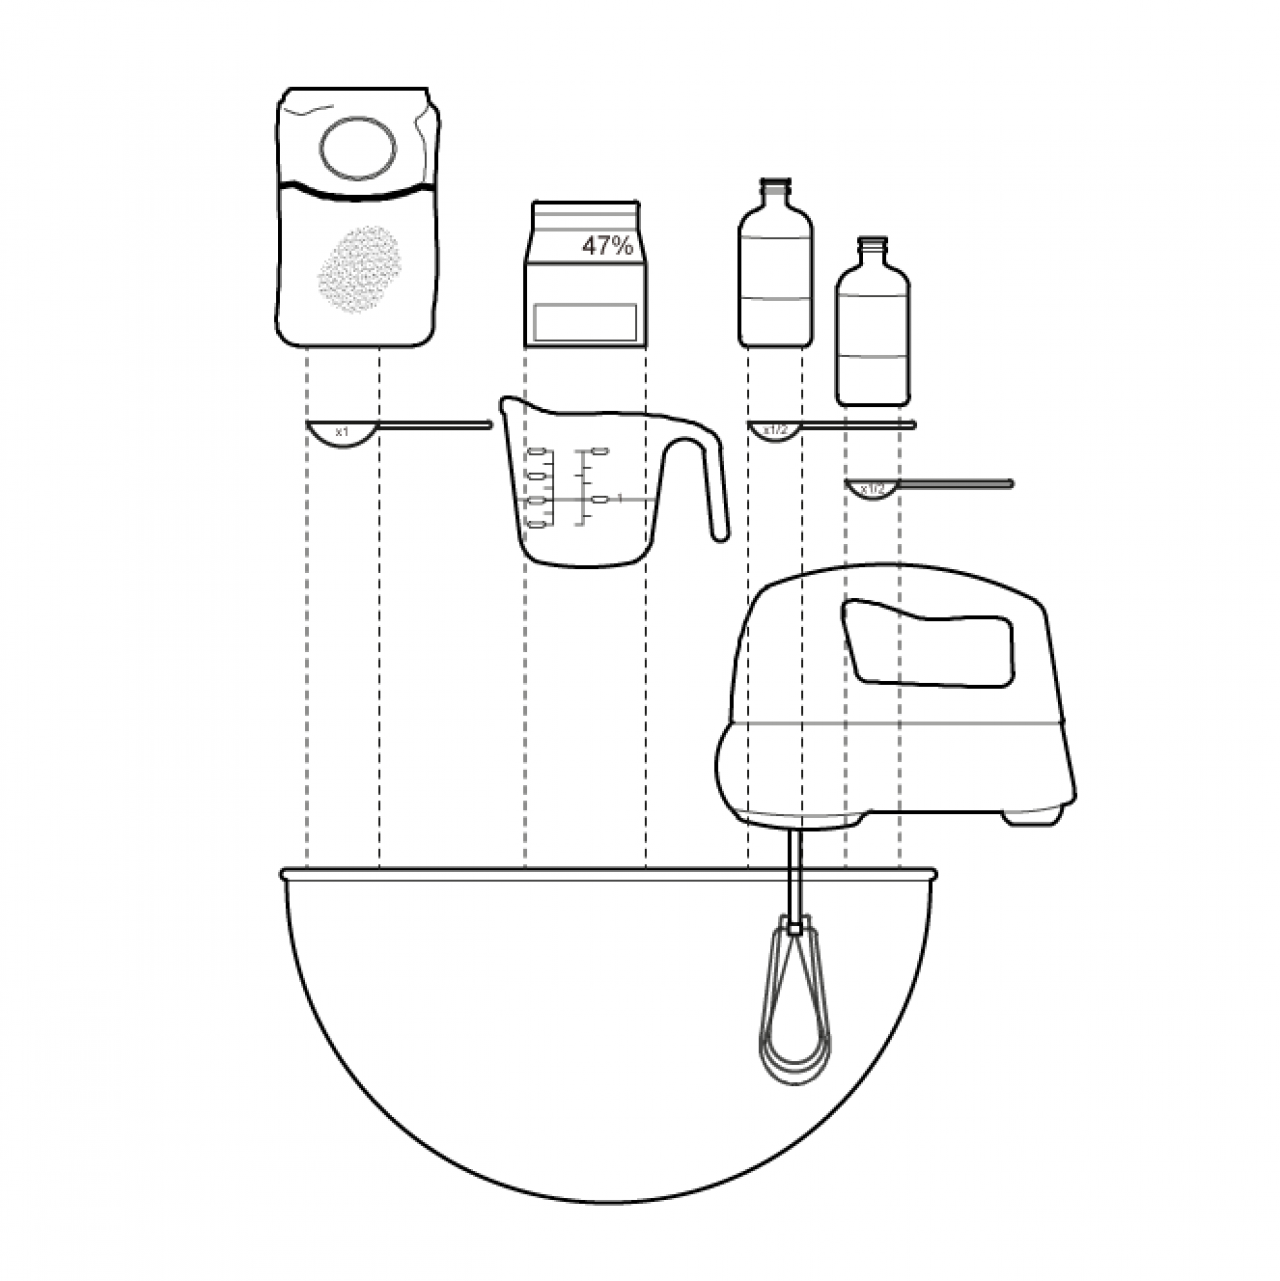
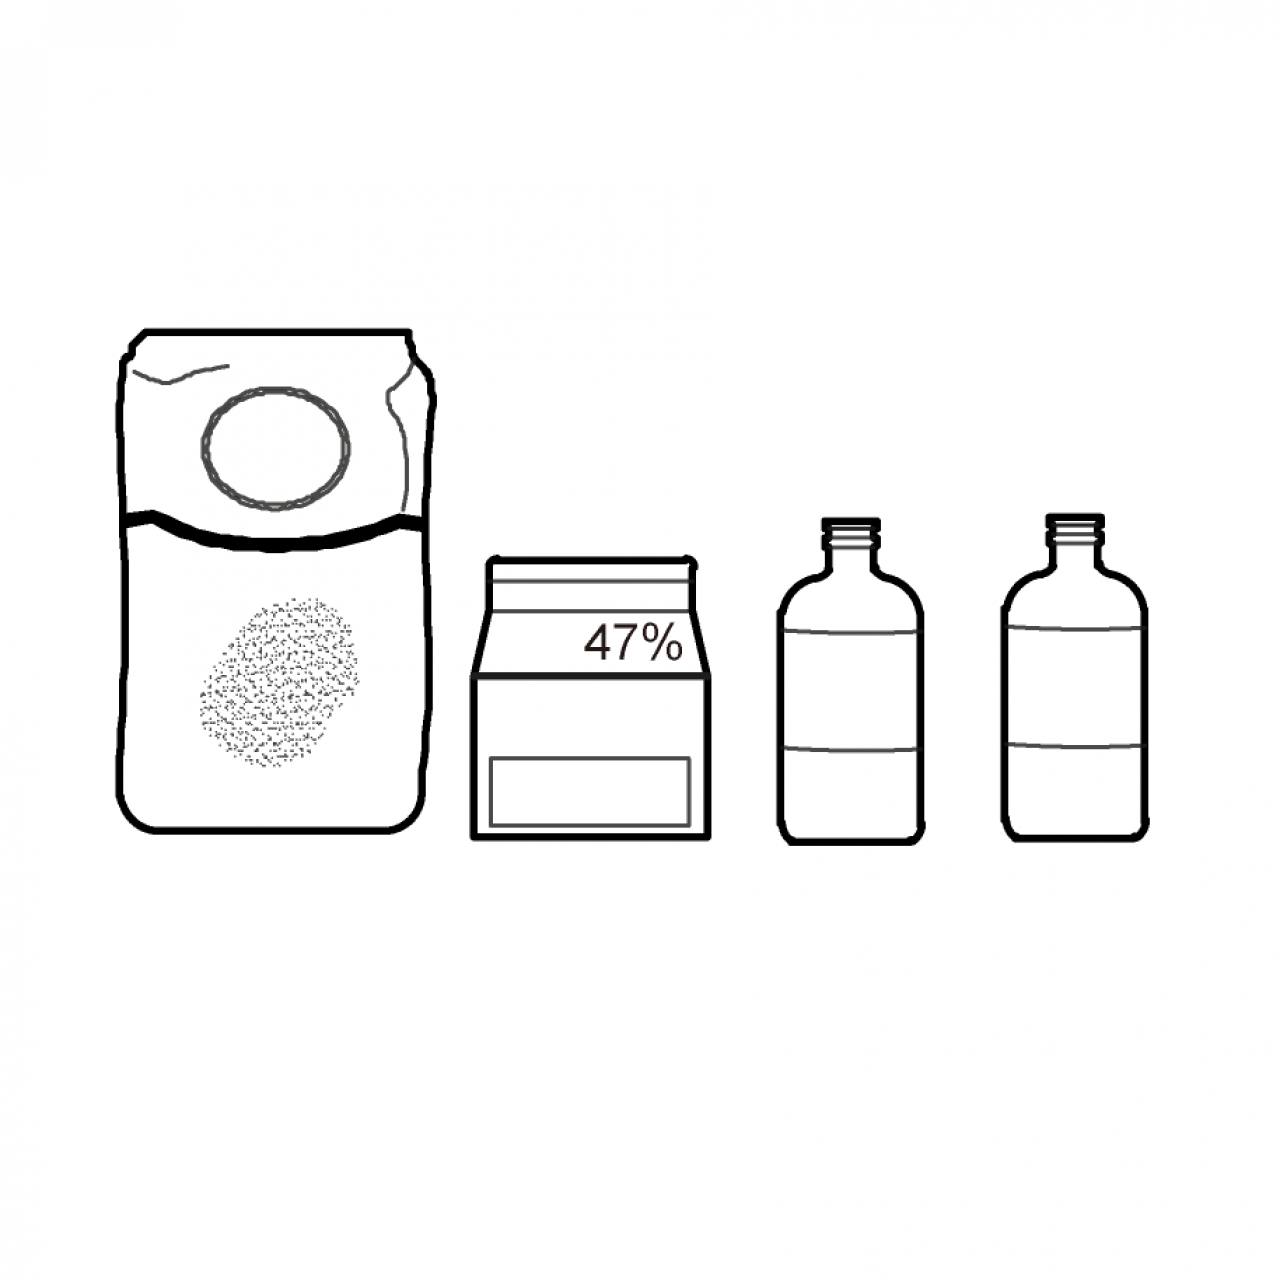
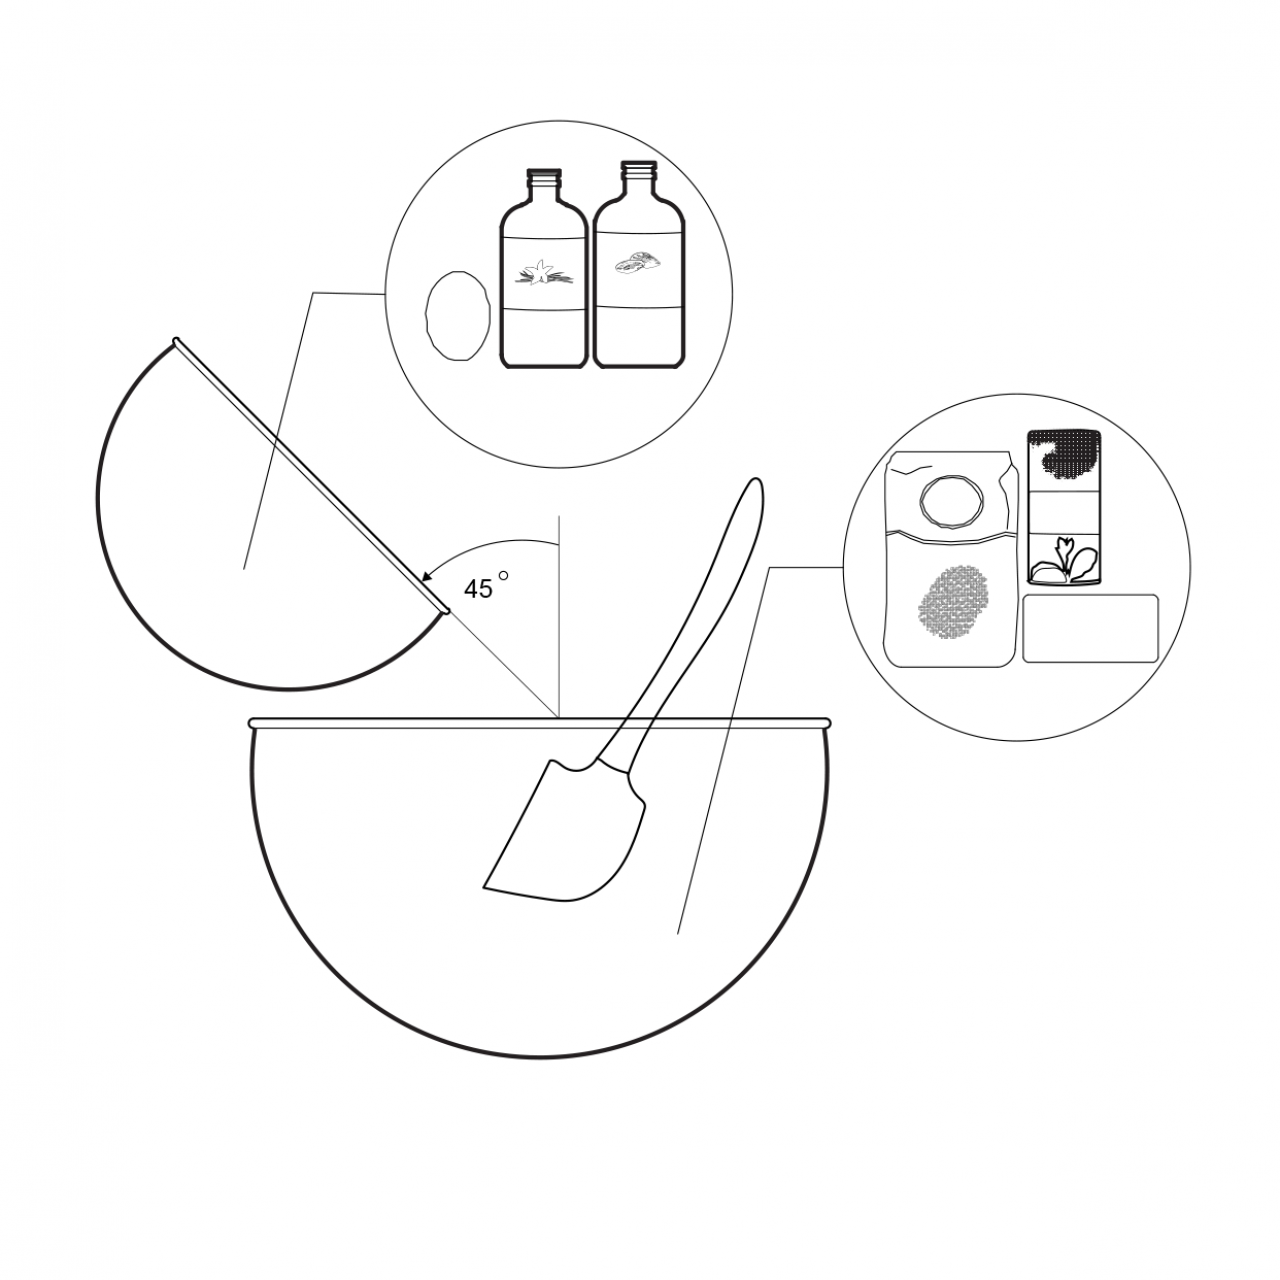
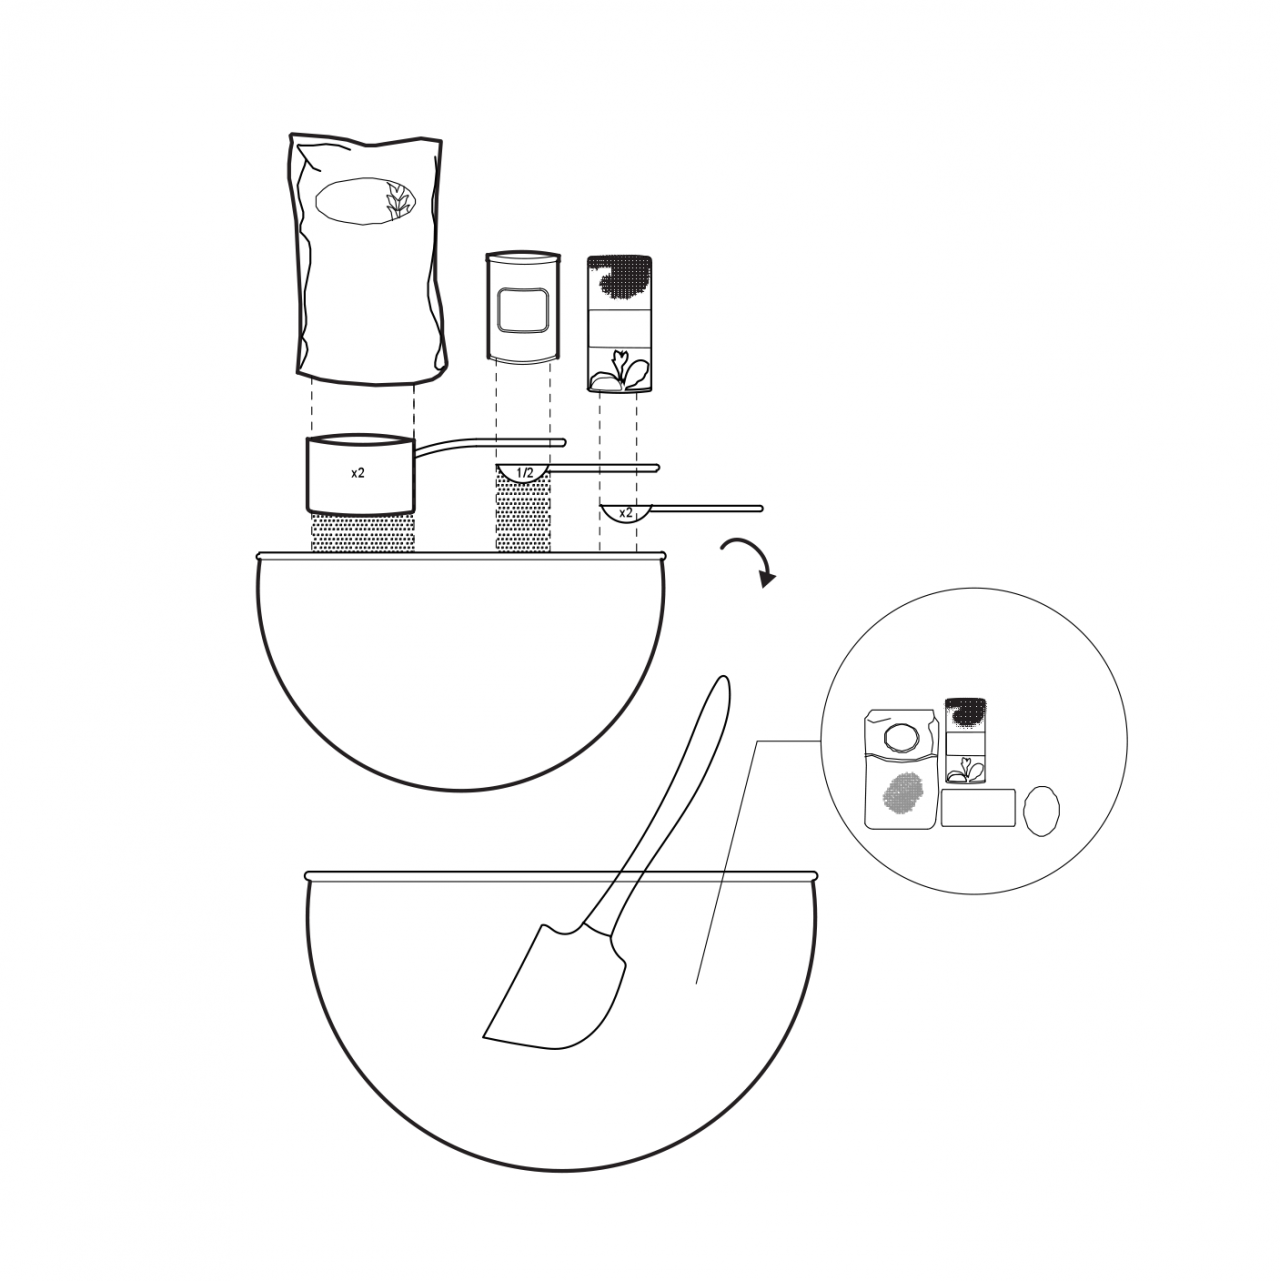
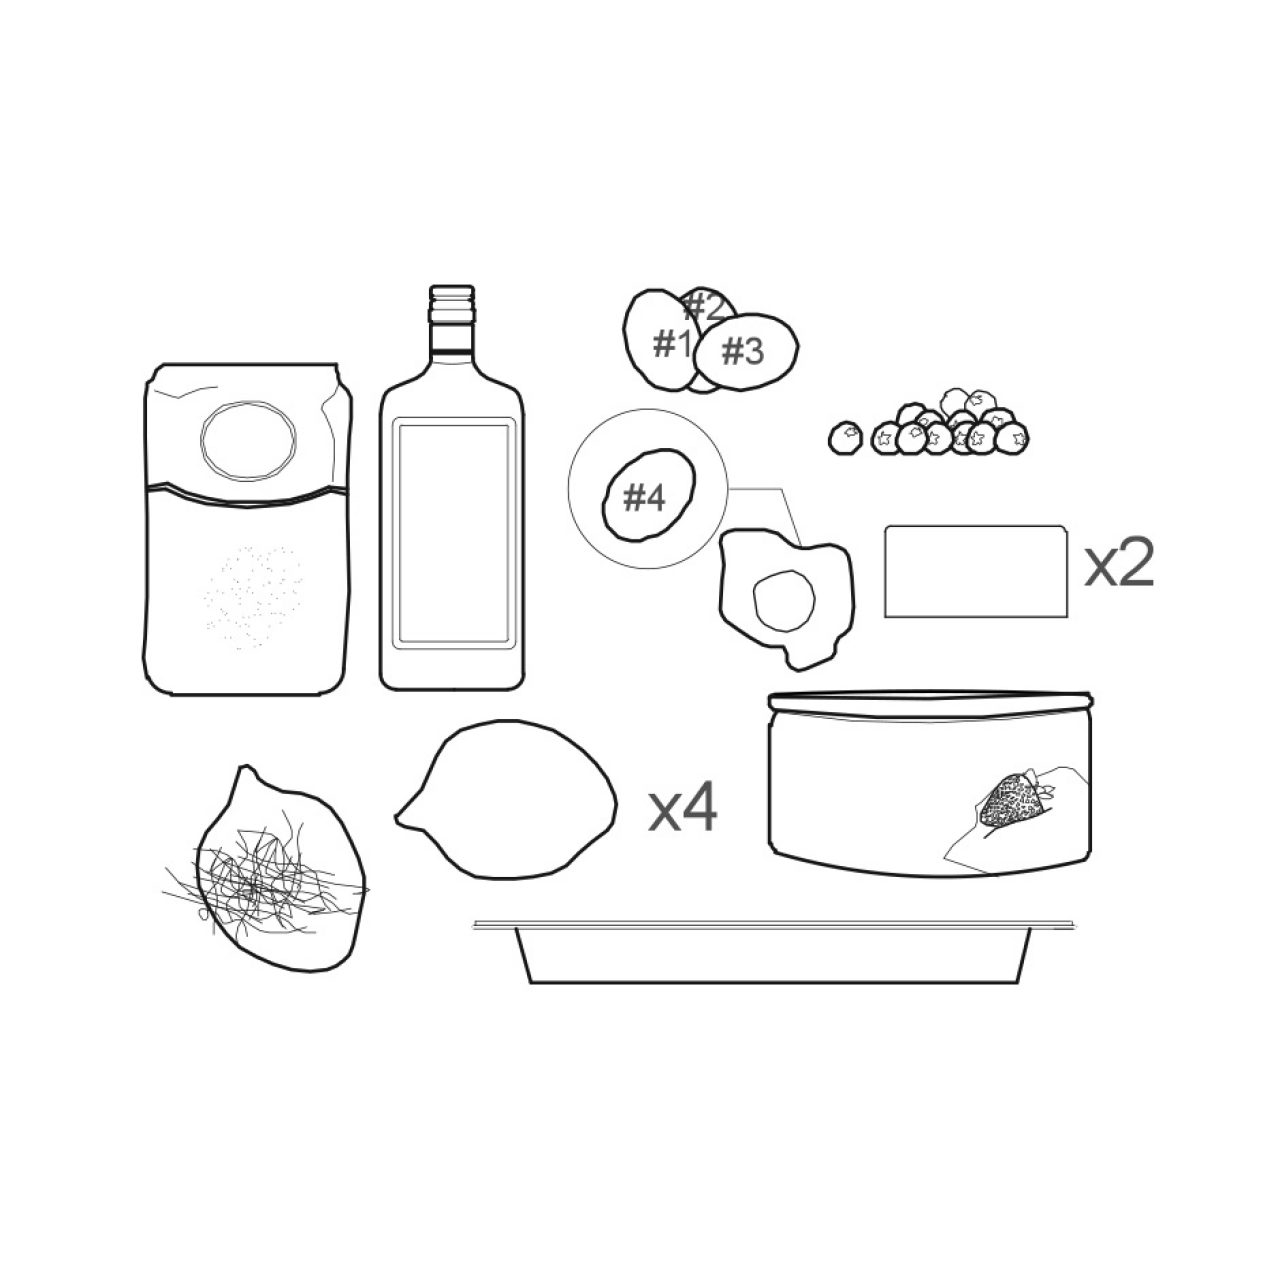
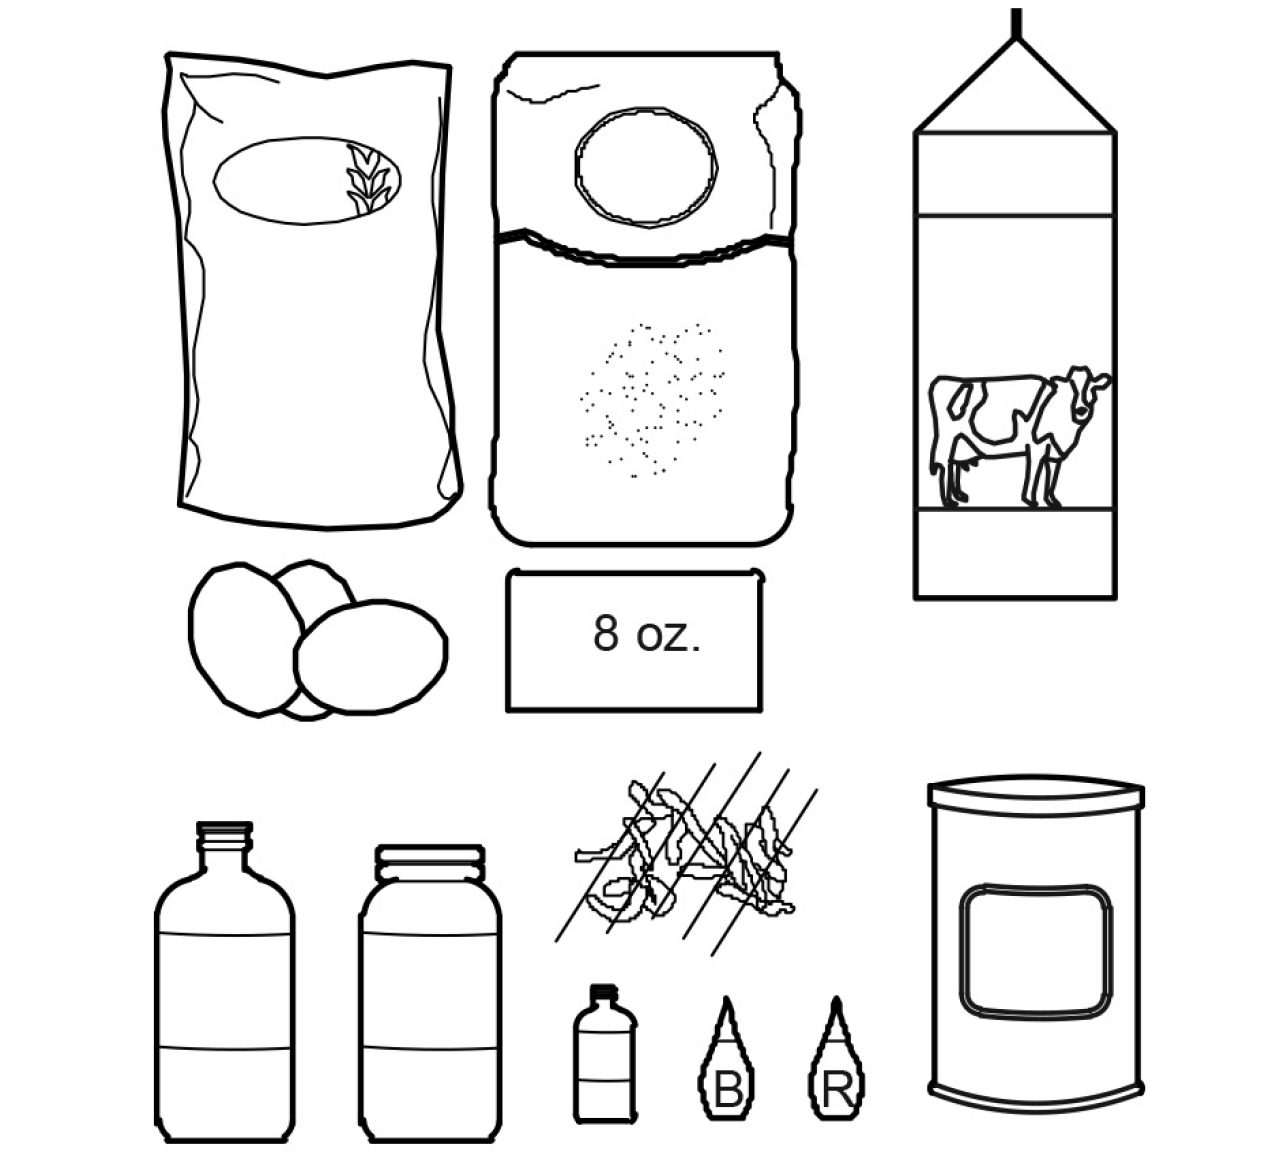
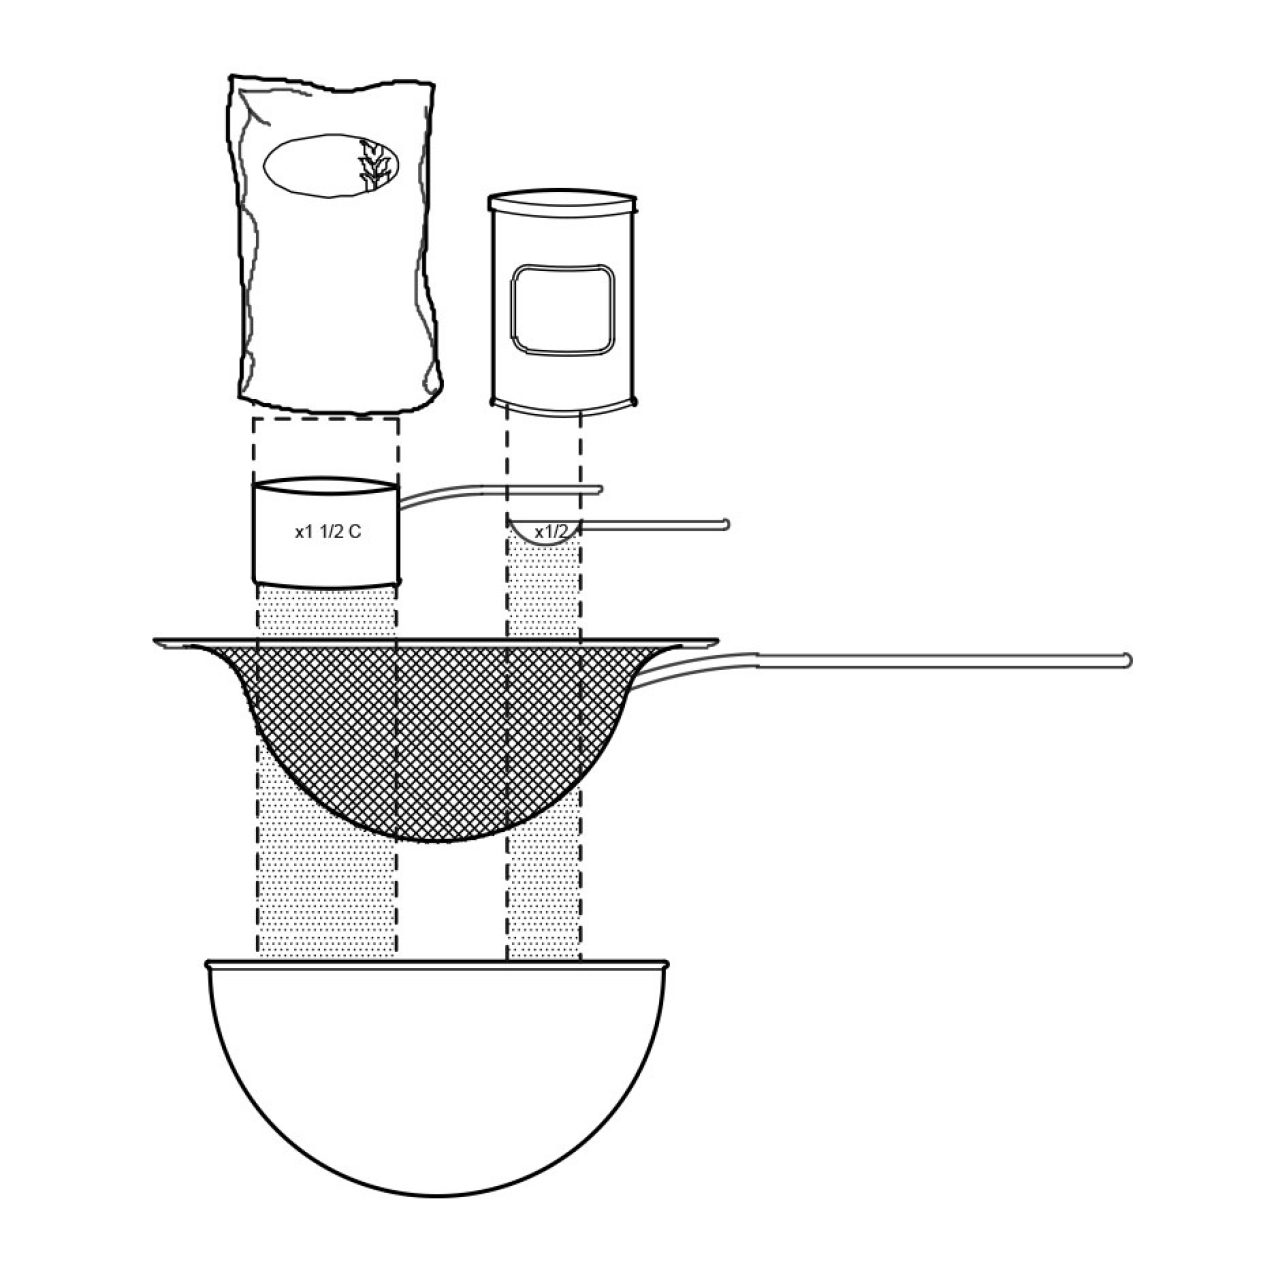
Ingredients
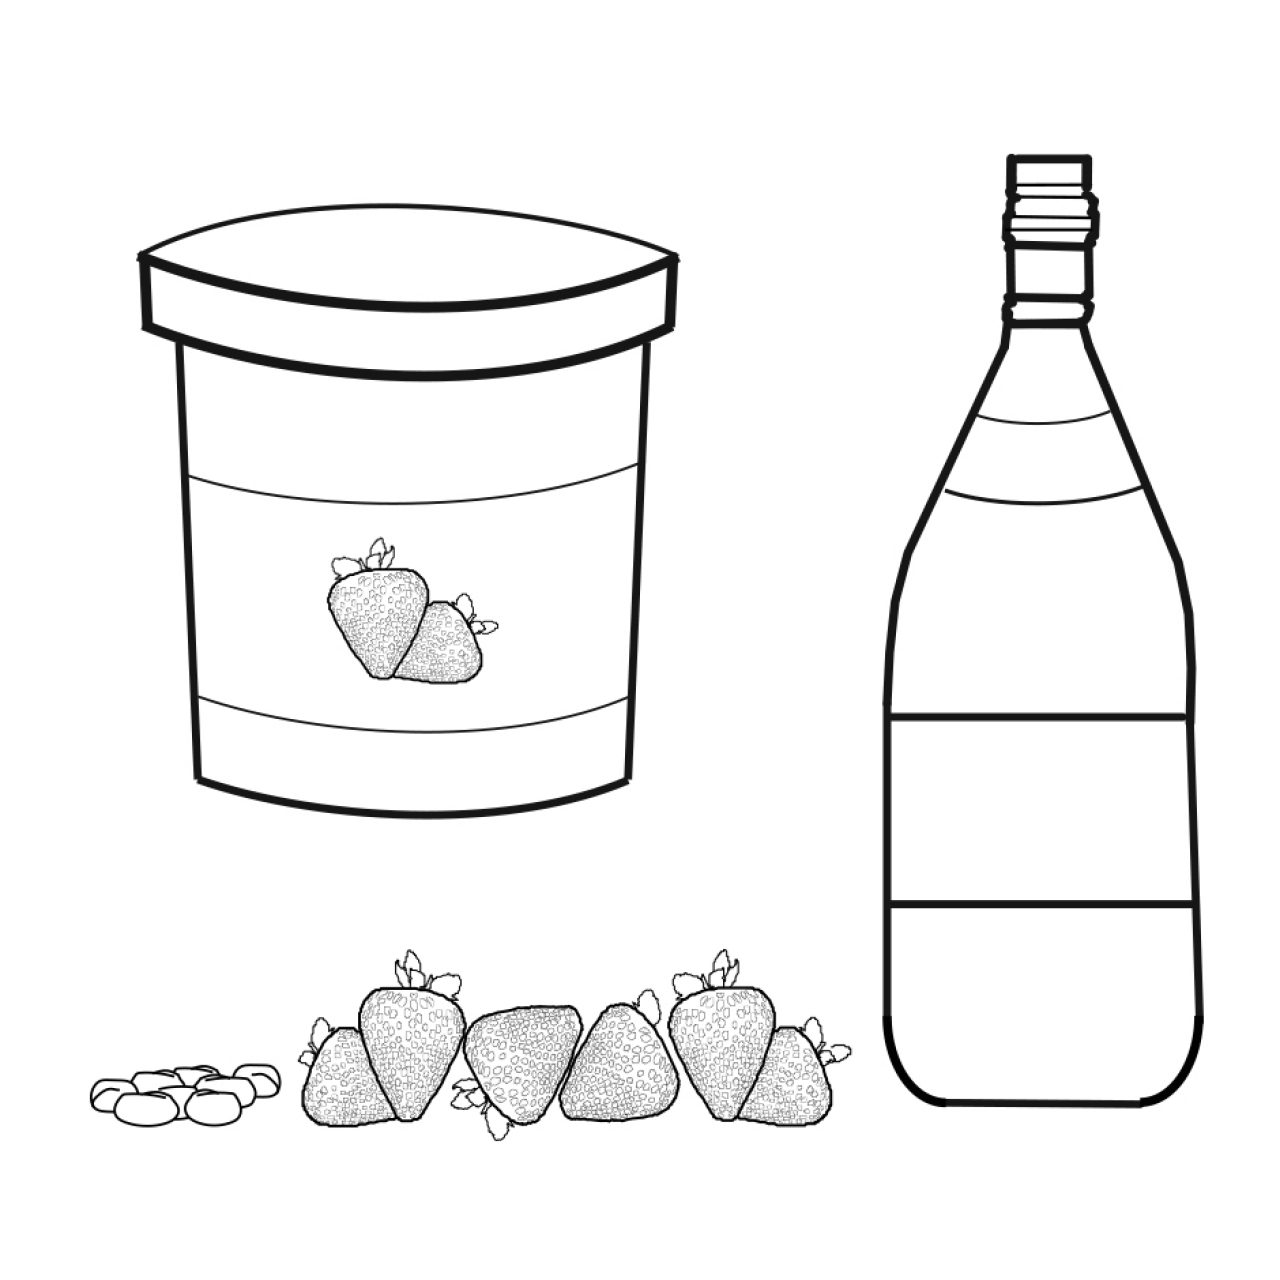
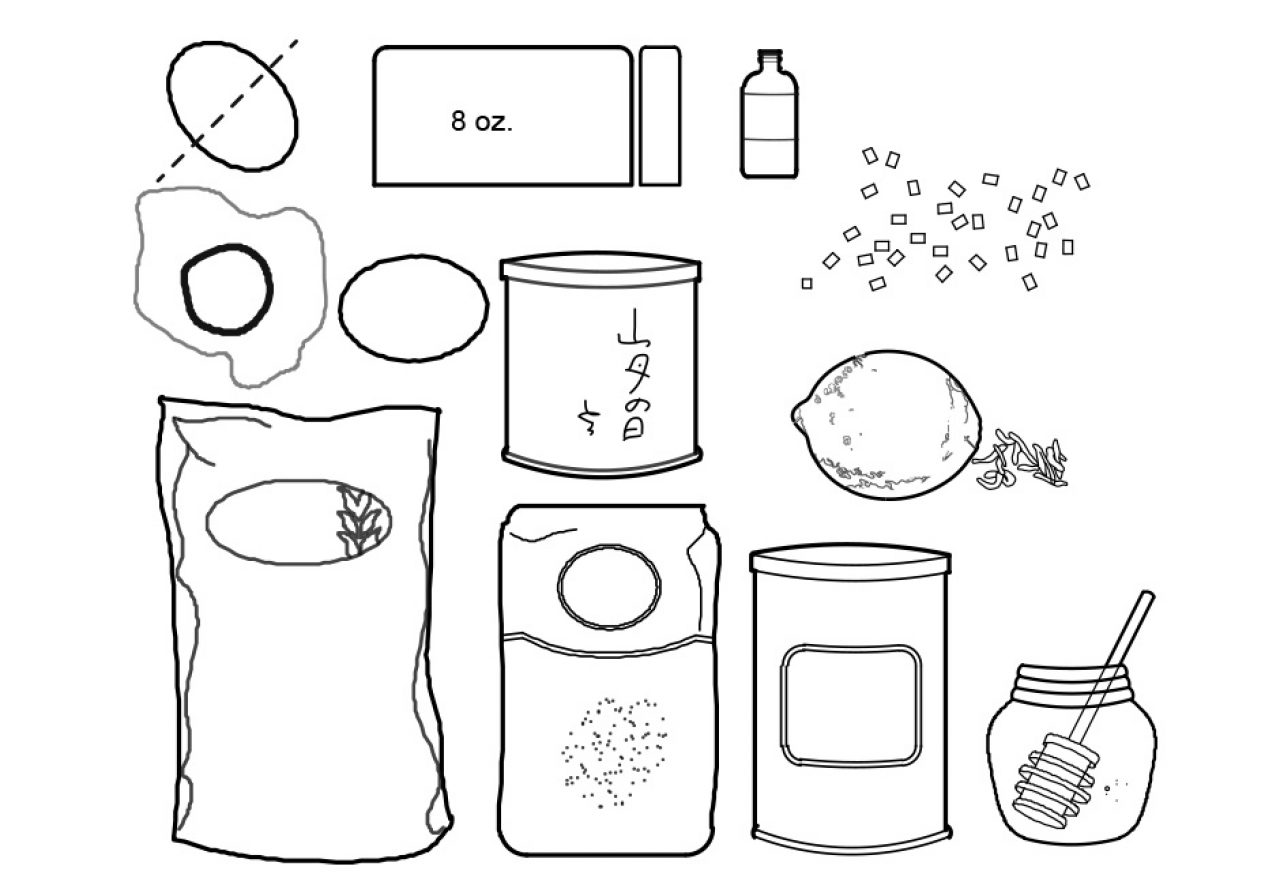
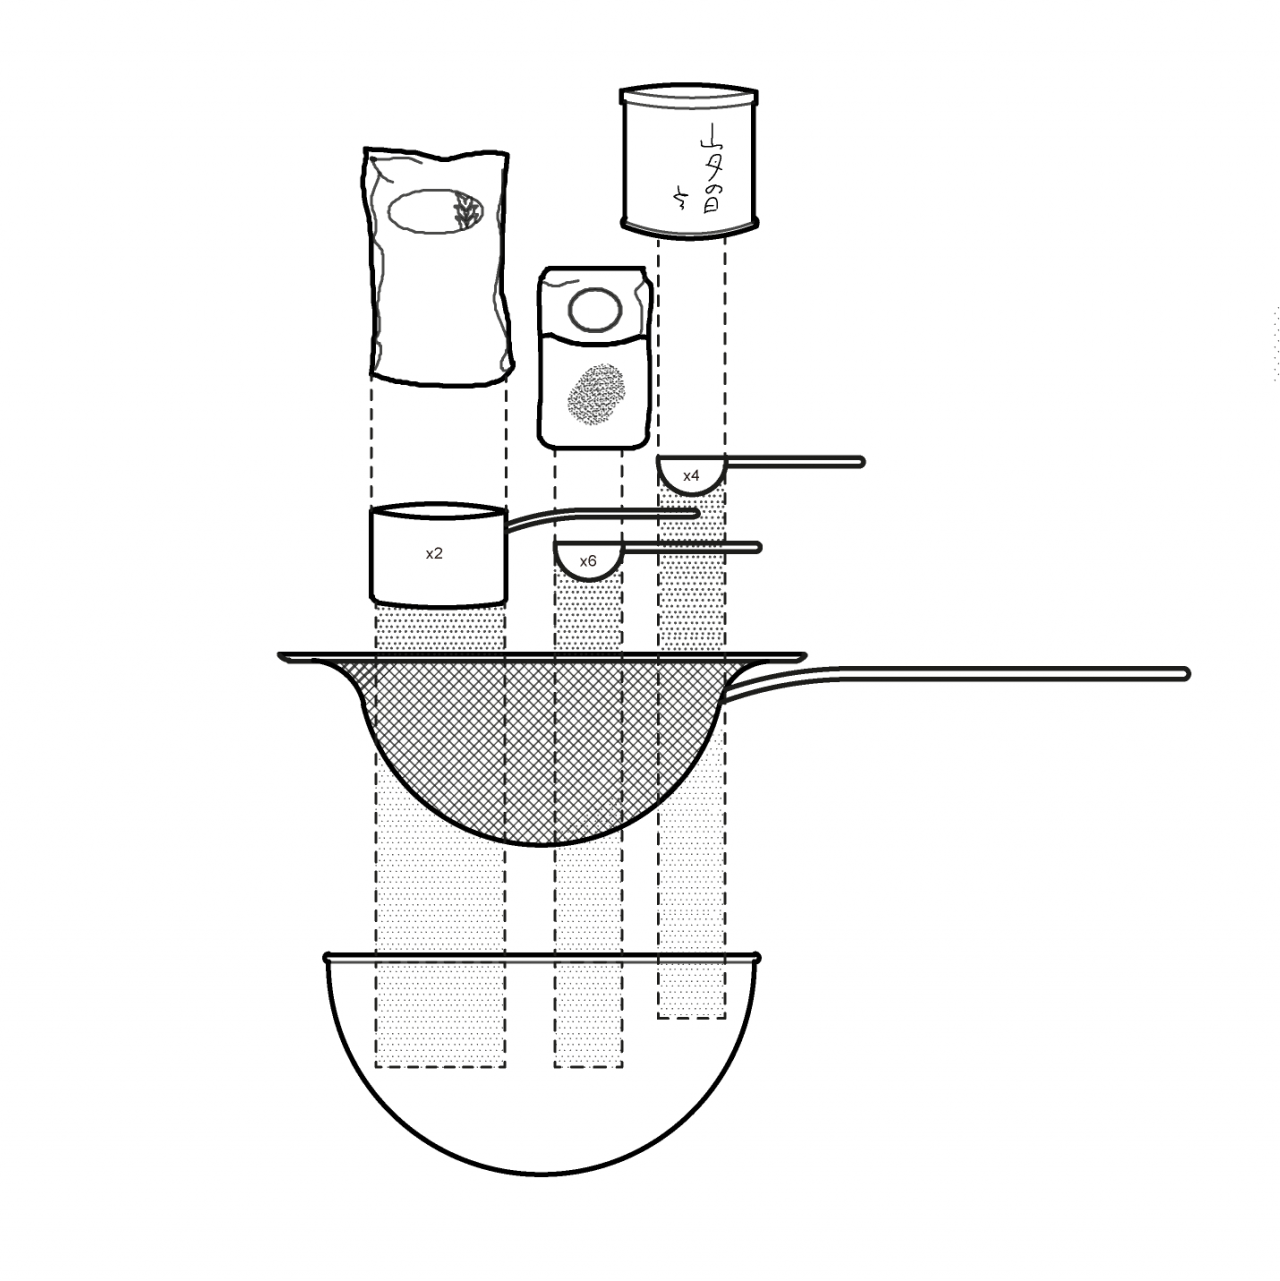
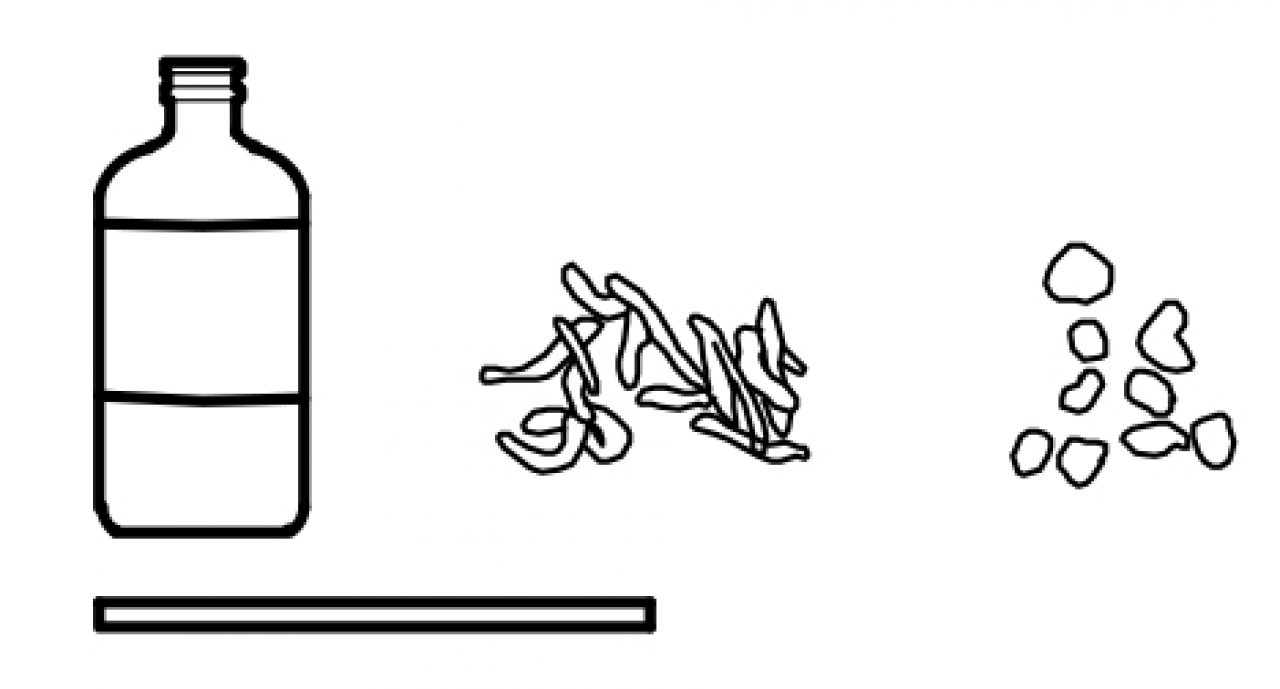
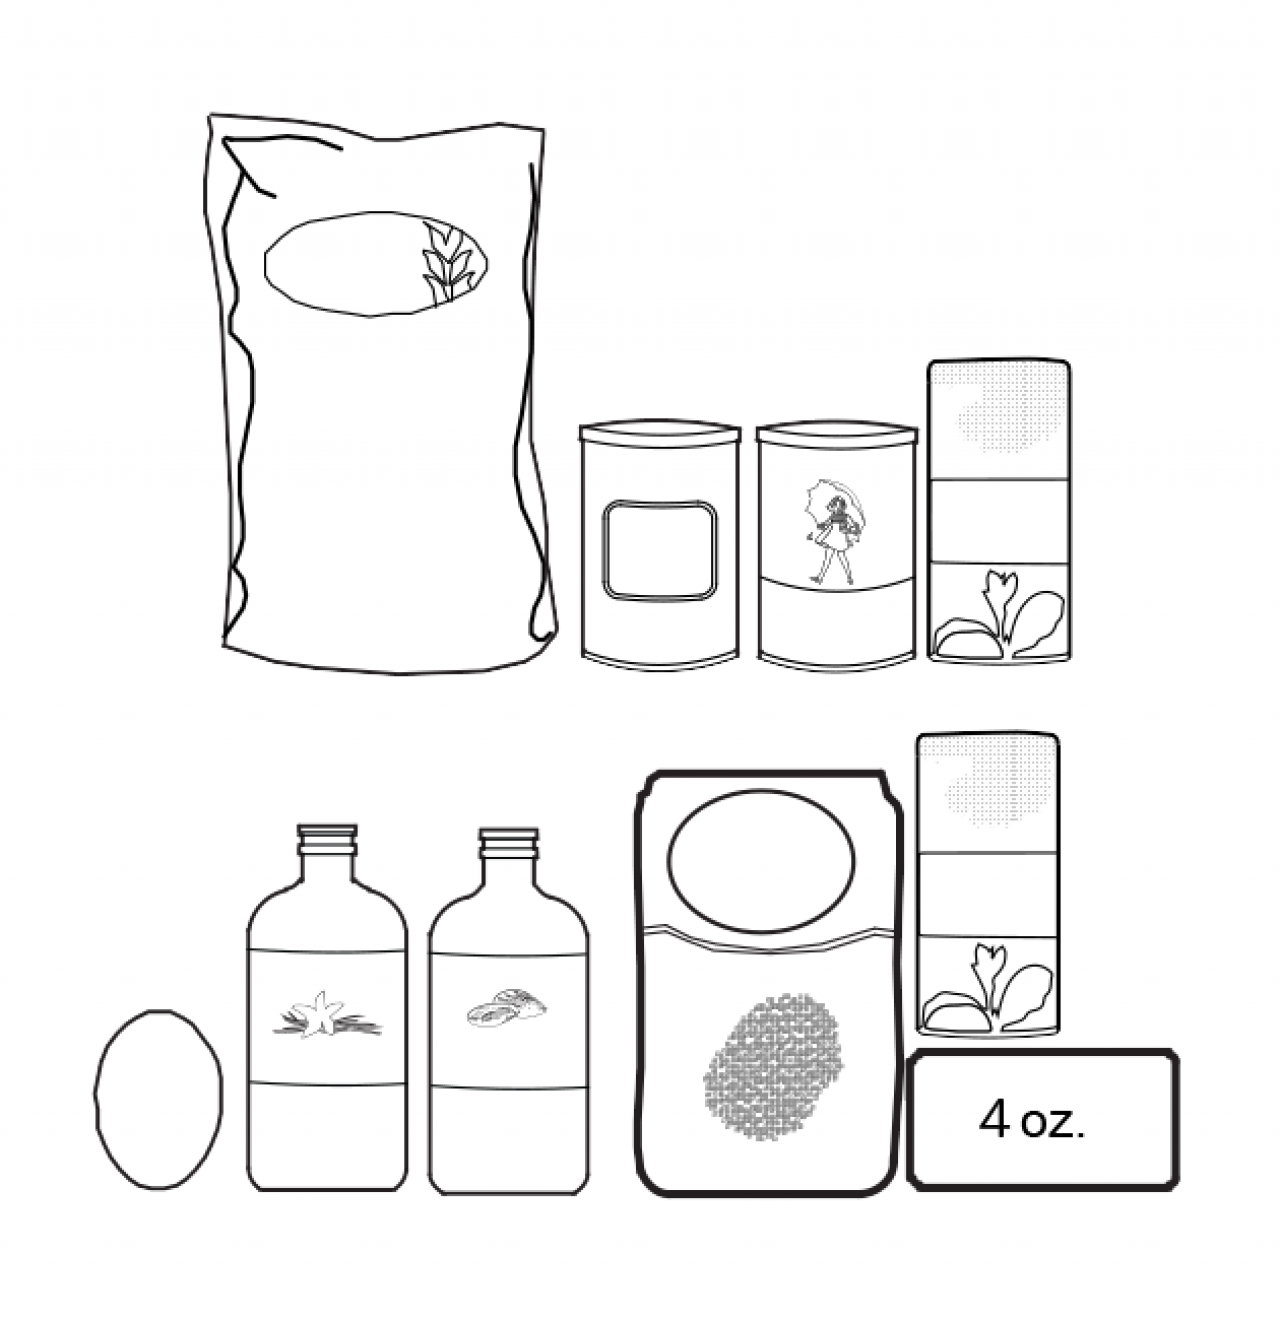
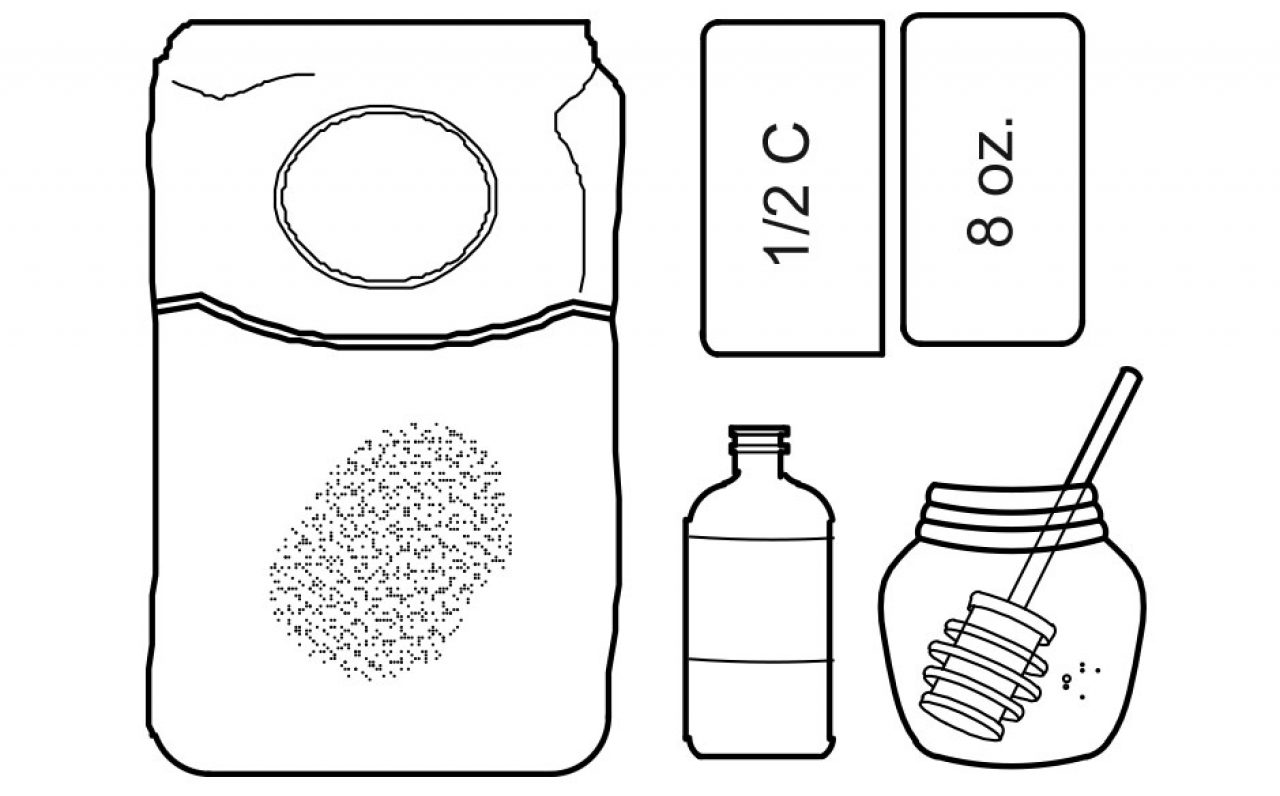
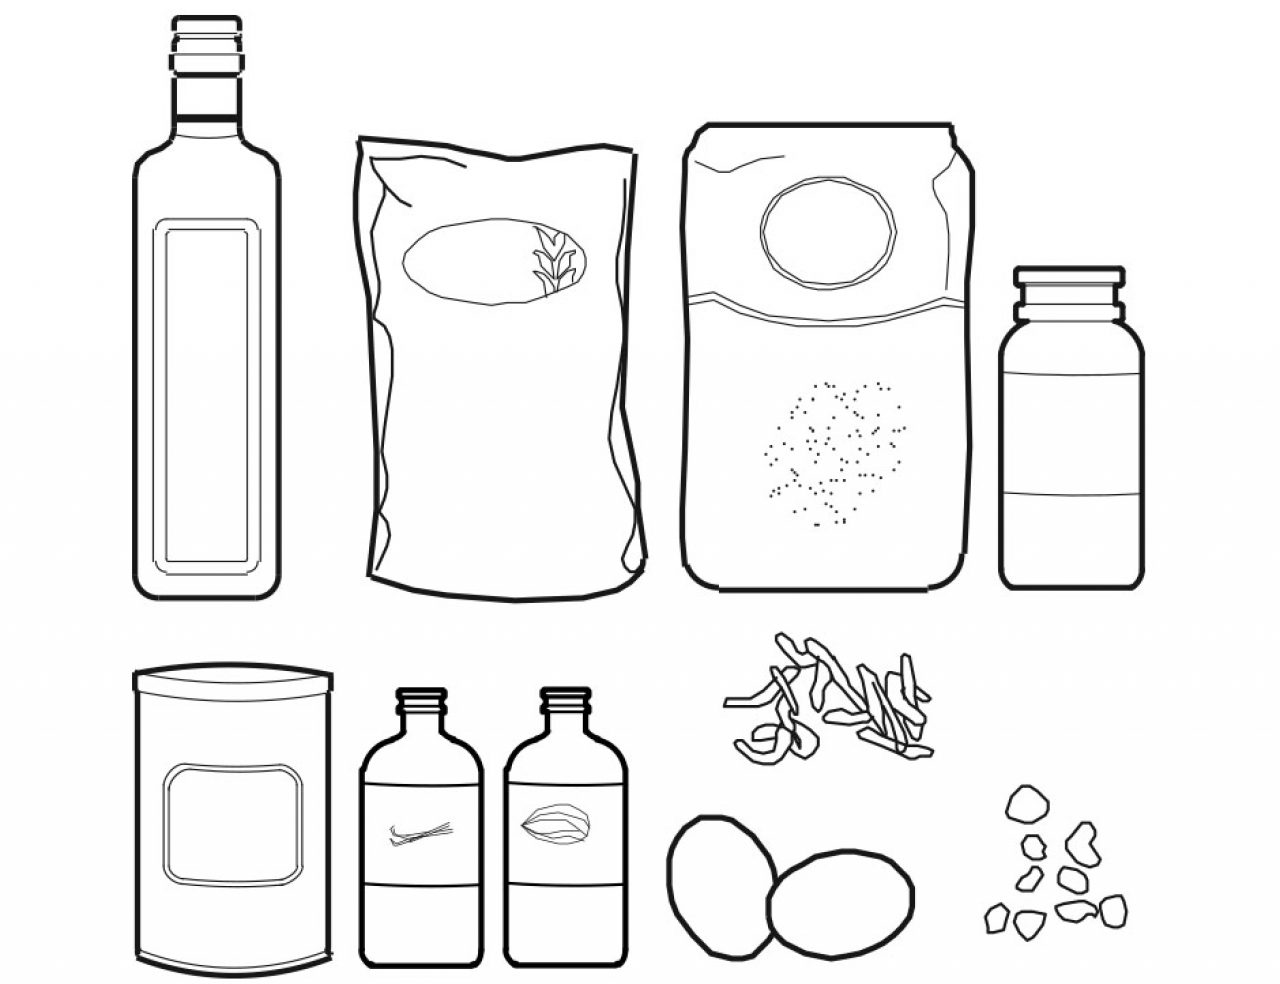
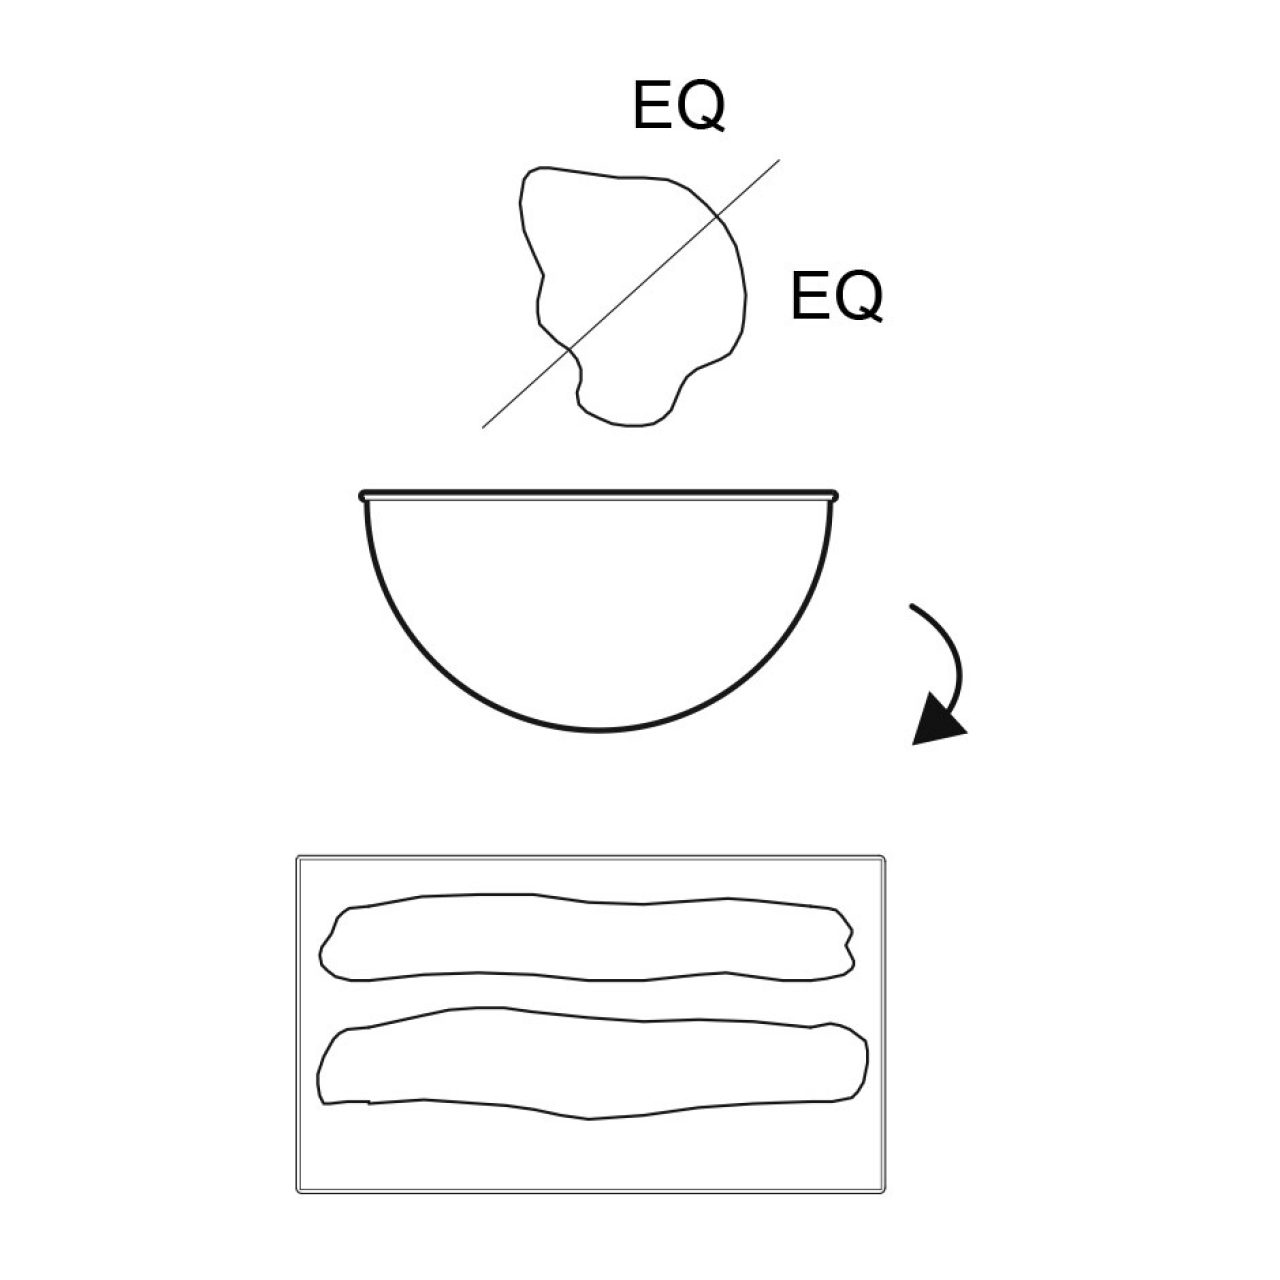
- 1 9" graham cracker crust
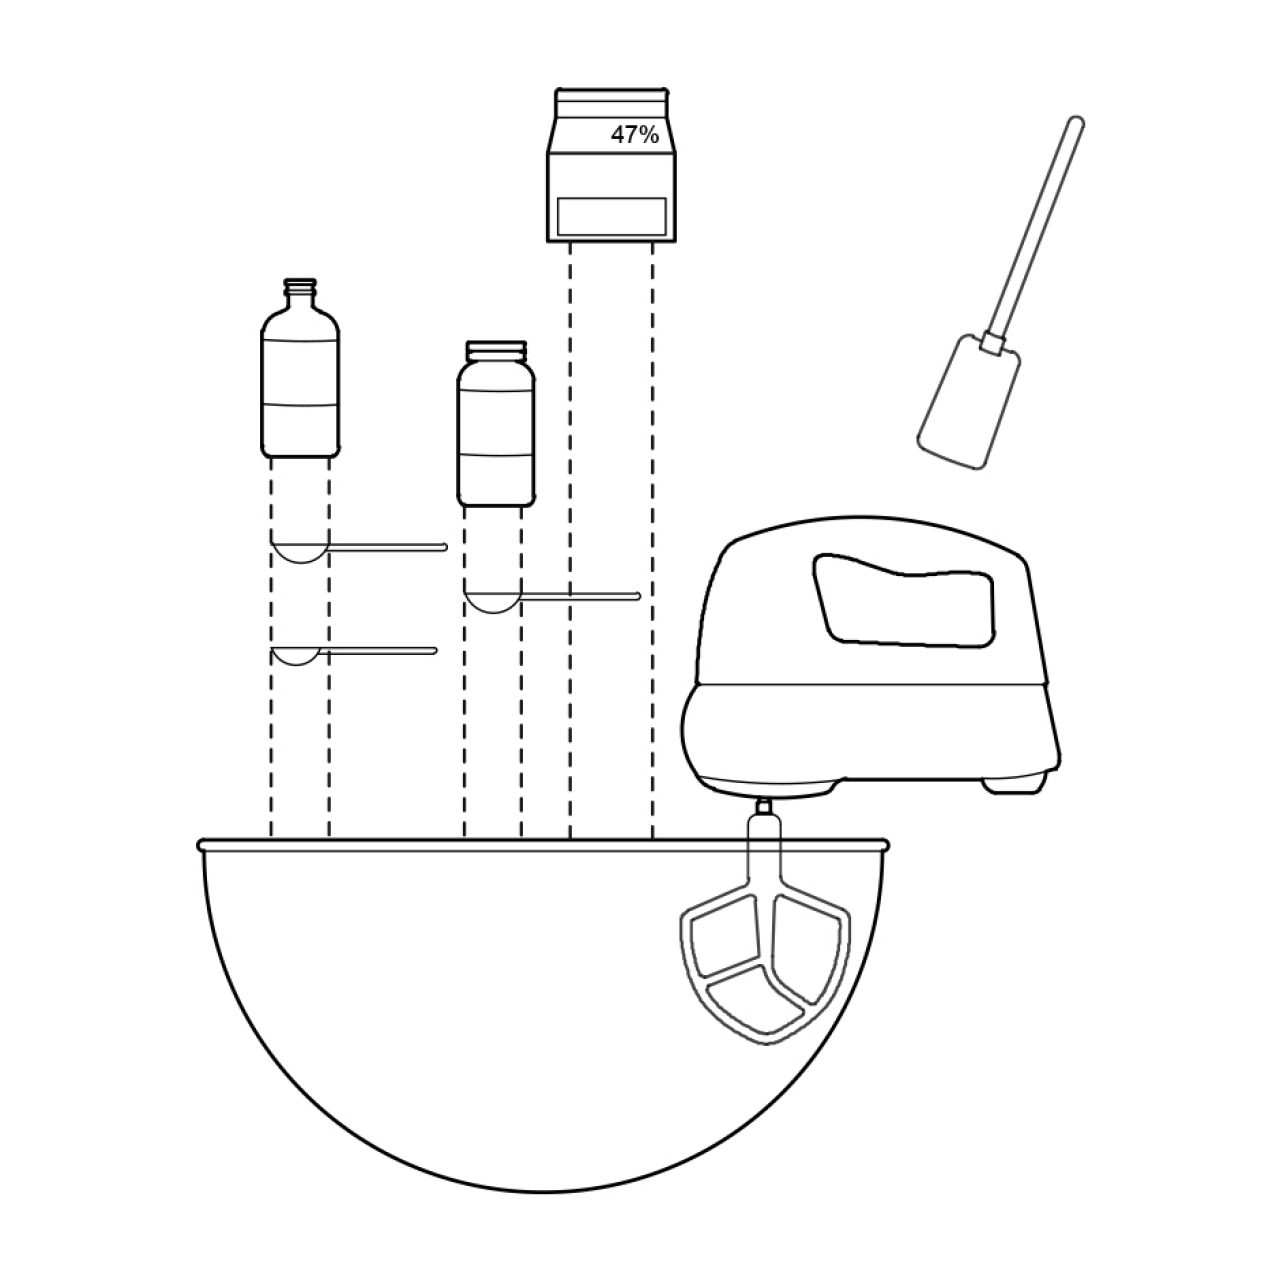
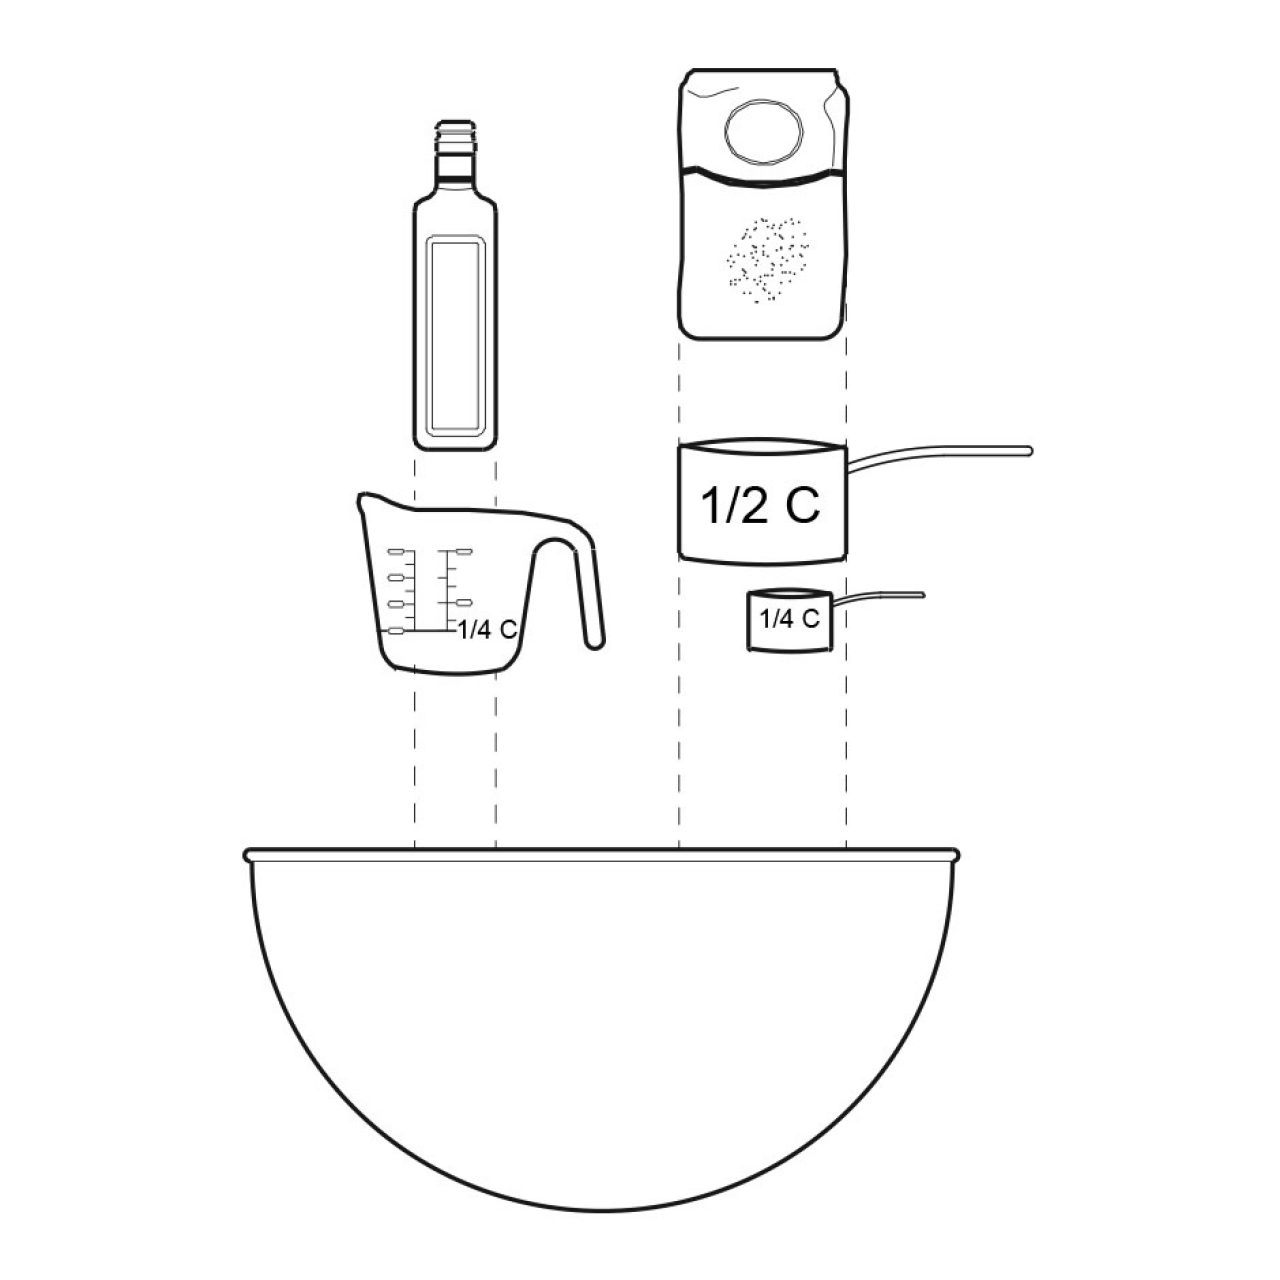
- 3/4 C granulated sugar
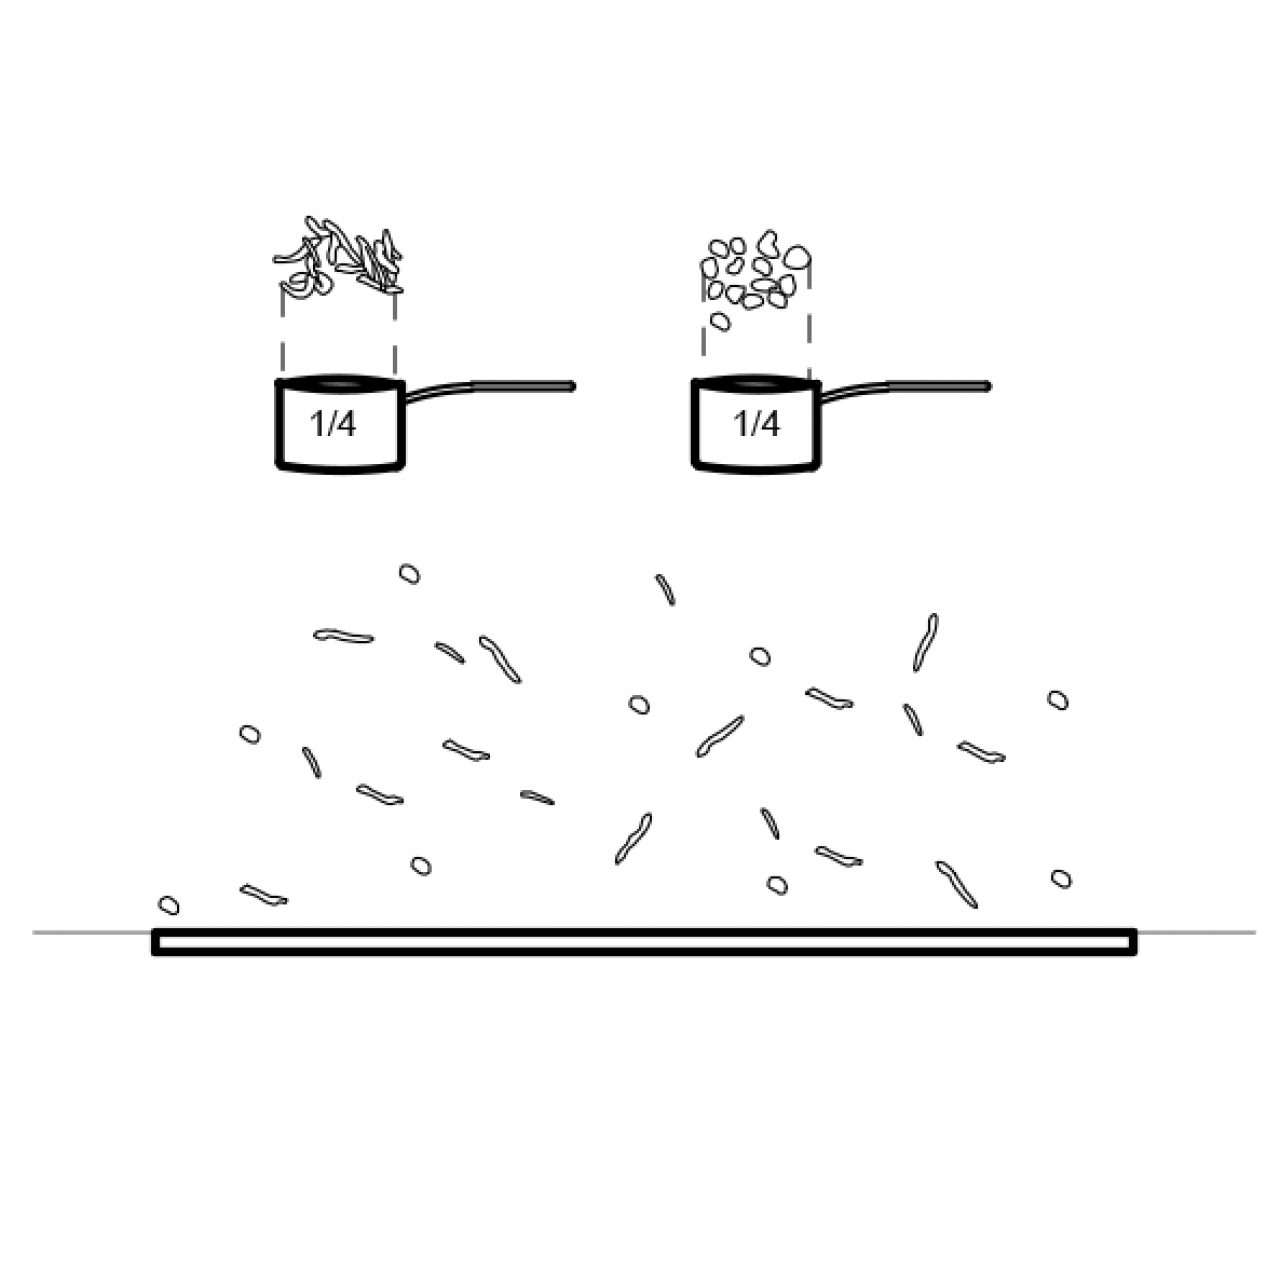
- 1/4 C tequila (or lime juice)
- 1/4 C fresh lime juice
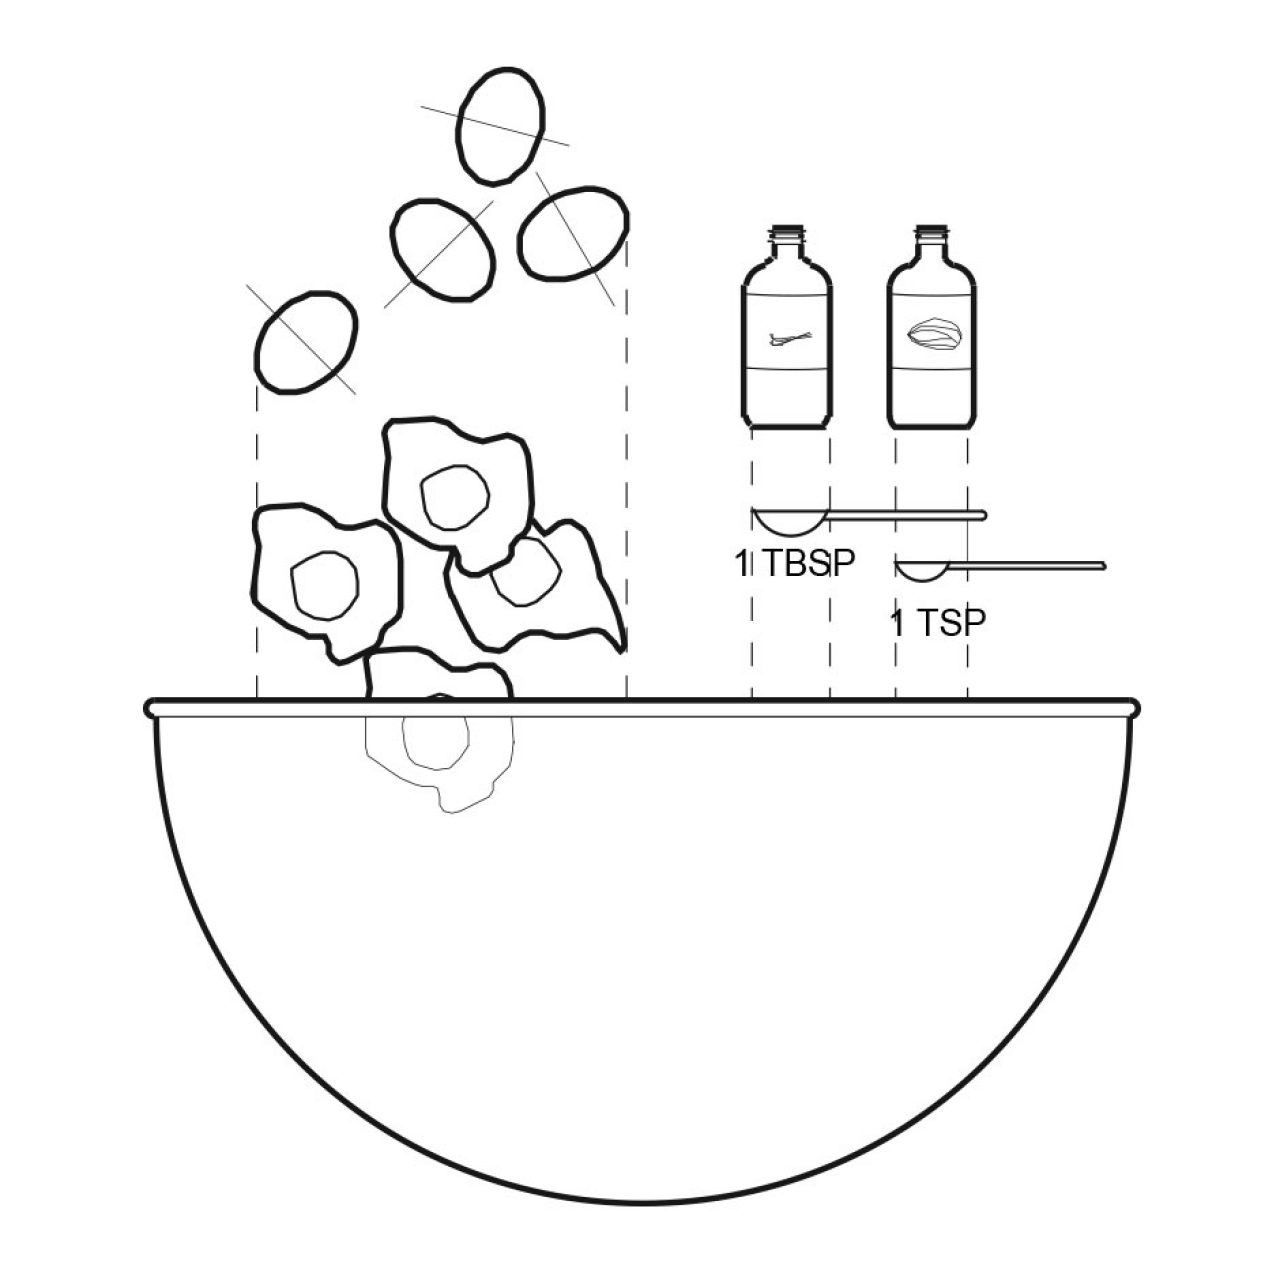
- 3 lg. eggs, plus 1 yolk
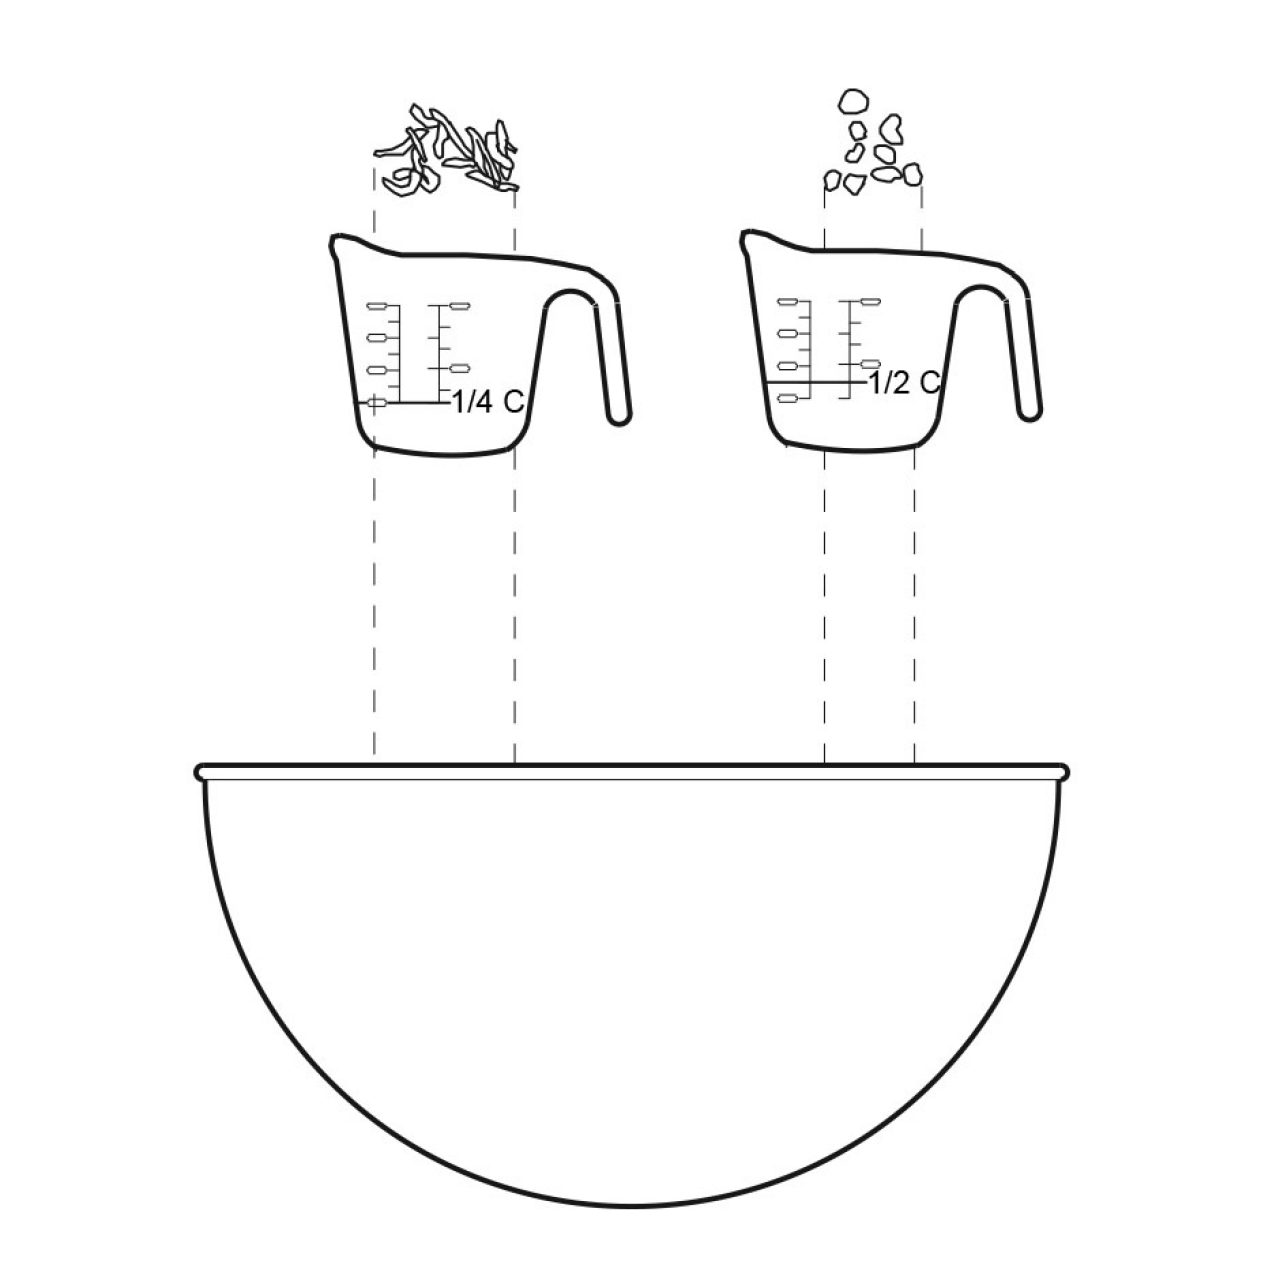
- 1 C blueberries
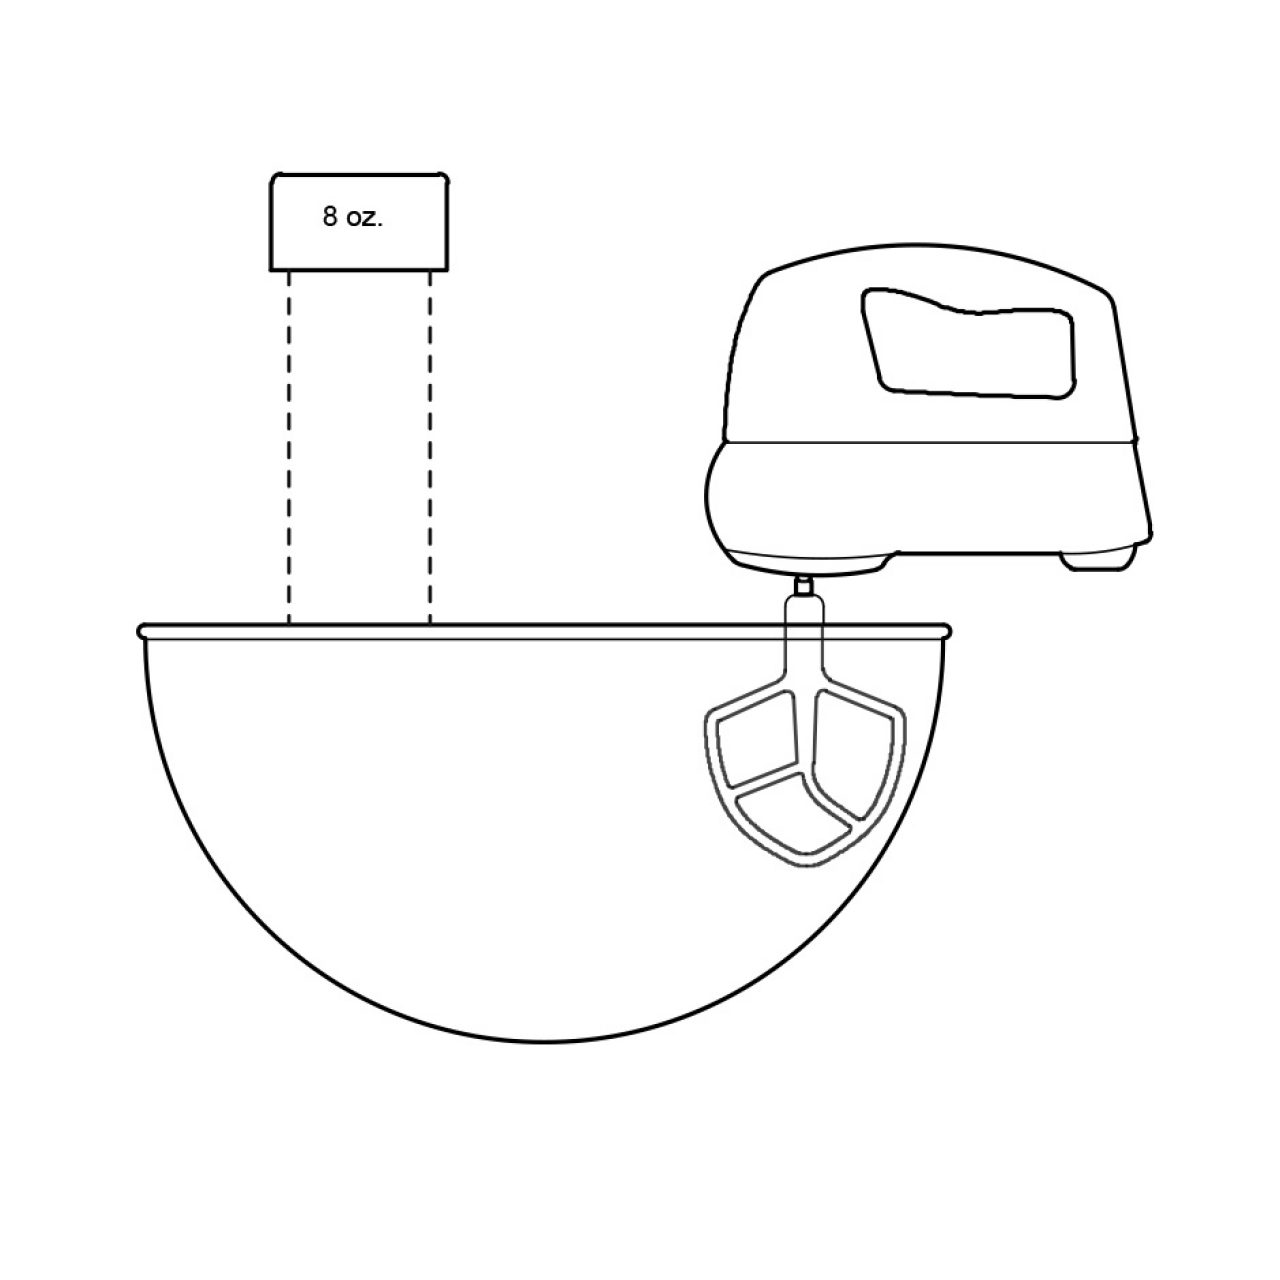
- 1 8 oz. cool whip container
- 1/2 lb butter (2 sticks)
- 1 lime
Directions
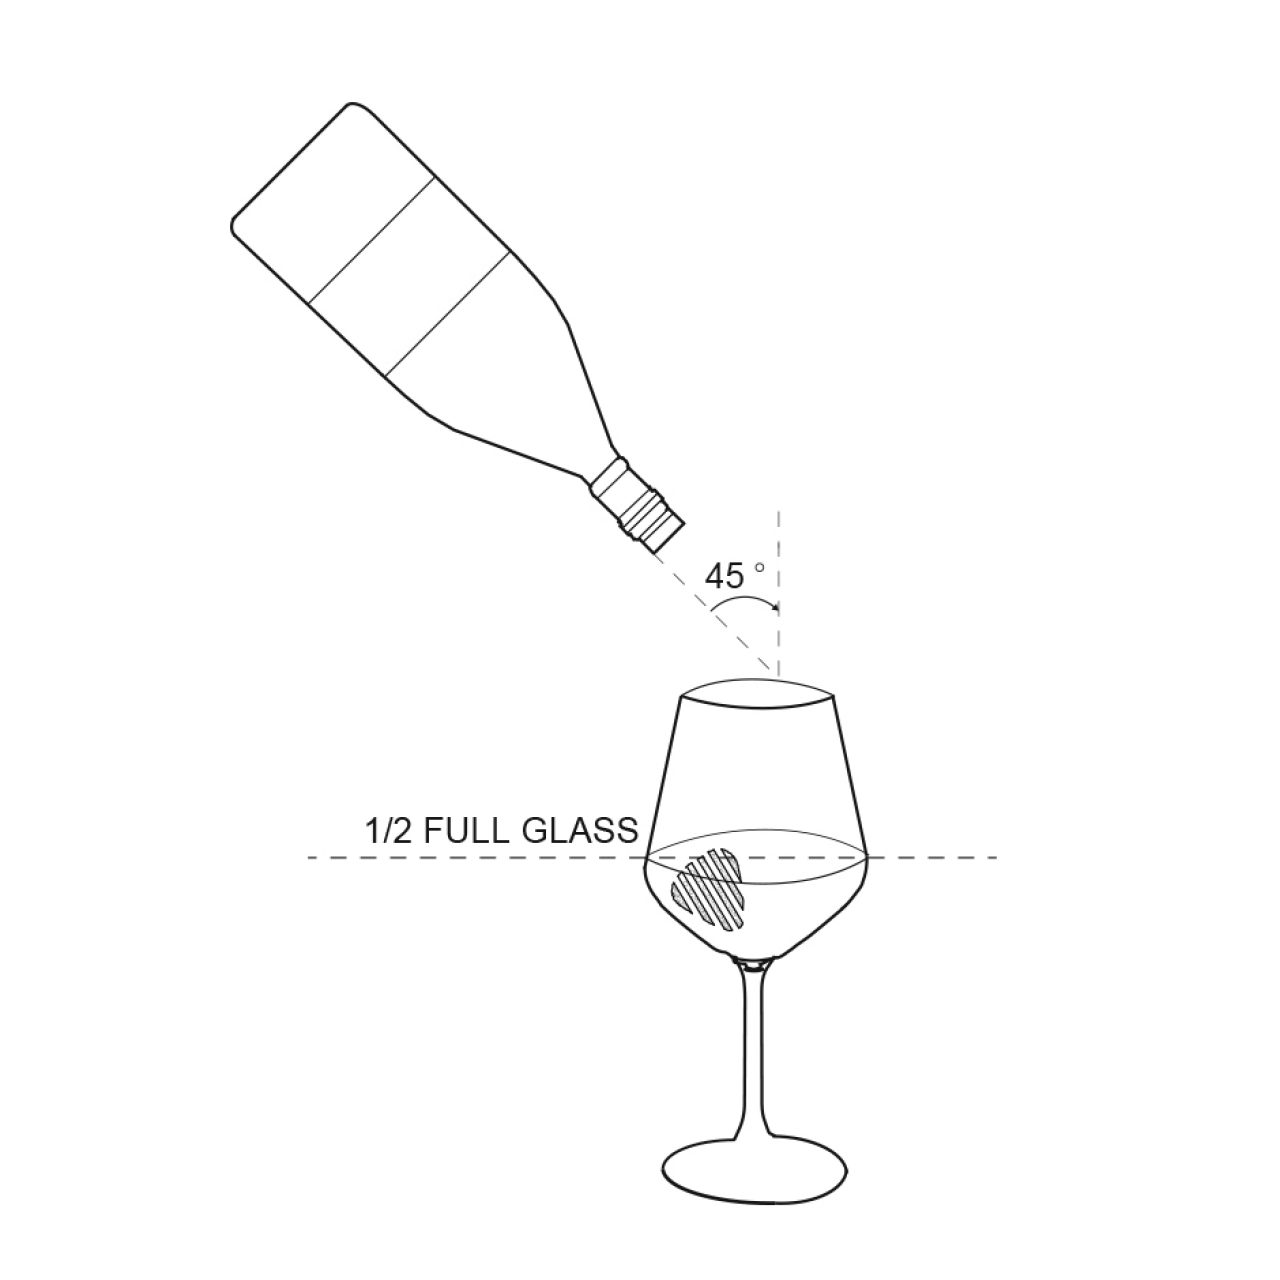
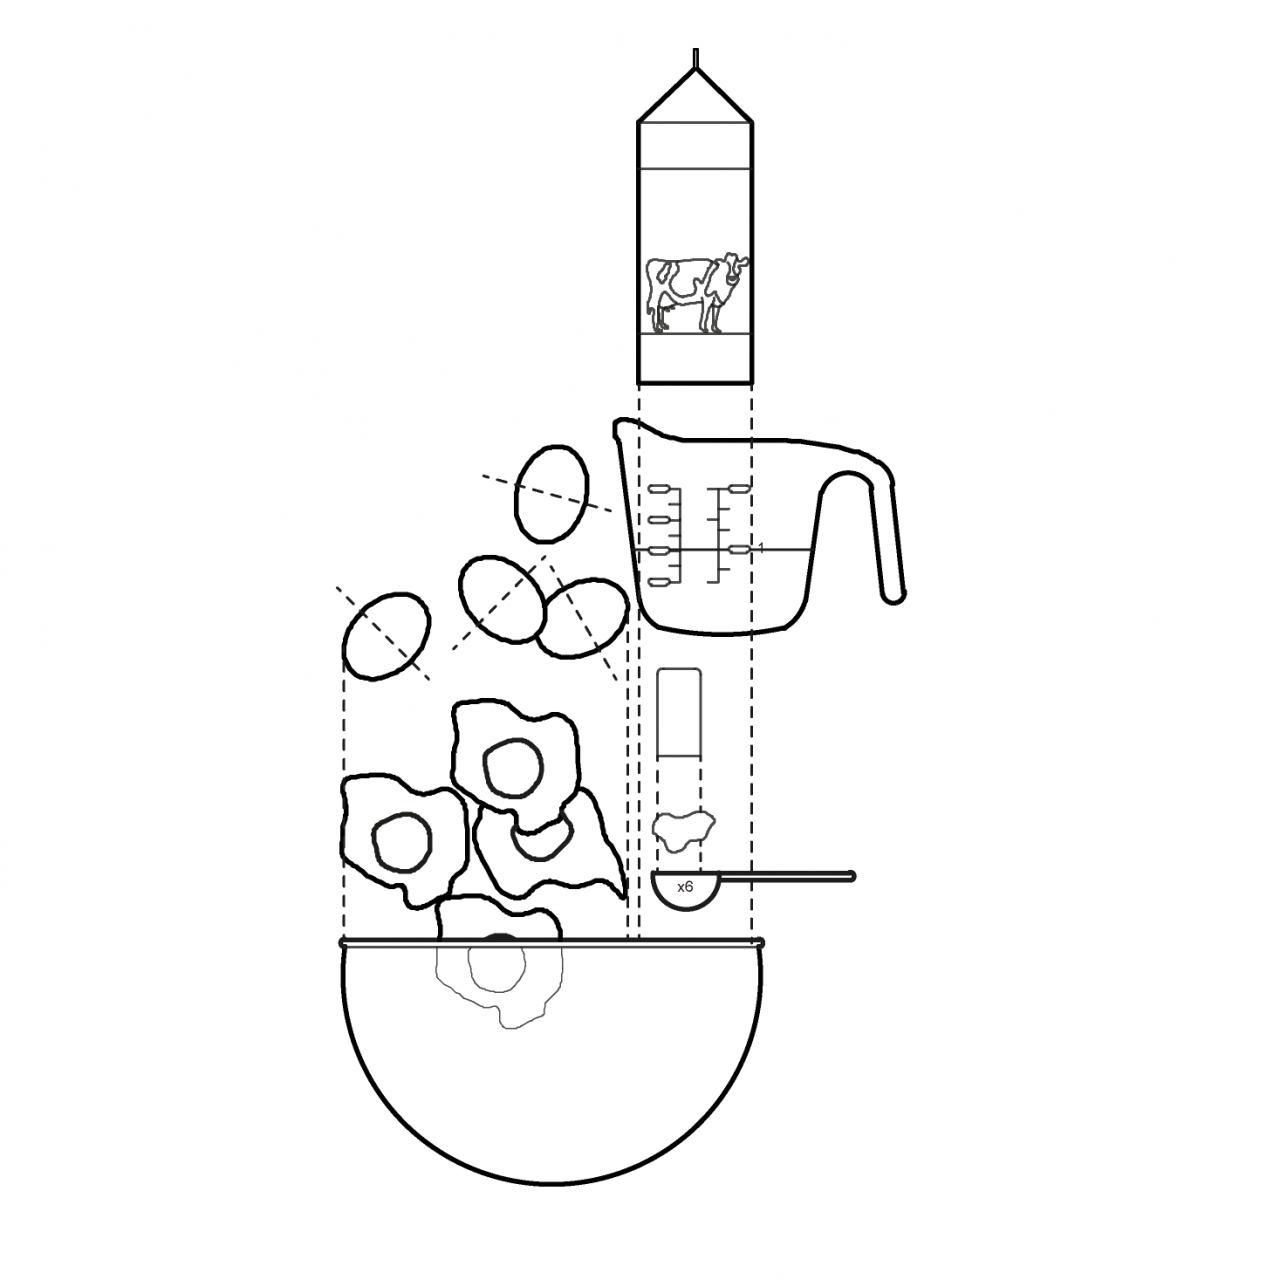
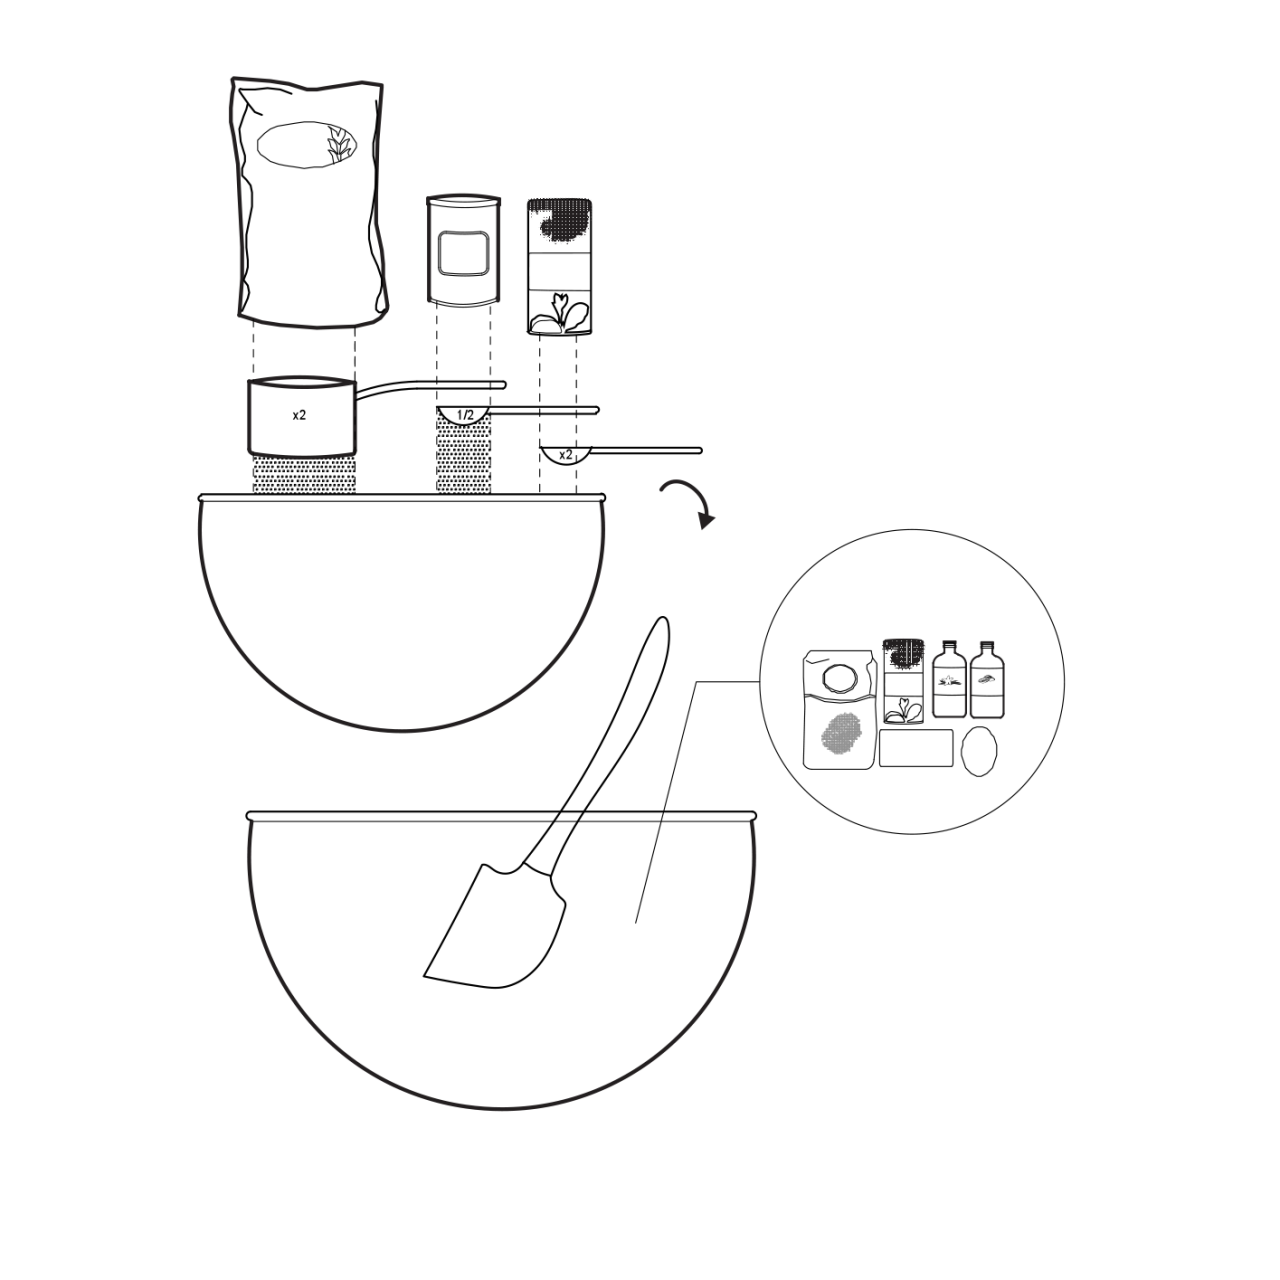
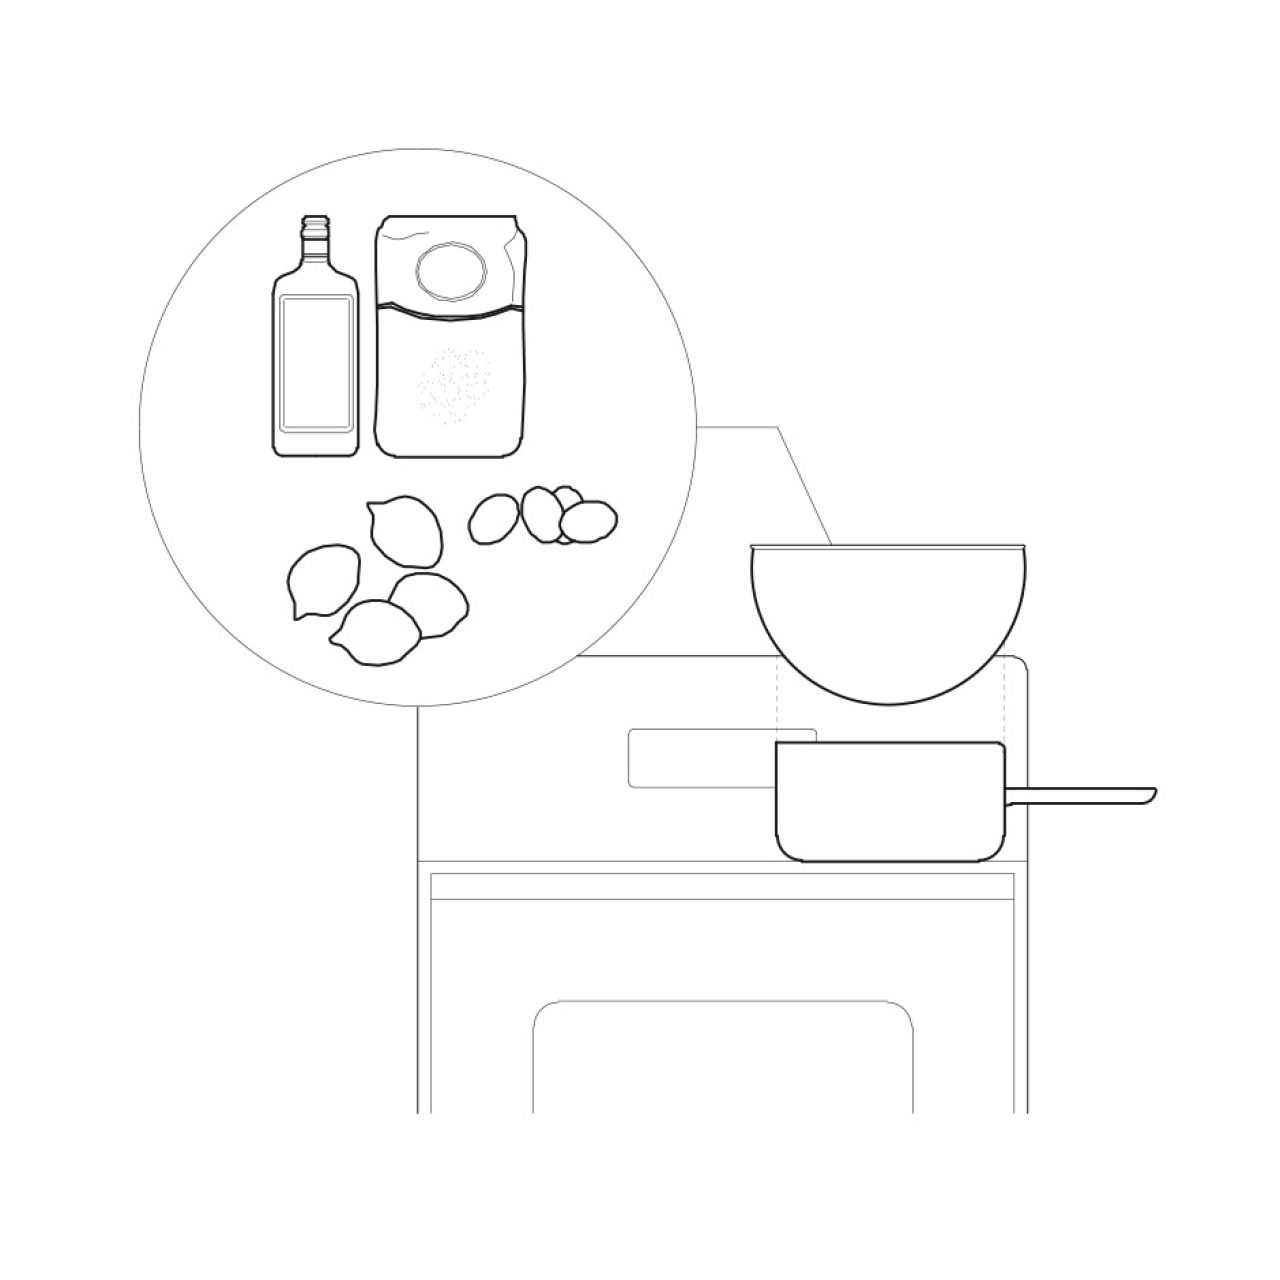
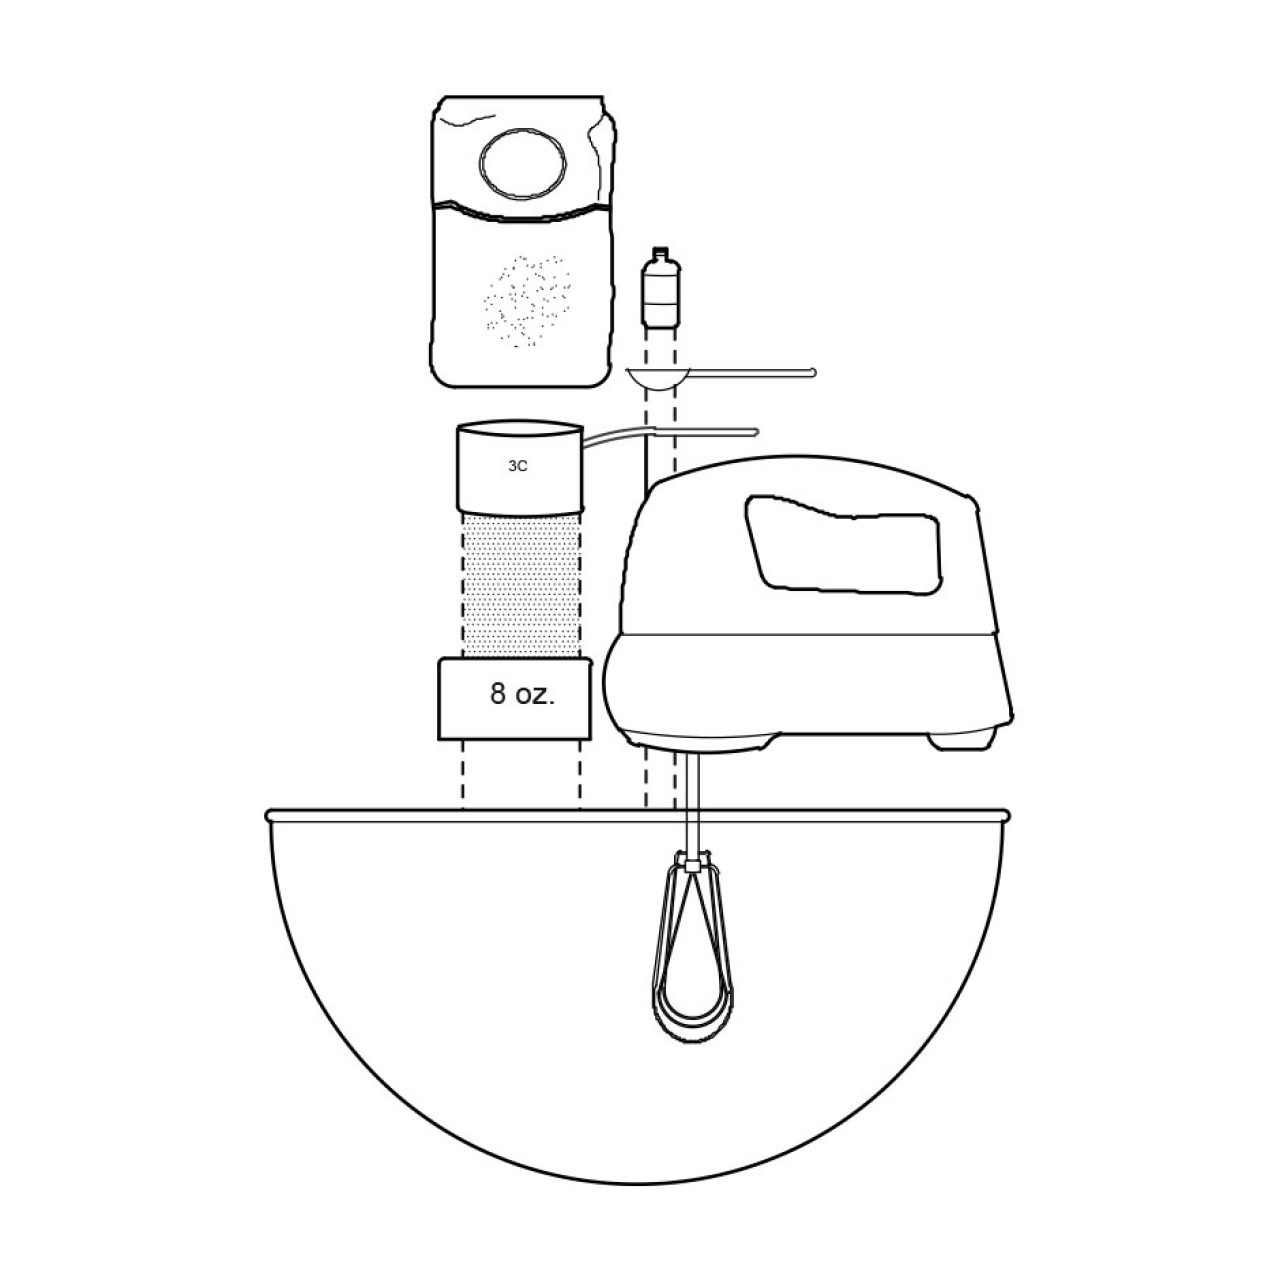
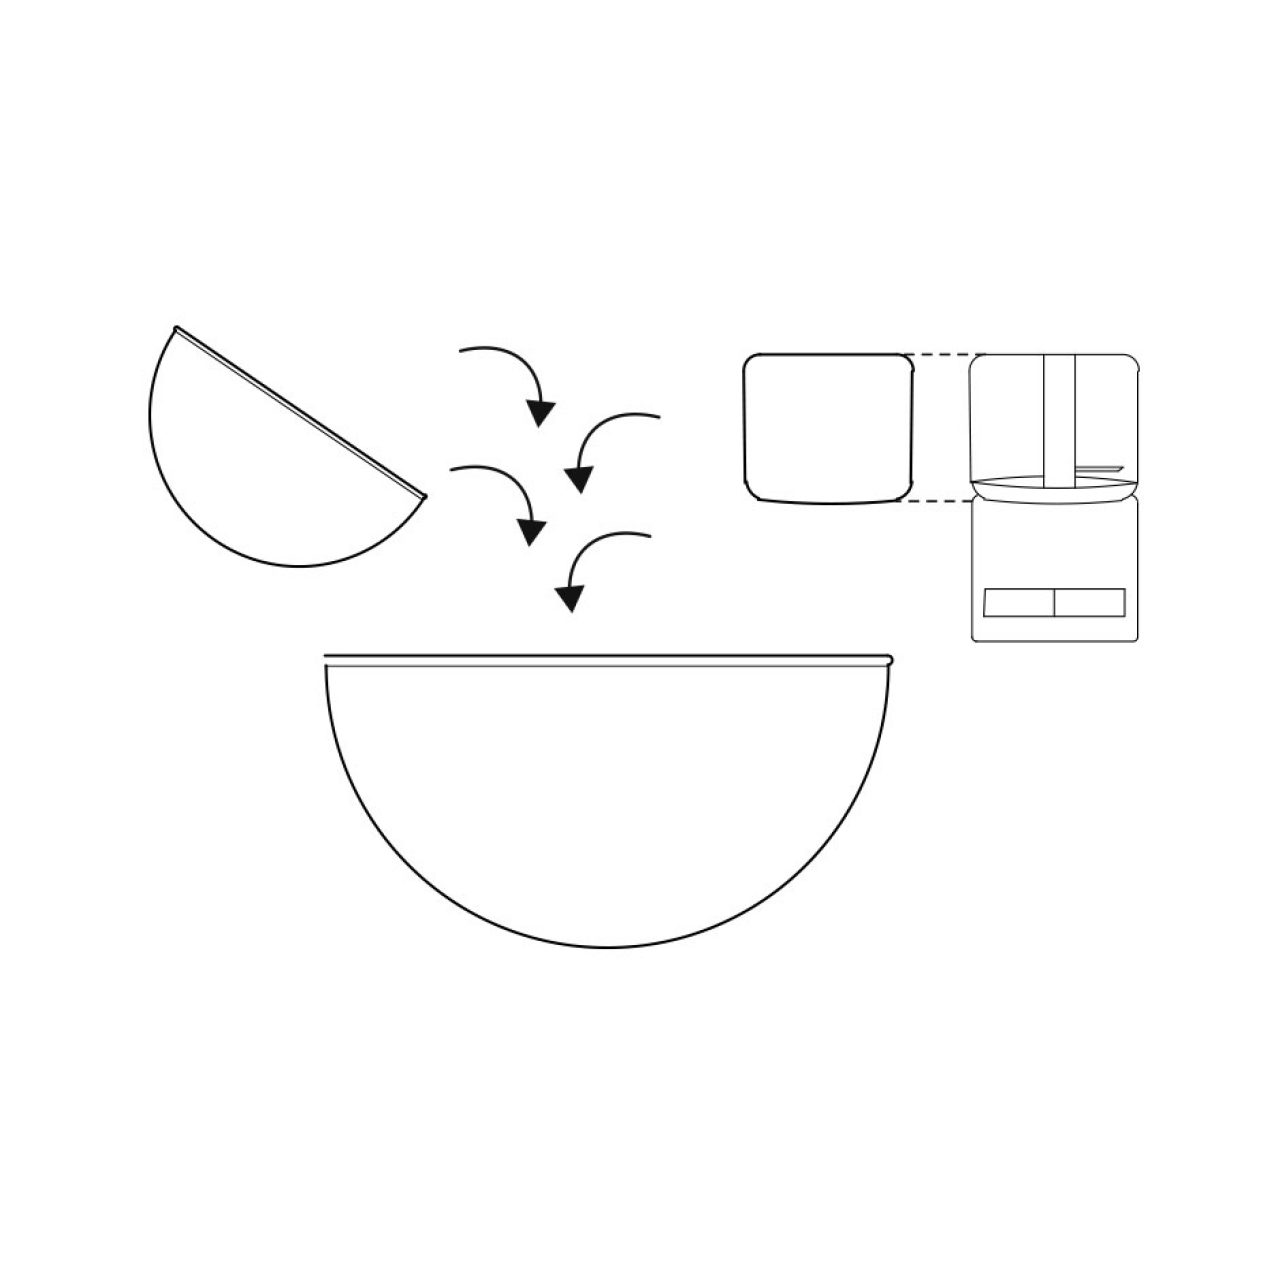
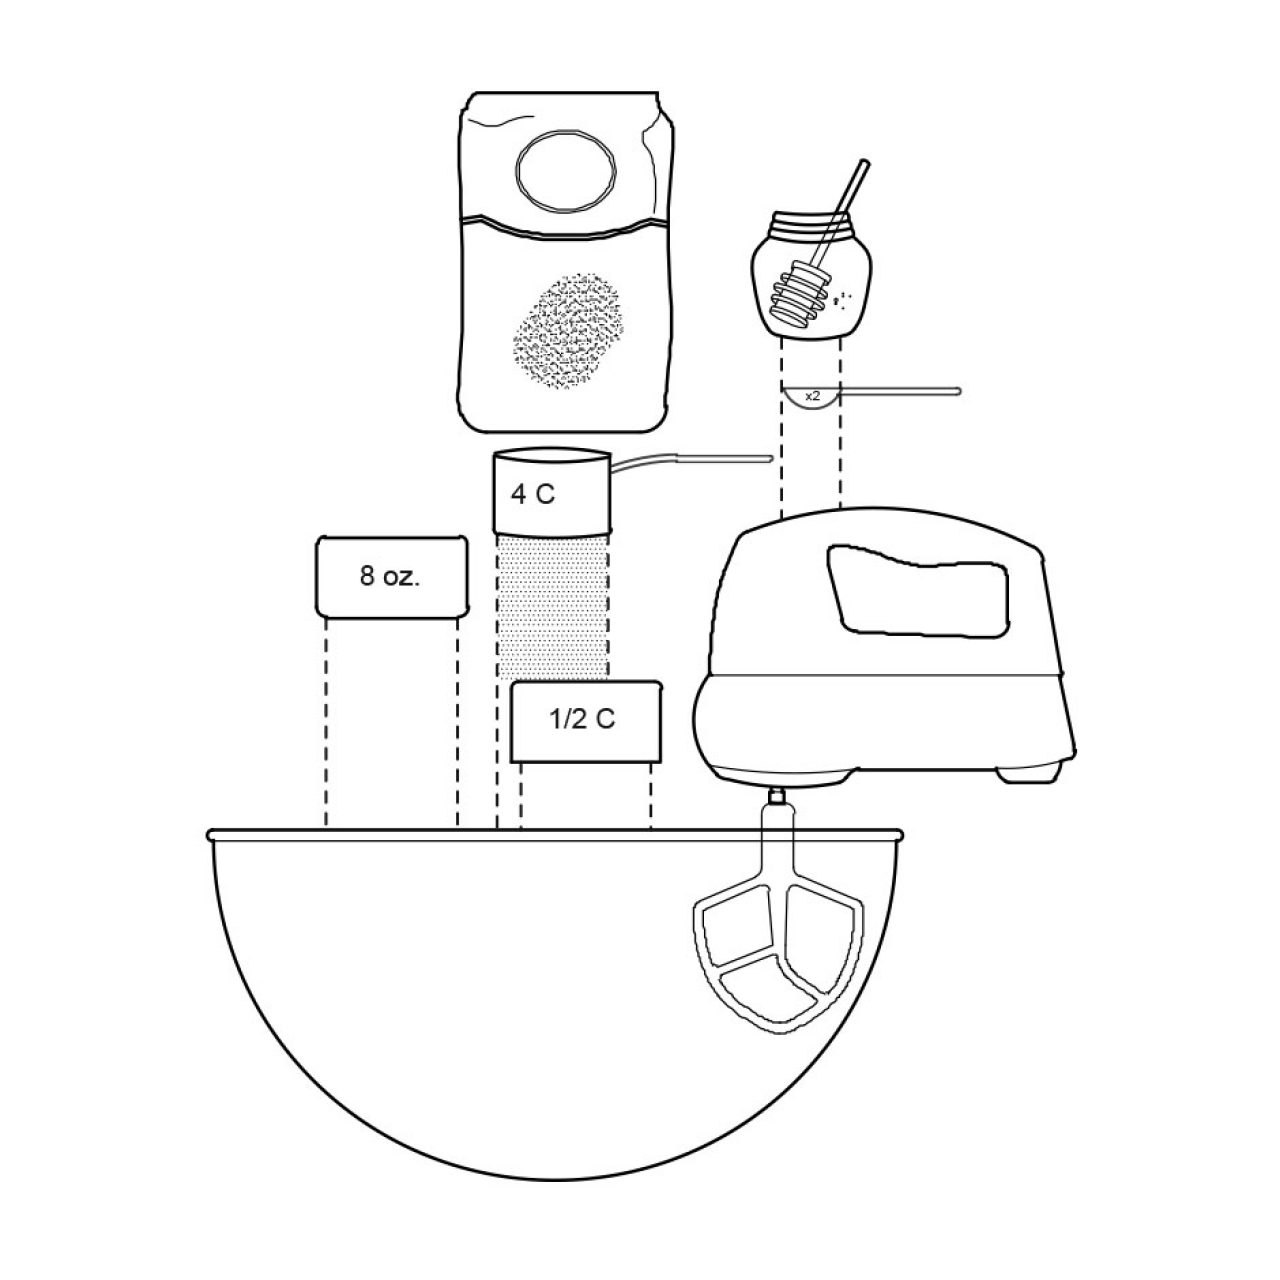
Make the margarita curd: In a large heatproof bowl, whisk together the lime juice, extra lime juice / tequila, sugar, eggs and egg yolk.

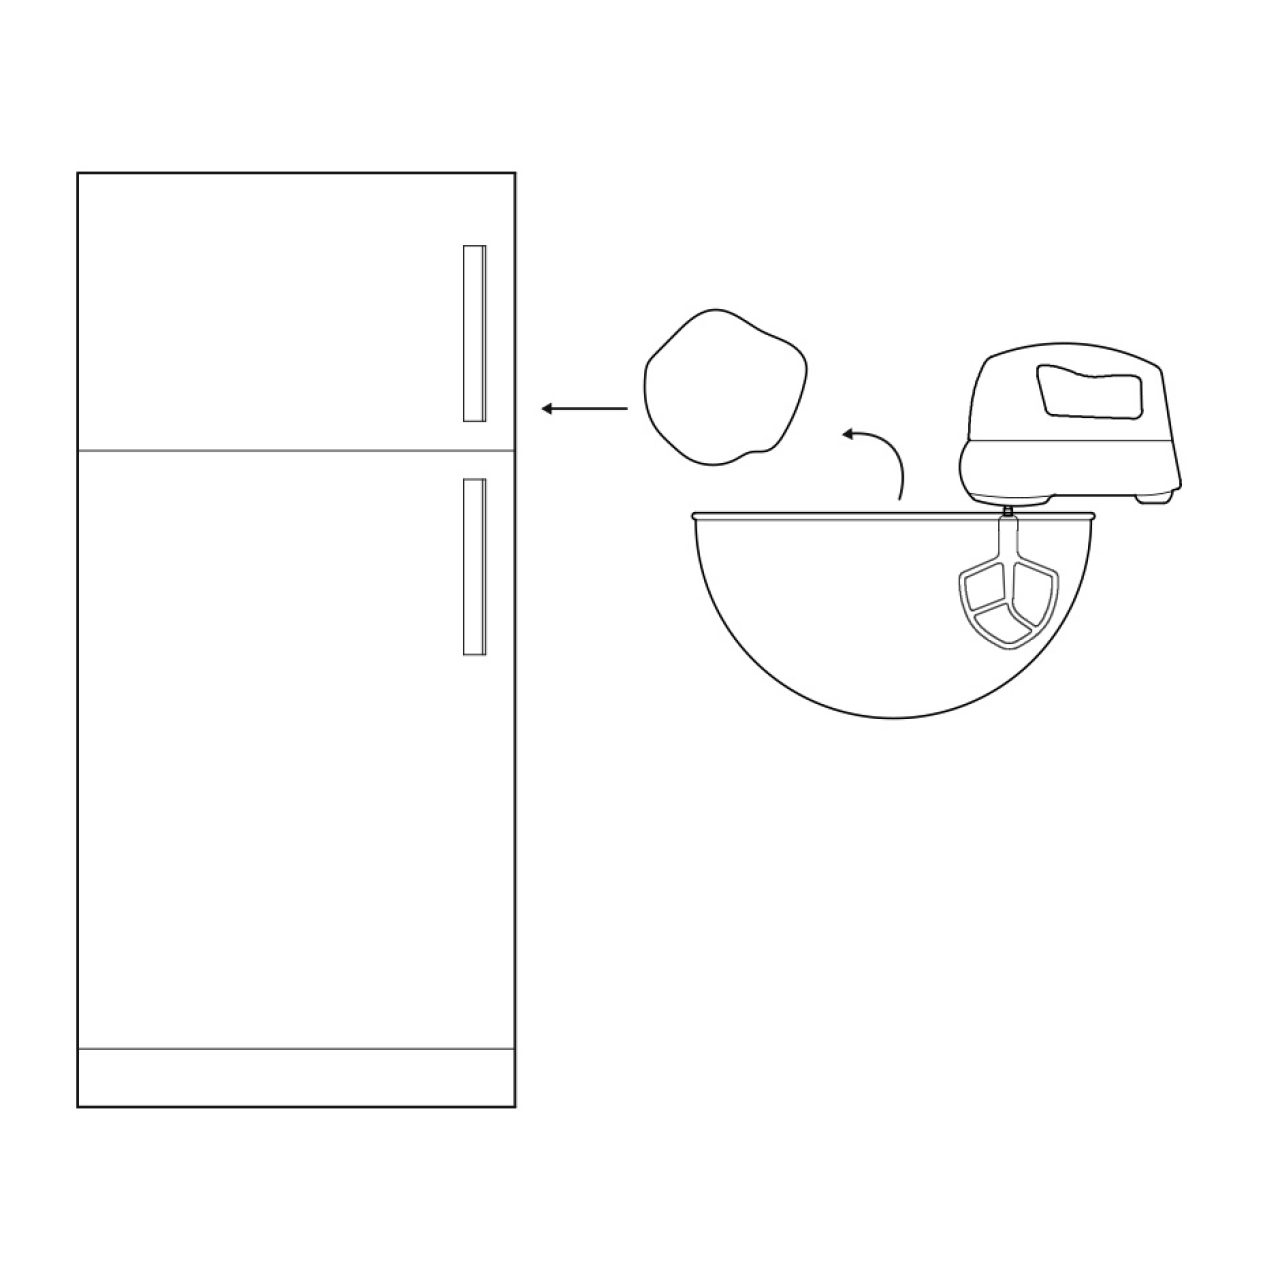
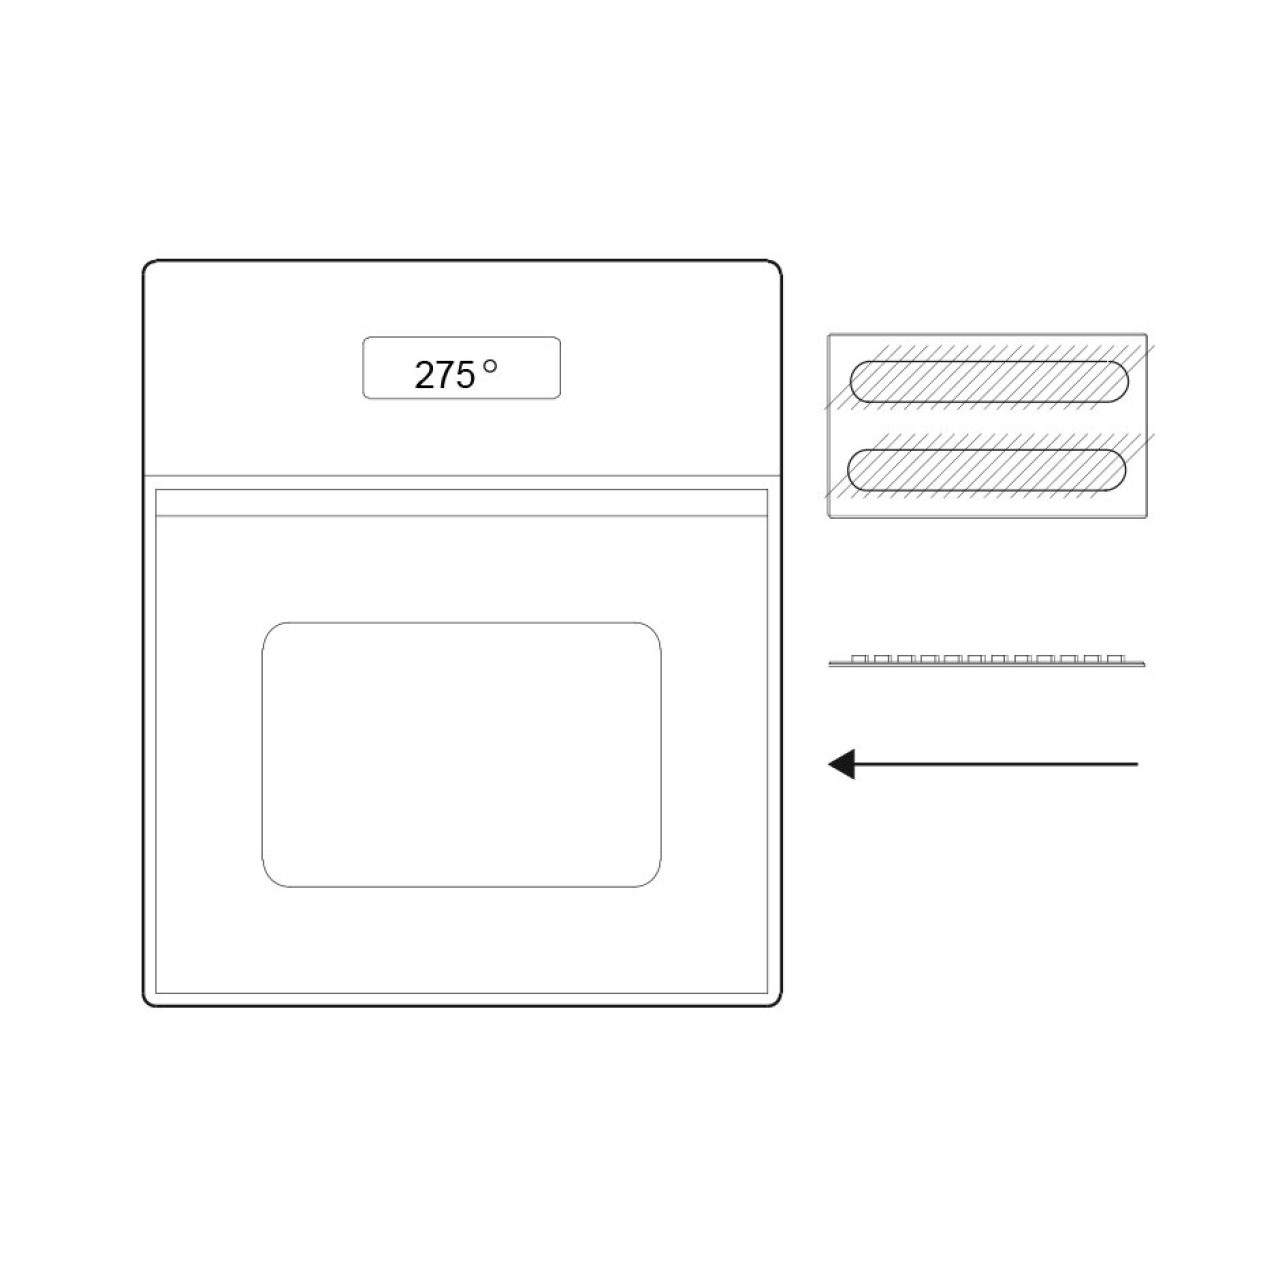
Whisk continuously and place over a medium saucepan of simmering water. Stir occasionally until a creamy, thick custard consistency forms, 6 to 8 minutes.
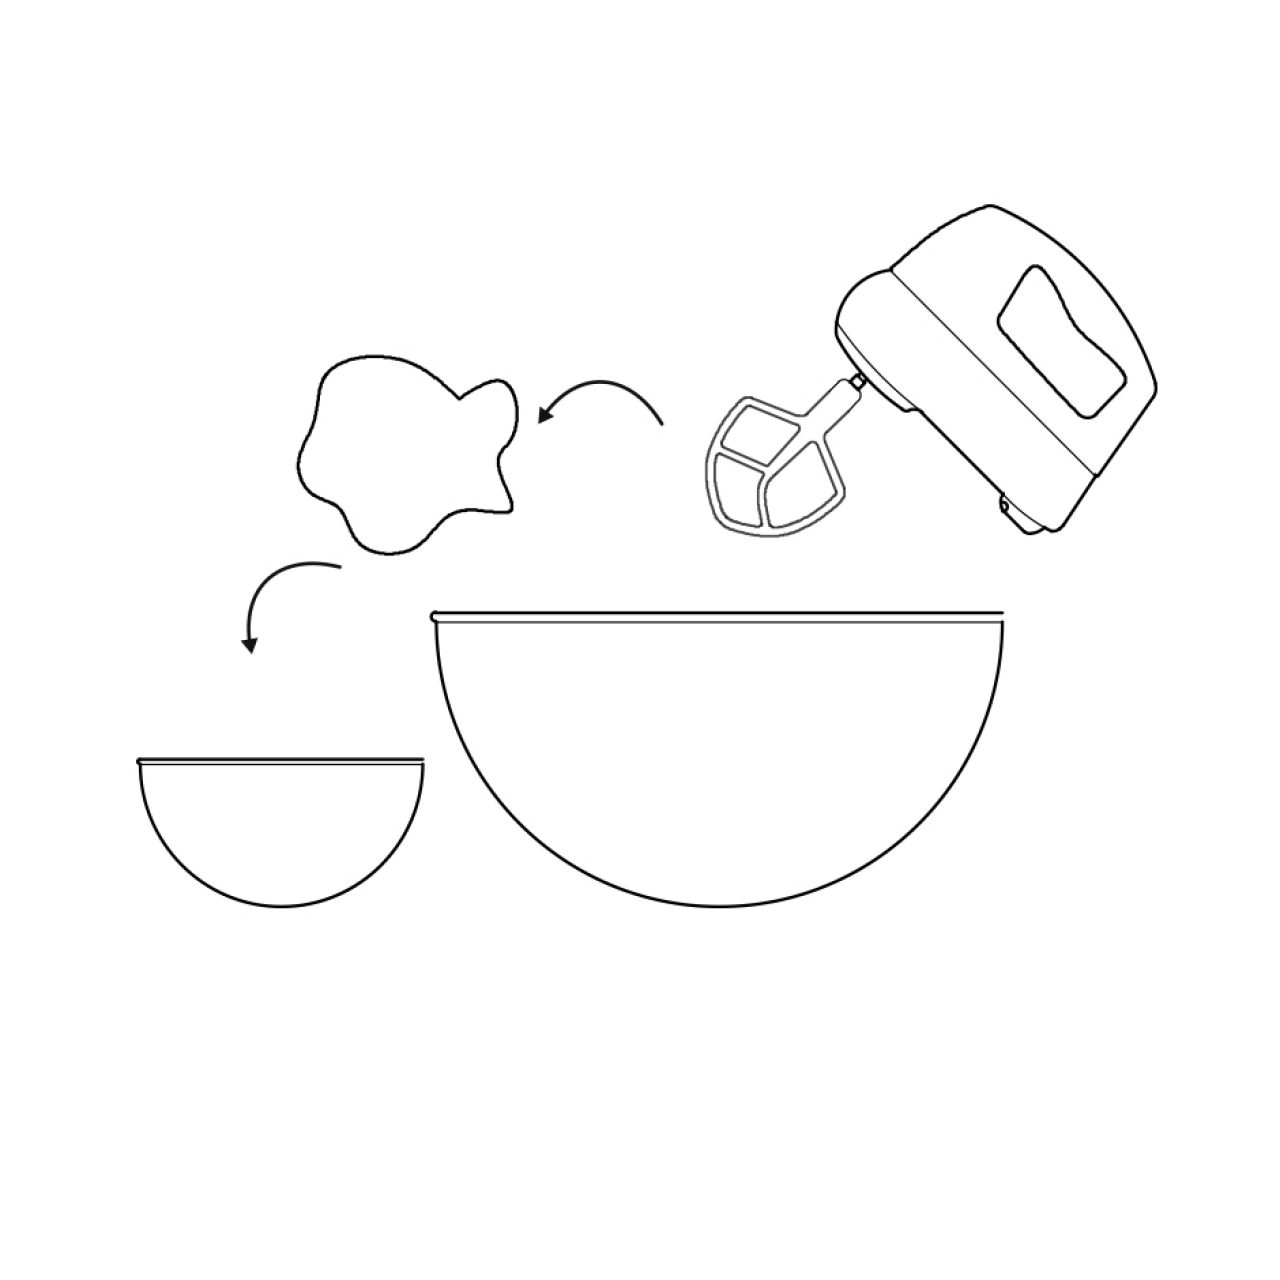
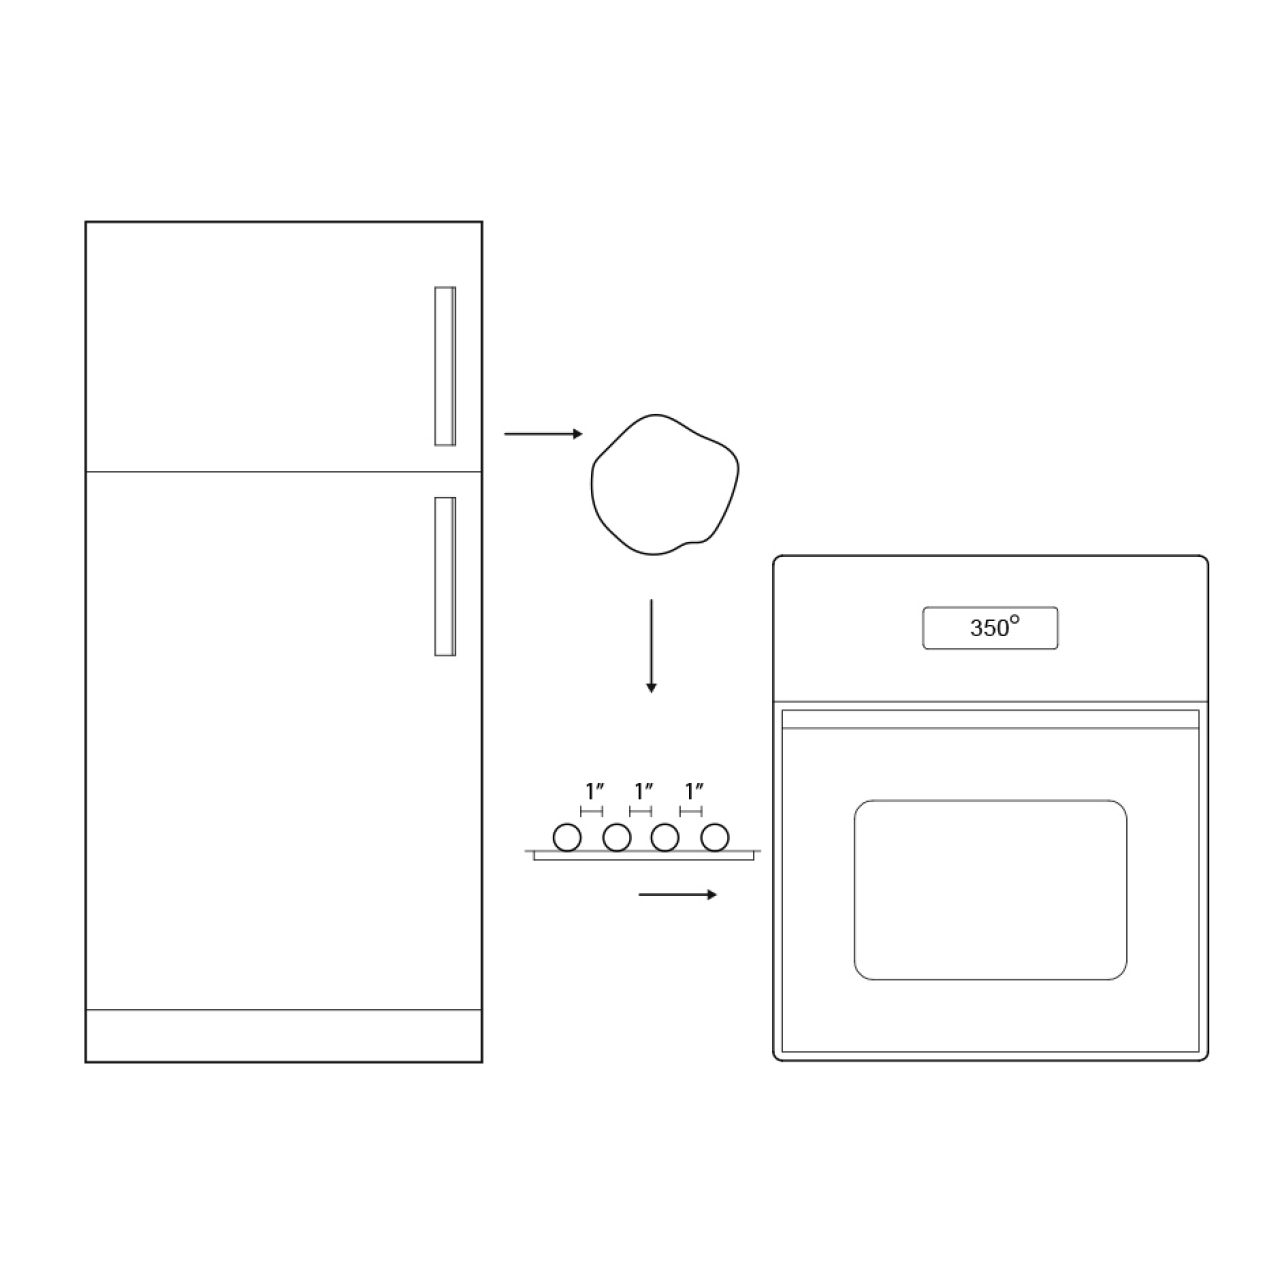
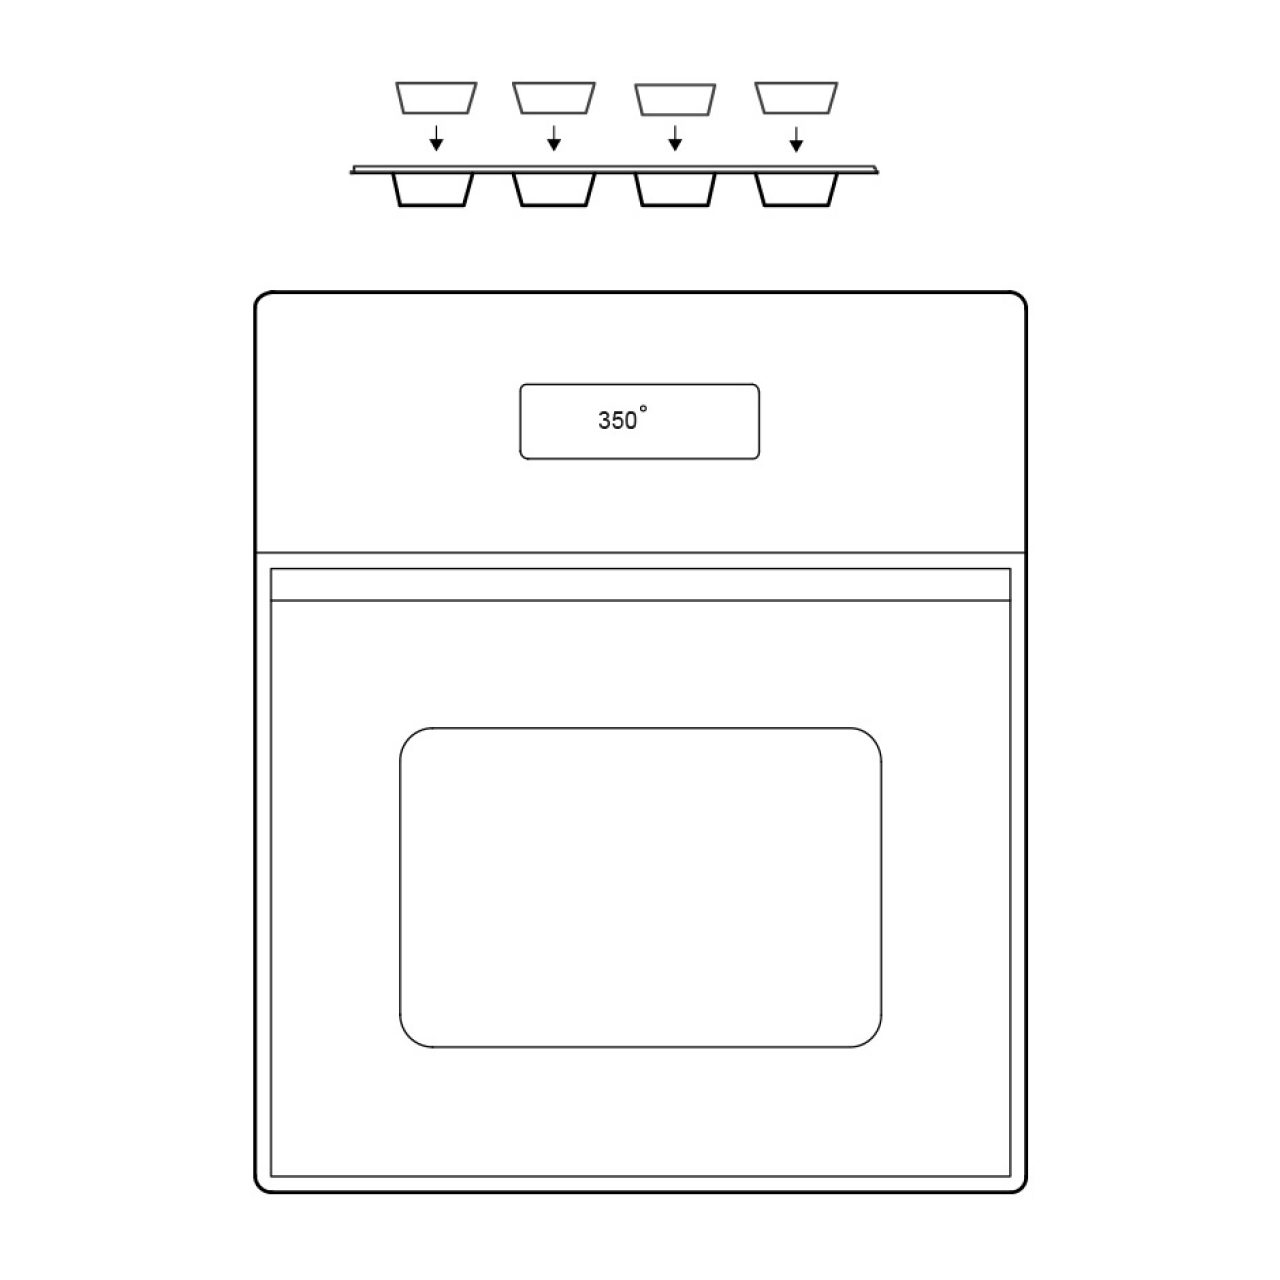
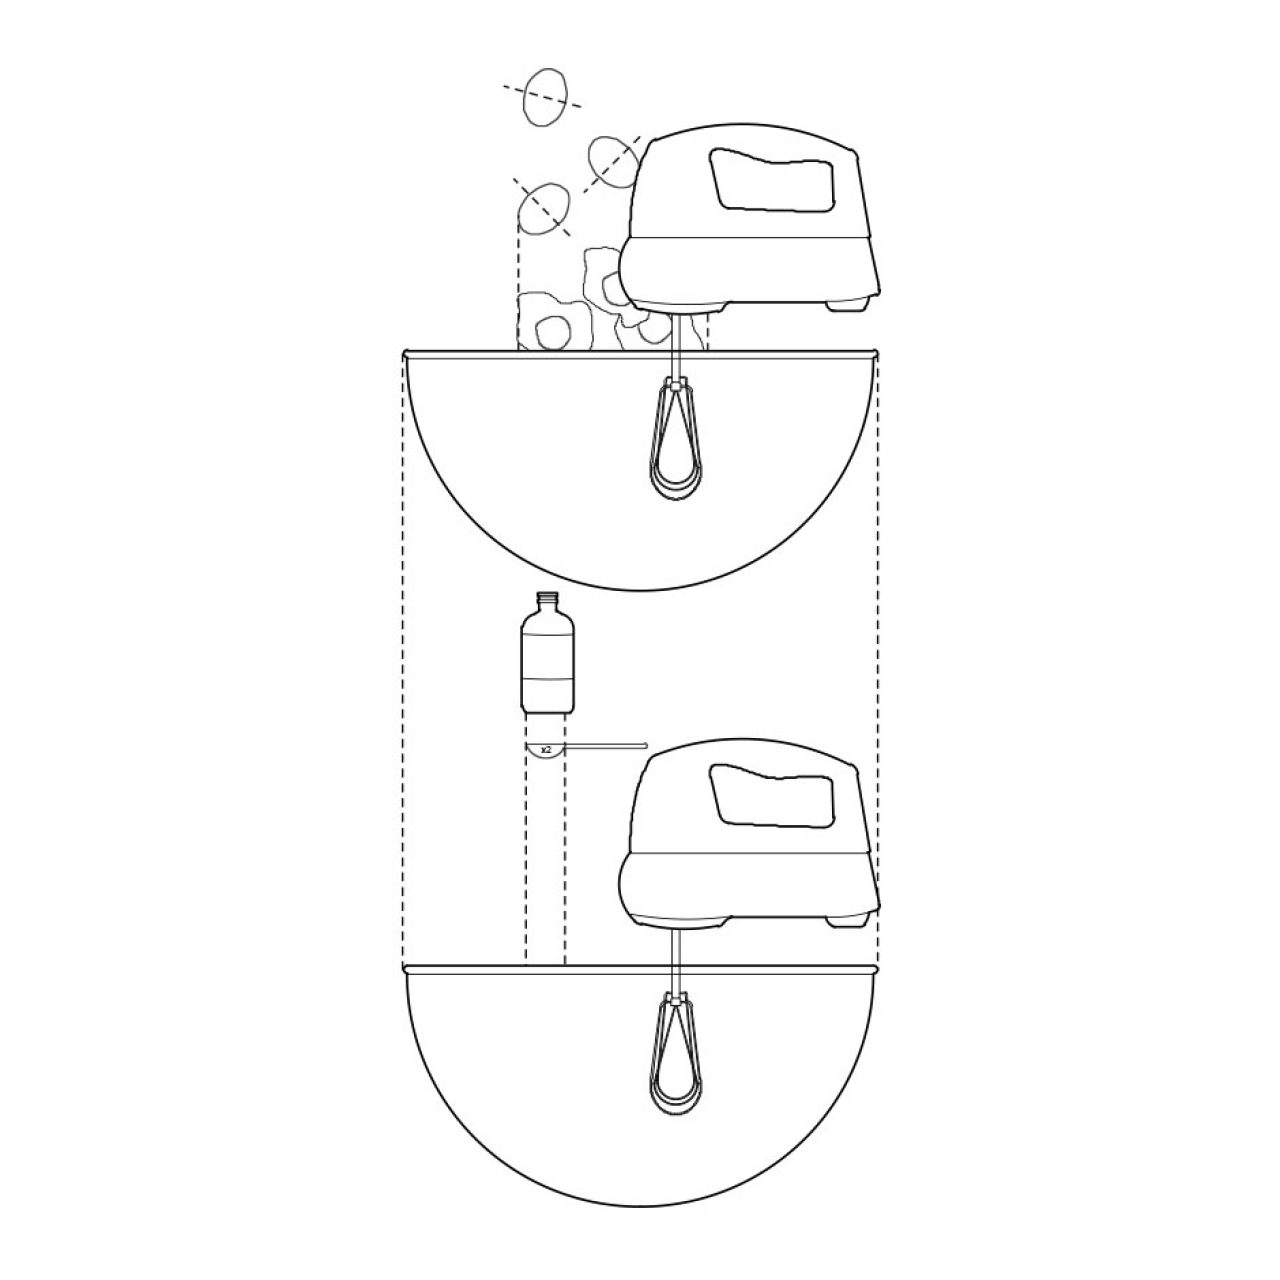
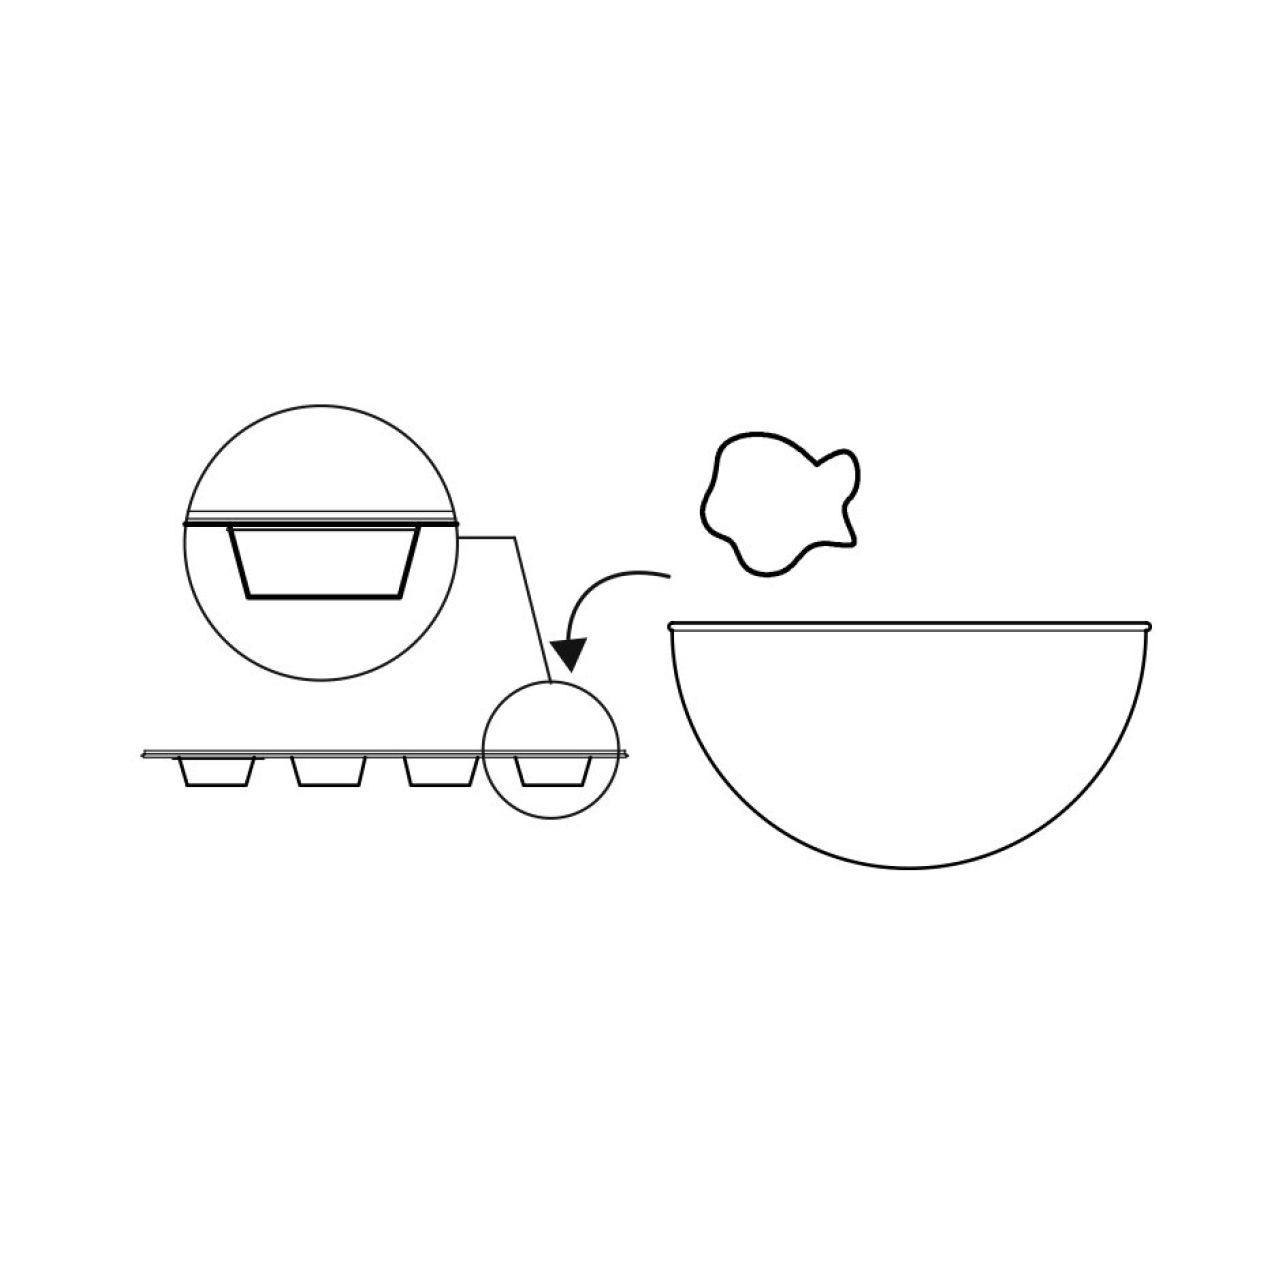
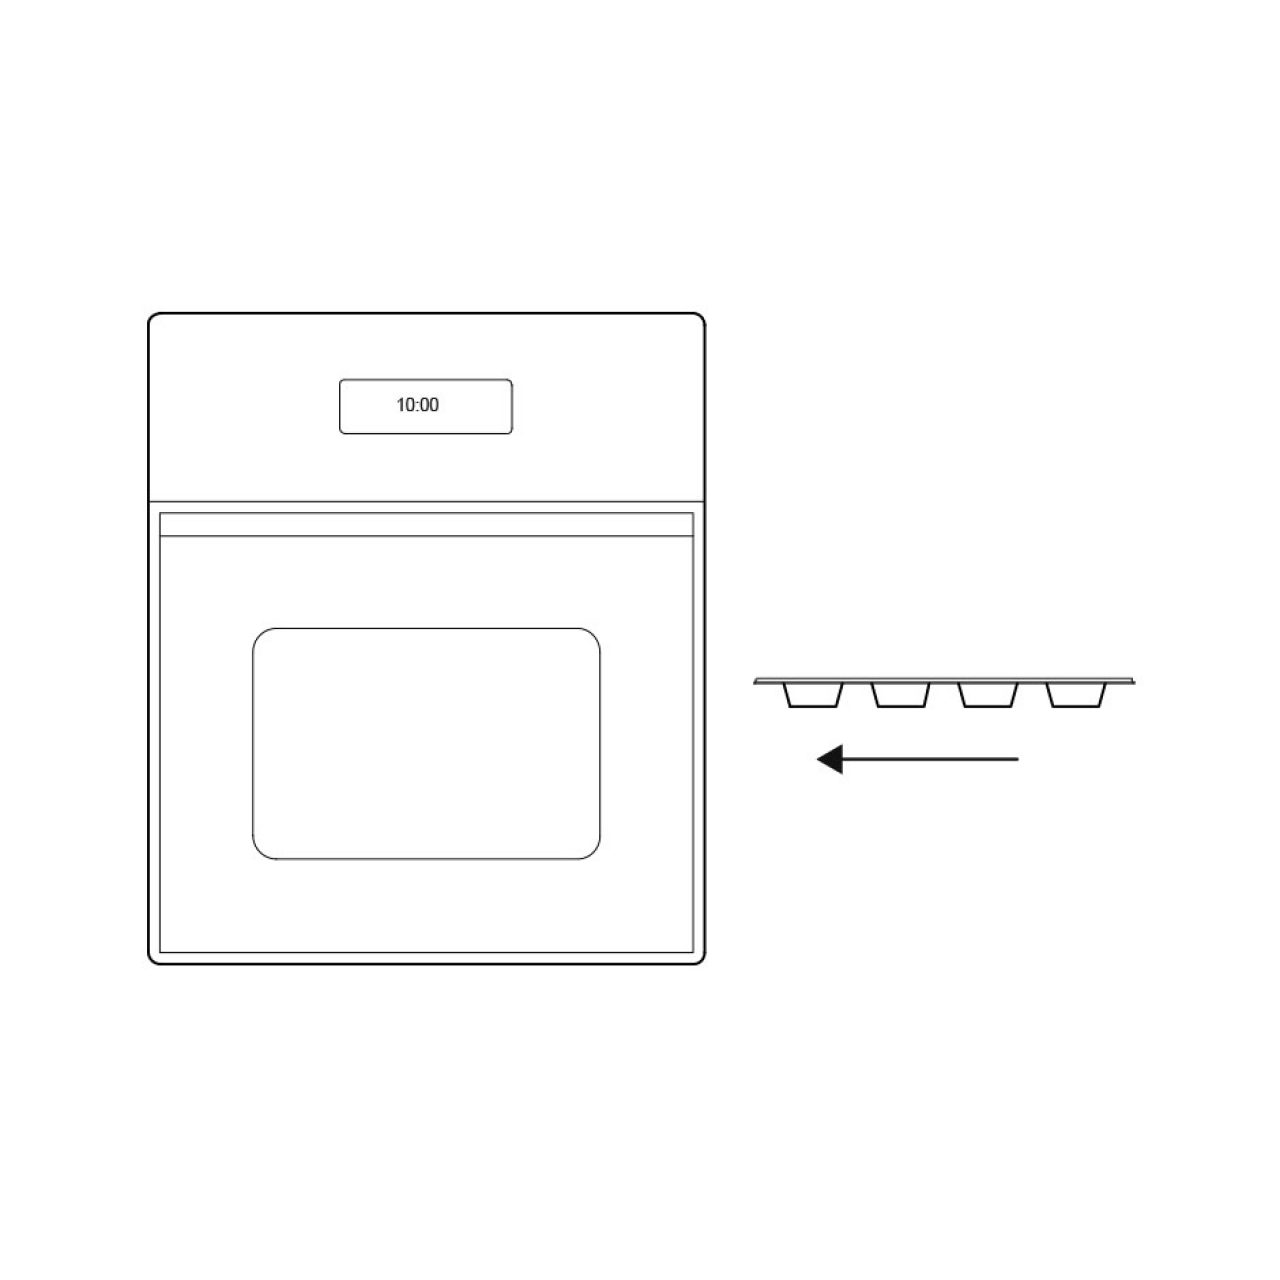
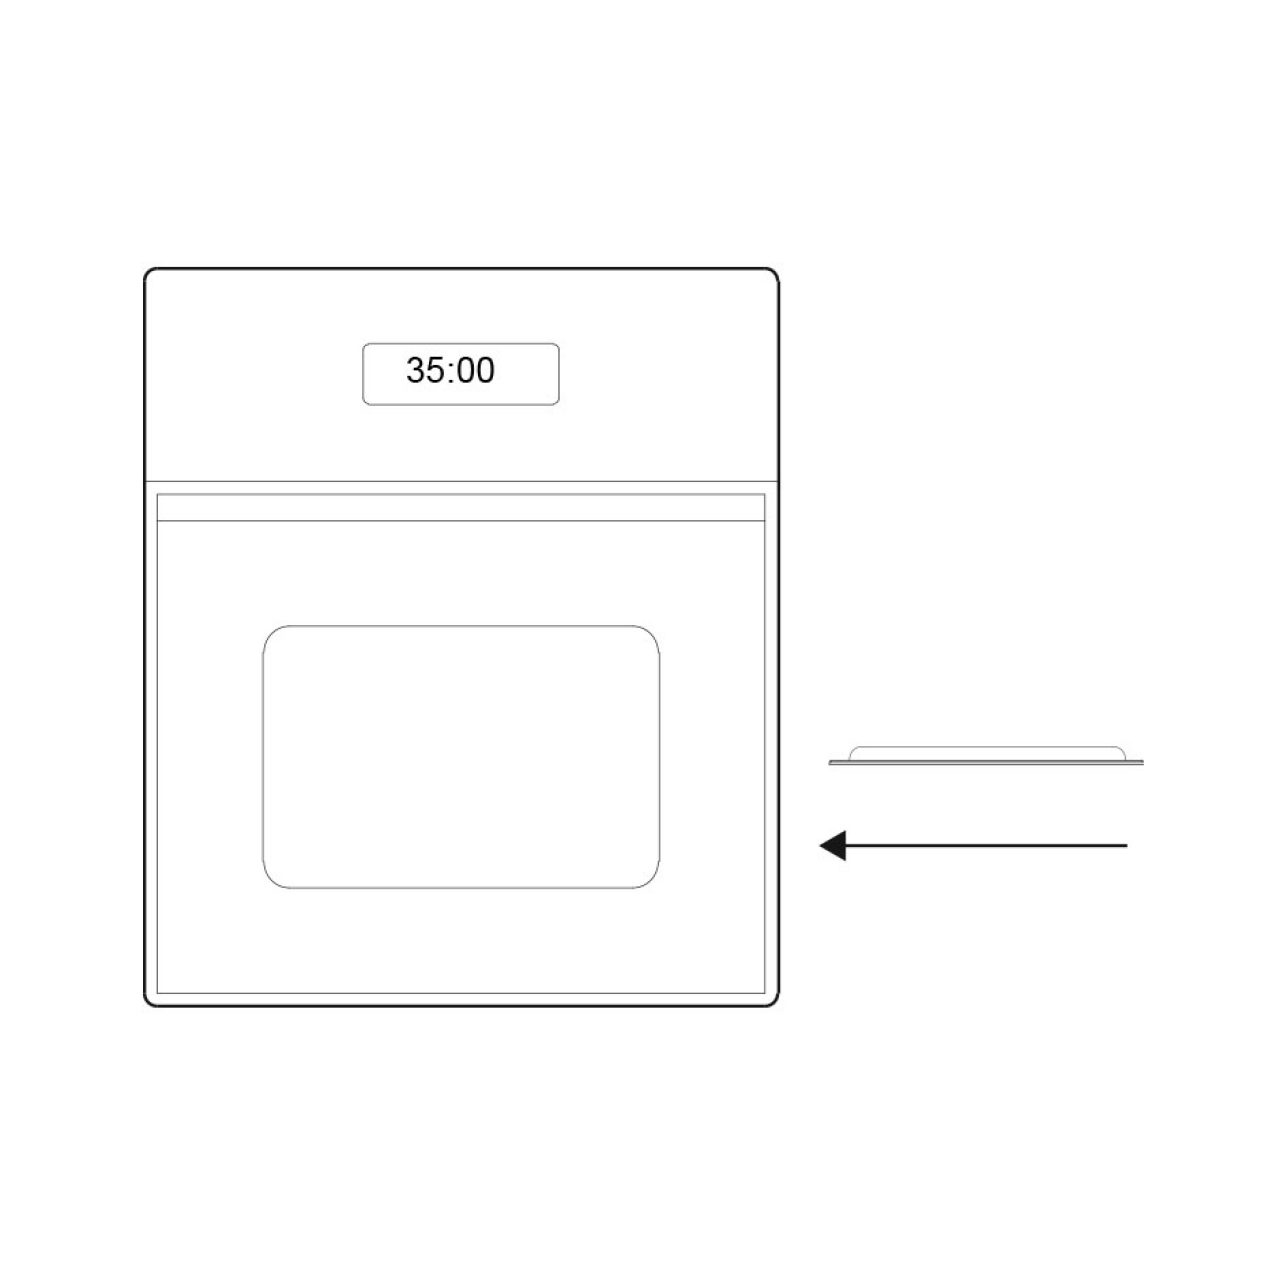
Gradually whisk in the cubes of butter until incorporated and remove from the heat. Pour into the prepared pie crust. Freeze until completely firm, 4 to 6 hours.
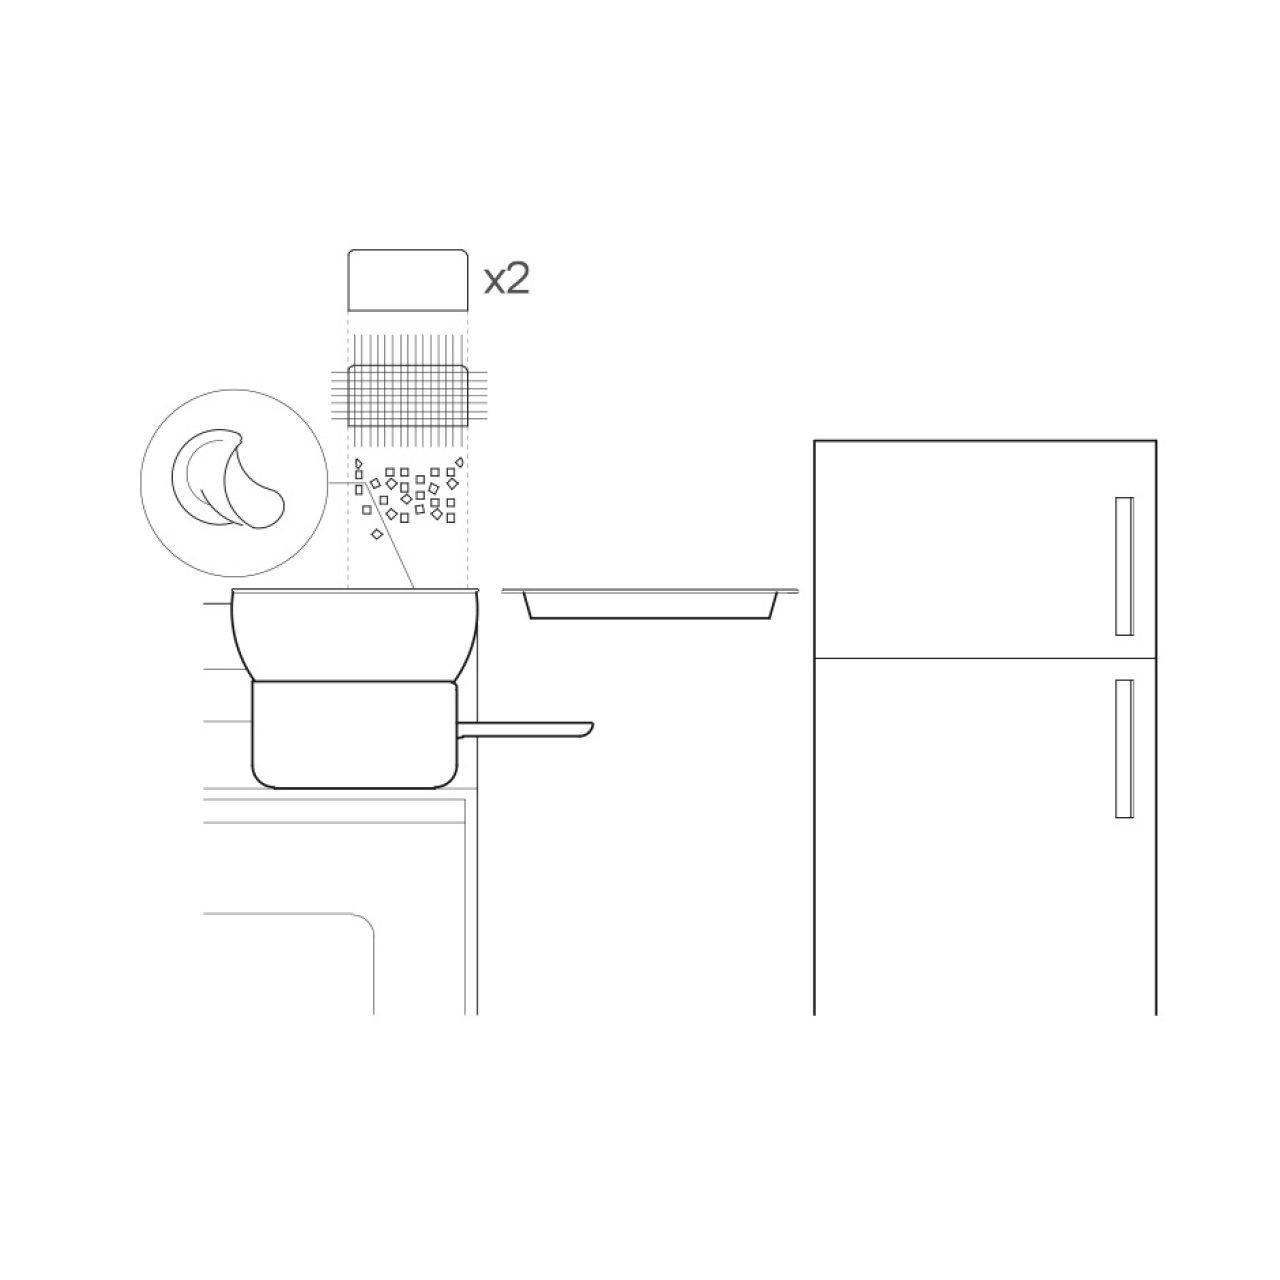
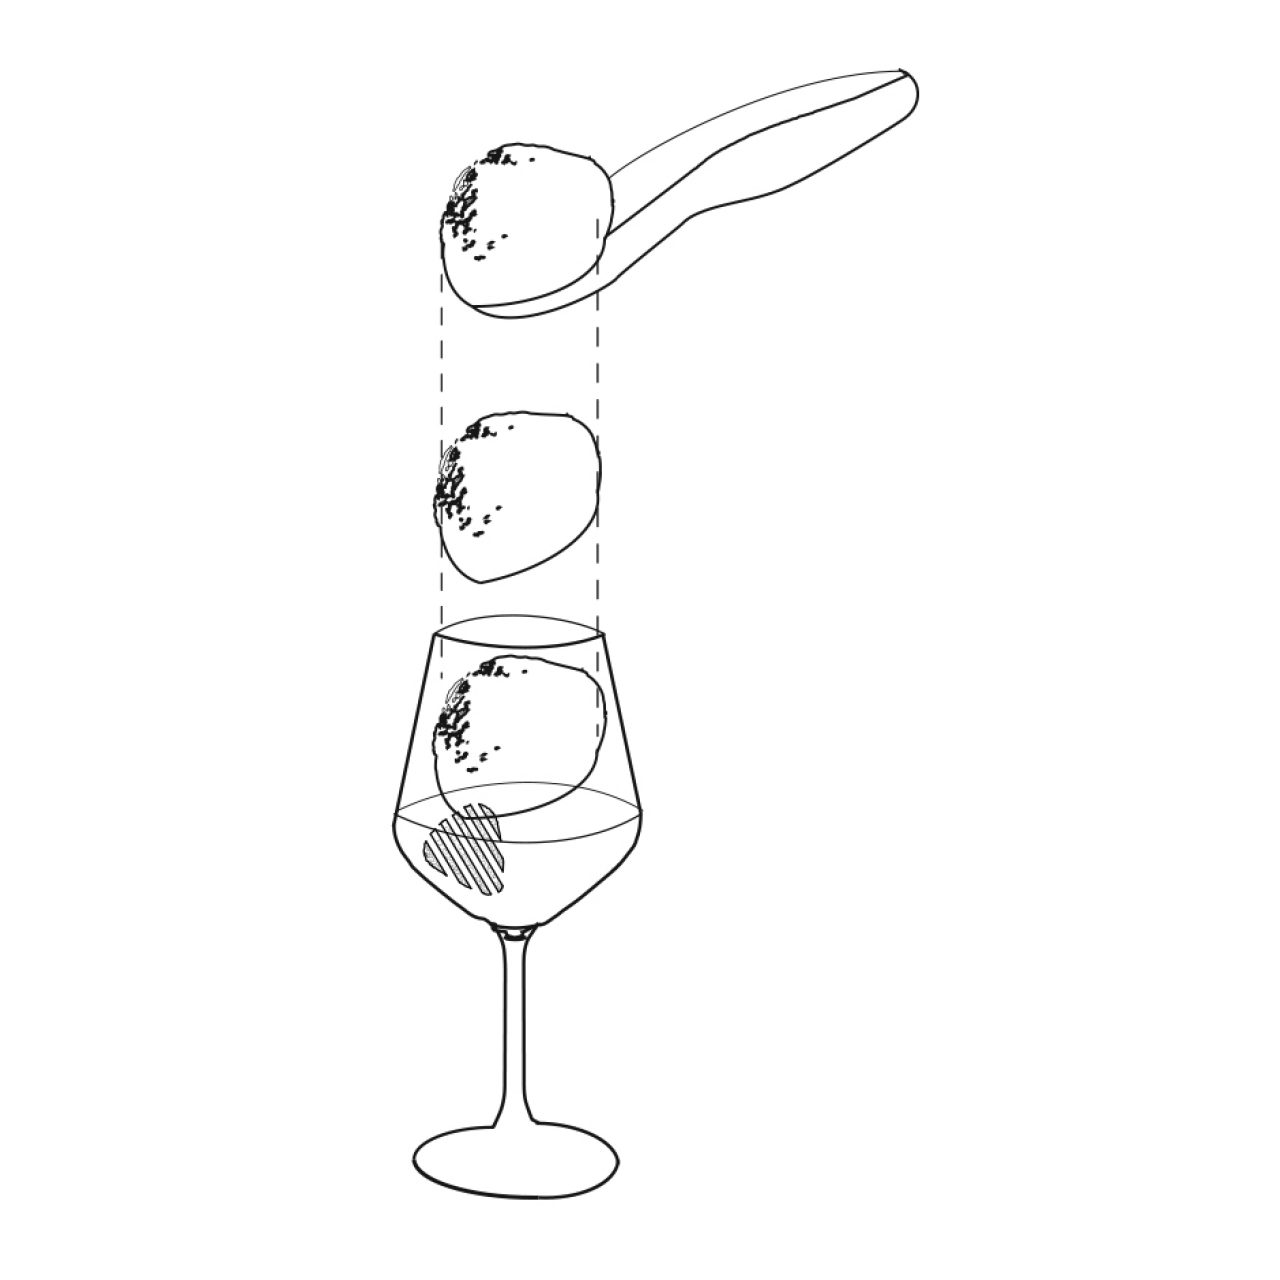
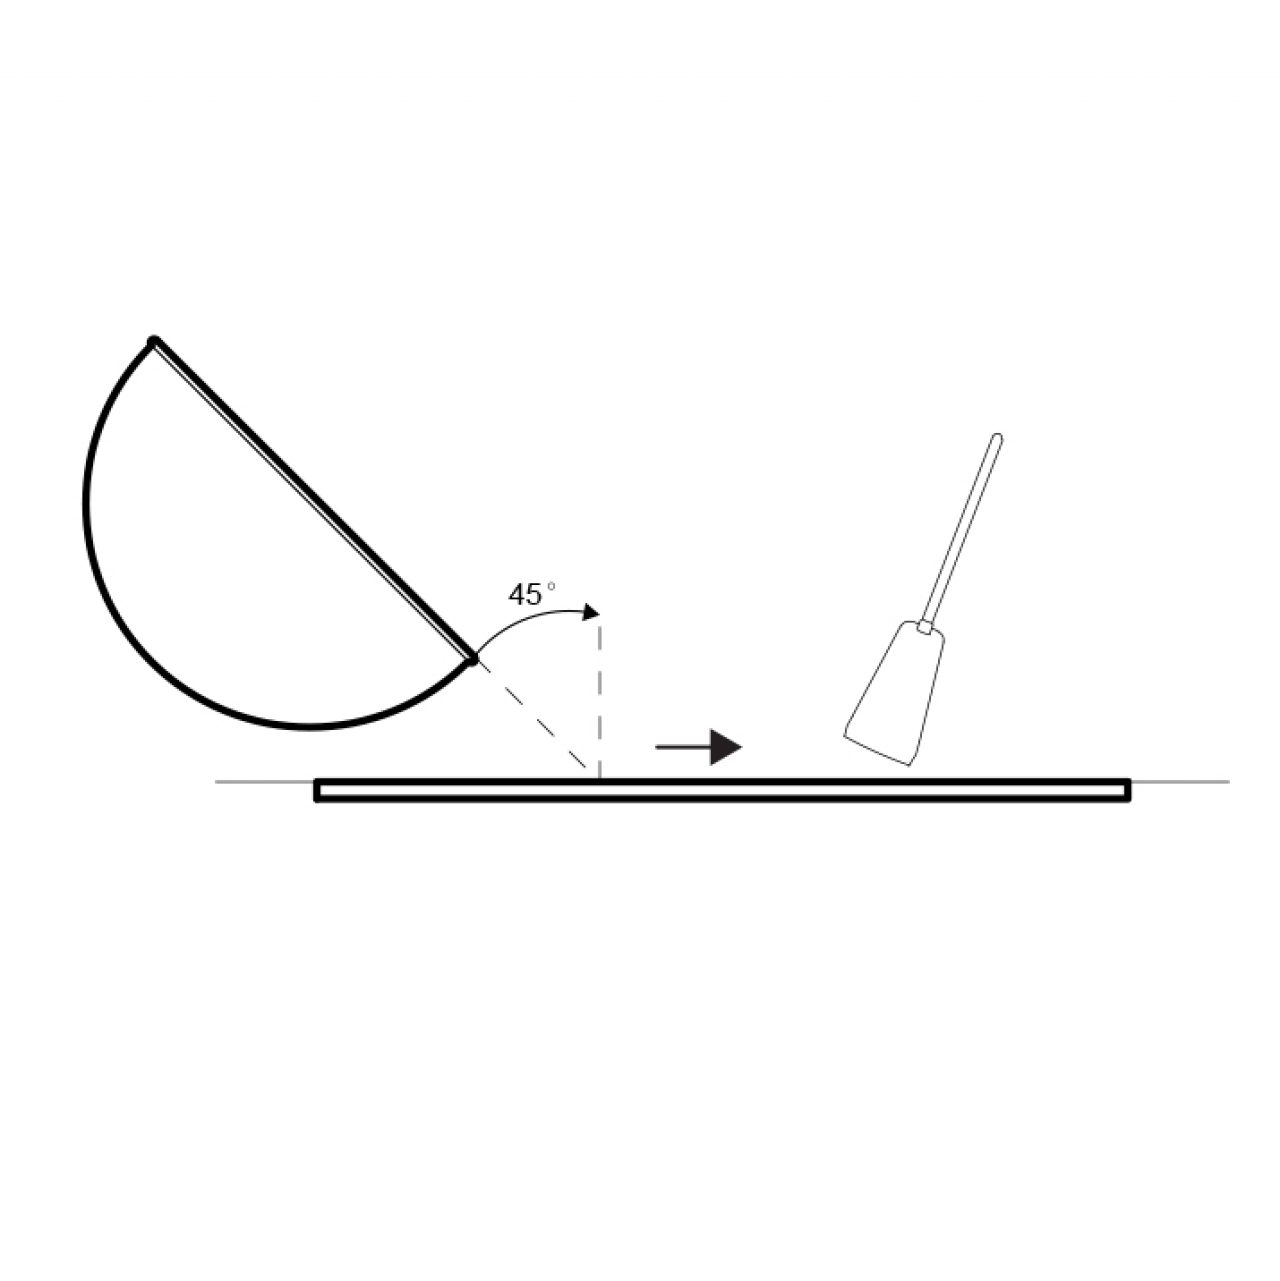
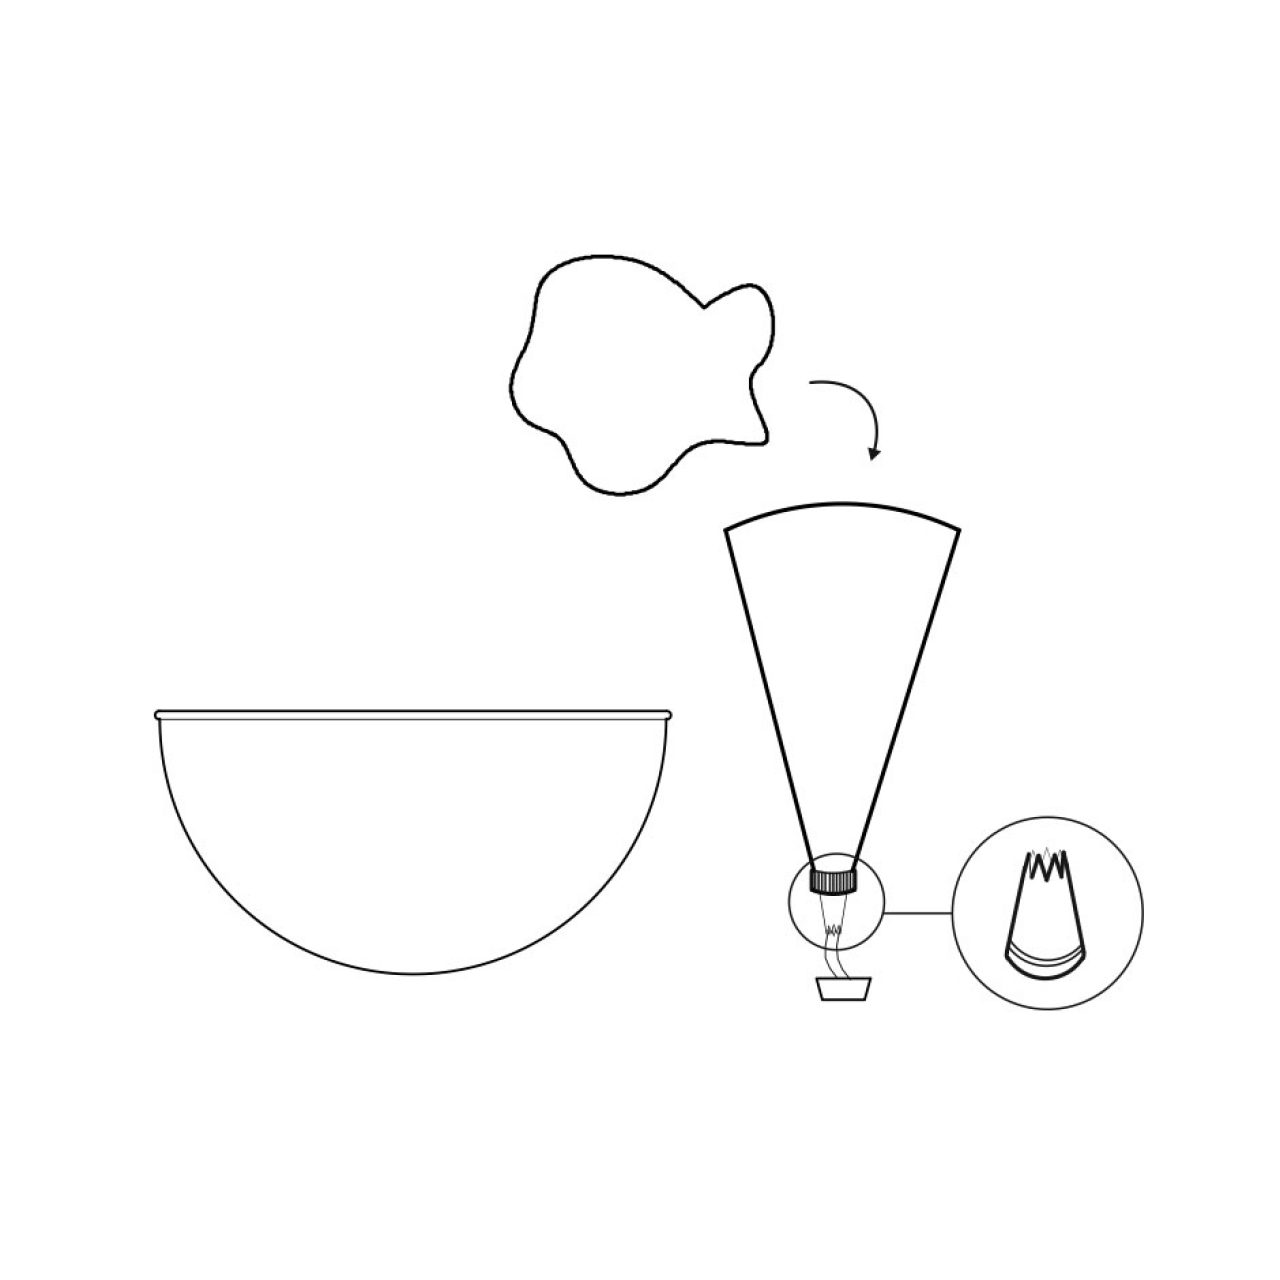
Make the lime whipped topping by squeezing the juice of one lime into the 9 oz. cool whip tub. Using a spatula, mix the whipping cream and spread over the pie.

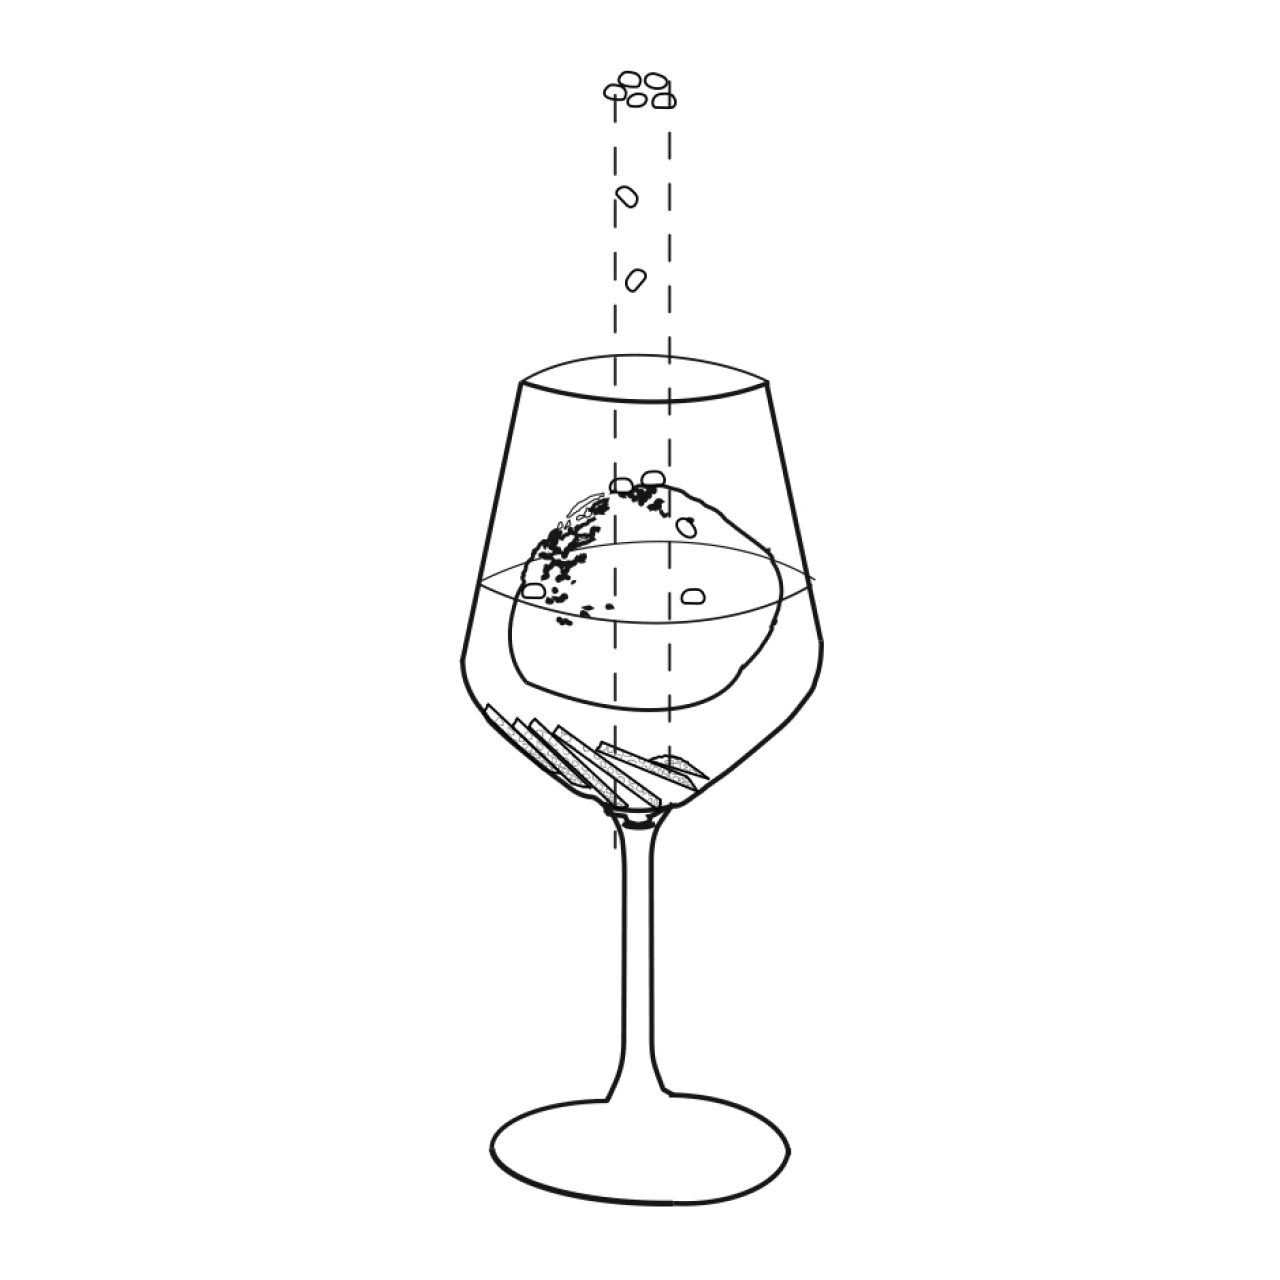
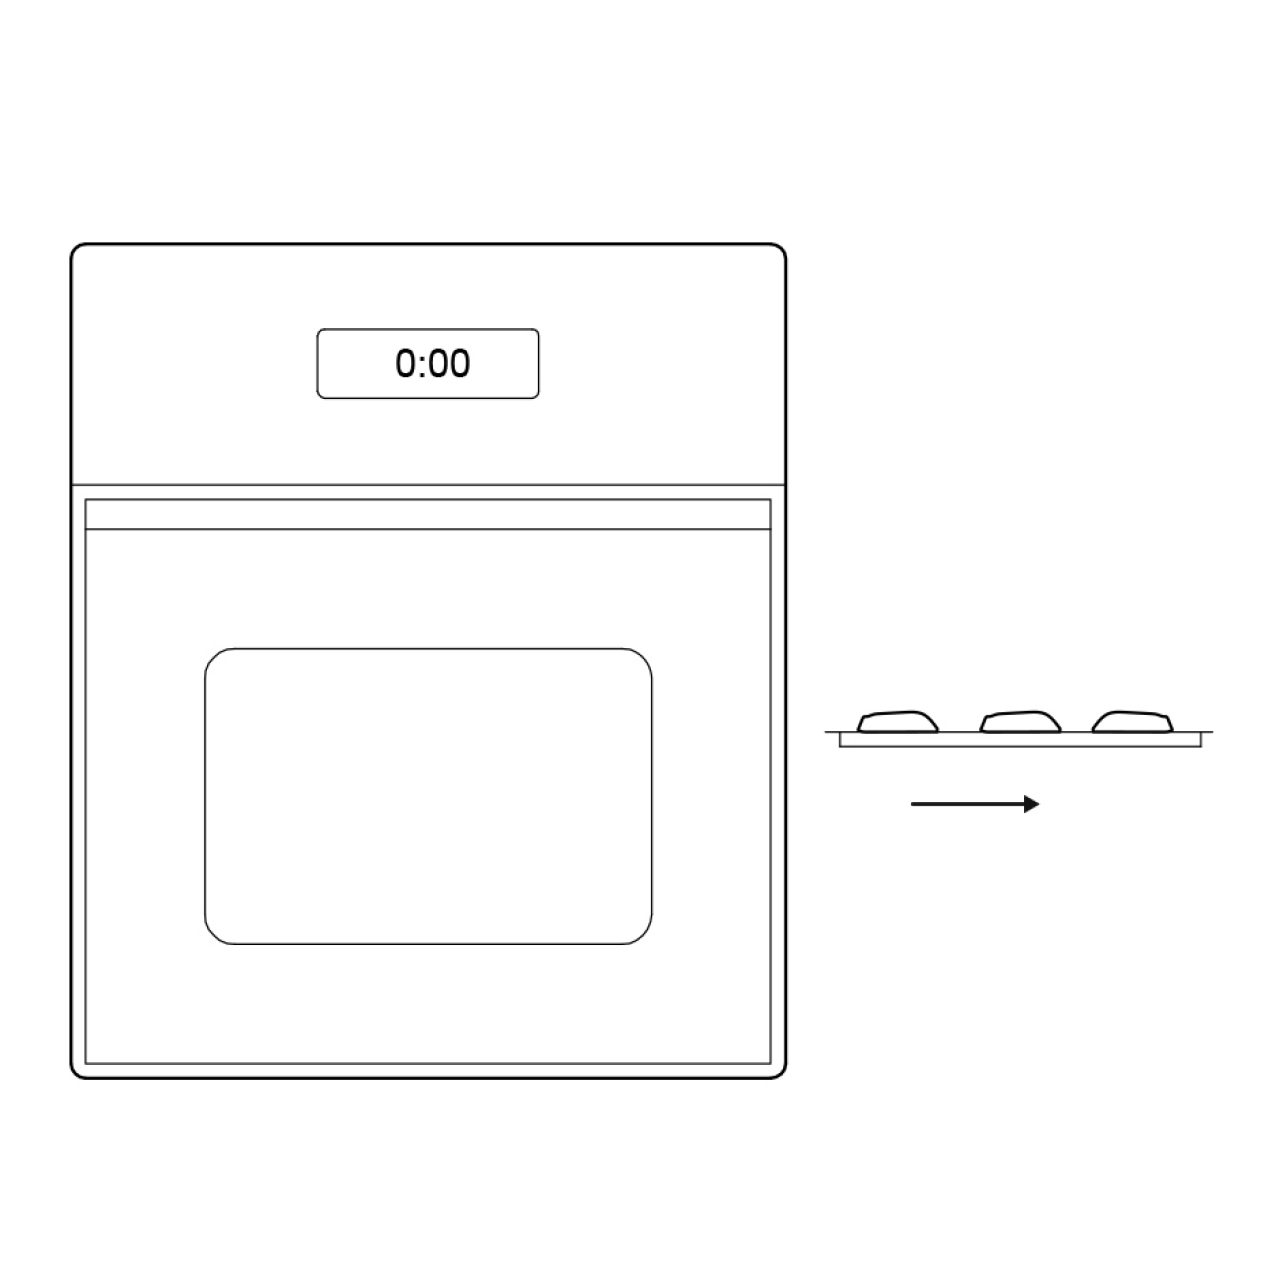
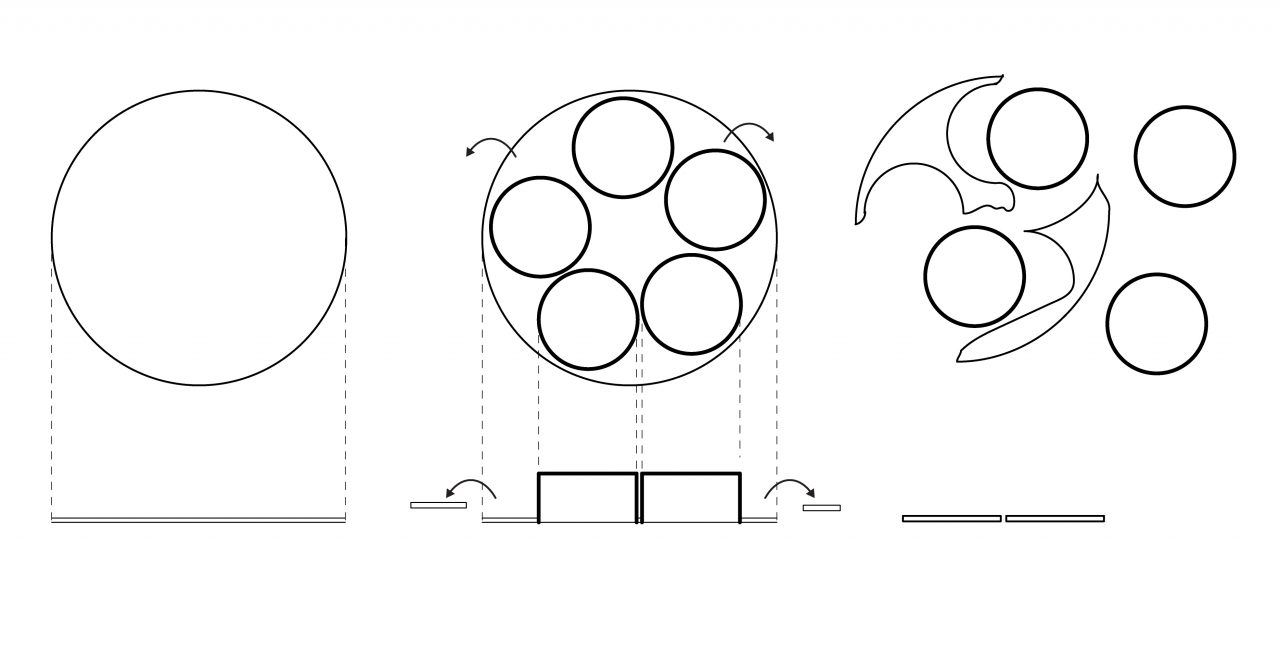
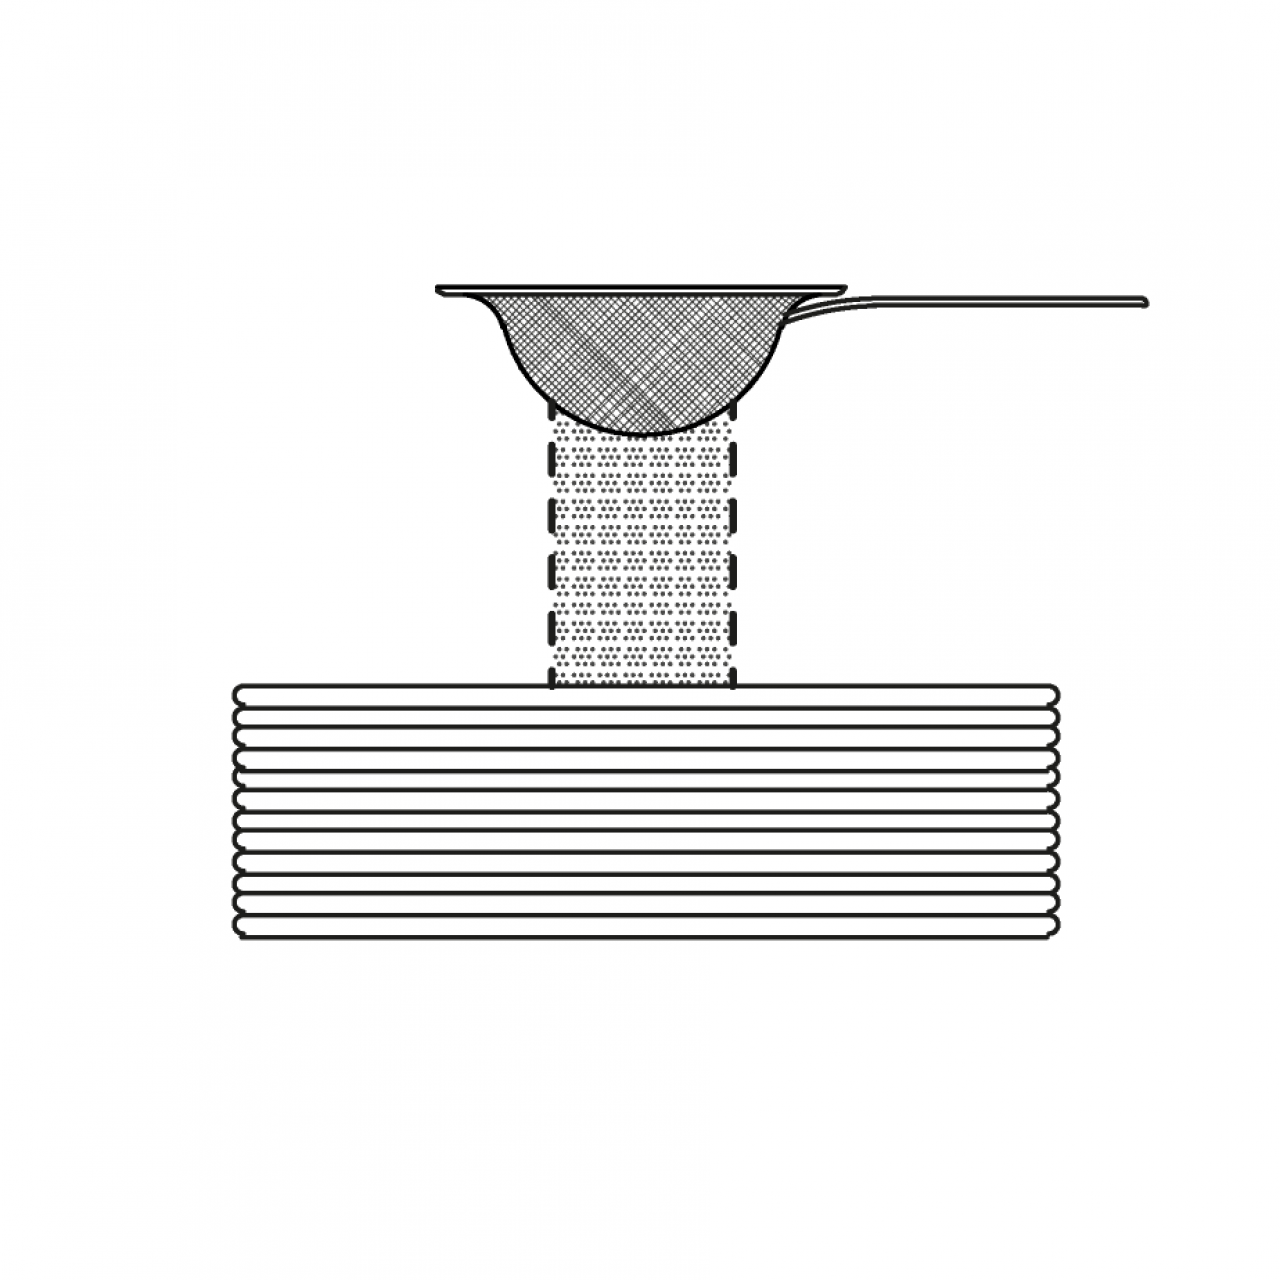
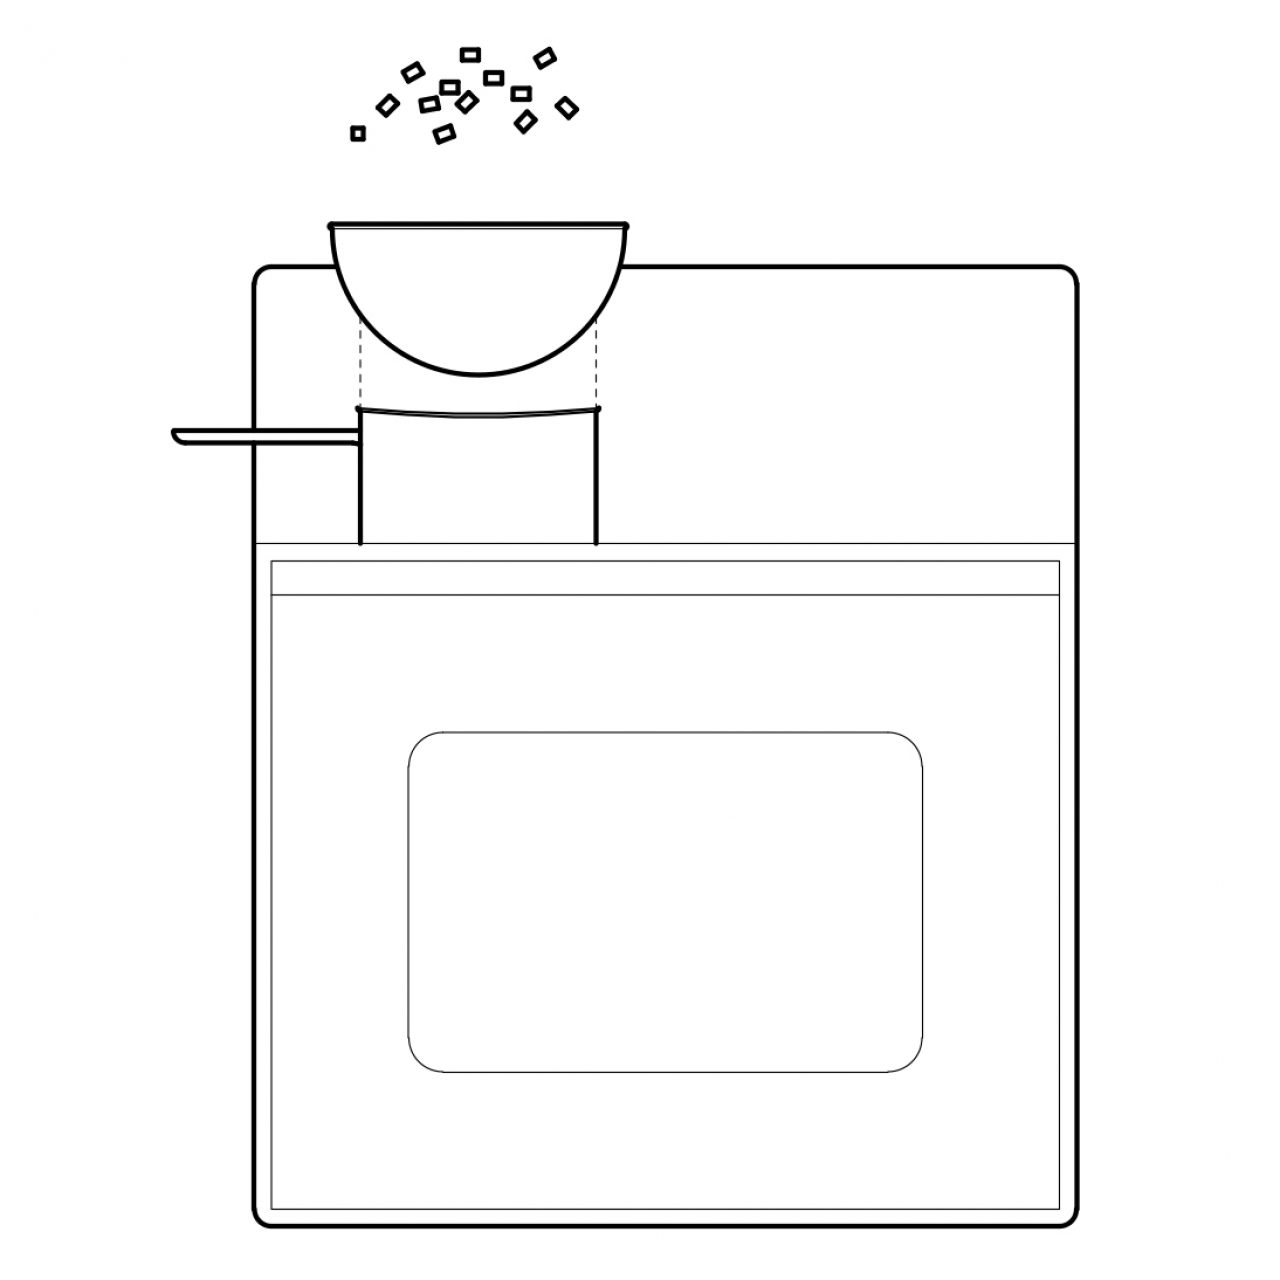
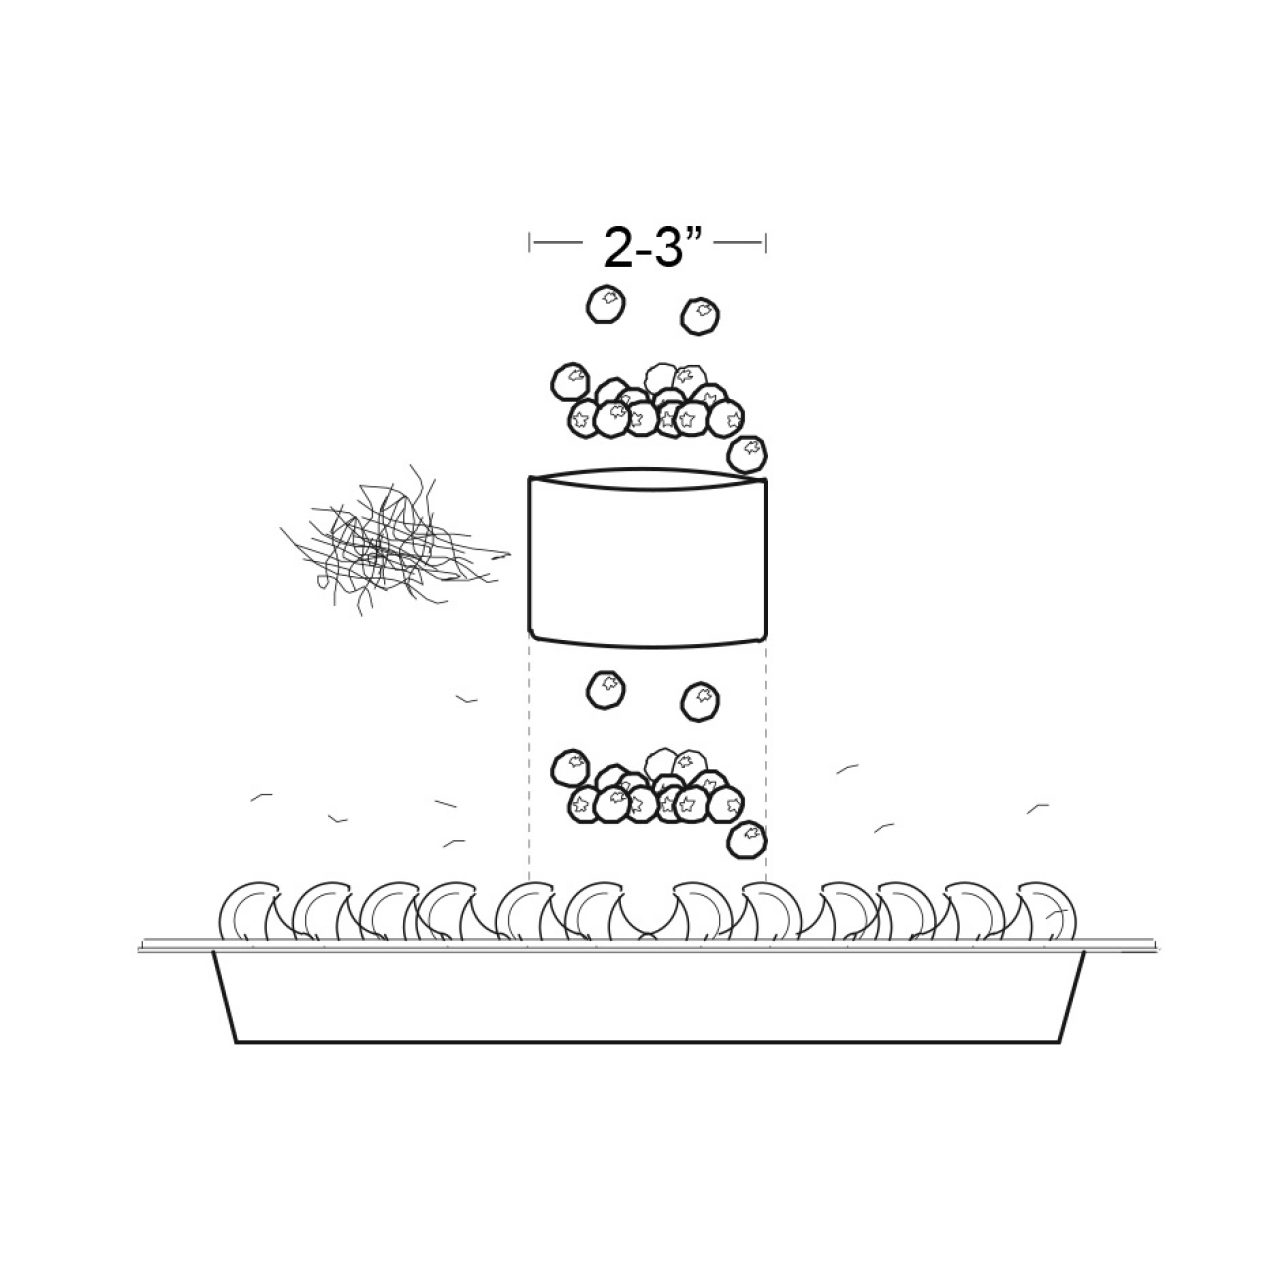
Freshly zest one lime onto the pie. Carefully place a 3″ ring mold over the pie and garnish the blueberries into the ring mold. Remove the ring mold. If you don’t have a ring mold, garnish with blueberries evenly over the pie. Serve immediately or tightly wrap and refrigerate for up to 2-3 days.


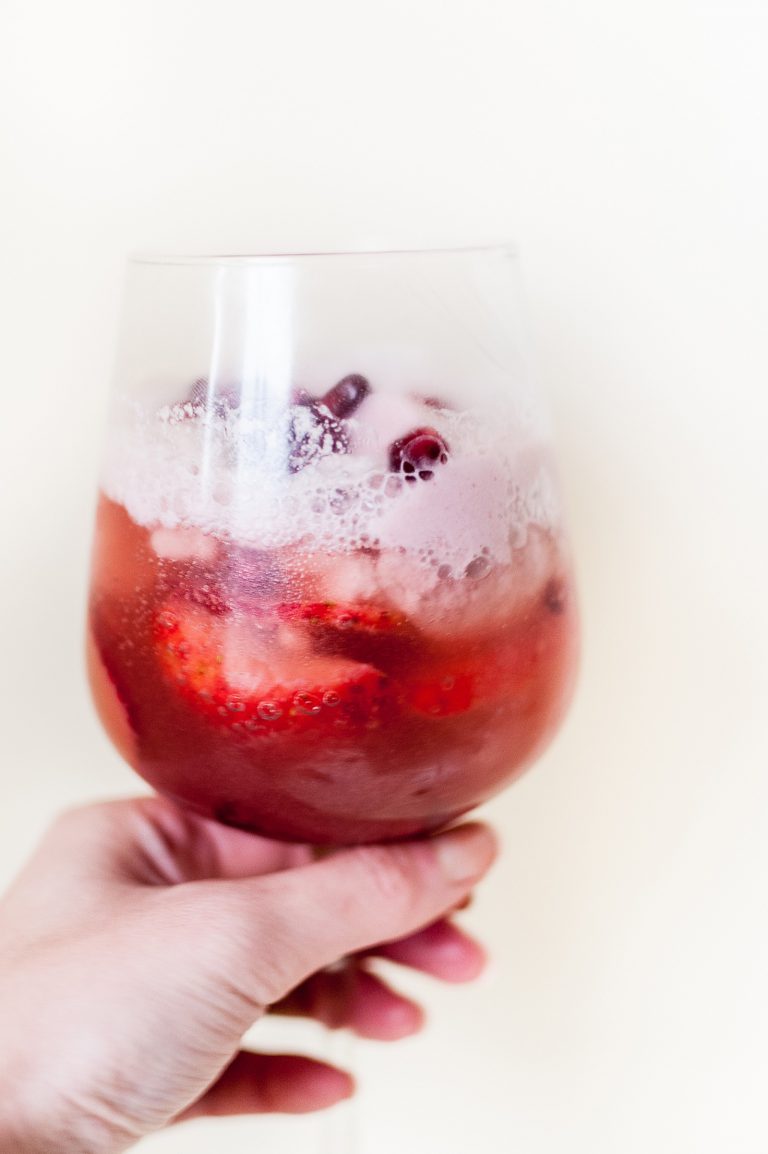 WOOHOOO!! it’s almost the big V-dayyyy. What could be better than celebrate it with some champagne AND ice cream?!