Wasabi Deviled Eggs

Guys, sorry for being dormant for a while. But let me tell you all what’s been demanding my 90% attention. So far, I’ve made it 1/4 way through this “UX Design Immersive” (AKA UXDI / UX bootcamp program) at NYCDA and lived 2 weeks in my first apt with an S.O. for the first time. Although O and I argued about ridiculous things we’d never thought of – like which clothes hangers to get, our biggest problem is me tending to take up 90% of the bed. I’m happy to say that the blessing of living with O overshadows the issues of unemployment and having a slanted floor (yes, it’s been weird cooking and seeing my egg yolks slip towards me).
O’s been incredibly supportive around the home especially when I’m at this crazy UX bootcamp. I don’t know about you guys, but it’s been sweet to see conventional gender roles switch, like when he helps prepare my breakfasts/lunches while I try to rest or sleep a little longer, and to come back to a cleaner home. More on deviled eggs though…


On the flip side, trying to toughen up from the stupid amount of cat allergies I’m having (@#$@#$ the chances of picking an apt with a previous cat!) and working weekends at Bluestone Lane with all sorts of angry customers. Generally, I’ve been juggling an innumerable amount of ups and downs.
Anyway, this creamy wasabi-deviled egg can reflect my past few weeks: hot, spicy, refreshing, and creamy? nah, but it’s been comforting. It was quite the happy plate for both of us; not sure how long it took O, but I woke up from a nap in his arms to realize the plate was empty; he basically ate 90% of these eggs and didn’t have any stomach problems. That’s what I call… a complete and happy recipe.

Wasabi Deviled Eggs
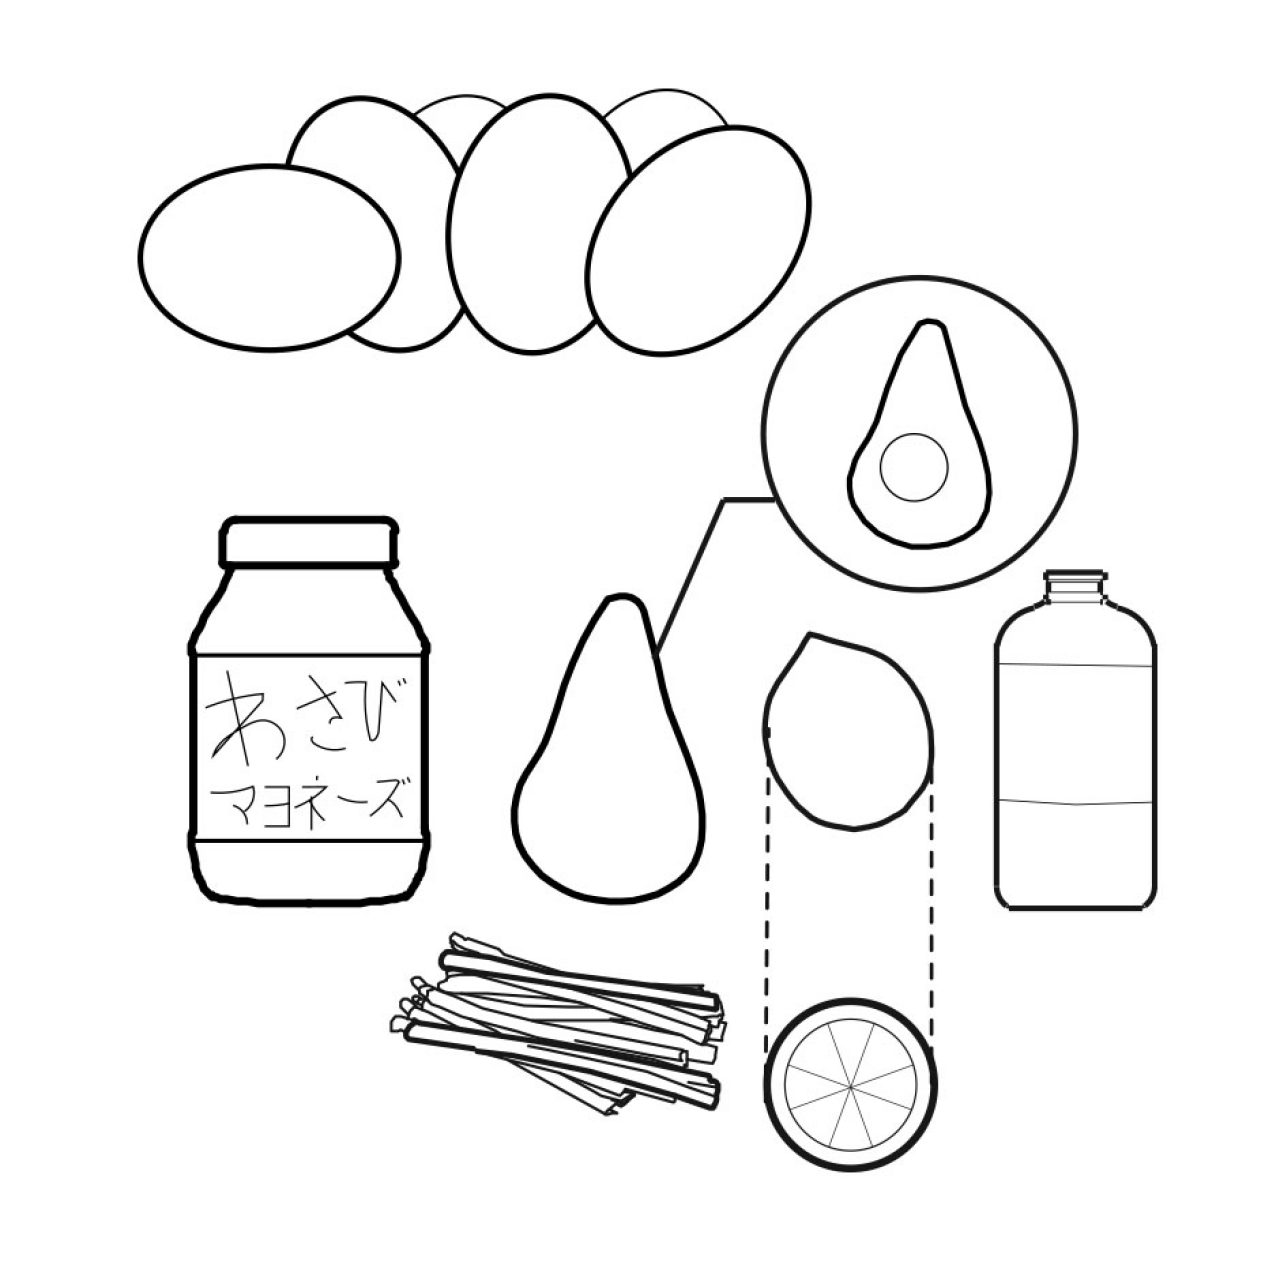
Ingredients
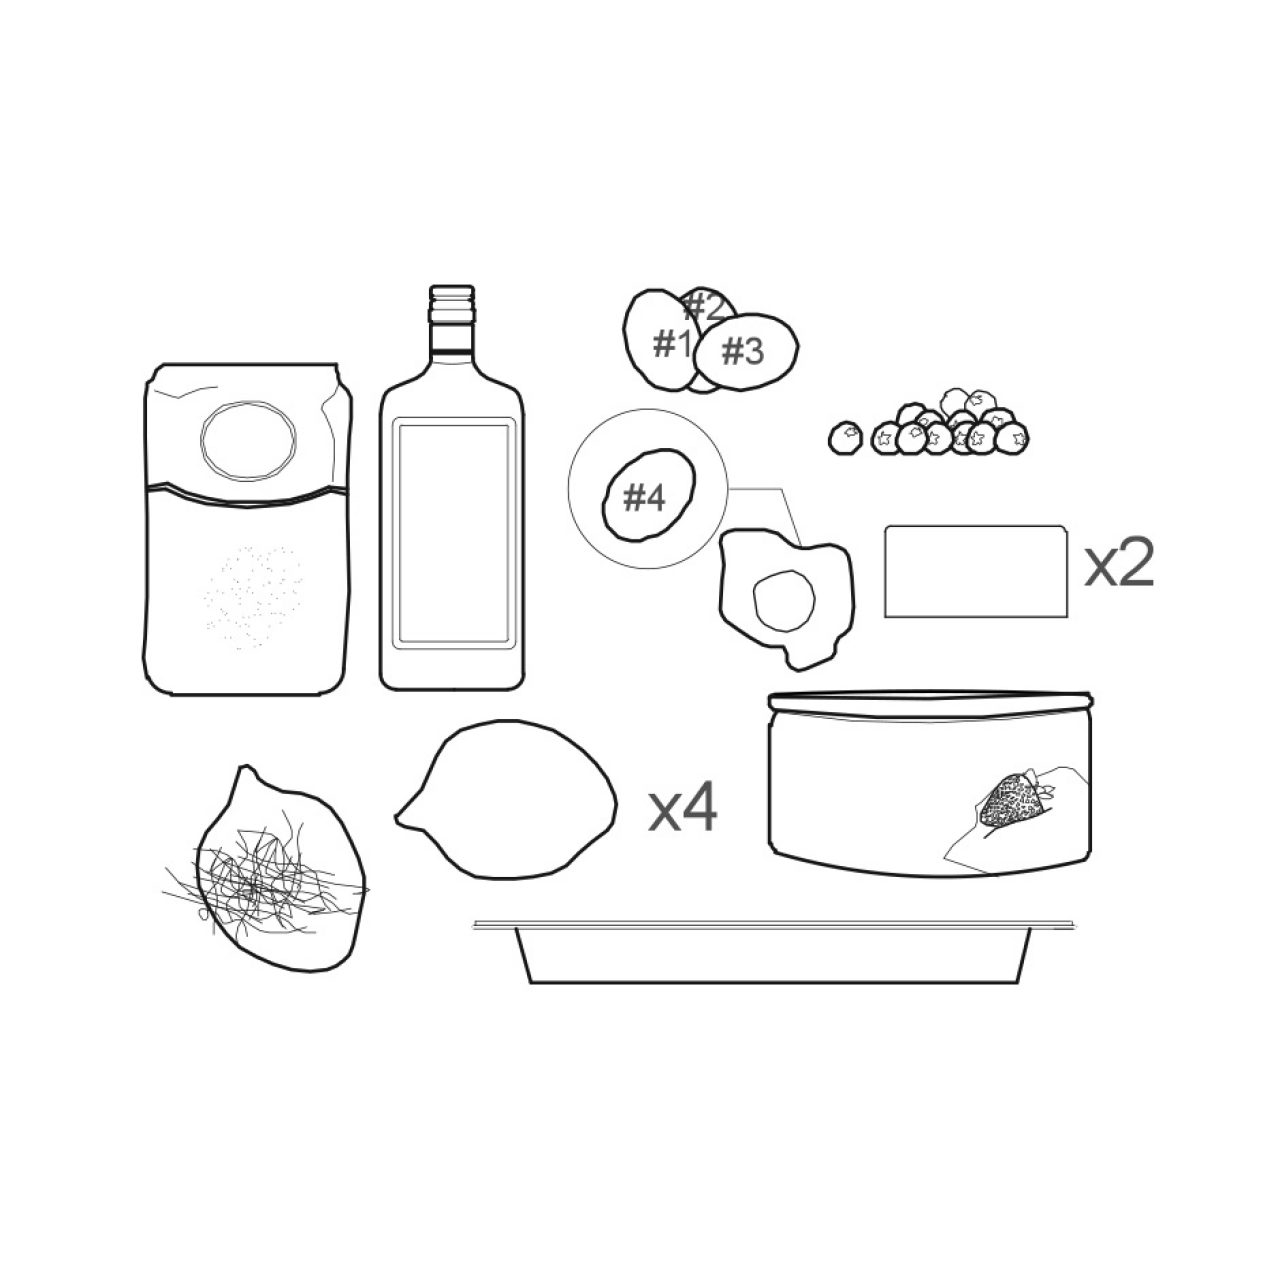
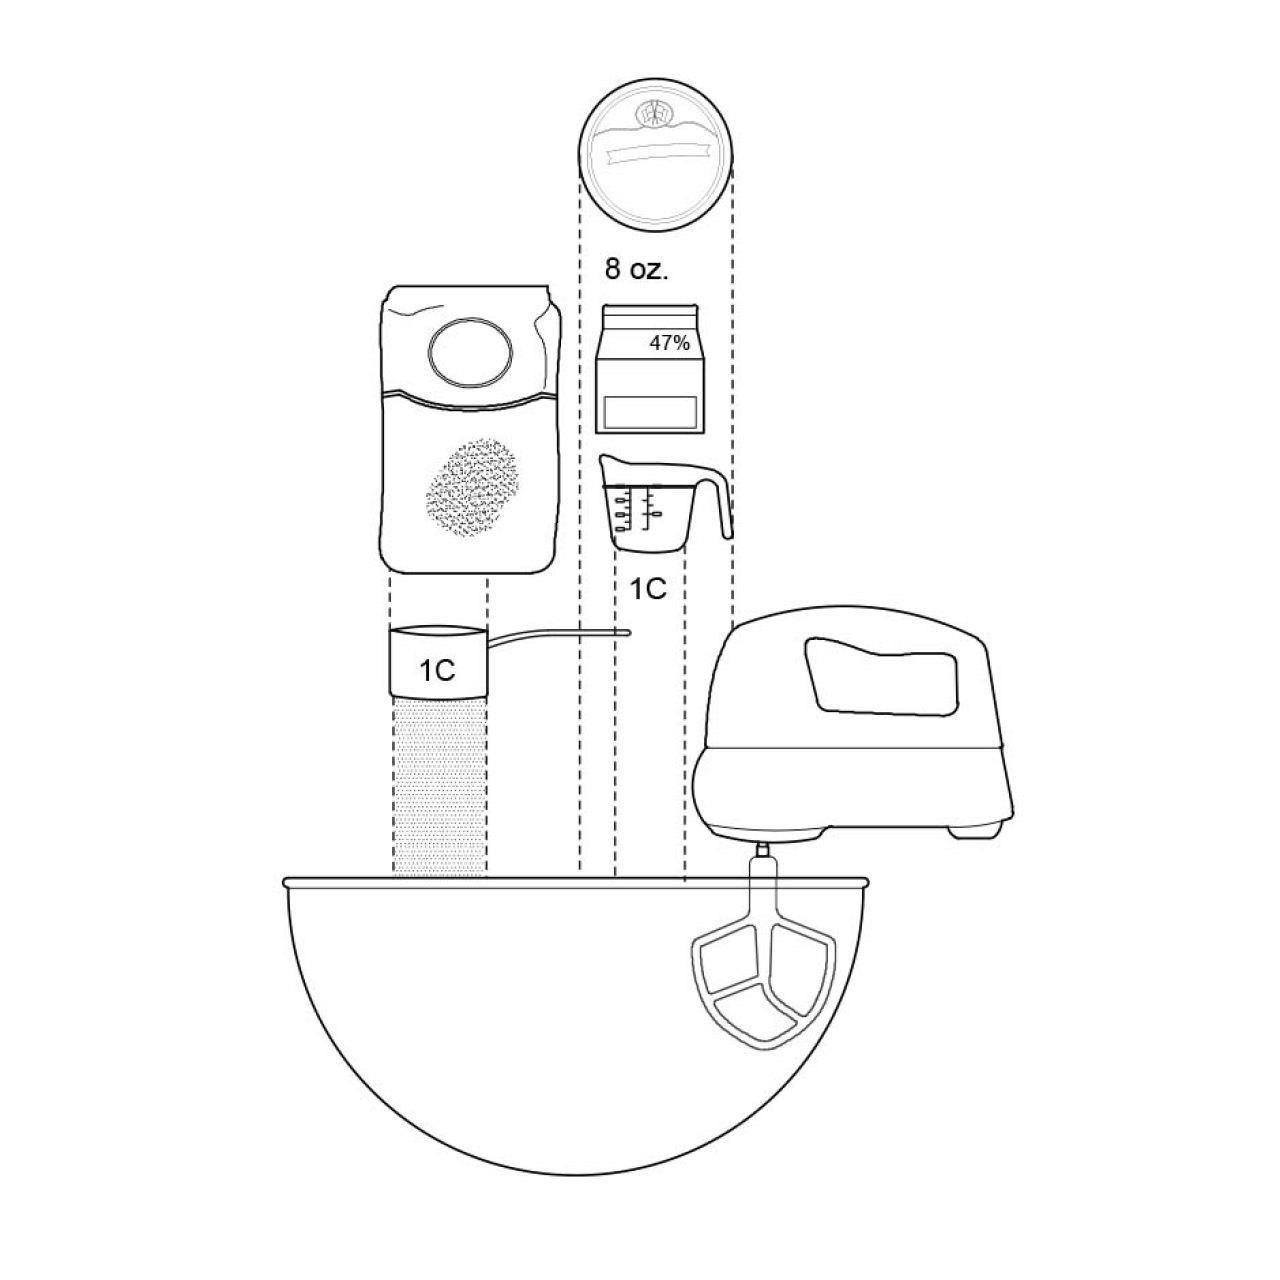
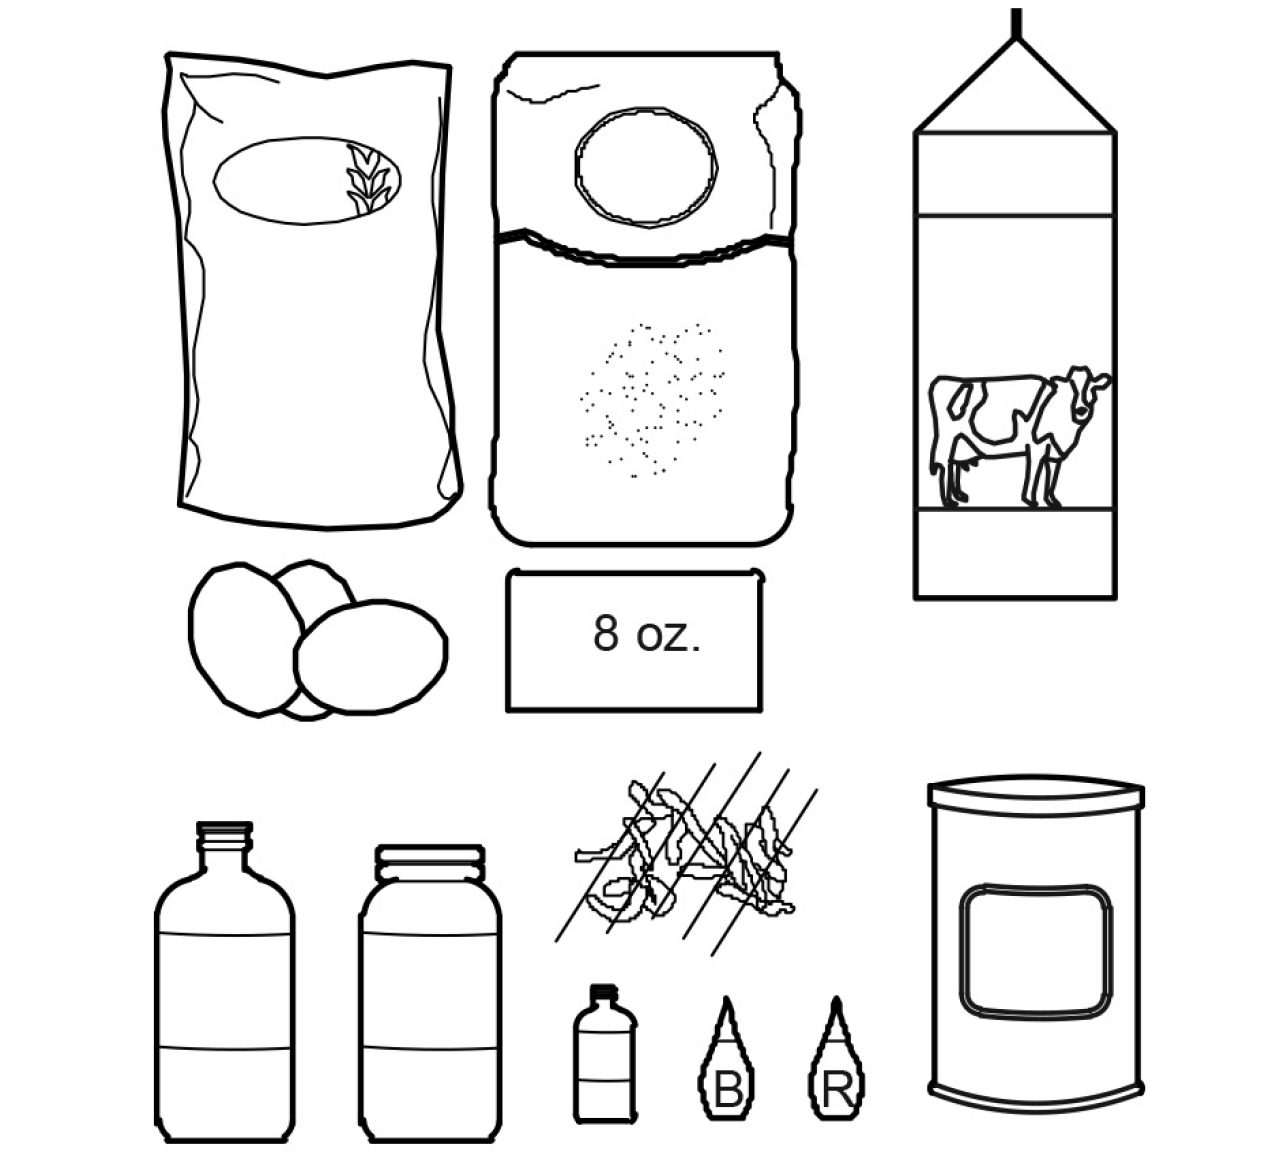
- 6 eggs
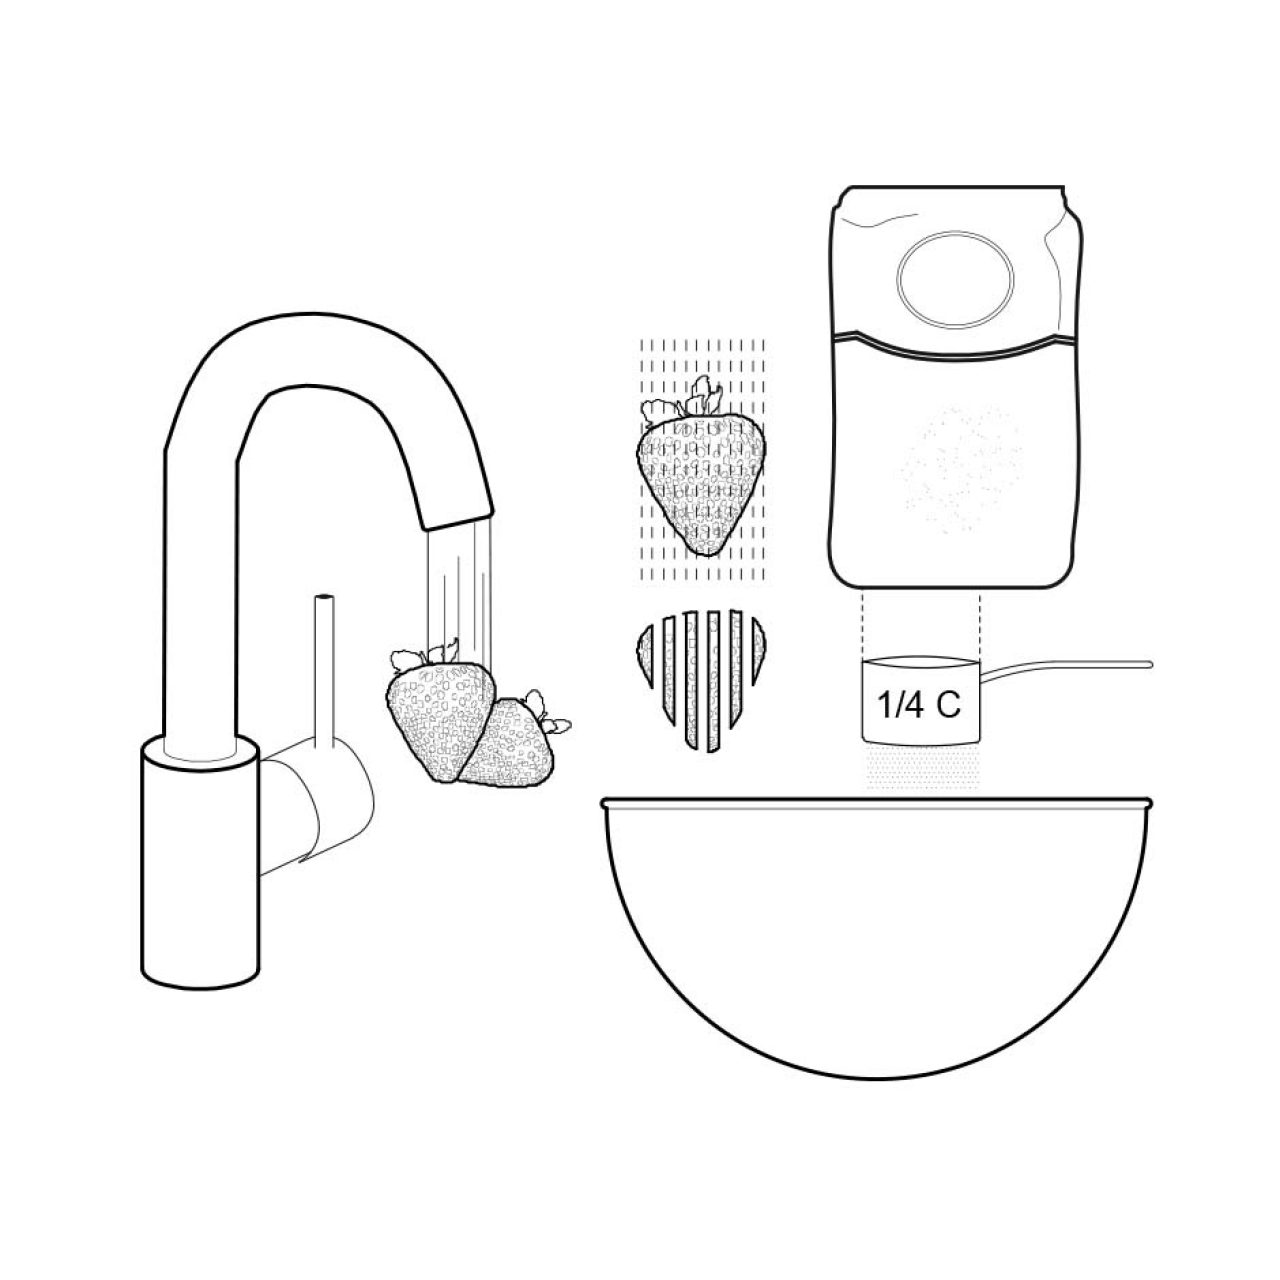
- 1 Avocado
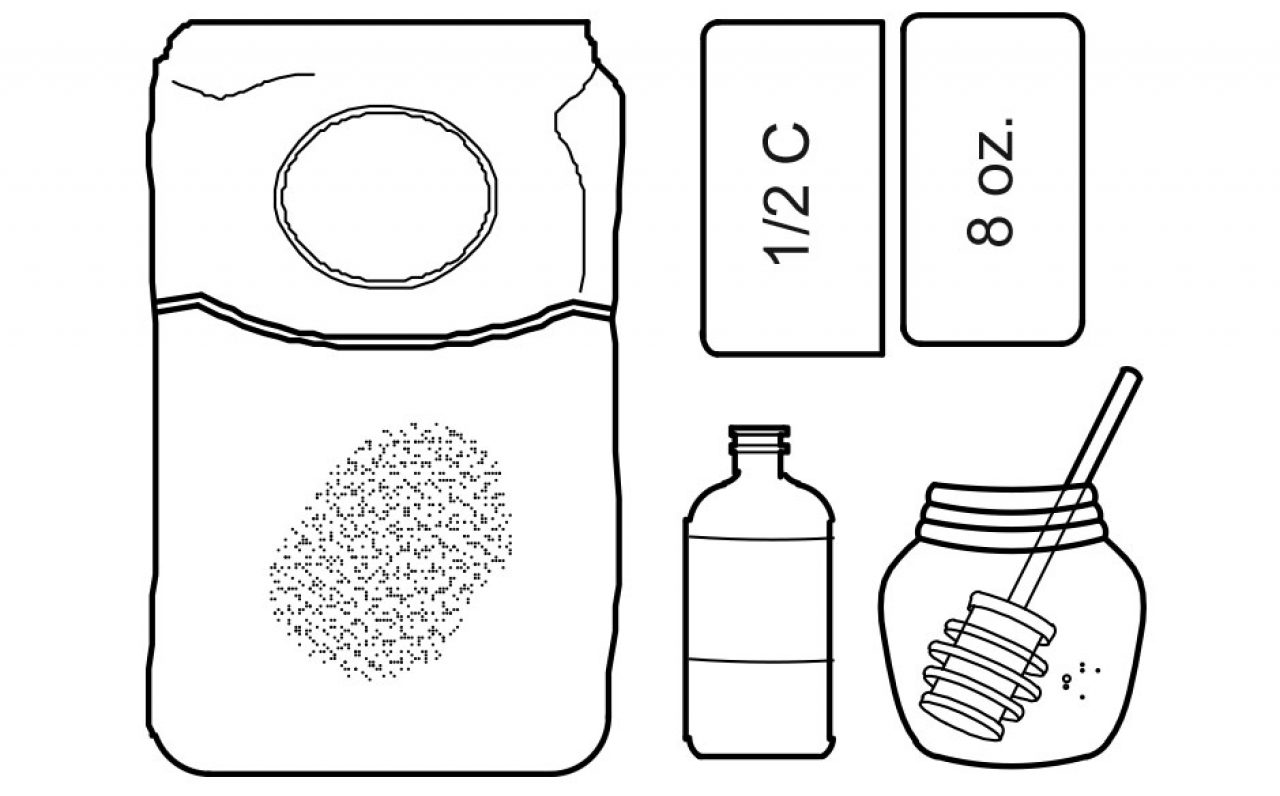
- 1/2 C wasabi mayo
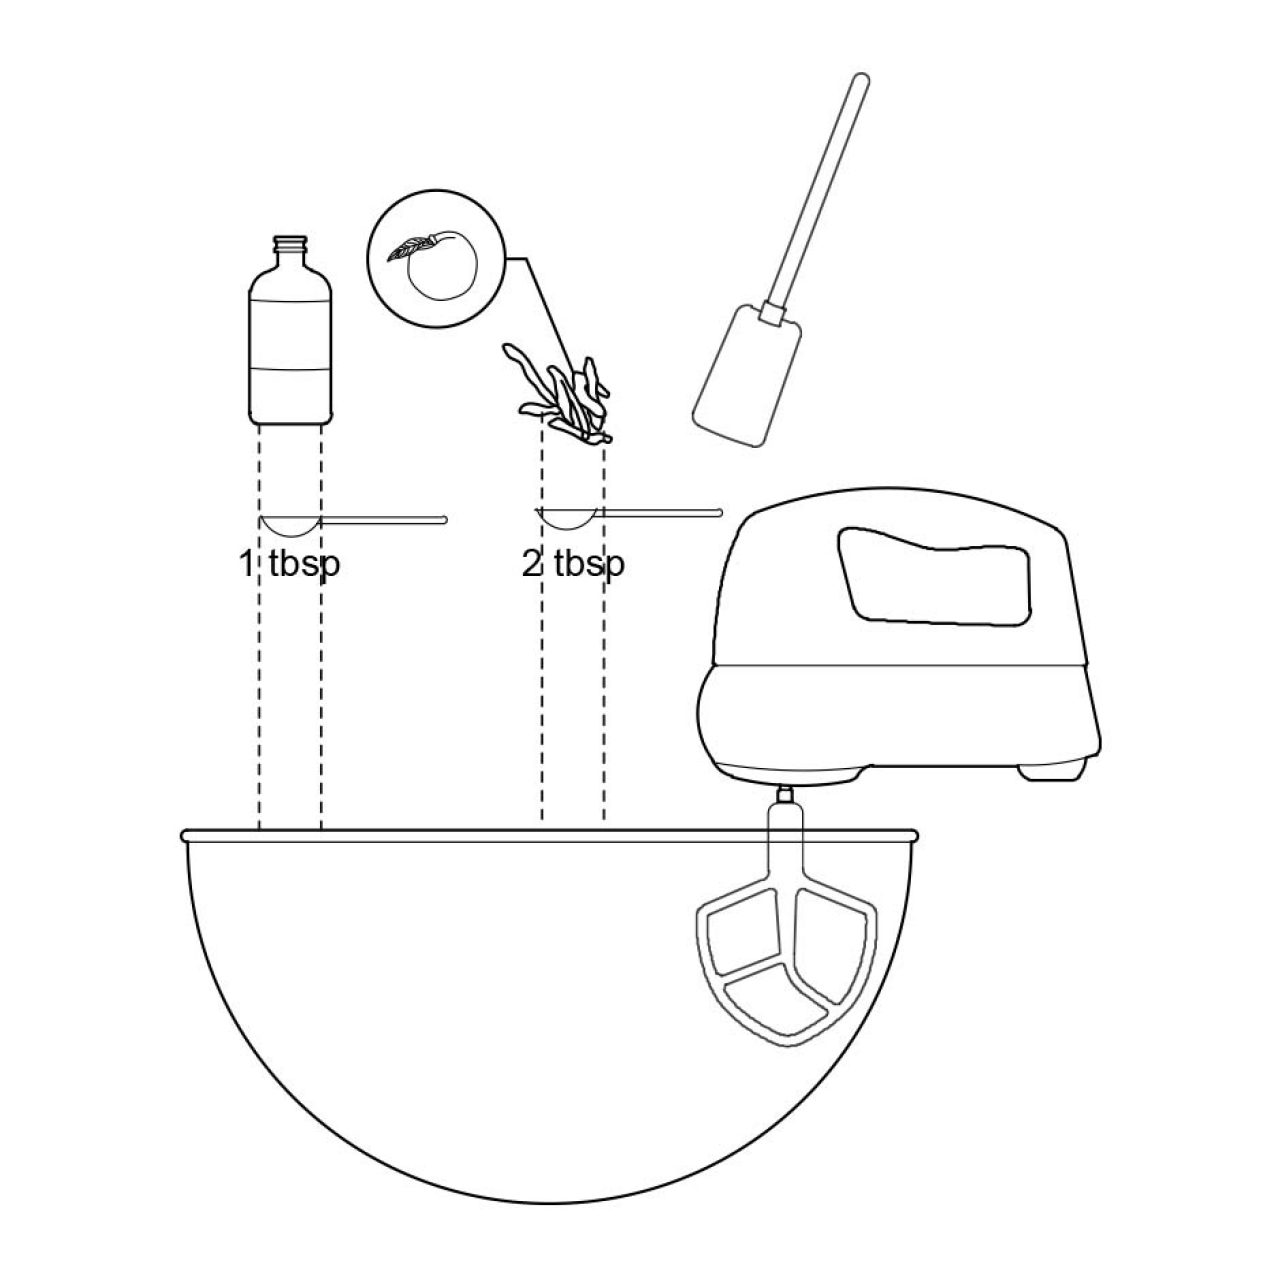
- 1 lemon
- 1/2 tsp salt
- 1 bunch chives, chopped (for garnish)
Directions
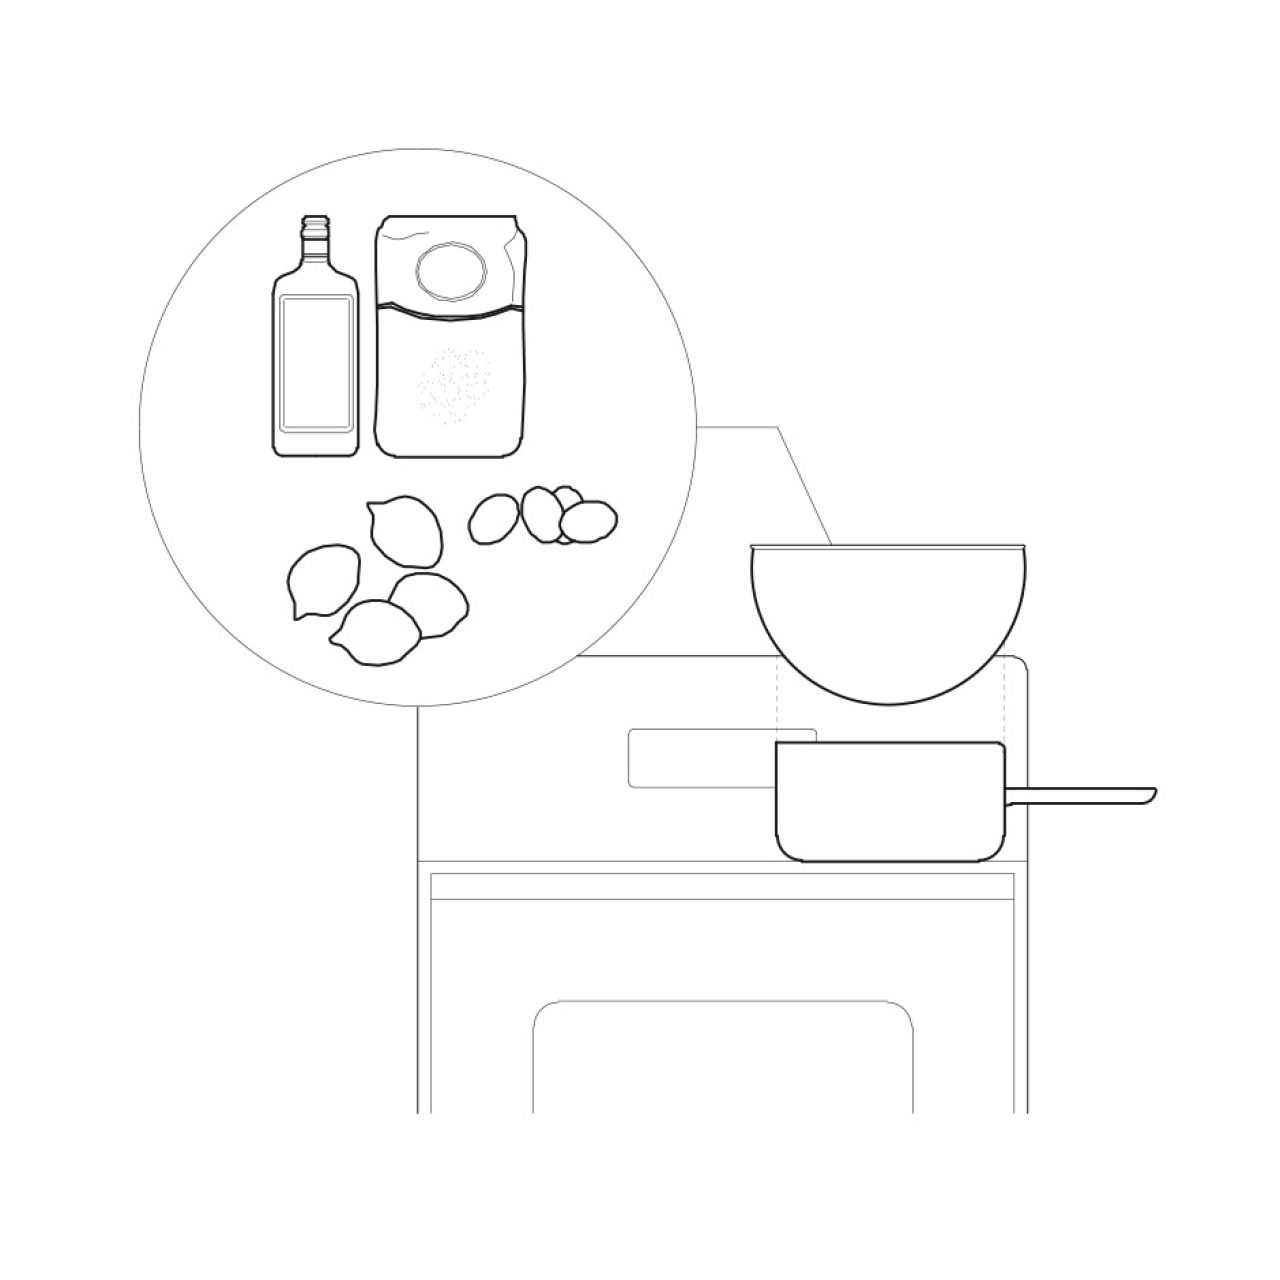
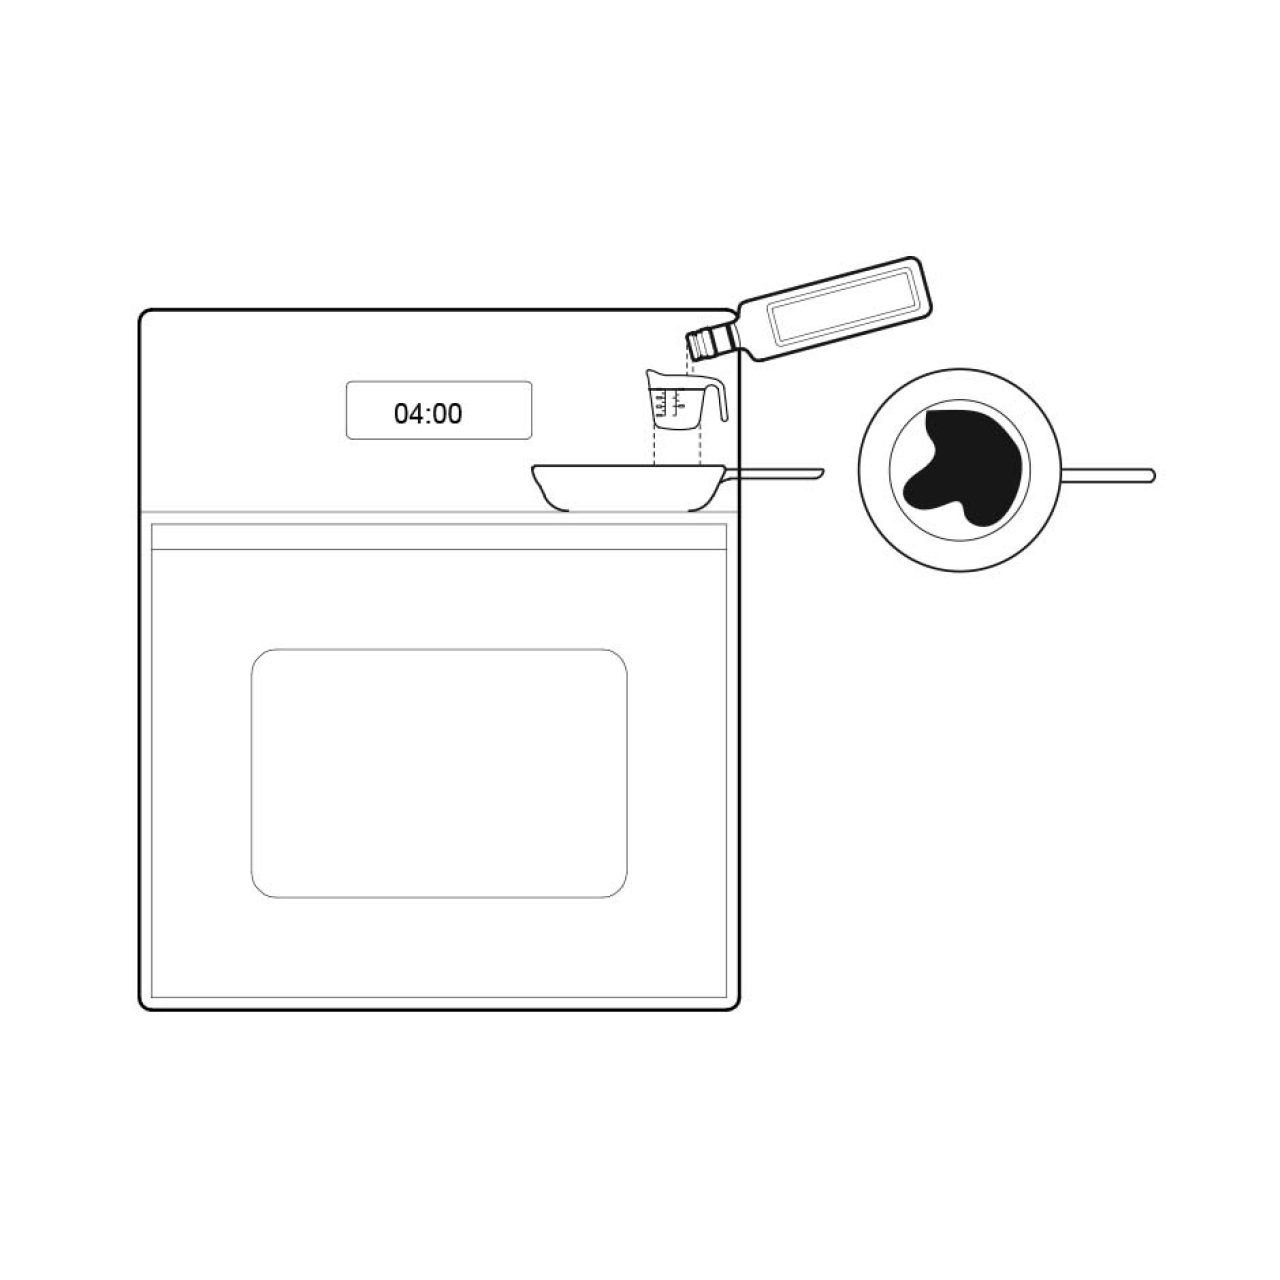
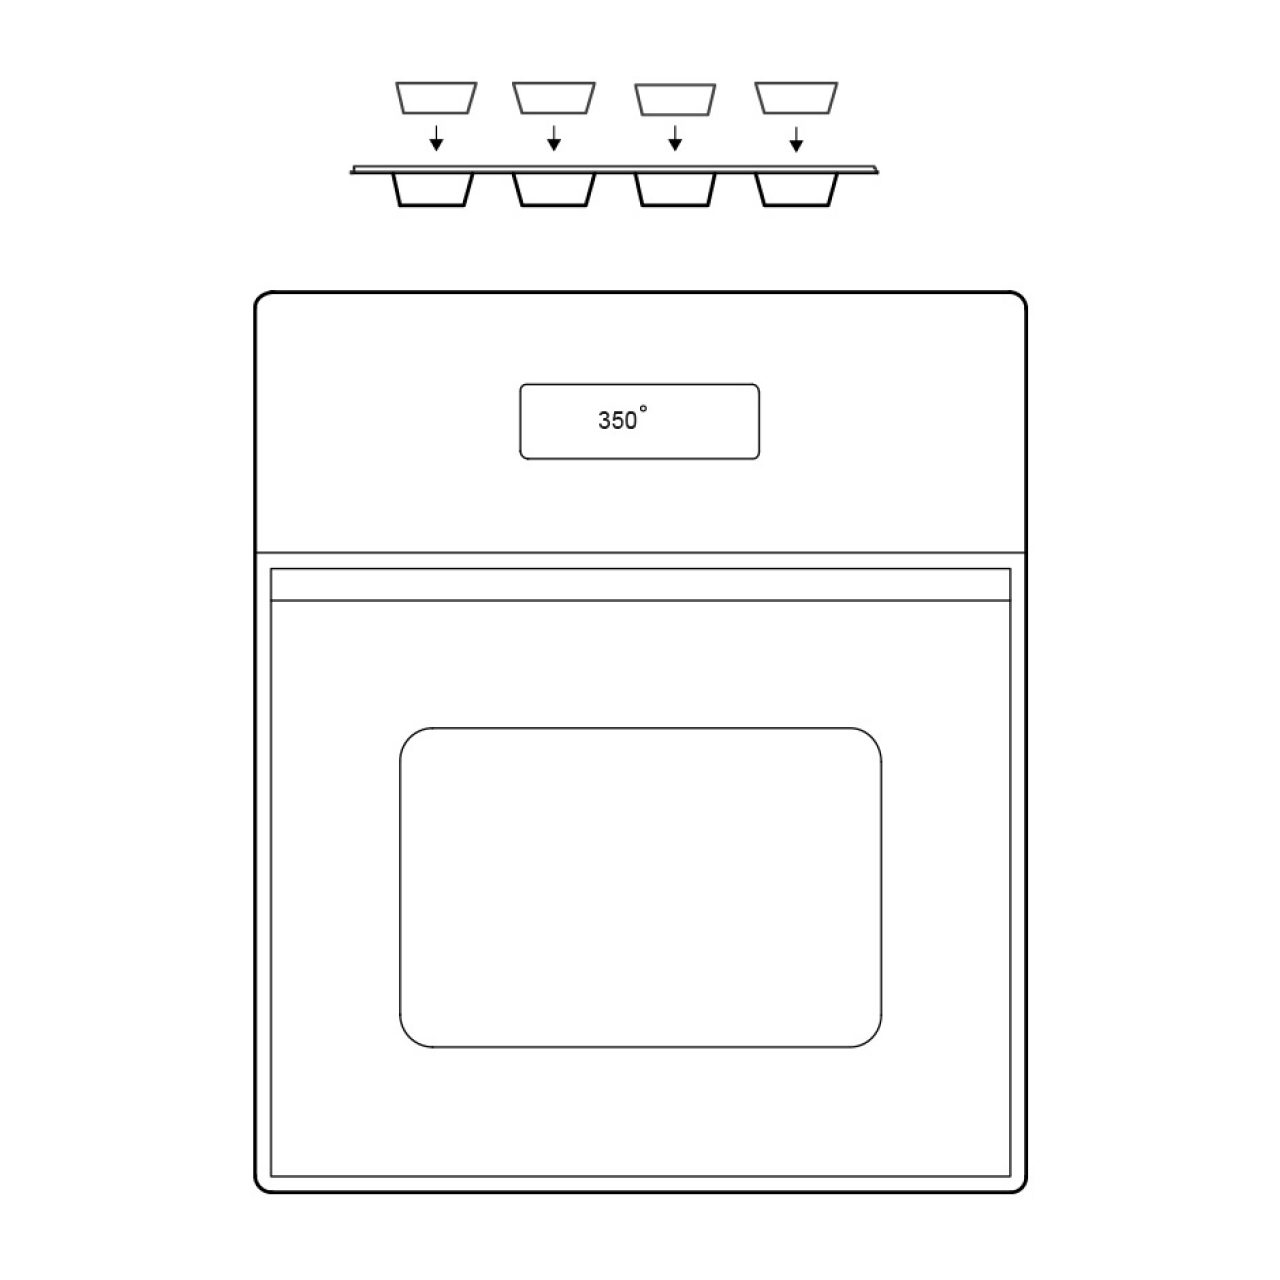
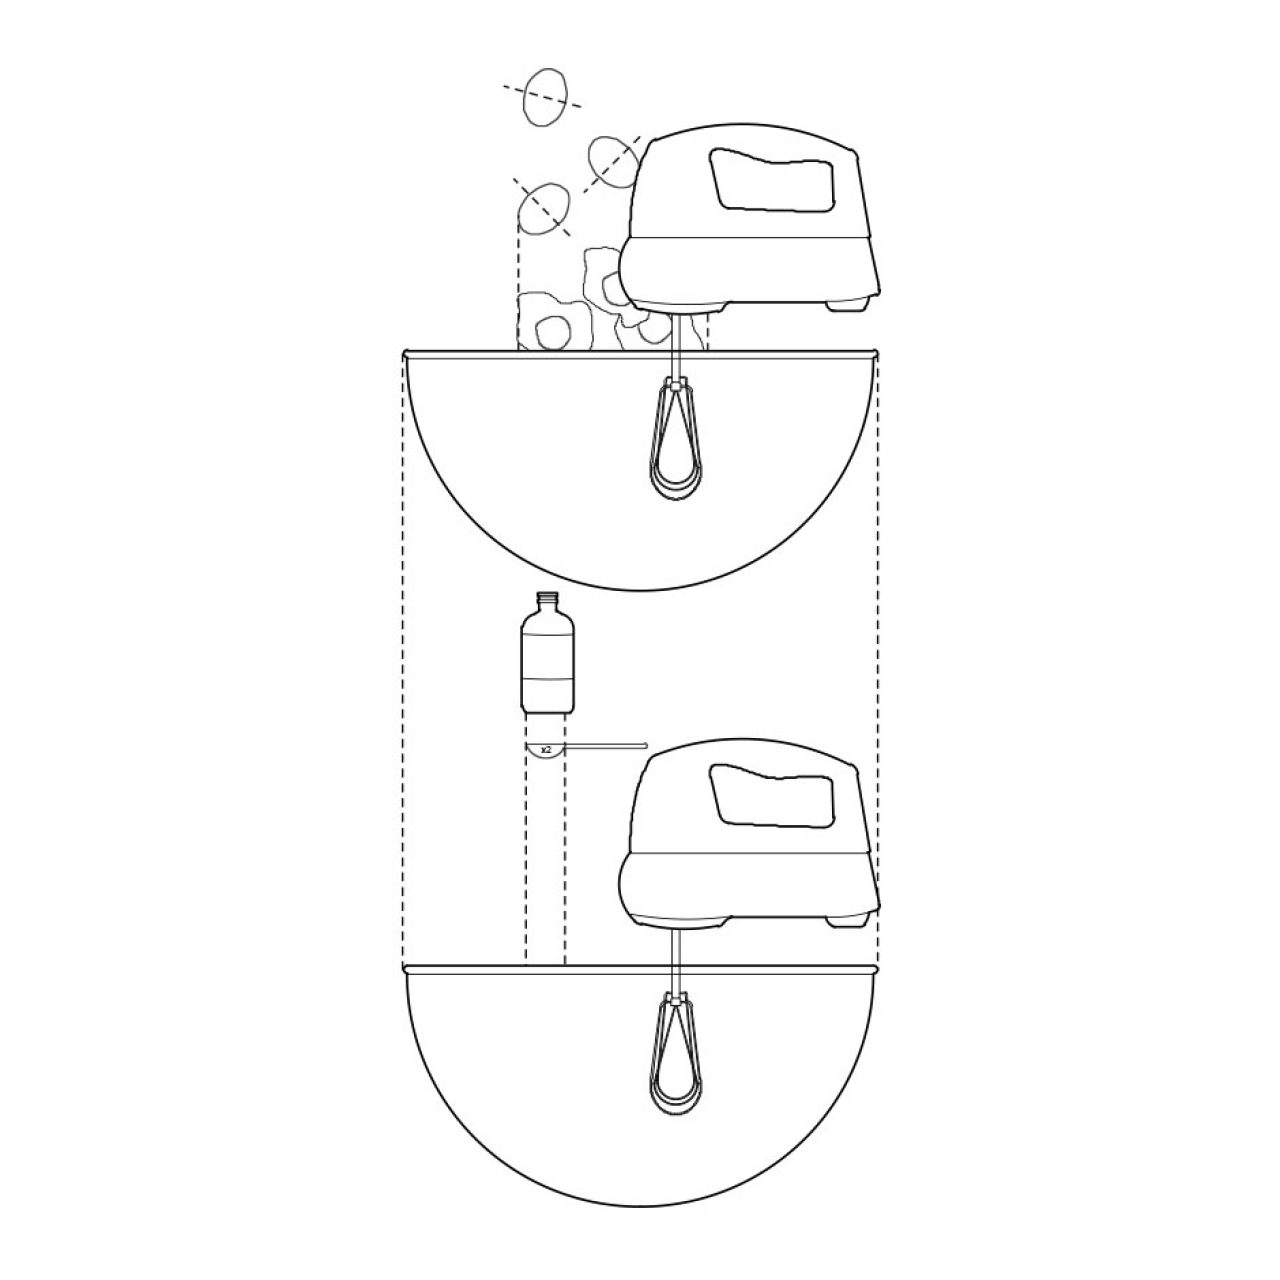
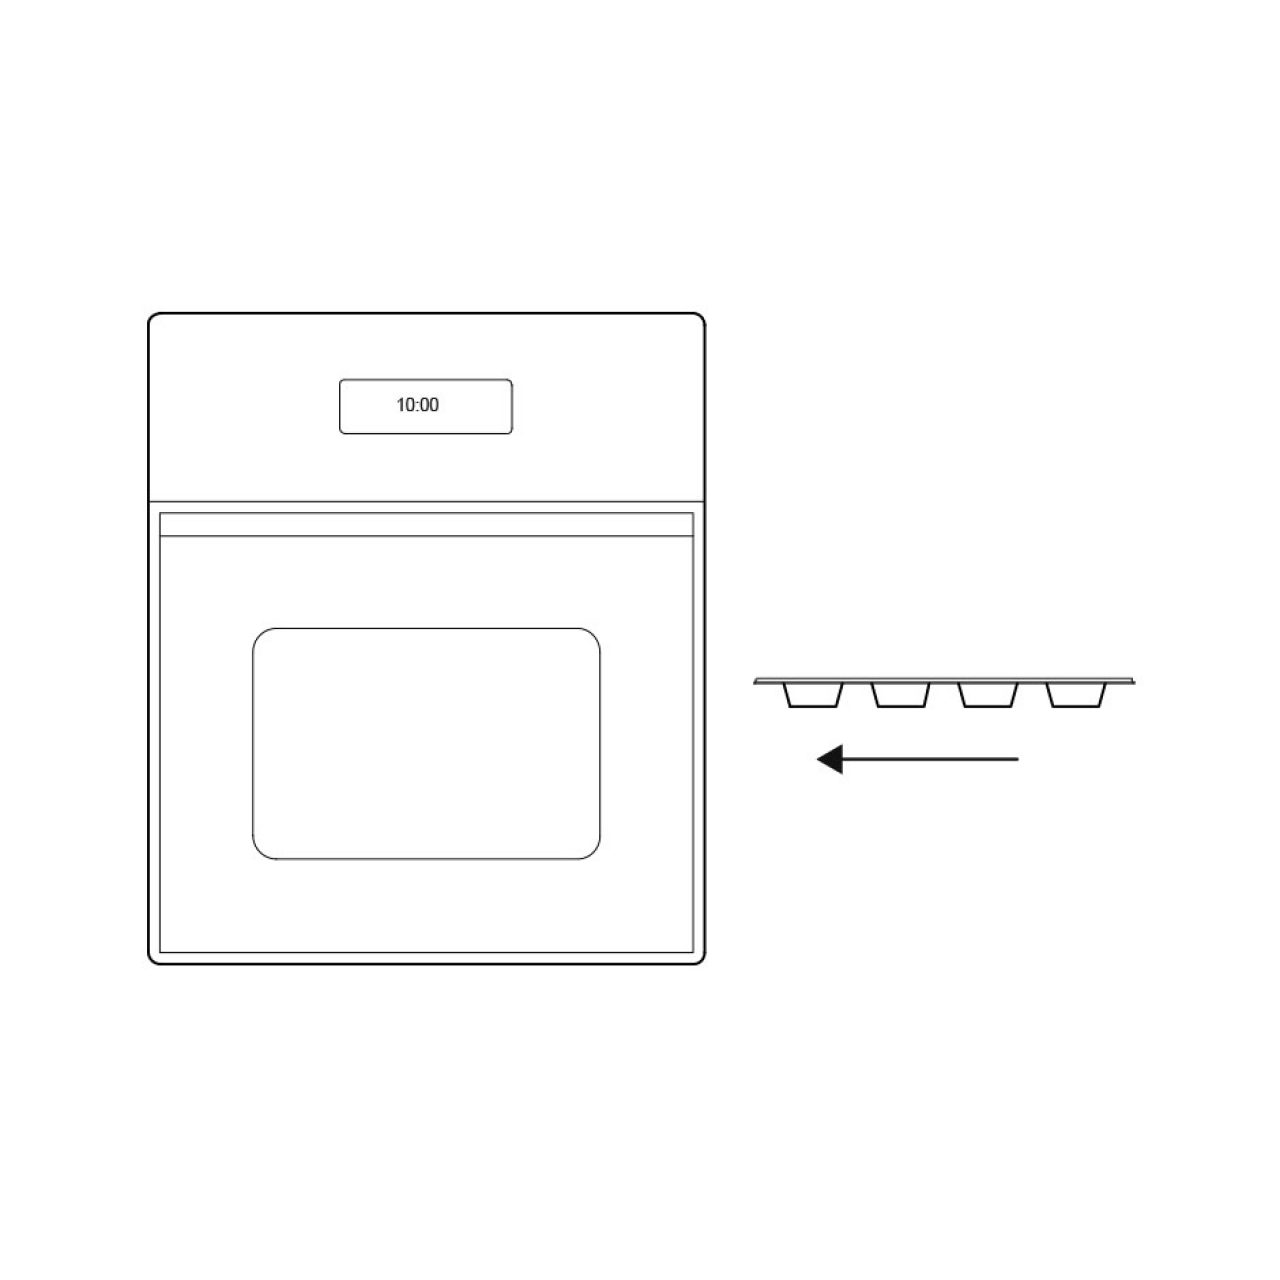
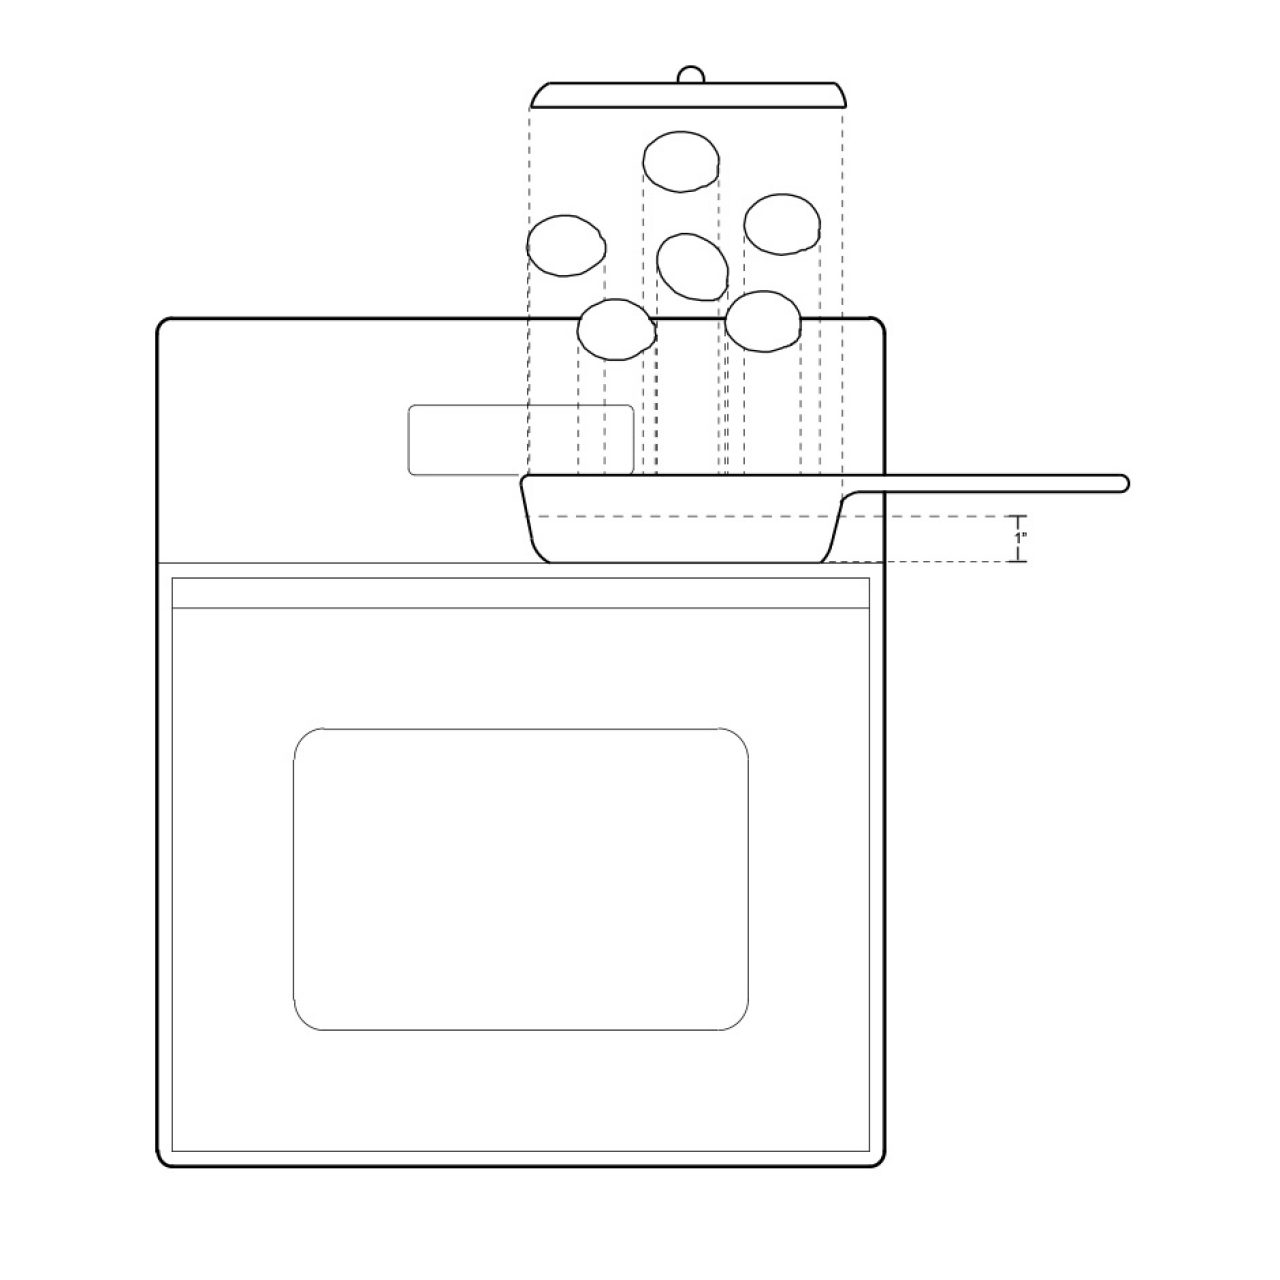
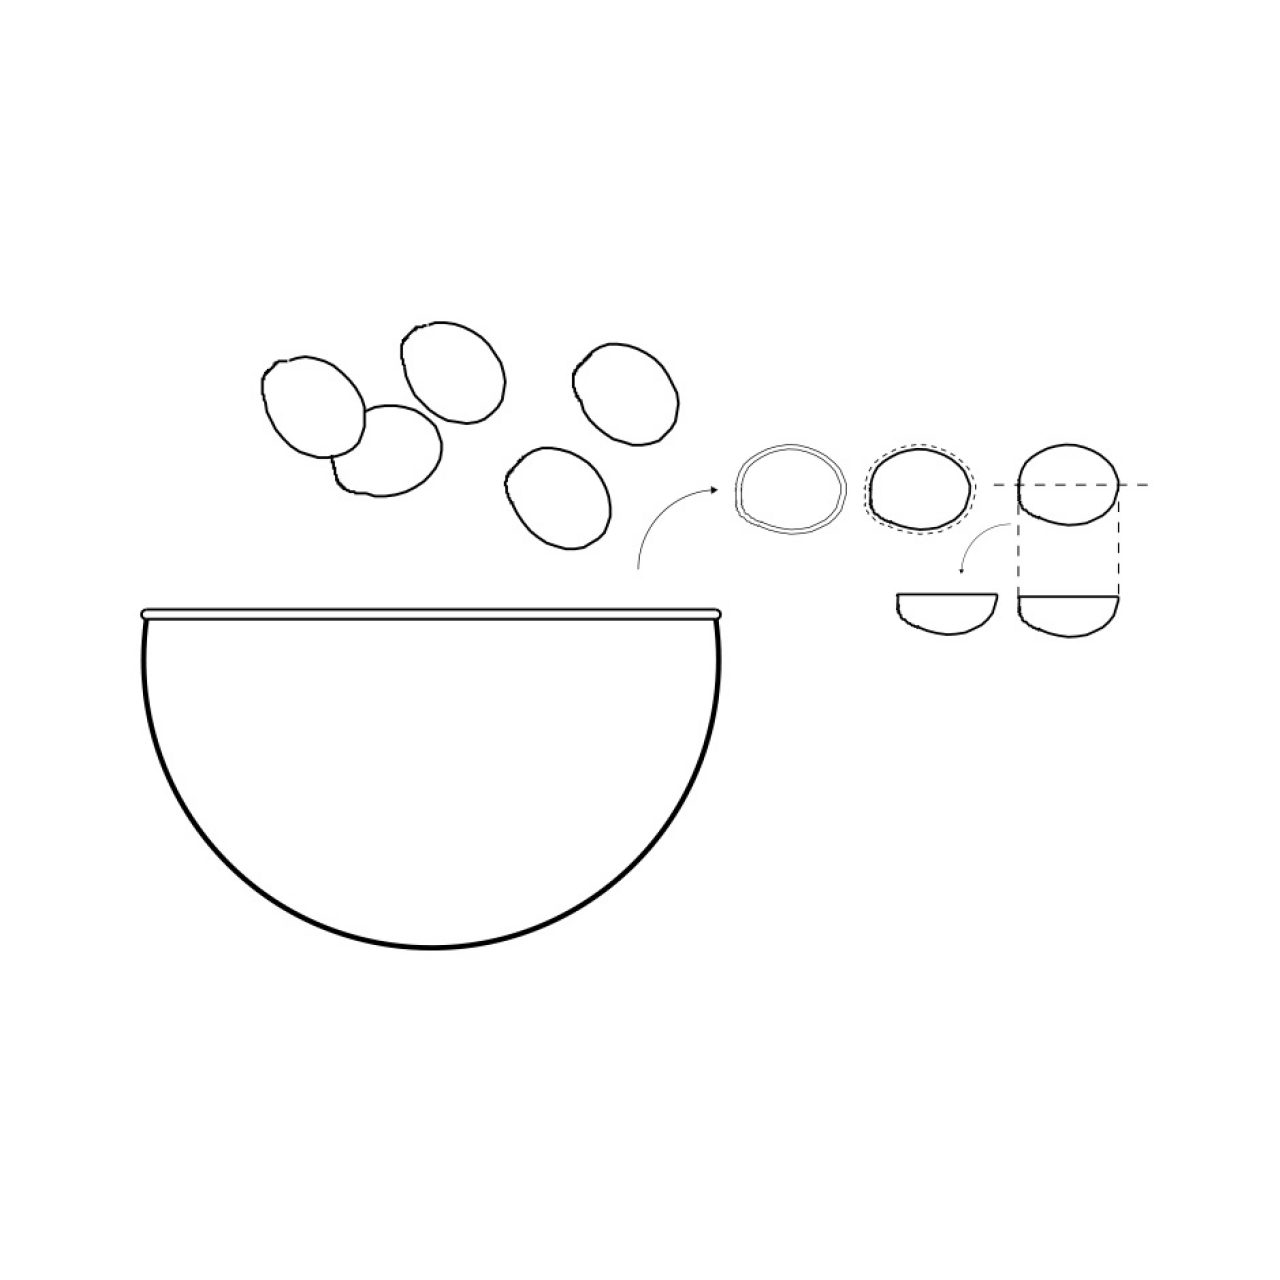
Place 6 eggs in a medium saucepan. Add enough cold water to cover eggs by about 1 inch. Bring to a boil and cover.
Remove the pan from the heat. Let stand 13 minutes and drain.
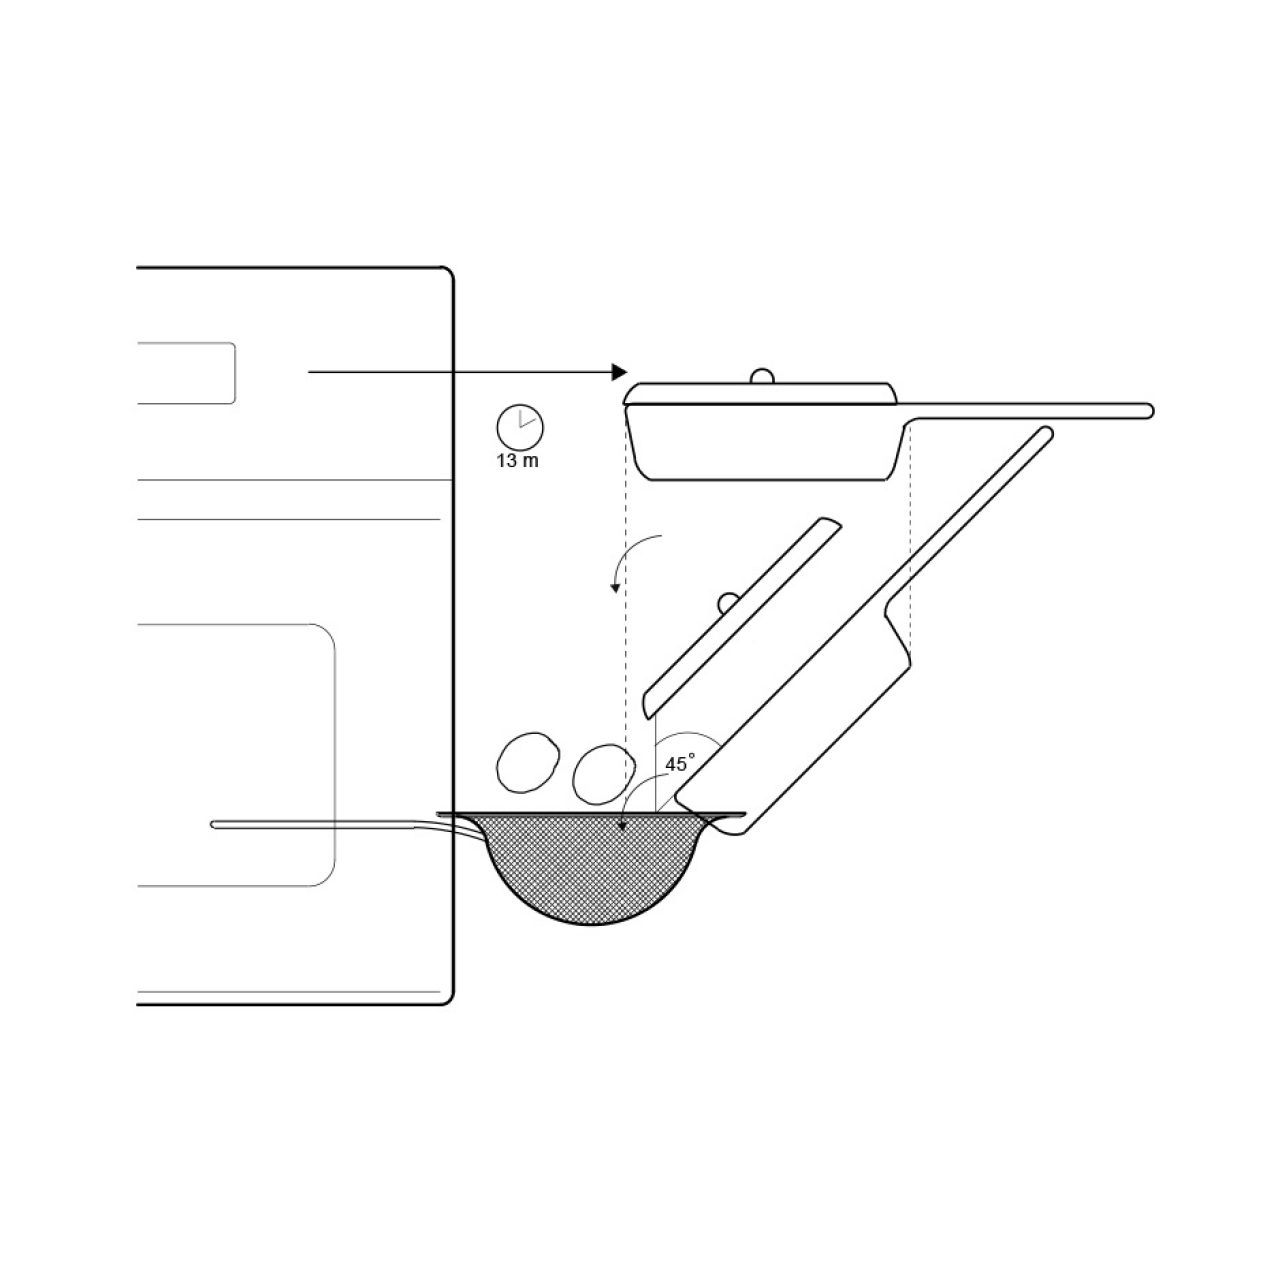
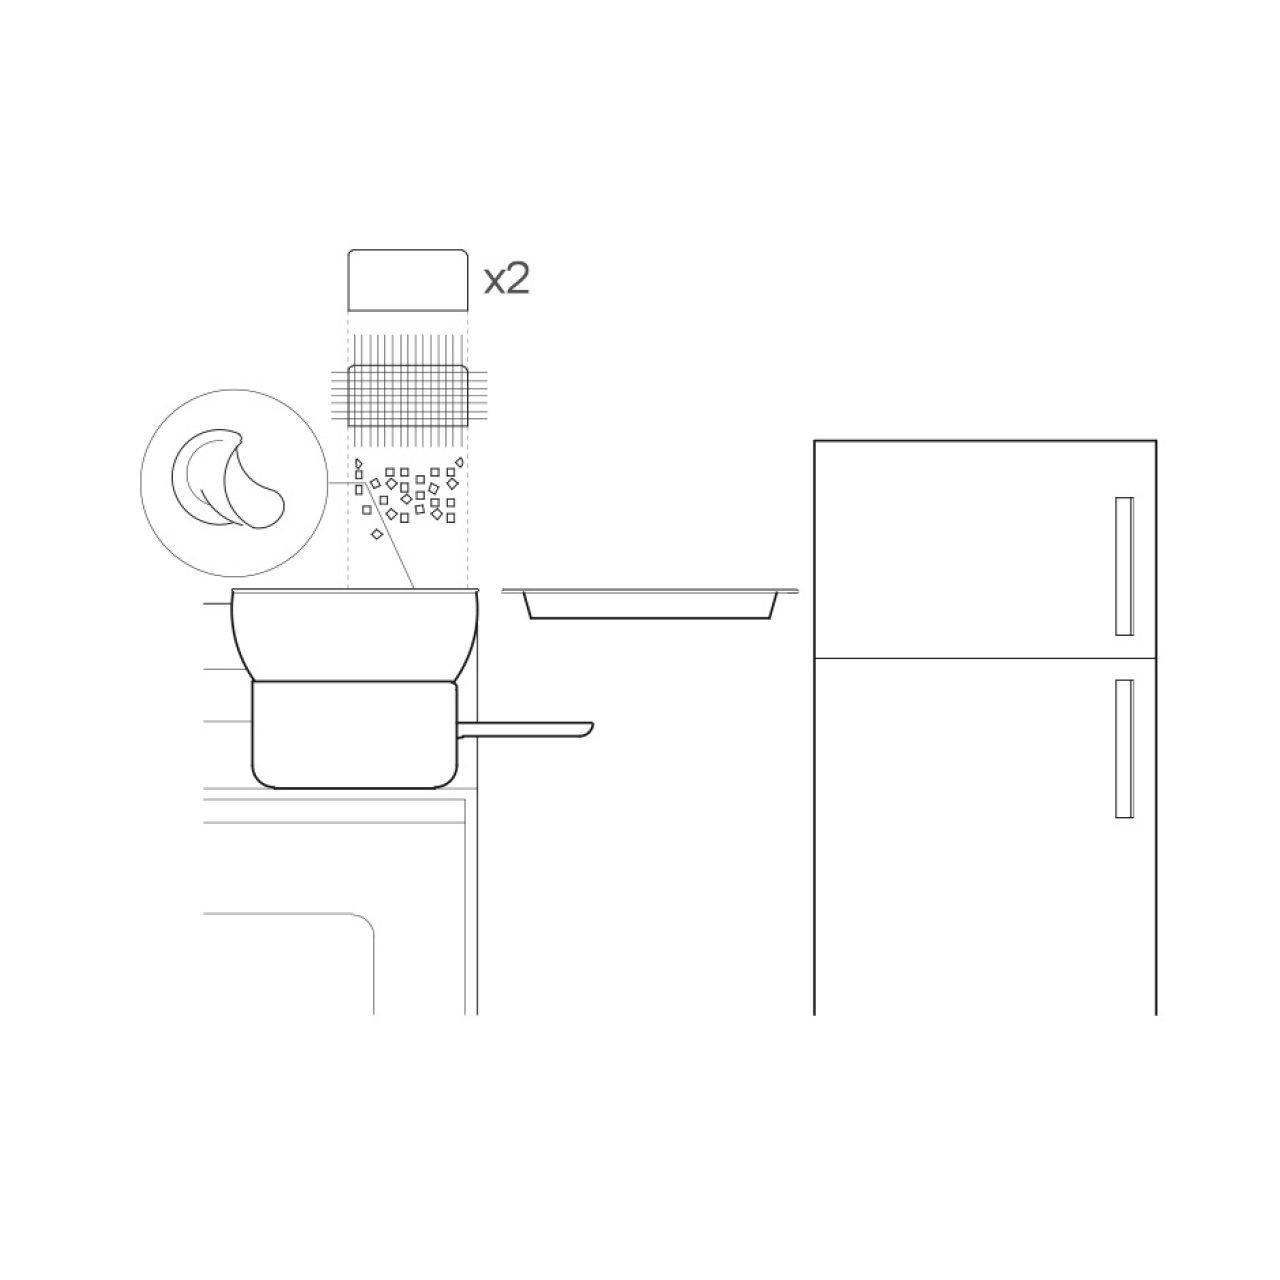
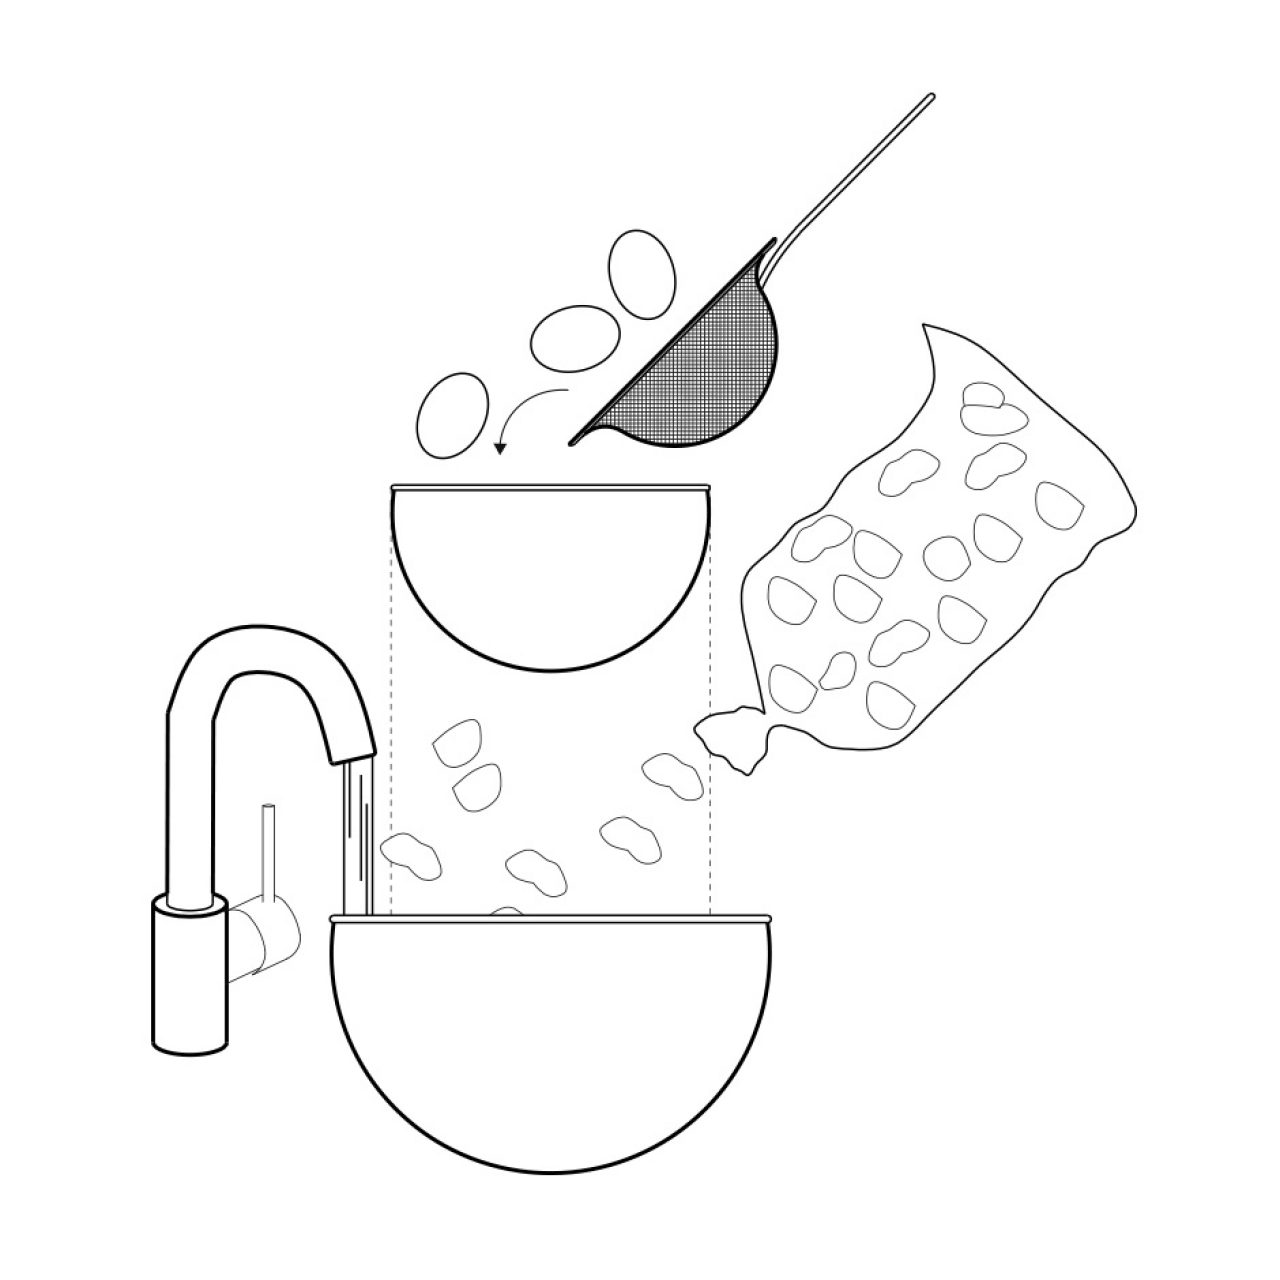
Transfer eggs to ice-water bath until cold.
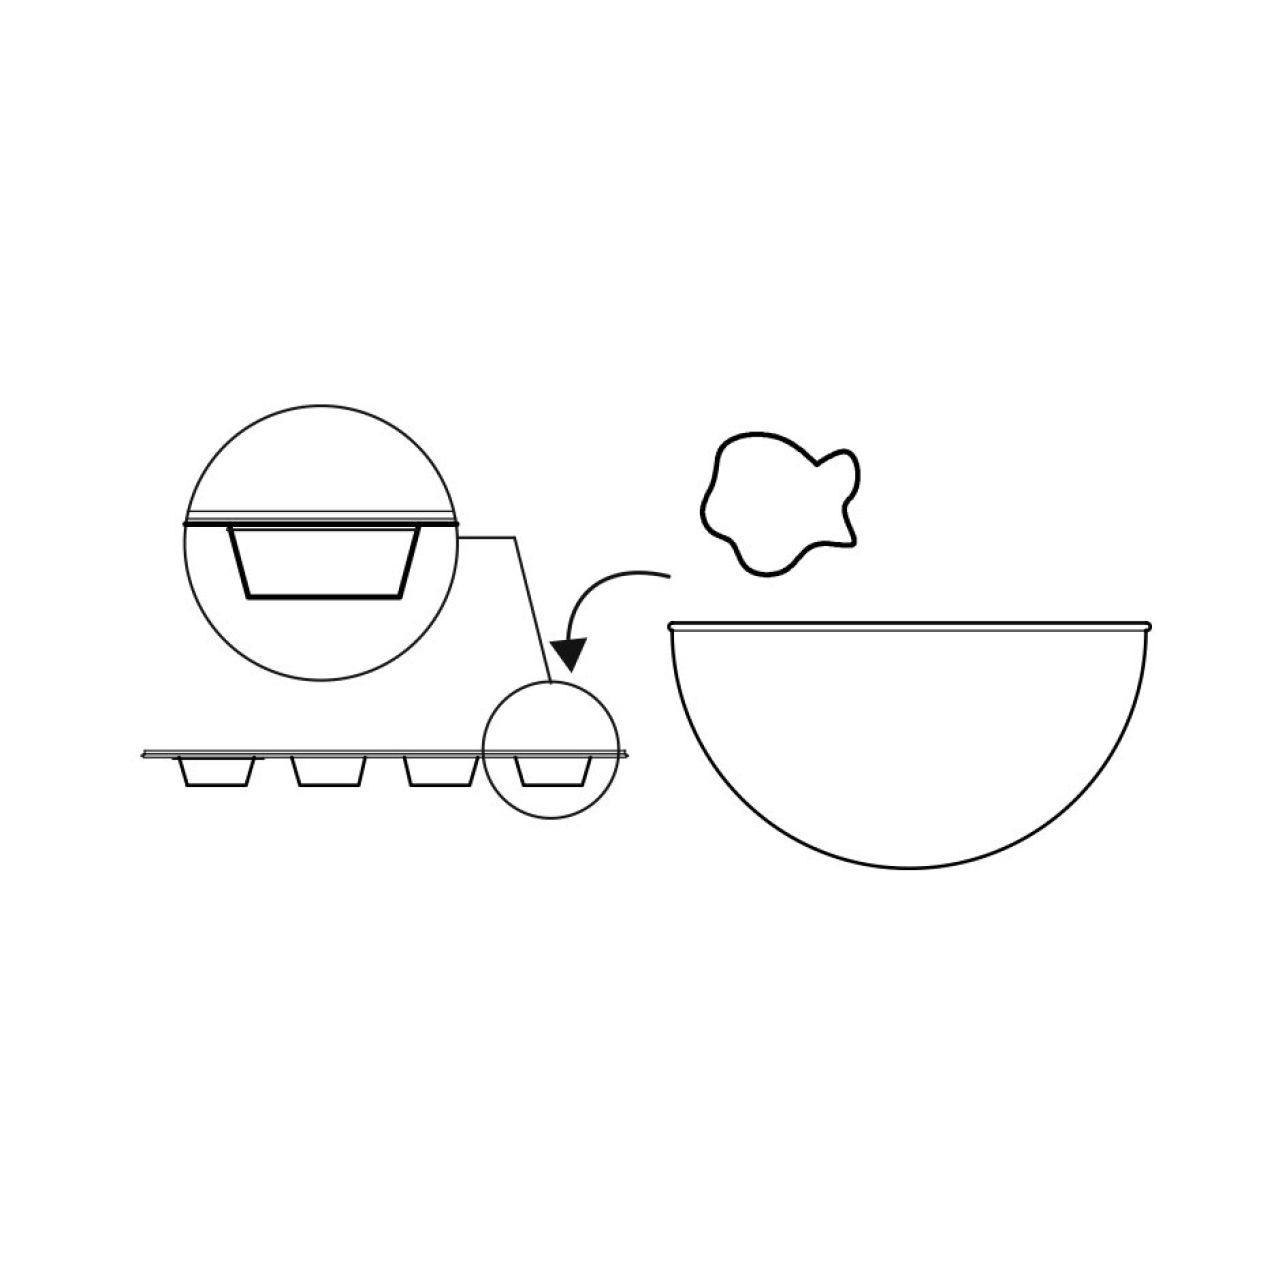
Peel eggs, and halve lengthwise.
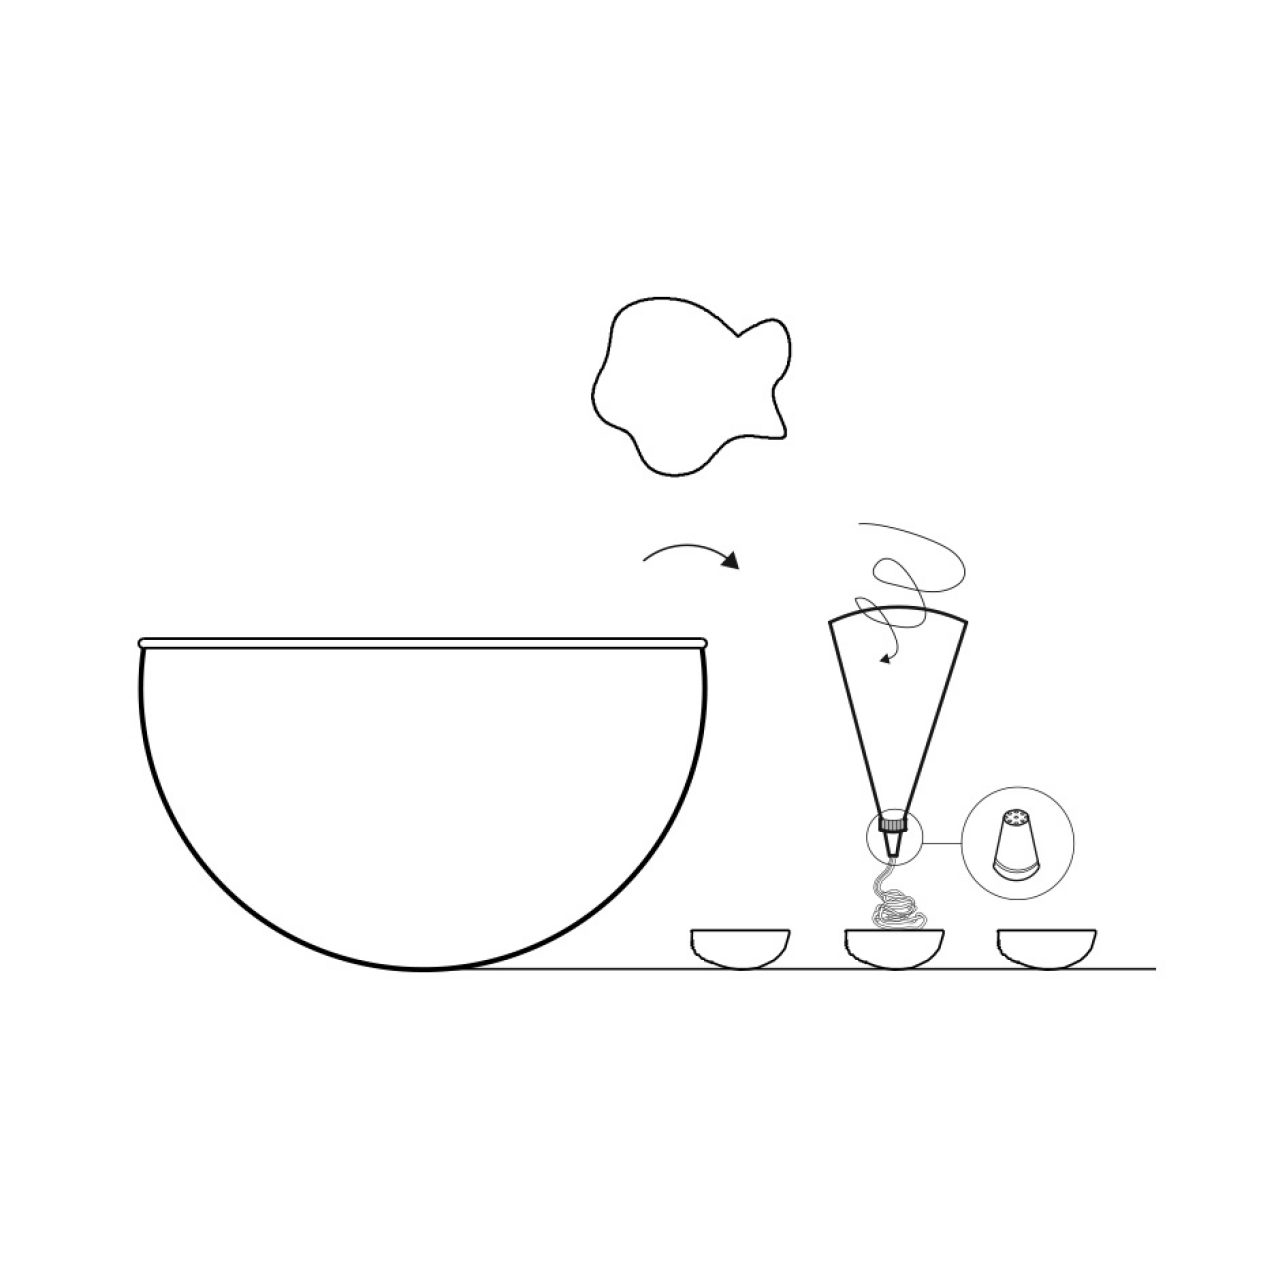
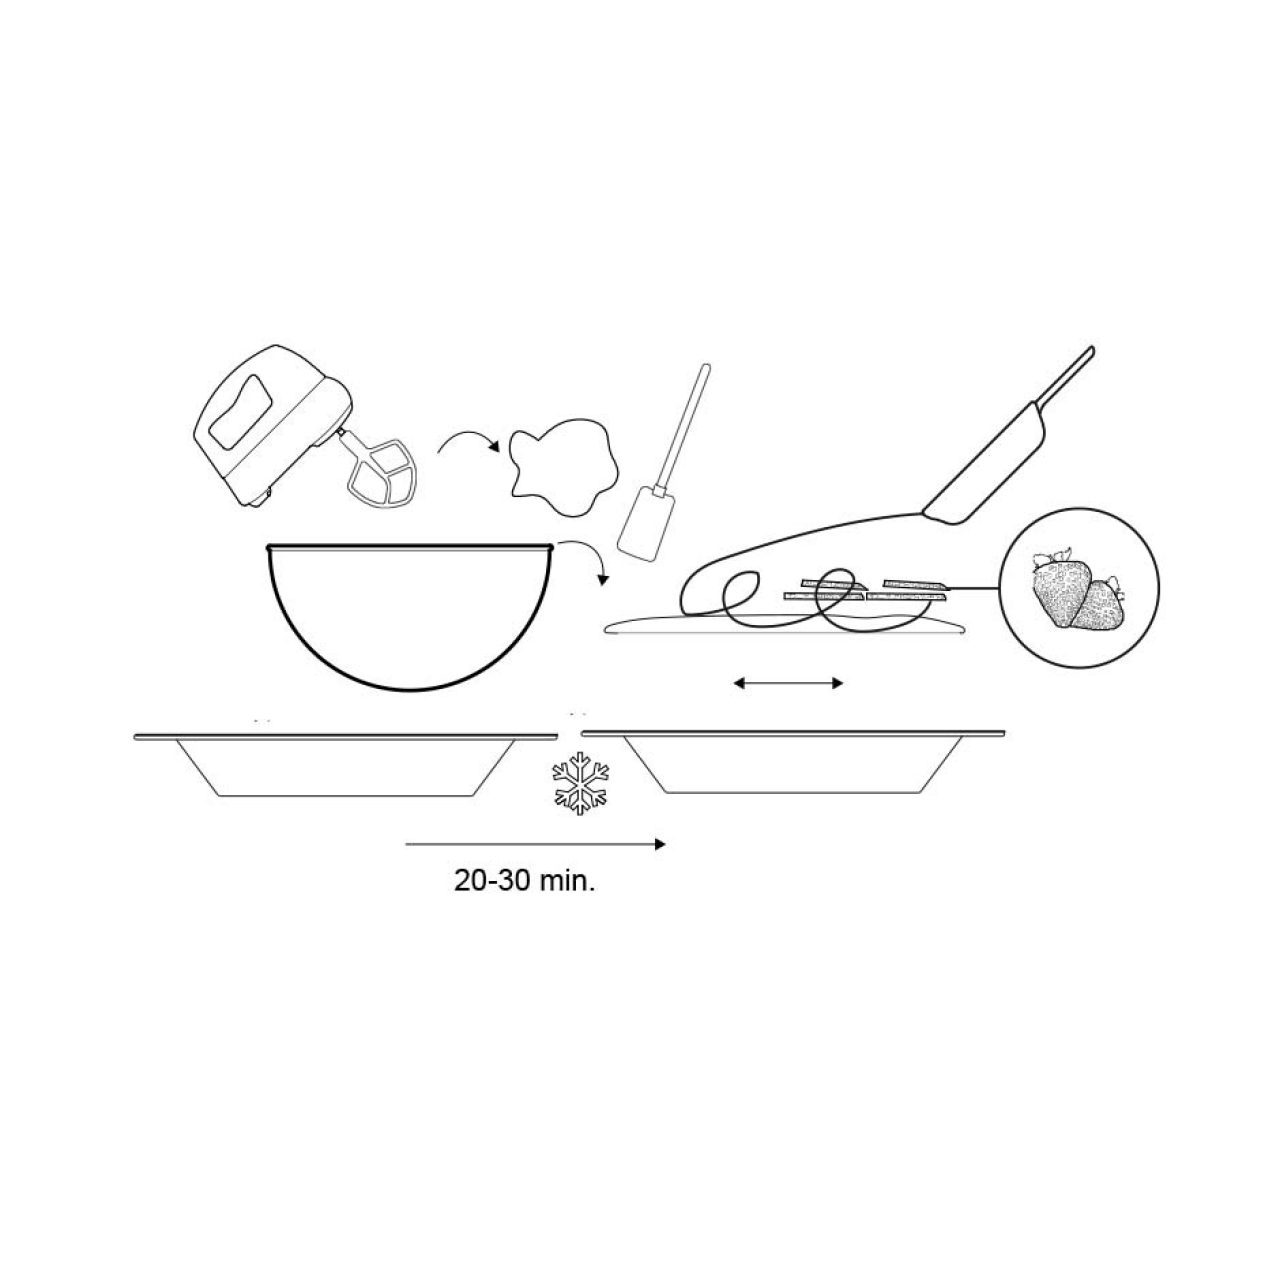
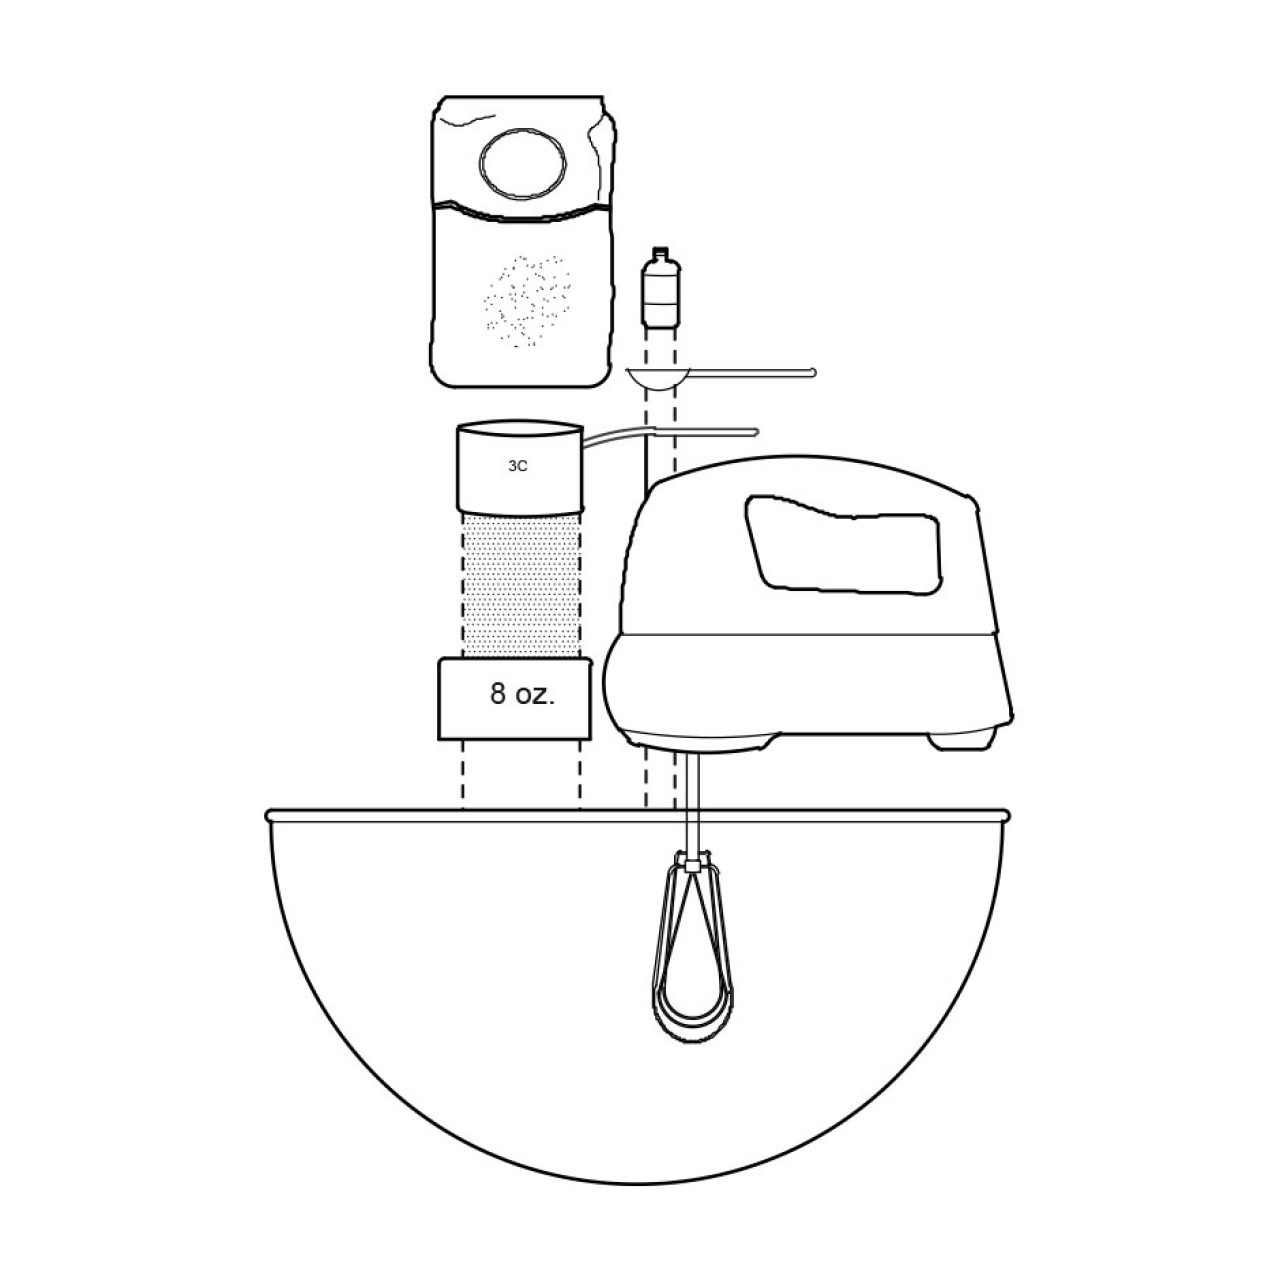
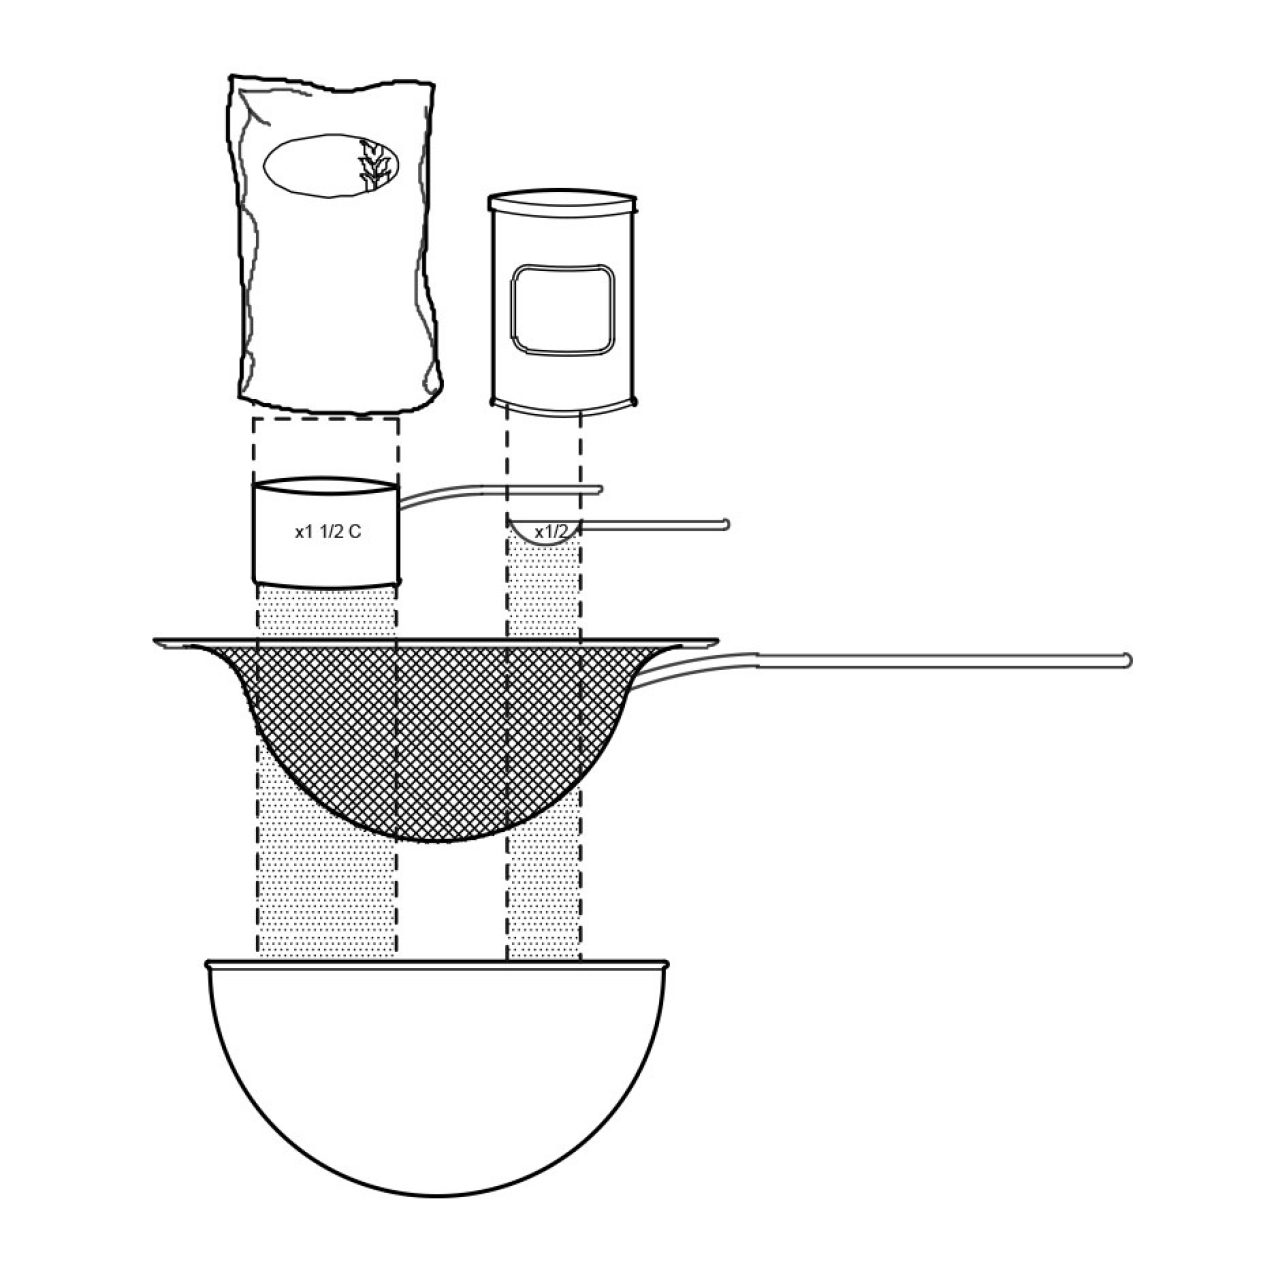
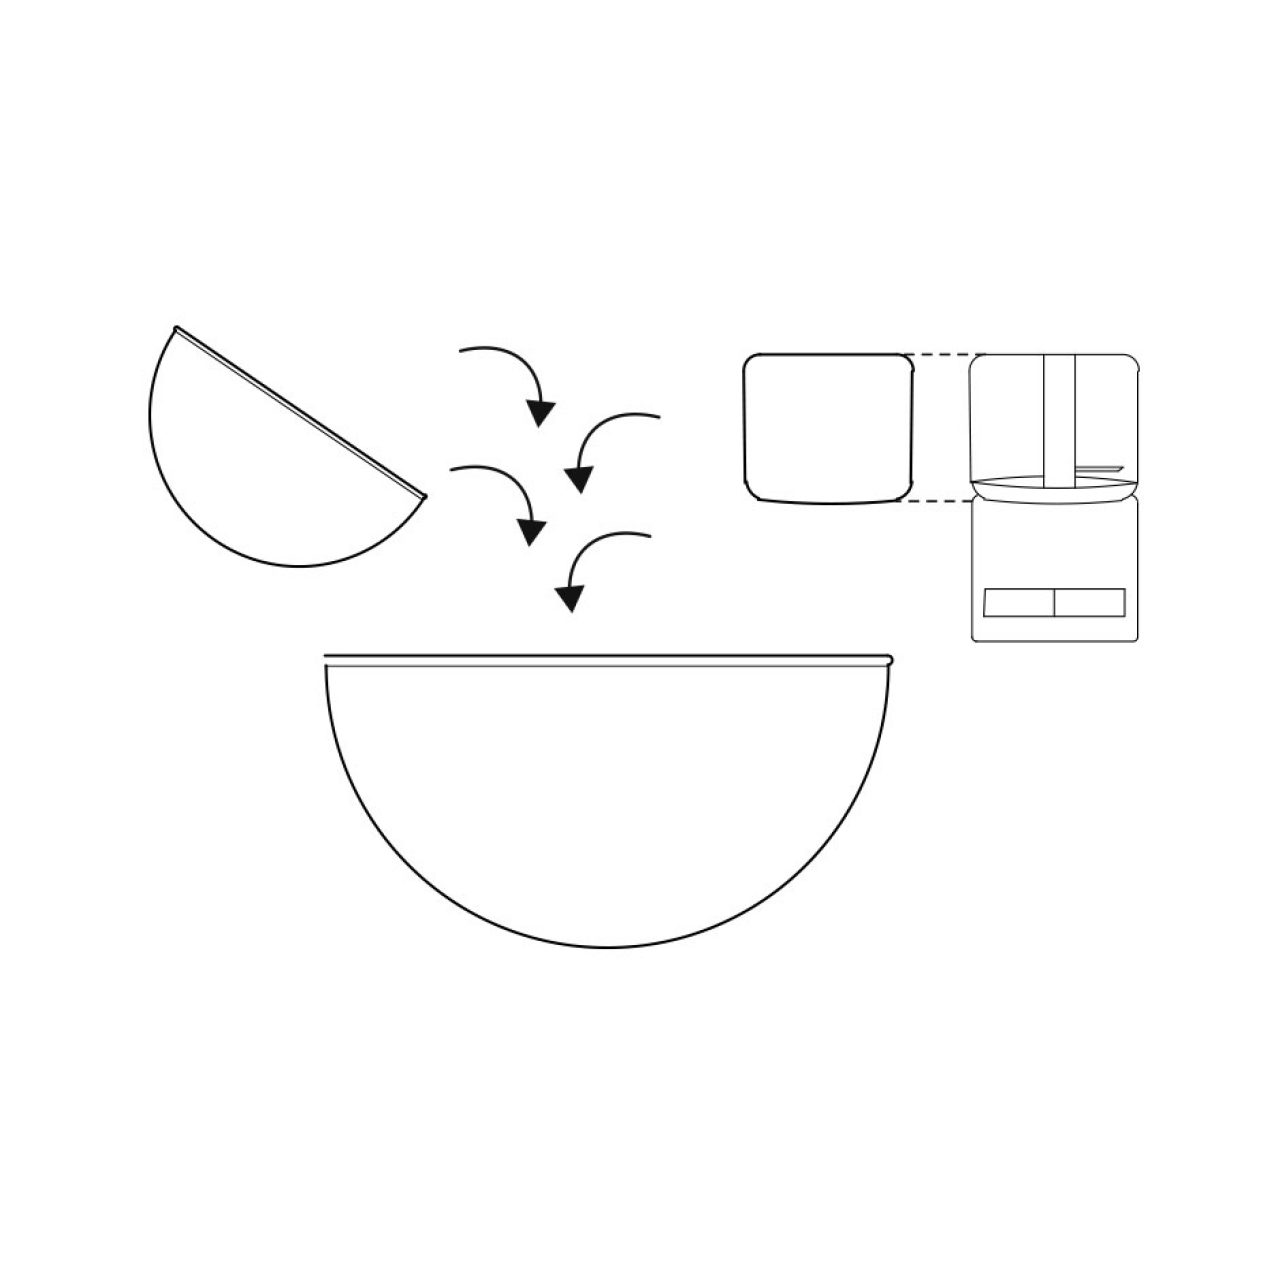
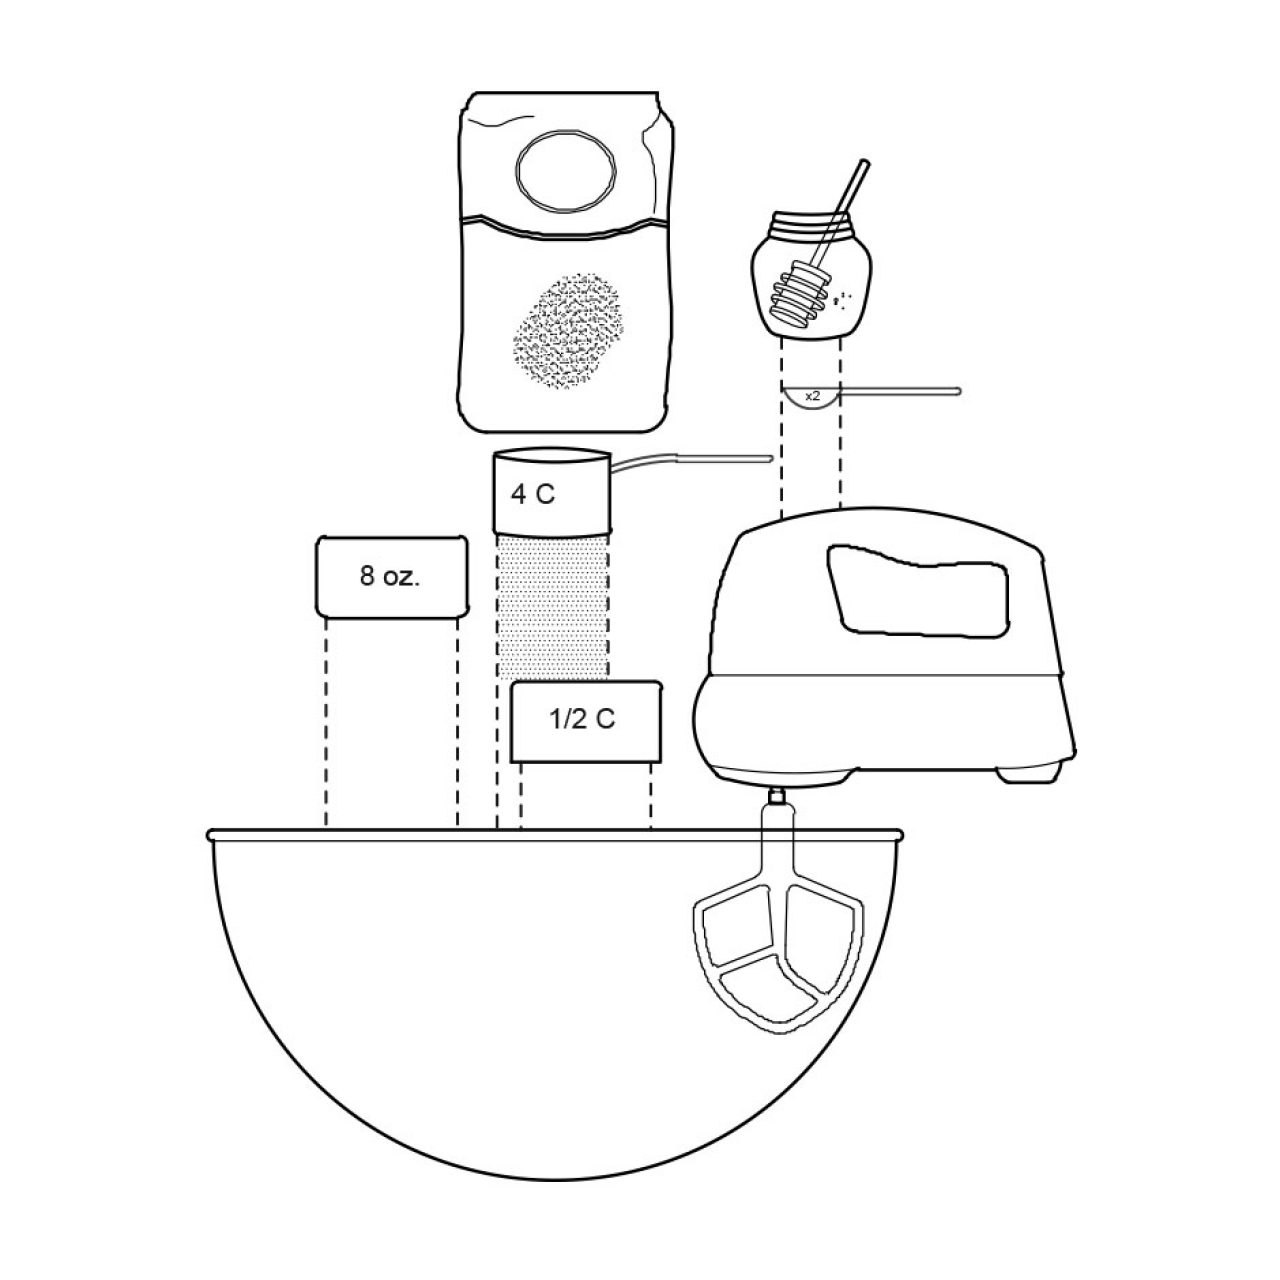
Transfer yolks to a medium bowl, and mash with a fork until smooth. Stir in wasabi mayonnaise, wasabi and lemon juice.. Season with salt.
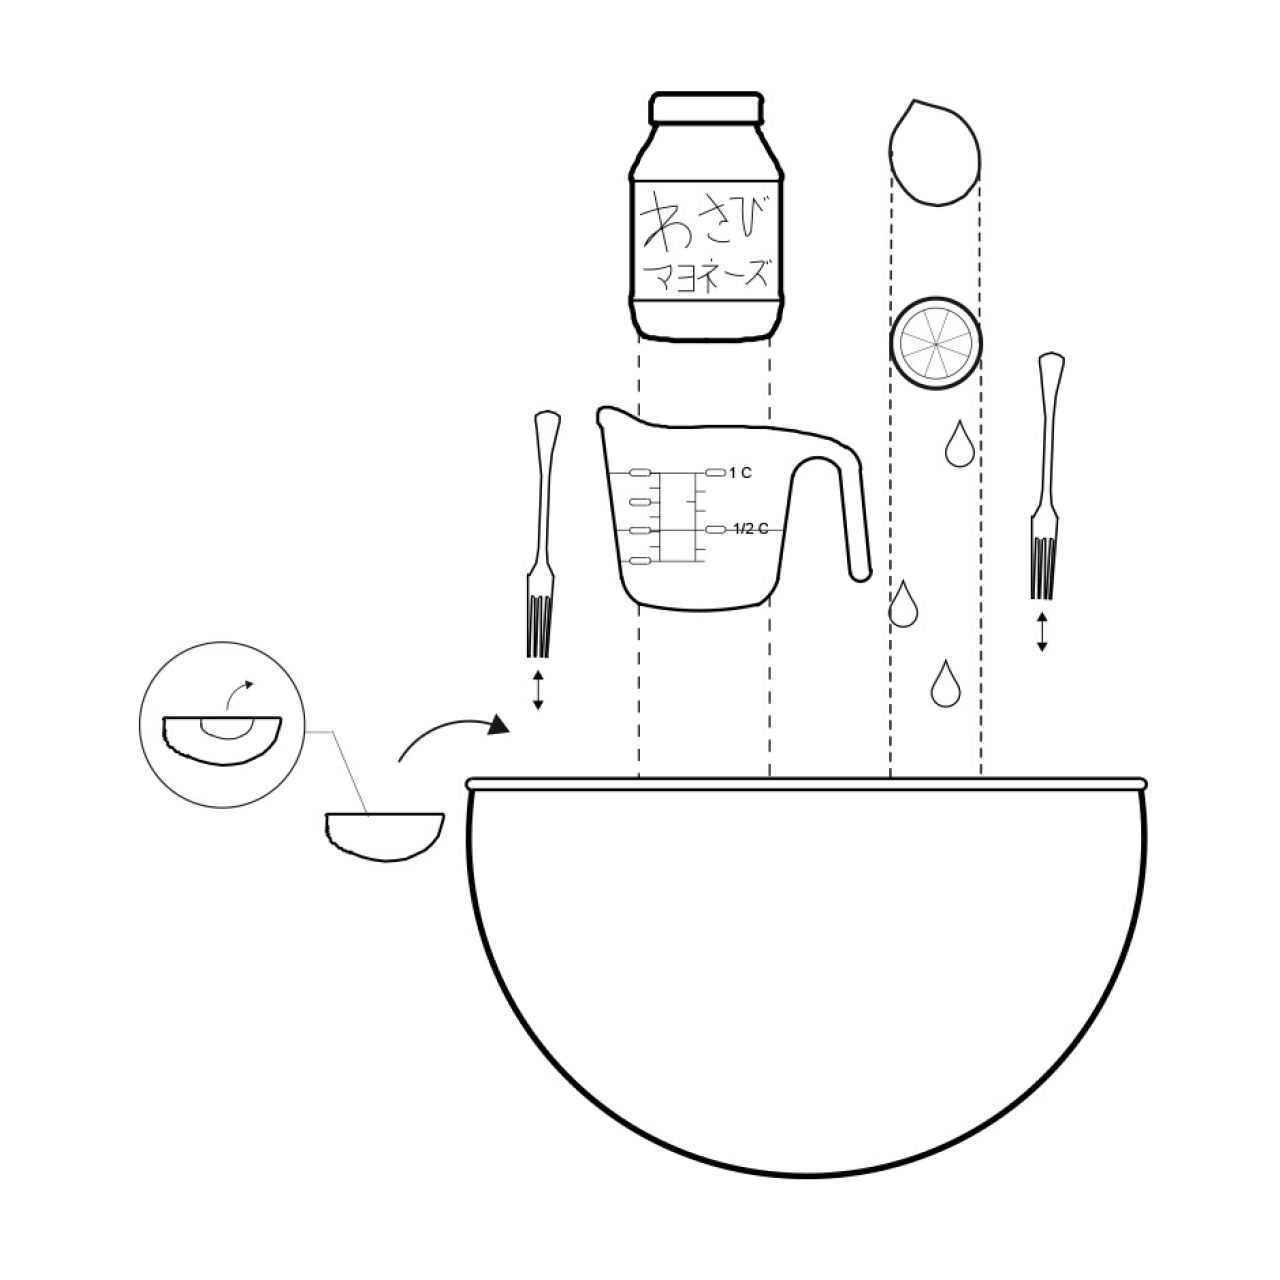
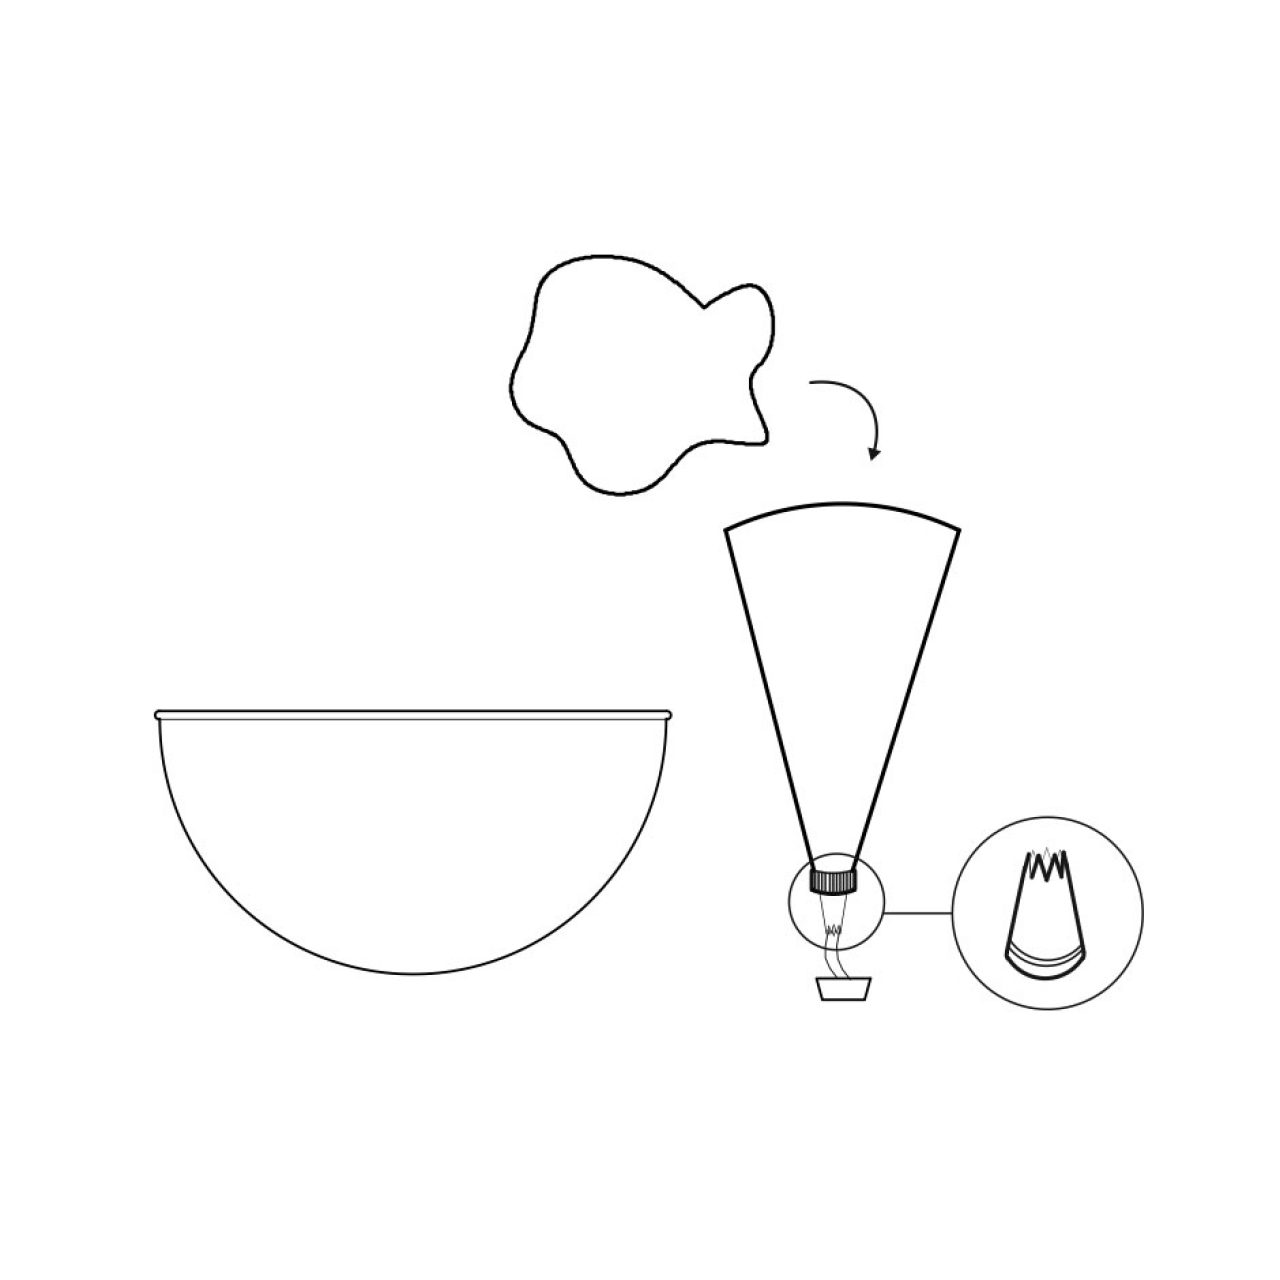
Pipe or spoon filling into whites. Garnish with chopped chives.