Citrus-marinated Hamachi Crudo

This recipe was adapted from the actual one I prepared with my team for the 2013 Solar Decathlon: a biennial competition sponsored by the D.O.E.(US Department of Energy). The competition challenged selected 20 collegiate teams around the world to design, build, and operate 1,000 square foot solar-powered houses that were affordable, energy-efficient, and innovative. In 2013, USC was one of four teams selected to represent California. The 10 categories consisted of: Architecture, Market Appeal, Engineering, Appliances, Affordability, Comfort Zones, Hot Water Usage, Communication, Home Entertainment, and Energy Balance. During my fourth year at USC, I was selected to participate in the Home Entertainment team. Our team focused on celebrating California weather and cuisine. How… appropriate for me, right?

For the Decathlon, we had to prepare two dinner menus and a movie night. In preparation for the actual dinner,Suzanne Tracht, head chef and owner of L.A’s Jar Restaurant taught us how to prepare a variety of dishes in the kitchen. 4 years from then, I presented this pecha kucha lecture at USC and after reuniting with some professors, thought about the recipes we used.  Gary Paige, the co-director of the competition, resent me our recipes that we developed, and I made alterations based on what’s available this season. Although this looks like sashimi, it’s actually crudo! Sashimi emphasizes the purity of the fish’s flavor (soy sauce is a huge insult to the chef), while crudo is an Italian way of preparing raw fish and typically involves marinating the fish and infusing the flavors of oil and other ingredients into the fish.

My aunt and uncle came over a few Saturdays ago, and I wanted to show them my gratitude by serving them this recipe.  It was… an awfully expensive appetizer (I’ve never spent so much money on seafood/meat), but it looked beautiful and was truly refreshing while the weather’s been warming up. Although it’s really meant for more like 6 people and was painful to consume with all the other dishes we had, we finished it to the very last pomegranate seed and they loved it. As long as guests are pleased, right? I think this hamachi crudo is a winner.

CITRUS-MARINATED HAMACHI CRUDO
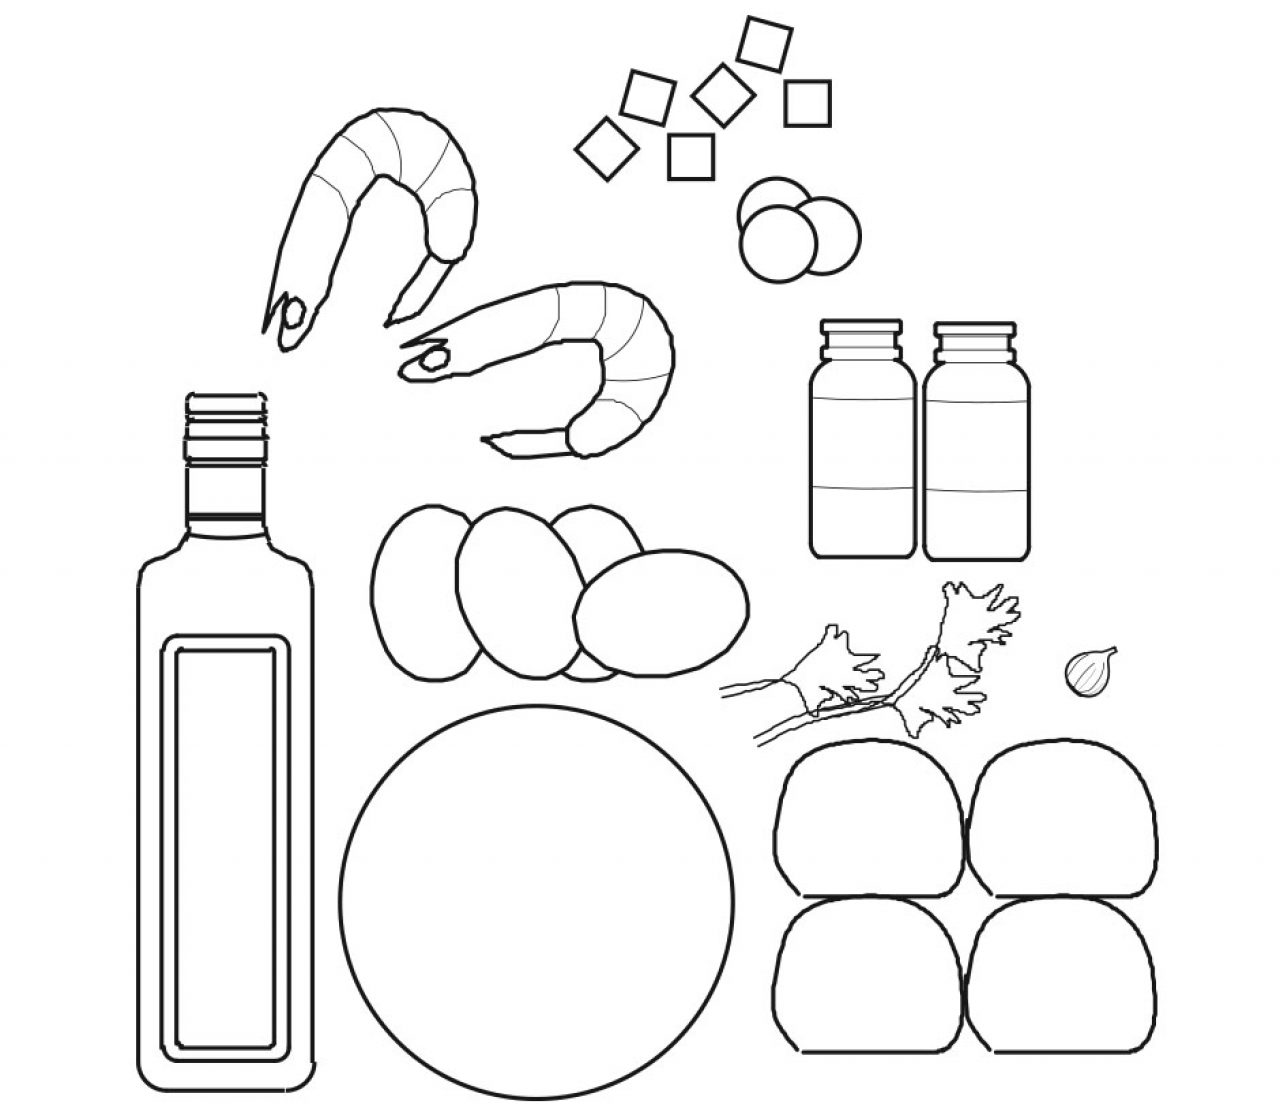
Ingredients

Preparation Time
10 minutes
Ready In
1 1/2 hour
Serving Size
6
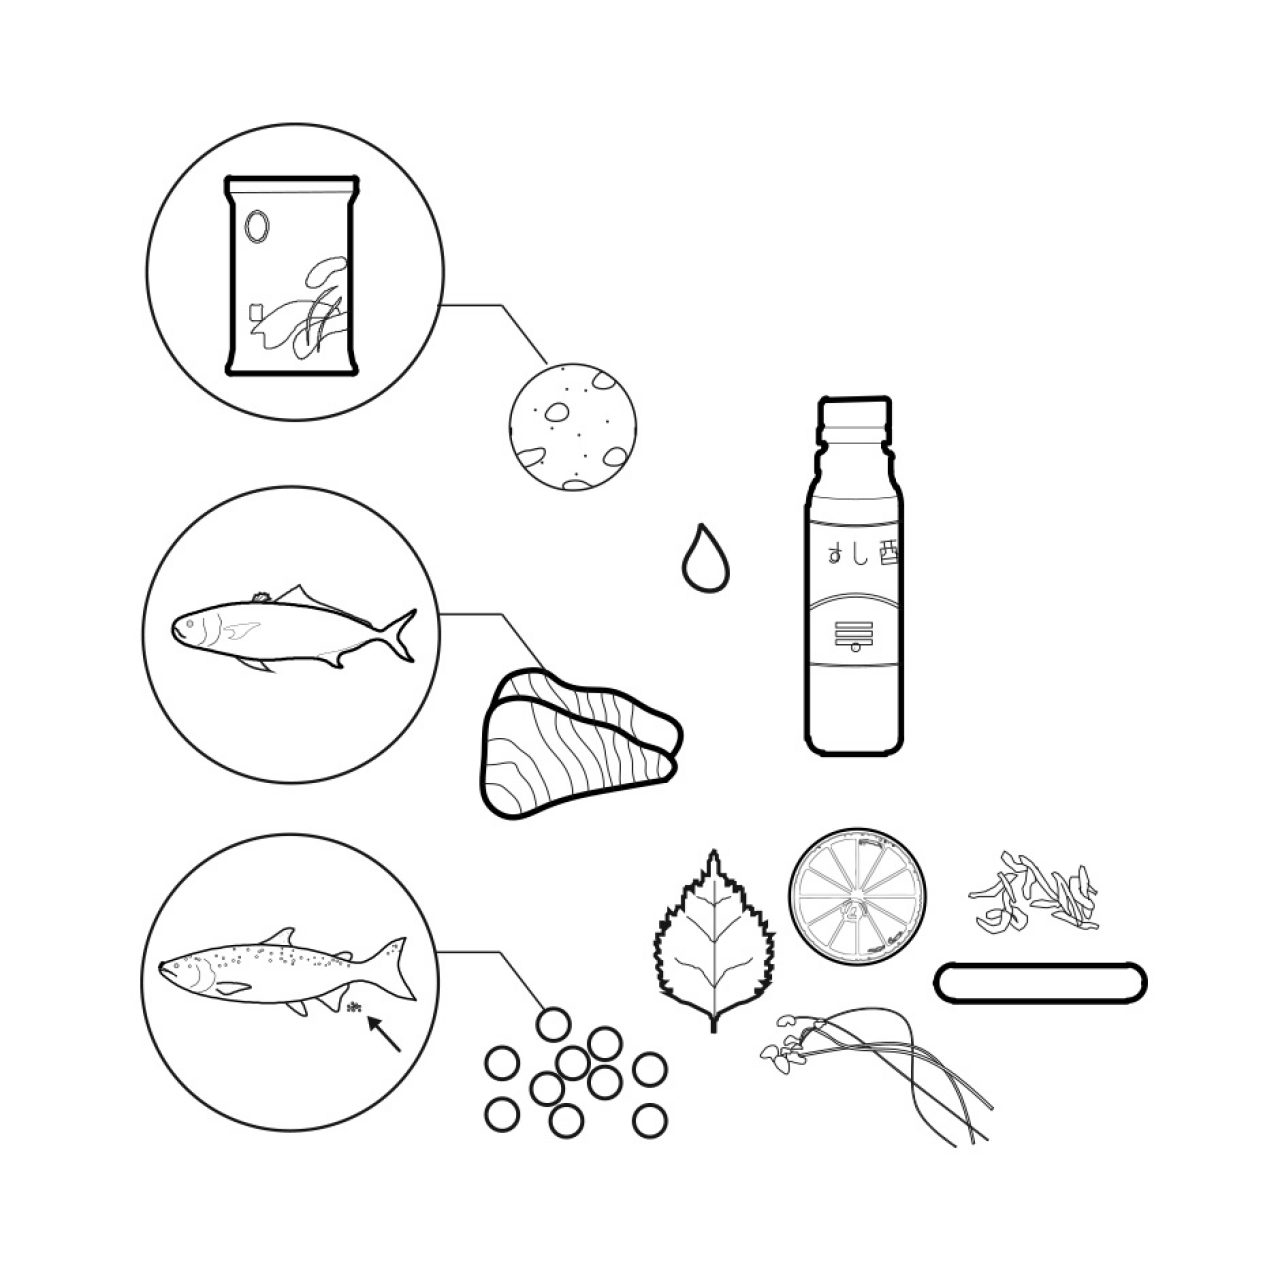
  • 1 lb. fresh hamachi (or other fish), sushi grade
  • 1 grapefruit
  • 1 lemon
  • 1 pomegranate
  • 1 shallot
  • 1 avocado
  • 1/2 C roasted pistachio nuts, chopped
  • 2 tbsp. avocado oil
  • 1 small bunch micro greens or chervil, for garnish

Directions

Step 1.

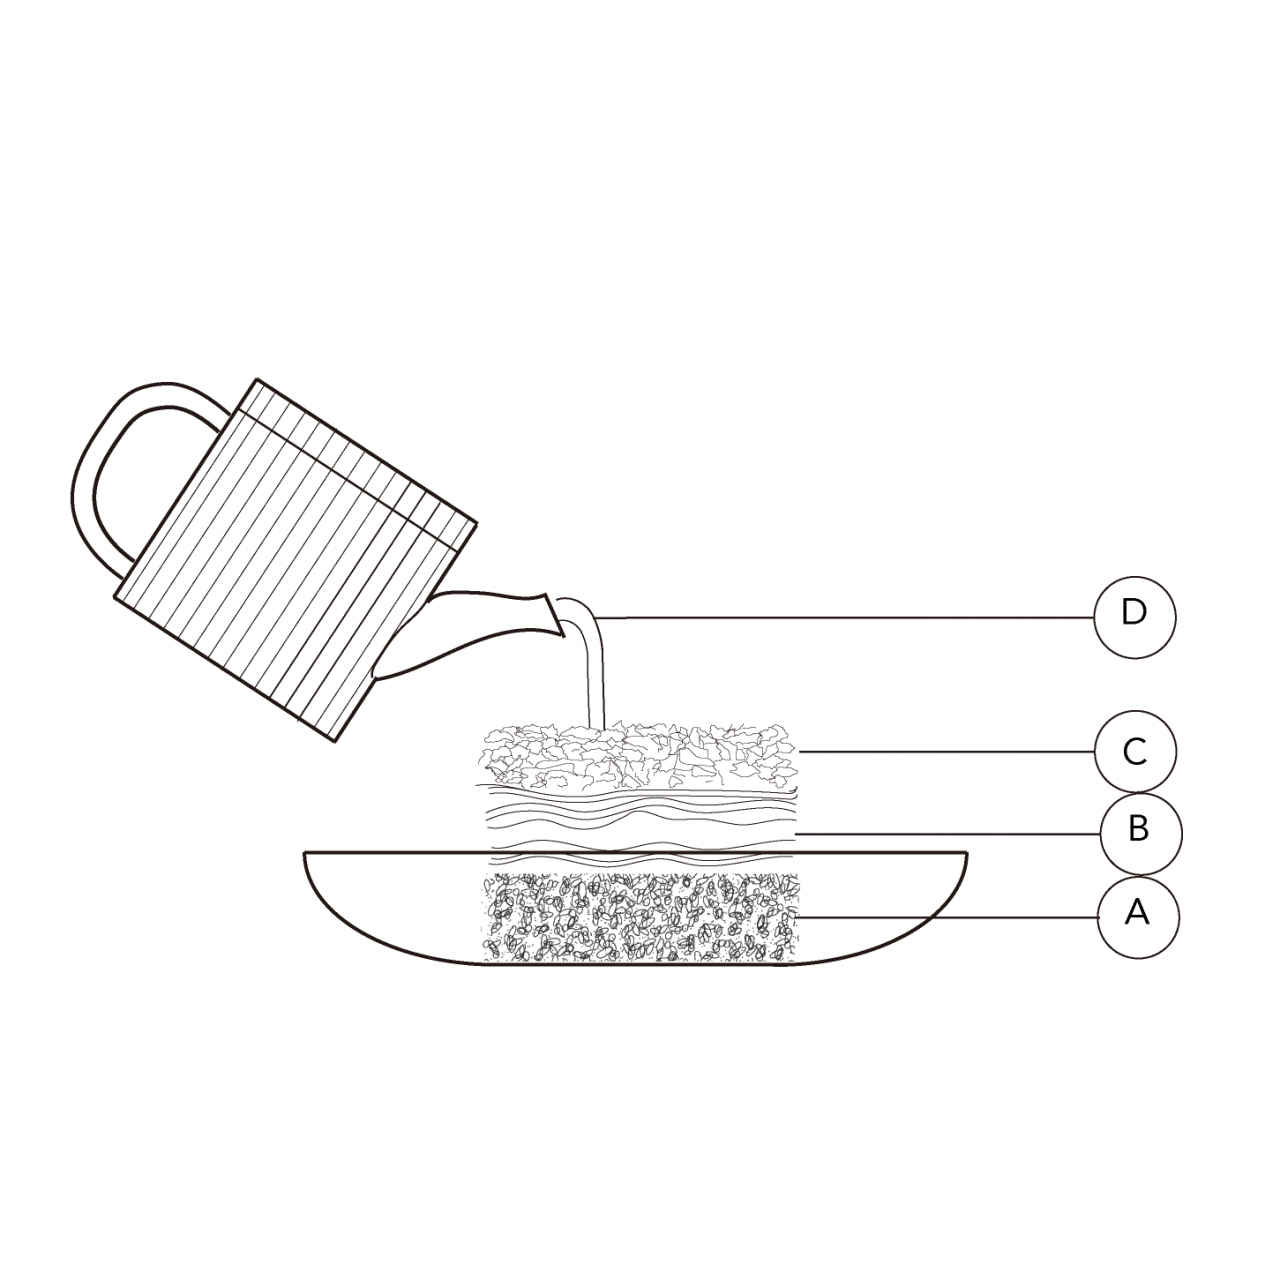
Prepare the crudo by carefully peeling the grapefruit skin off and removing 10-12 grapefruit supremes. Slice the avocado in half, seed the avocado, and dice the avocado halves into small cubes. Slice the shallots into thin slices. In a medium bowl, mix the juice from one lemon and add the grapefruit supremes, chopped avocado cubes, and thinly sliced shallots.  Lightly toss in pomegranate seeds and 2 tbsp. pistachio oil. Mix thoroughly.

Step 2.

Slice the fish into thin fillets. Marinate the fillets in the citrus juice for about 1 hour.


Step 3.

Roast the pistachio nuts in the oven for a few minutes at 350F for 5 minutes.

Step 4.

Spread the marinated citrus crudo onto a plate. Toss over roasted pistachio nuts and garnish with sprigs of chervil or microgreens. Serve immediately, or chill in fridge until ready to serve.

Oshizushi Cubes

Throughout mid/end of 2014, back when I worked for Itoya in Ginza, I’d regularly purchase this oshizushi bento box of packed sushi cubes from Matsuya, an upscale Japanese department store  just down Chuo-Dori, the major street I worked at . I wish I can tell you which exact food stand I’d buy it from, but I forgot the name and only remember how to get to it visually. They also sold the same exact box at Tokyo station, my hometown train station (Futako Tamagawa) and I’d sometimes pick it up there as soon as I got off my train from work… I’m pretty sure all locations still serve them today. Anyway, that oshizushi bento box was (barely) affordable while I struggled with a $30k salary and it was a huge inspiration for my culinary pursuits – to precisely measure/cut/pack my food… and after stopping by Marukai a few weeks ago, a Japanese Supermarket in LA and the O.C., and passing by the fish selection, I realized I probably could and should make my own especially since I missed it so much.

So I ordered an oshizushihako (押し寿司箱), a pressed sushi mold box, from Amazon. It comes with 3 parts: the bottom stand for where you place your first layer of ingredients, then the side walls to contain all the ingredients, and the top lid with handles for you to press all the ingredients down on. Now, the mold comes in both plastic and wood, but I prefer the traditional wooden one. You can buy them at Marukai for $30…or… Amazon for $20! (link to the right..)

OH and by the way, the pecha kucha lecture I presented at USC about The Chef Charette has been uploaded and you can watch it here from 1:36…. things are happeninggg!!!

At Marukai I picked up 3 types of sashimi to experiment with: maguro, salmon, and hamachi. Since this was my first time, I tried the cheapest first: maguro…and miserably failed. (I regrettably didn’t take photos of my ugly fails for the fails page I plan to include in the future), then tried salmon and kinda improved. Thank God for my mom’s help and tips because the hamachi came out prettiest. Some major tips: 1) Get your ratios and timing down for your rice (water, rice, vinegar) 2) Cut with a hella sharp knife 3) Press all ingredients down with ALL of your strength to keep everything really dense and tight. Hard work pays off… really. This is probably the meal prepared of that I’m most proud of with my mom. Jeez, I miss you Japan. After you top it all off, you can add toppings like tsukemono (漬物)some pearl-y sake ikura (鮭いくら)…salmon caviar. Really,  if it’s my last day on Earth, sake ikura on top of my stacked ochazuke and probably these oshizushi cubes would be my last meal.

OSHIZUSHI CUBES

Ingredients

Preparation Time
20 min.
Cooking Time
1 hr
Ready In
1 1/2 hr.
Serving Size
2-4 servings

Special Equipment

Directions

Step 1.

Prepare the sushi rice by filling your rice cooker with 2 C short grain rice and 4 C water.

Step 2.

Once rice is cooked, transfer all the rice into a wooden steamer or container and stir in the 2 C of sushi rice vinegar. Dip your rice paddle in water so that it’s easier to work with. Cover wtih a cheesecloth or towel and let the mixture soak together for 30 minutes. If it still feels too dry, add more sushi vinegar.

Step 3.

Next, start preparing the oshizushi blocks by adding about 1/2″ of rice from the wooden steamer or container to the oshizushi box mold. Spread it evenly and press it down so it’s dense.

Step 4.

Next, spread the shiso leaves evenly. Make sure the rice is completely covered. Press it all down so it’s dense.

Step 5.

Add another layer of 1/2″ rice and spread it evenly and press it all down so it’s dense.

Step 6.

Add a thin layer of your selected sashimi slices and spread them all evenly and press it all down so it’s dense.

Step 7.

Remove the top and the sides of the box and carefully slice the sushi mold into 1 1/2″ cubes. Garnish as desired with the selected toppings. Repeat steps 1-7 for the remaining rice and ingredients and serve immediately.

Shrimp and Pancetta Migas

Phew, I can’t believe I’ve overcame my fear of cooking shrimp. I was always hesitant to work with raw meat in general, but today I did it!! I decided to bake a savory dish since I have so many sweet recipes, and I read about migas in my Japanese tapas book from Tsutaya. And wow, I didn’t realize shrimp was so easy to cook. Try to get it already deveined shrimp, so all you have to do is wash them and cook them!

What’s Migas? “Migas” is the Spanish word for crumbs. and in Spain they typically use stale bread and other ingredients. In Texas, they use tortillas/corn chips and eggs. So I decided to incorporate all of this into my own version by using chopped up soft and sweet, Hawaiian rolls. You can also you bread rolls. My mom and I shared this for our brunch, and it was enough to fill us for several other lunches…. thanks friends for also trying my dish and giving me feedback!

Ingredients

  • 3 cloves Garlic
  • 4 Eggs
  • 3 tbsp Oil
  • 2 cups Hawaiian rolls or dinner rolls, cubed at 1/2" x 1/2"
  • 2 Corn tortillas cut into 1/2" x 2" strips
  • 1/2 cup Shredded mexican cheese
  • 5 oz Chopped pancetta
  • 1/2 lb Shrimp, devined and rinsed
  • 1/4 cup Parsley, chopped
  • 1/2 cup Cherry tomatoes, chopped

Directions

Step 1.

Chop the dinner rolls into about 1/2″ cubes and slice the tortilla strips into about 4″ x 2″ strips.

Step 2.

Beat 4 eggs in a large bowl and then soak the dinner rolls and tortilla strips. Add the minced garlic, some salt and pepper. Allow it to soak for at least 30 minutes.

Step 3.

Preheat the oven to 425 and oil the bottom and sides of a 9″x9″ casserole dish.

Step 4.

Add the minced garlic, one tsp salt and one tsp pepper and stir to the mix.

Step 5.

Fill a casserole dish, at least about 9×9″ with this egg and bread mixture and add pancetta and shrimp over evenly.

Step 6.

Bake in the oven for about 20 minutes or until the shrimp is completely pink.

Step 7.

Remove from the oven and add chopped tomatoes and sprigs of fresh parsley.

Open Faced Smoked Salmon Sandwiches

Ahhh….don’t you love how smooooth smoked salmon is? and how healthy it is? Every time I eat smoked salmon, I feel like I’ll really power through my day. I added chives and wasabi to put a flavorful kick into the ordinary cream cheese as well. I also prefer chives over green onions/scallions because they’re much thinner and easier to mix into creams and delicately garnish. And OH THANK YOU SO MUCH KINIMOD for the gorgeous ceramic plate all the way from Australia!

Ingredients

  • 4-5 oz Smoked salmon
  • 4 slices Whole wheat bread
  • 5 oz Cream cheese, softened
  • 2 tbsp Wasabi paste (or more if desired)
  • 4 Shiso leaves (optional)
  • 1/4 Cup Chives, snipped
  • Black pepper to taste
  • Sea salt to taste
  • Lemon, sliced and zested

Directions

Step 1.

In a medium bowl, combine the cream cheese, chopped chives, wasabi paste, pepper, salt, and lemon zest until smooth.

Step 2.

Arrange 4 bread slices on work surface. Spread 2 tablespoons of the cream cheese mixture over each bread slice to cover.

Step 3.

Lay a slice of shiso leaf on top. Top with smoked salmon.

Step 4.

Using a 2-inch round cookie cutter, cut 3 or 4 circles out of each slice of bread.

Step 5.

Place a small dollop of the cream cheese mixture on top, squeeze some fresh lemon juice, and garnish with 2 pieces of chive.

Stacked Ochazuke

Last month felt as painful as giving birth to a baby sumo wrestler. No, I’m not pregnant, but for the amount of pelvic pain I had to endure, I could’ve busted a baby out. During one week in September, I felt like a baby Sumo was side-kicking me from inside my belly. During the last week of September, my interior design team called a taxi to take me to the nearest hospital.

Over the past few months, I’ve struggled in communicating with various Japanese doctors; I’ve had plenty of “Sorewa nandesuka? What is that? Ow, F-!” moments. The pain I feared most was being alone, completely covered in curtains, with unknown objects being inserted into places of pain in me I can’t see… by people I can’t understand. Yet I’ve learned over the years that the time of being in excruciating pain is the ultimate worst time to be afraid and frustrated. That is the crucial time to be strong and patient. Thanks to this old Japanese doctor with her magic drugs and support from my design team and you friends, I’ve slowly and surely recovered.

My previous coworker, Japanese brother Senda-san shipped to me this gorgeous chazutsu (tea container) and dashi (Japanese soup base) packet from Tsukishima. I decided to stay at home and stir Senda-san’s dashi broth in a 1:1 ratio with my genmaicha (green tea with roasted rice). And now, I’ve used this soothing broth to make something more flavorful and comforting for my belly and your belly. It’s called ochazuke.

Although this is a traditional get-well soon/cold-weather dish, anyone at anytime can benefit from ochazuke お茶漬け. The dish’s name consists of two words: Ocha (お茶) meaning tea, and zuke (漬け) meaning submerge…. Ochazuke is the healthy and delicate Japanese comfort meal that consists of green tea and dashi broth being poured on rice.

There are so many variations of this classic and the toppings are limitless. These ingredients can also be found in your local Japanese supermarket. Since I’m a devout fan of precise measuring, stacking objects, and consuming sake-ikura (salmon caviar) I’ve created this recipe to help heal and comfort our bellies.

Ingredients

Preparation Time
20 minutes
Cooking Time
40 minutes
Ready In
1 Hour
Serving Size
1-2 Servings
  • 2 cups Short grain rice
  • Furikake
  • 200g Salmon filet with skin on
  • Lemon salt (or kosher salt)
  • 2 cups Komatsuna (or other dark leafy vegetable)
  • Dashi broth packet
  • 1 cup Genmaicha or hojicha (types of green tea)
  • 1 Strip of nori (seaweed)
  • Sake-ikura (salmon caviar)

Directions

Step 1.

Cook the 2 C rice according to your rice cooker’s instructions. Meanwhile, prepare the salmon.

Step 2.

Sprinkle and rub in desired amount of salt on both sides of the salmon filet. Heat approximately 2 tbsp of oil into a frying pan and cook the salmon (skin down) until the skin crisps and browns. Continue to cook the salmon so that it browns on both sides. Remove from pan and shred into smaller pieces on a plate.

Step 3.

Once the rice has cooled, transfer about 1 C of cooked rice onto a shallow bowl. Mix in desired amount of furikake into the rice. Use a 2 1/2″ cookie cutter to cut out a 2 1/2″ disc for the rice / component A.

Step 4.

Prepare ochazuke broth and the komatsuna by boiling about 3 C water into a pot. Once the water begins to boil, place one dashi packet and one genmaicha packet (or other roasted green tea) for 5 minutes. Blanch about 2 C of vegetables into the pot, then separate the vegetables aside to dry with a paper towel. For easy pouring, transfer the broth to a teapot or bowl.

Step 5.

To assemble the first layer of ikura ochazuke, transfer about 1 C of cooked rice onto a deep plate. Cut out a 2.5 in. disc from it by using a 2.5 in. cookie cutter. Remove the remnants from the plate and continue to stack ingredients with this technique.

Step 6.

Add the strip of nori, a small dollop of ikura (or your favorite ochazuke toppings) and slowly pour desired amount of the broth. Itadakimasu!

Teapot and dinnerware from 4th market, kitchen towel from Lino e Lina, and wooden spoons delicately hand-crafted by and given from Tim Roberts.