Miso Mushroom Fettucini

Well, it’s been over a year and guess what? THECHEFCHARETTE.. IS BACK! Literally less than a month after my last post, NYC (and quickly everywhere else) was infected with a pandemic. While so many of my friends and family talked about all the great DIY activities they were going to pick up, I ironically decided to take a huge “sabbatical” to focus on other things including re-evaluating my blog.Why am I back – you may ask? Well, I’ve realized that I still love writing, venting, photographing, and – trying to mix up concoctions of different food (and beverages!) and want to kick things off with my latest: Miso Mushroom Fettucini.
And shit, not sure if this is TMI but I found out via this stick I peed on to surprise that.. I’M PREGNANT?! (Literally, re-lived that “blue means pregnant” in Kill Bill vol 1 scene in a surreal, completely non violent/hostile way) and re-reading the pregnancy test instructions in doubt, slight confusion, fear (because it is life changing), and astonishment. What’s worse than mis-reading results is telling your husband fake news you’re pregnant. But yes, through another test and at the gynecologist’s urine test in August, she confirmed I was 7 weeks pregnant and that the embryo was the size of a blueberry.


No, it wasn’t “unexpected” – because I wanted to get pregnant before or by my 30s, but damn, there are so many stories of hopeful pregnancies and it’s quite the sensitive topic that I am trying my best to be mindful and respectable for all these lovely people out there going all out and trying. During this pandemic I thought there would be a burst of babymaking left/right – but it’s been a really weird ass clusterf* past few years that it’s ironically been a huge dip. Life is still short and I (and Oly) have been trying our best to just keep pressing on rather than wait for everything and everyone to pass us by.

Also, to my amazement – is the fact that by my first OBGYN visit (9 weeks in)… we were able to get an ultrasound and listen to the baby’s heart beat. To realize that there’s a person GROWING inside me (then finding out that it’s a boy via email/a call) is… truly astonishing.


For those who have little knowledge about pregnancy, miscarriages usually happen within the first trimester (12ish weeks in). So we shared the news more publicly at our wedding (finally, we ceremoniously got married and in Playa Del Carmen, Mexico) with more friends (which I realize is hard for some to understand when they’re drunk) – but our lives have continued on.
Many ask me how my pregnancy is going (symptoms I presume) and now my baby is the size of an avocado, I tell everyone I’ve still been overall very fortunate and that the “worst” was waking up at 3AM to relieve myself while craving In-N-Out (a craving is worst when you have to wait ~7 hours to fulfill it and you can’t do anything about it but wait till it’s available)… on other days, I have to stretch out foot cramping or my aching when I swim, somehow fall (like I will explain in another post), or continue with my “lighter” routine morning jogs.
While I’ve also picked up more interest in (home)made doughs – specifically more pasta dough, Oly’s been homemaking me pizza (a huge thank you to Cheftofer and Anna), I’m so excited to share more news and my pregnancy journey through more “pregnancy-appropriate” recipes and blog entries with you all. I’ve been completely fine abstaining from drugs (hardly ever did anything) and alcohol from the past year honestly (not many know that it’s better to abstain from alcohol half a year-ish before trying to get pregnant). I was slightly sad that I had to abstain from raw fish, but am very excited for all these opportunities to focus my time and energy on people and things that bring me joy, strengthen my body in new ways, and rest well. Cheers and enjoy this miso mushroom fettucini (I highly recommend everyone to try hand-making pasta – it makes a huge difference!) Last but not least, huge shout out and thank you to Kokoro cares for sending me the best cooking care package from Japan.
Handmade Fettuccini (inspired by Tasty)
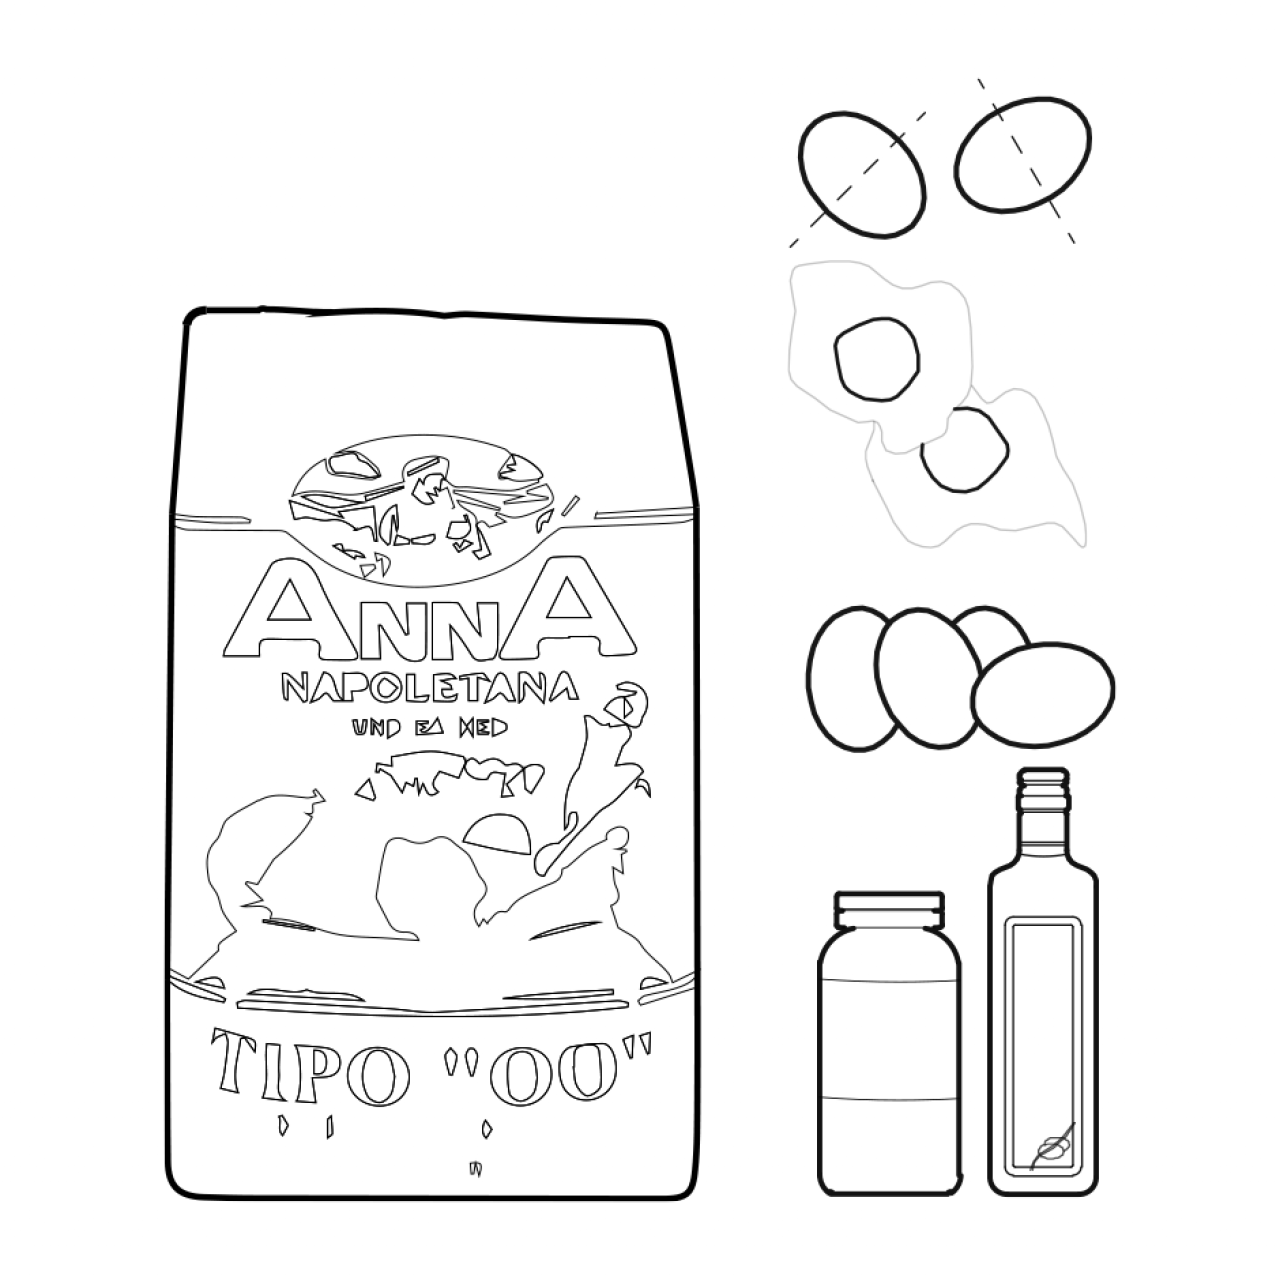
Ingredients
- 2 C 00 flour (or a mix of AP and 00 flour)
- 1 pinch salt
- 1 tsp extra virgin olive oil
- 4 lg eggs
- 2 lg egg yolks
Special Equipment
Directions
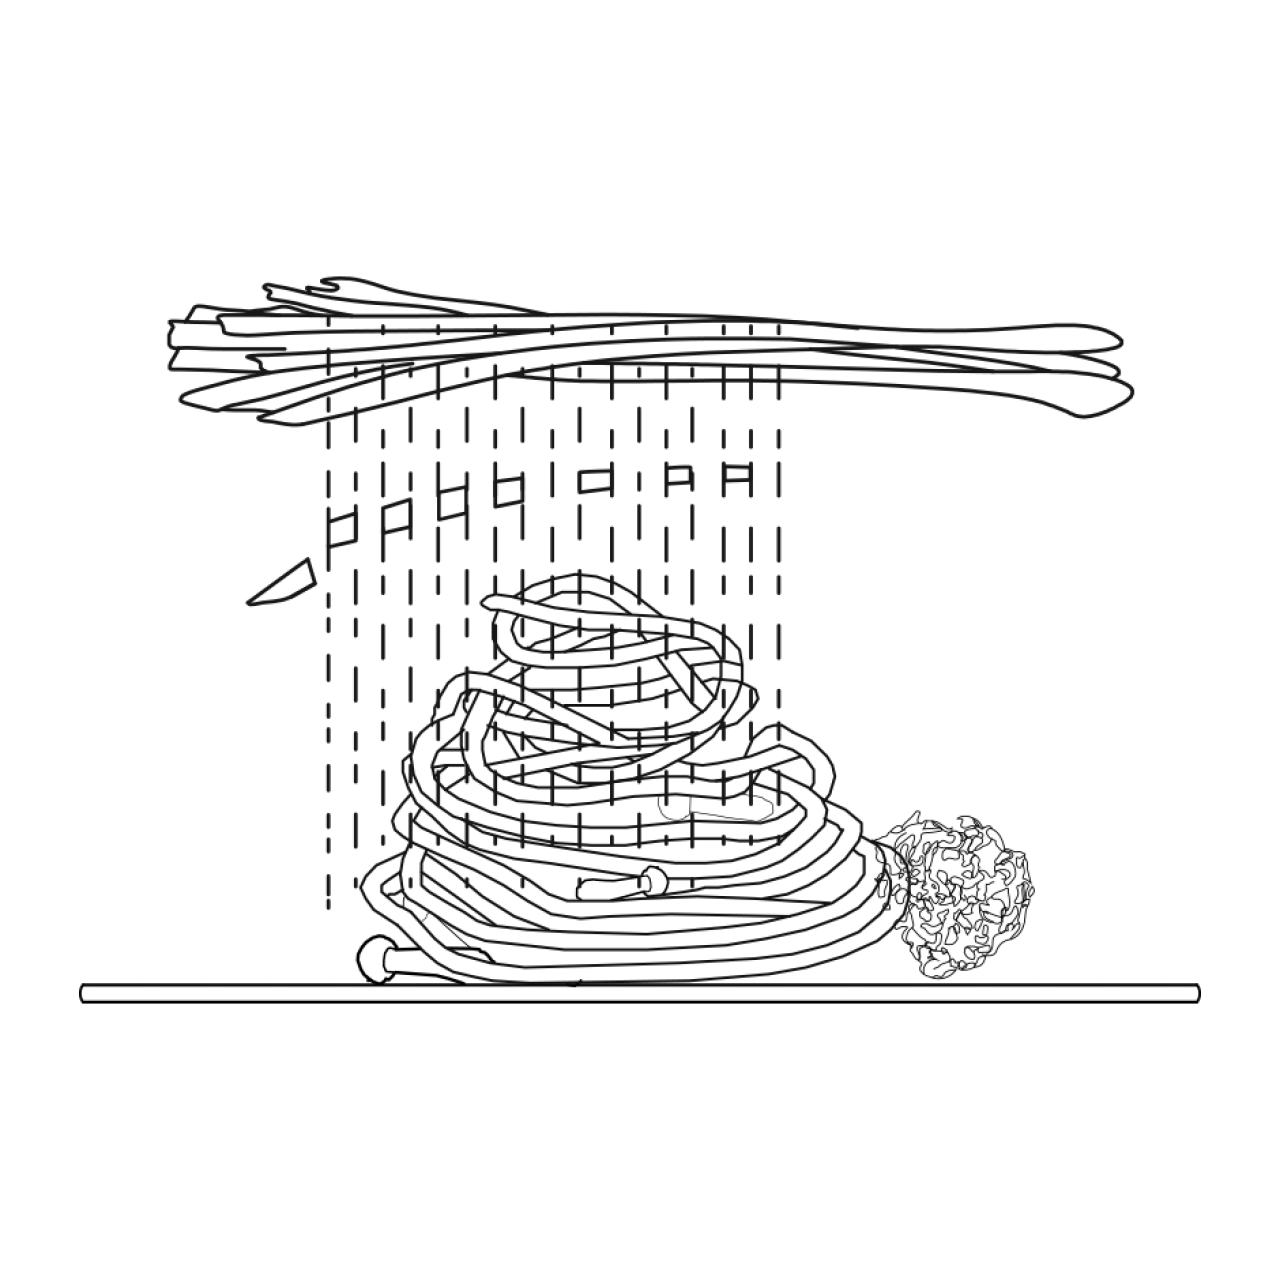
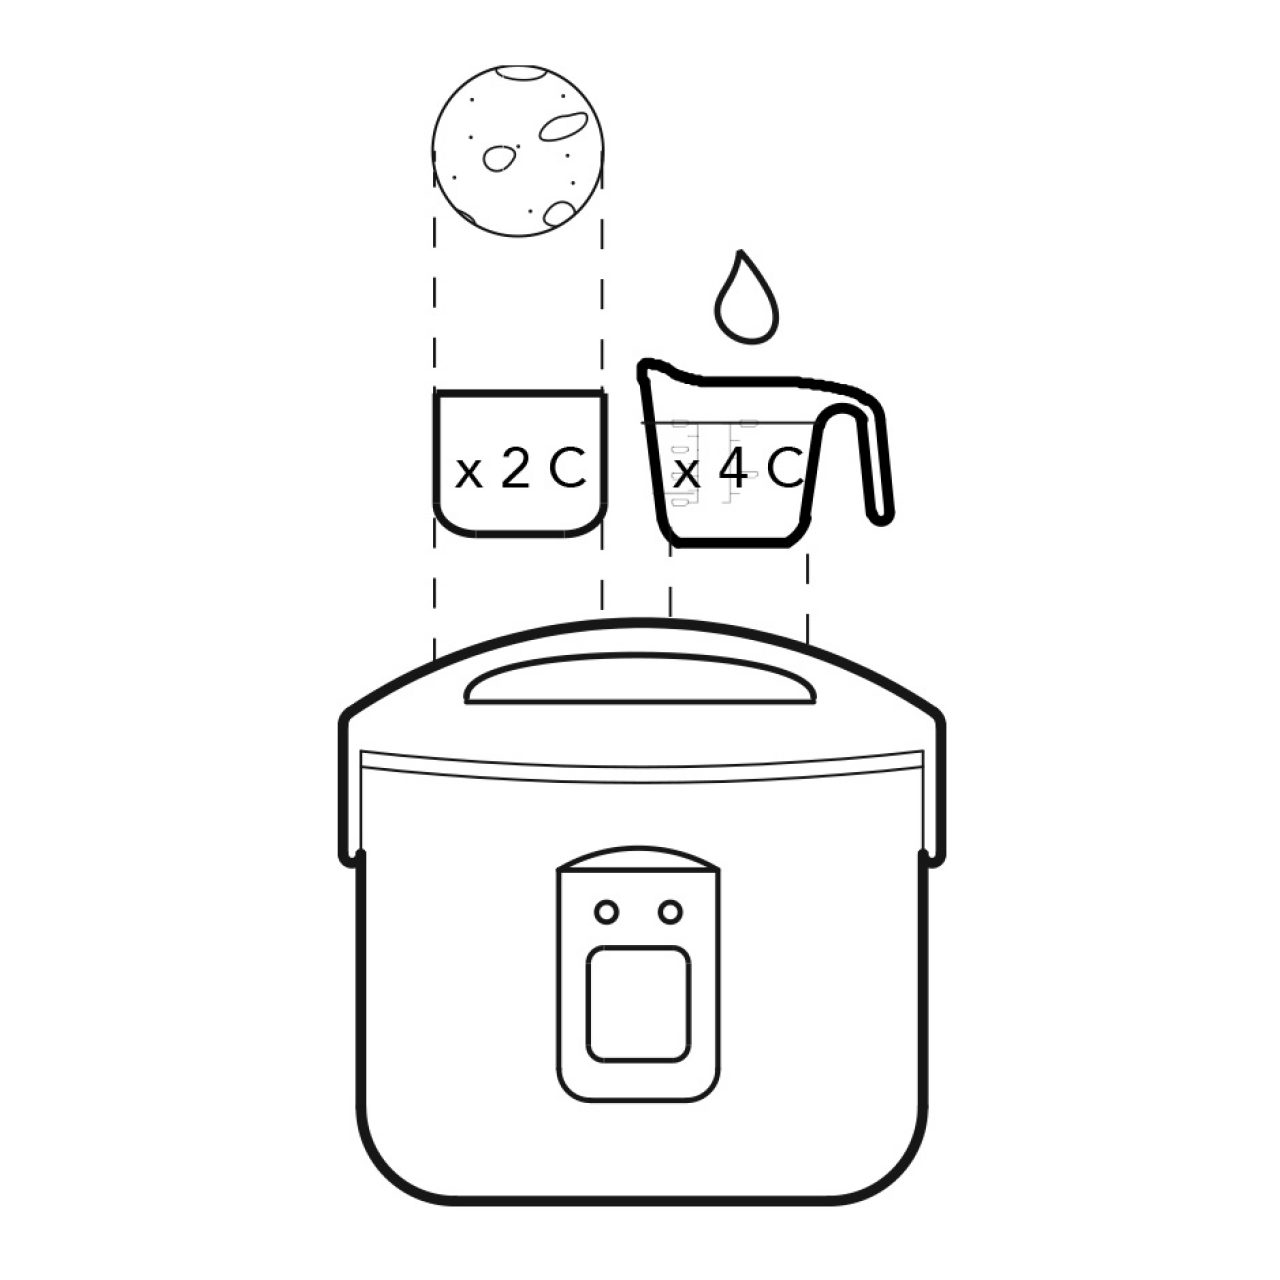
Prep 2 C 00 flour on clean working surface and create a well in the middle (like preparing for a volcano)
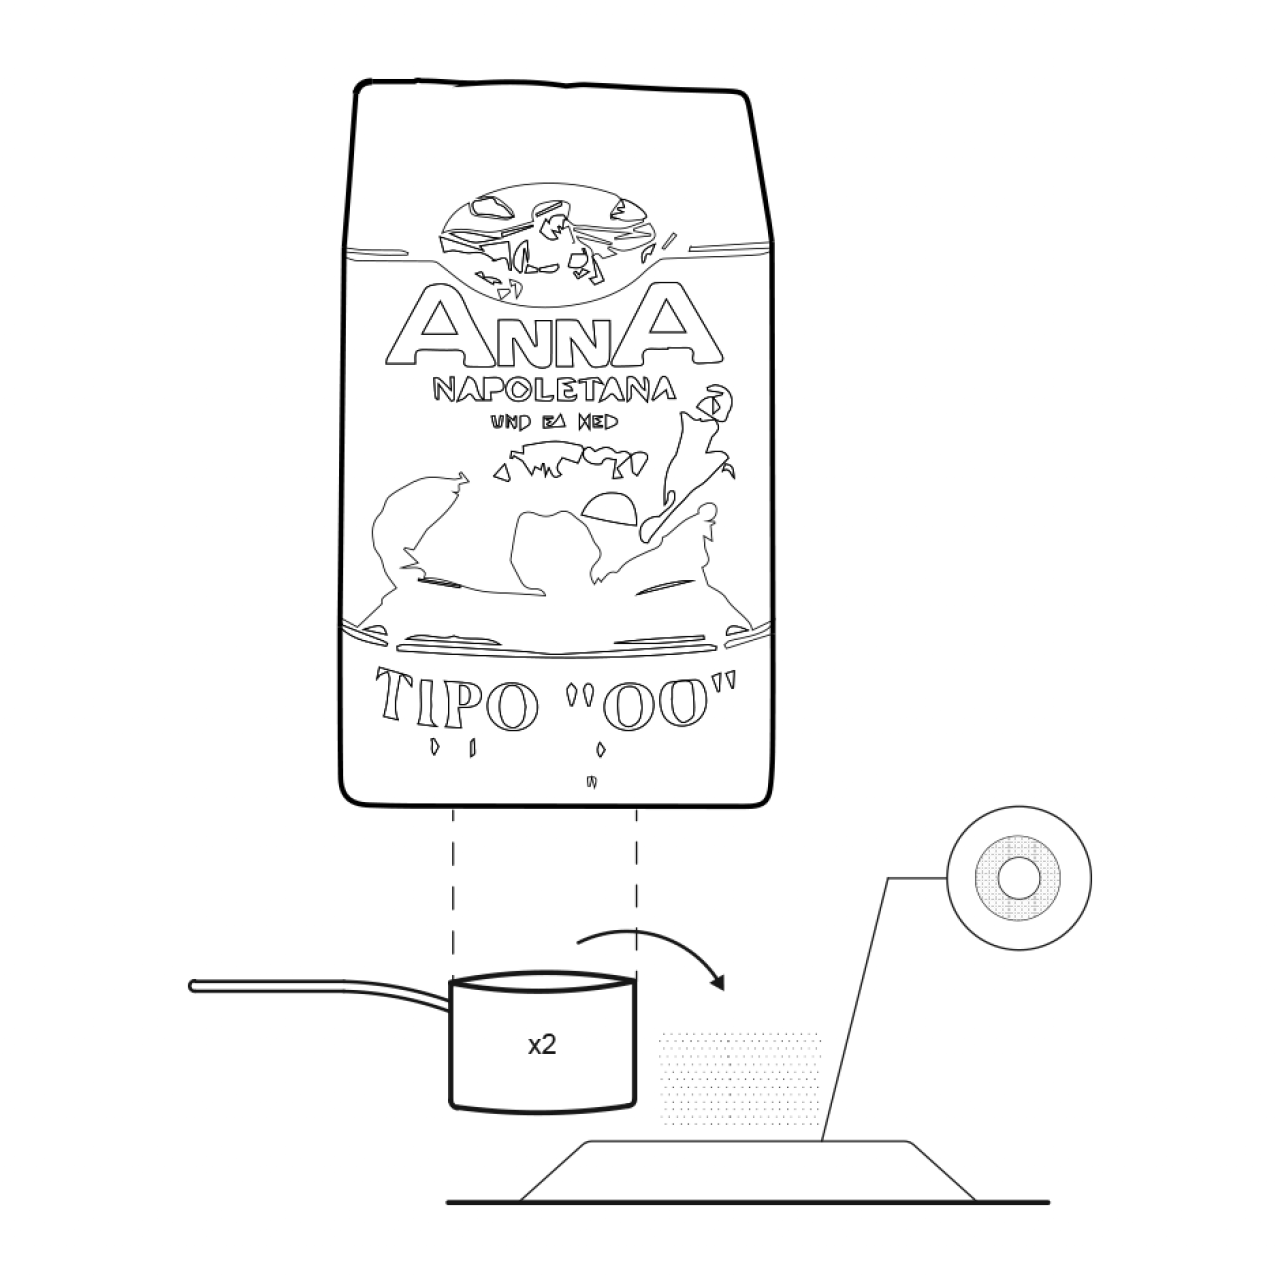
Add 4 lg eggs with 2 lg egg yolks and using a fork, whisk the eggs, egg yolk, and olive oil.
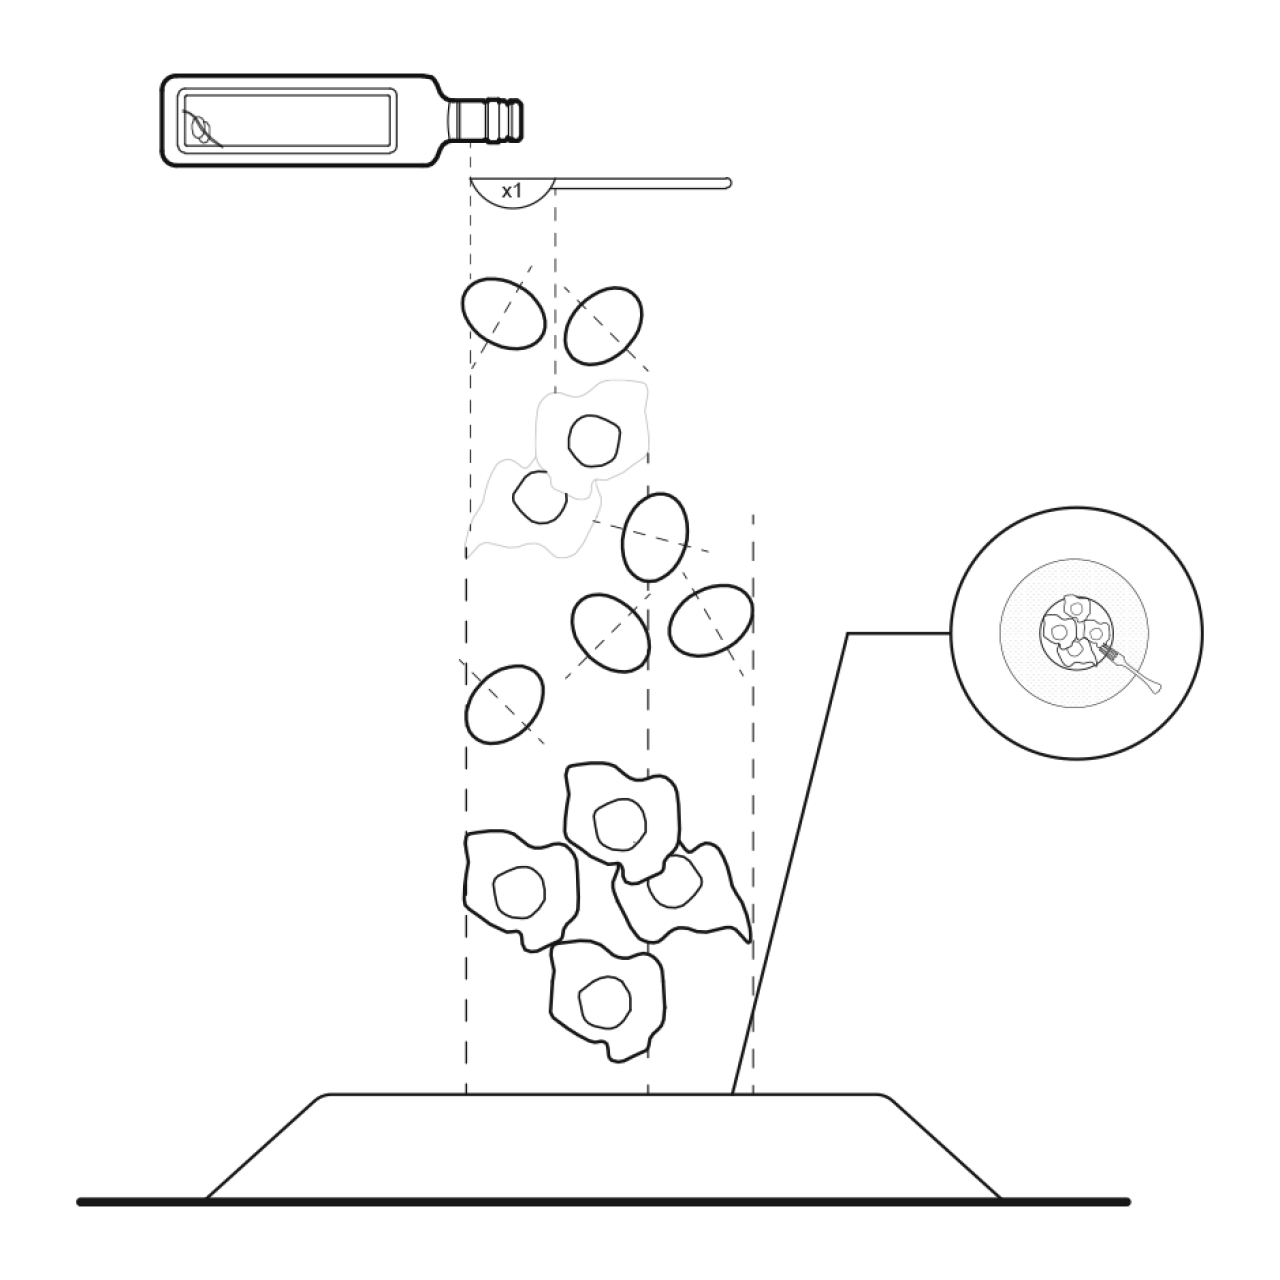
With the same fork, slowly incorporate flour into the mixture and carefully try to avoid breaking the well.
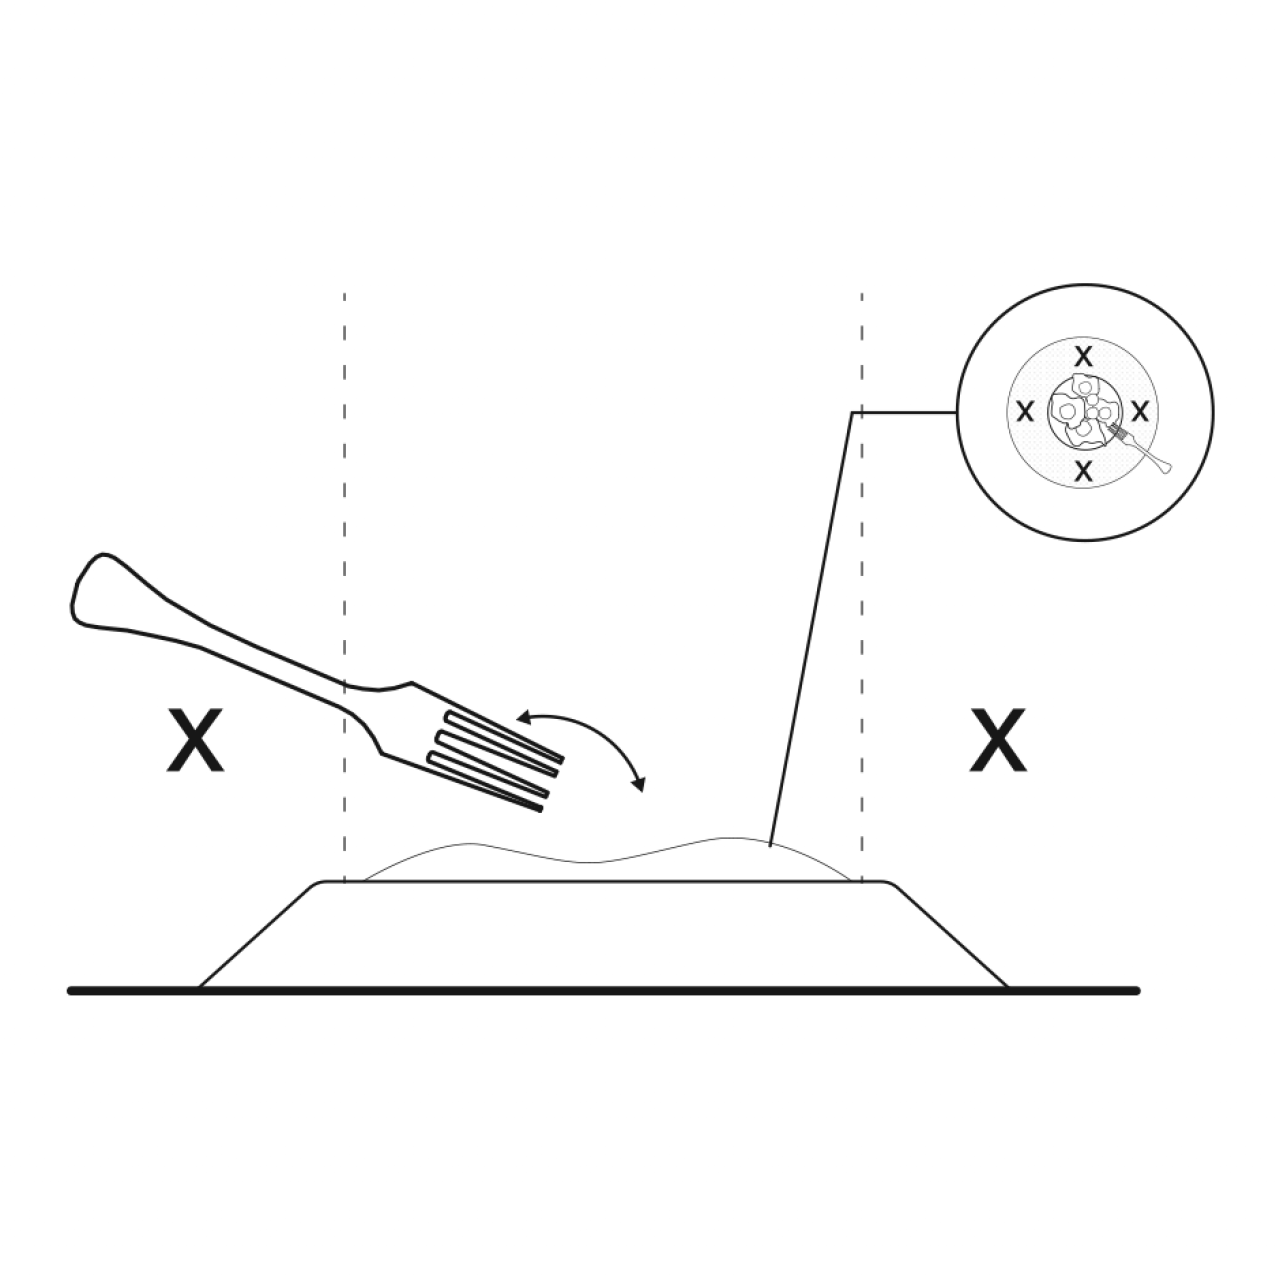
Once almost all of the flour is incorporated, carefully use your hands to start bringing the rest of the flour in.
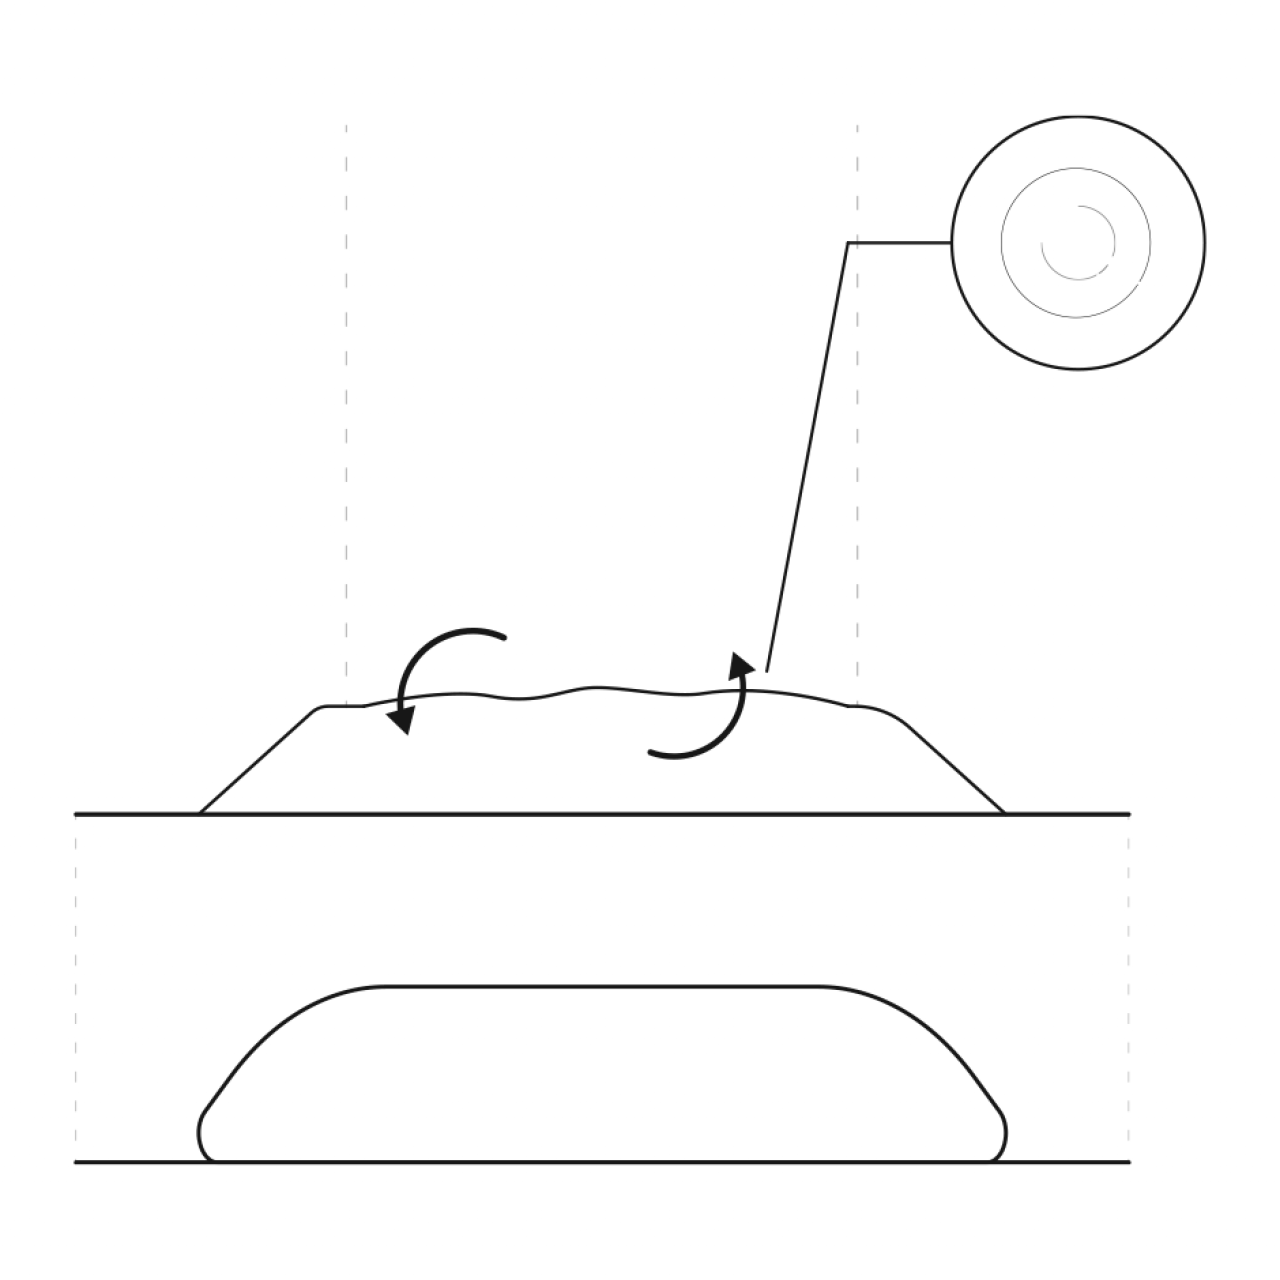
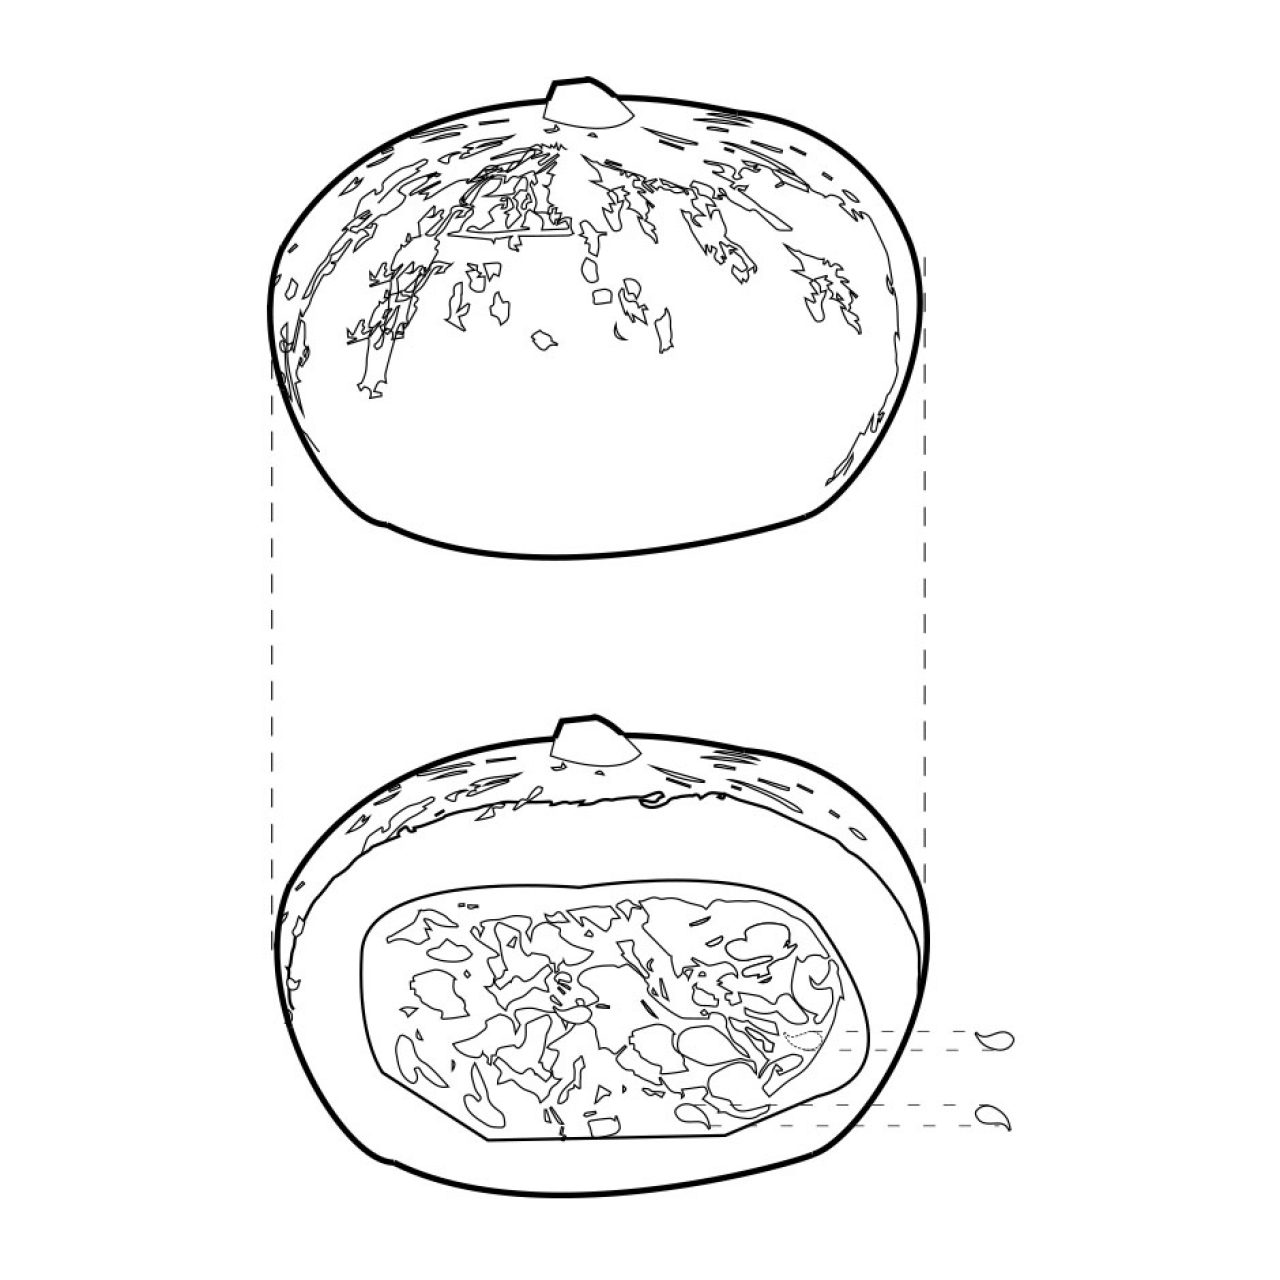
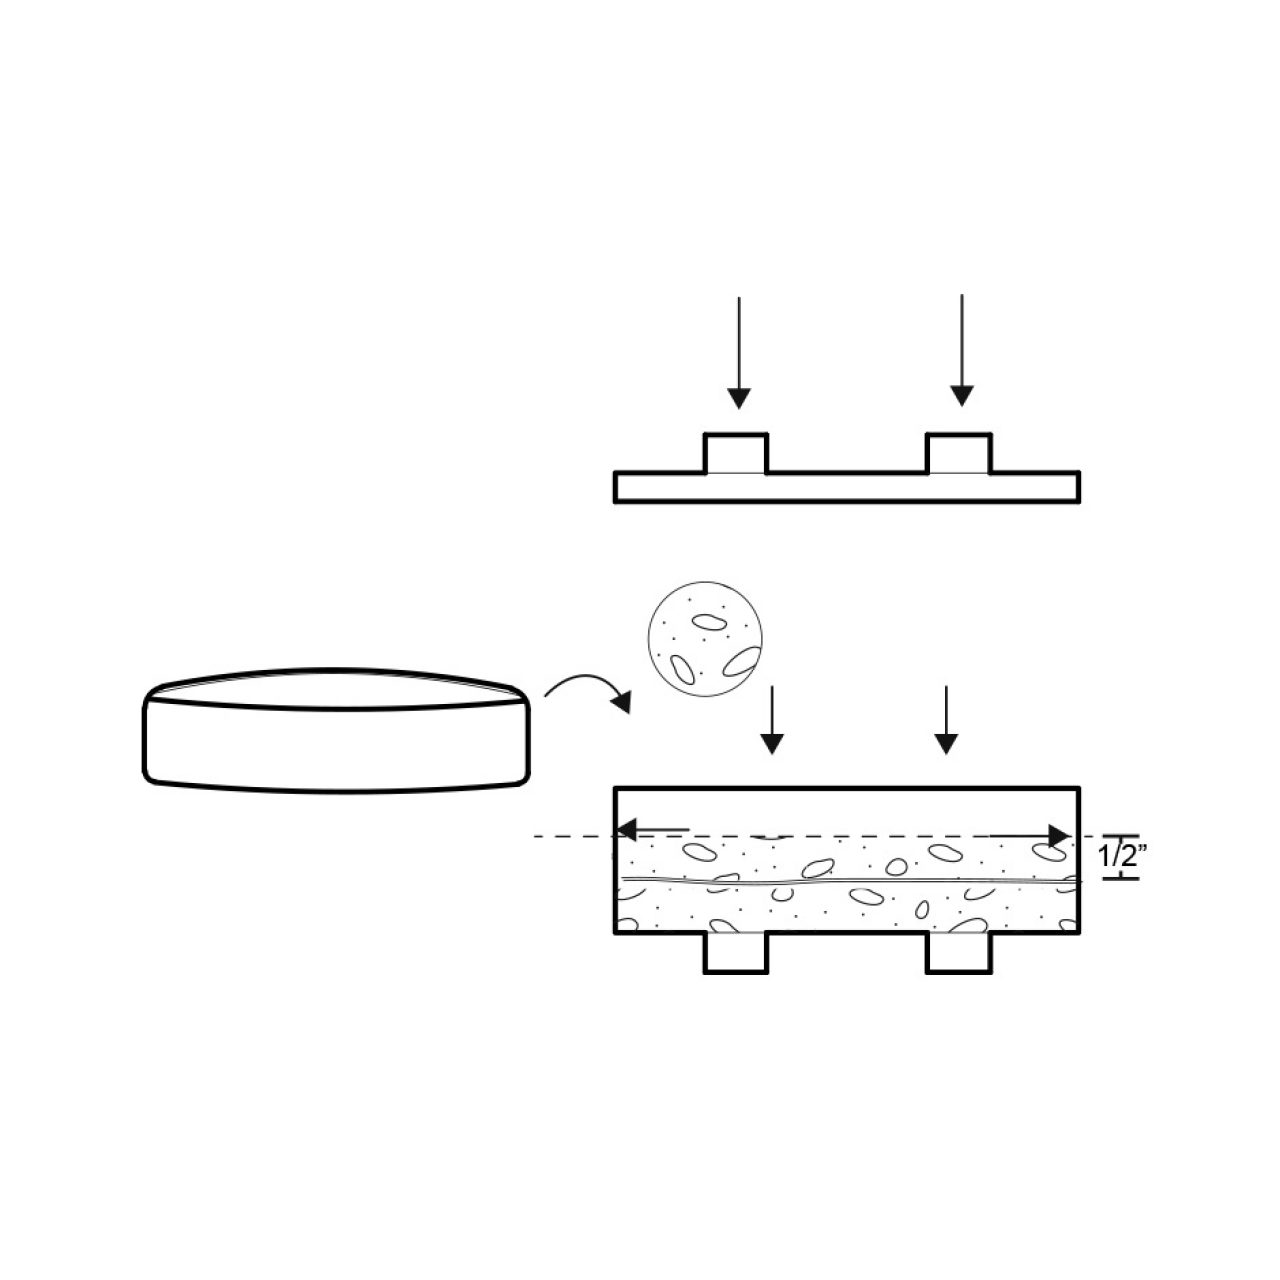
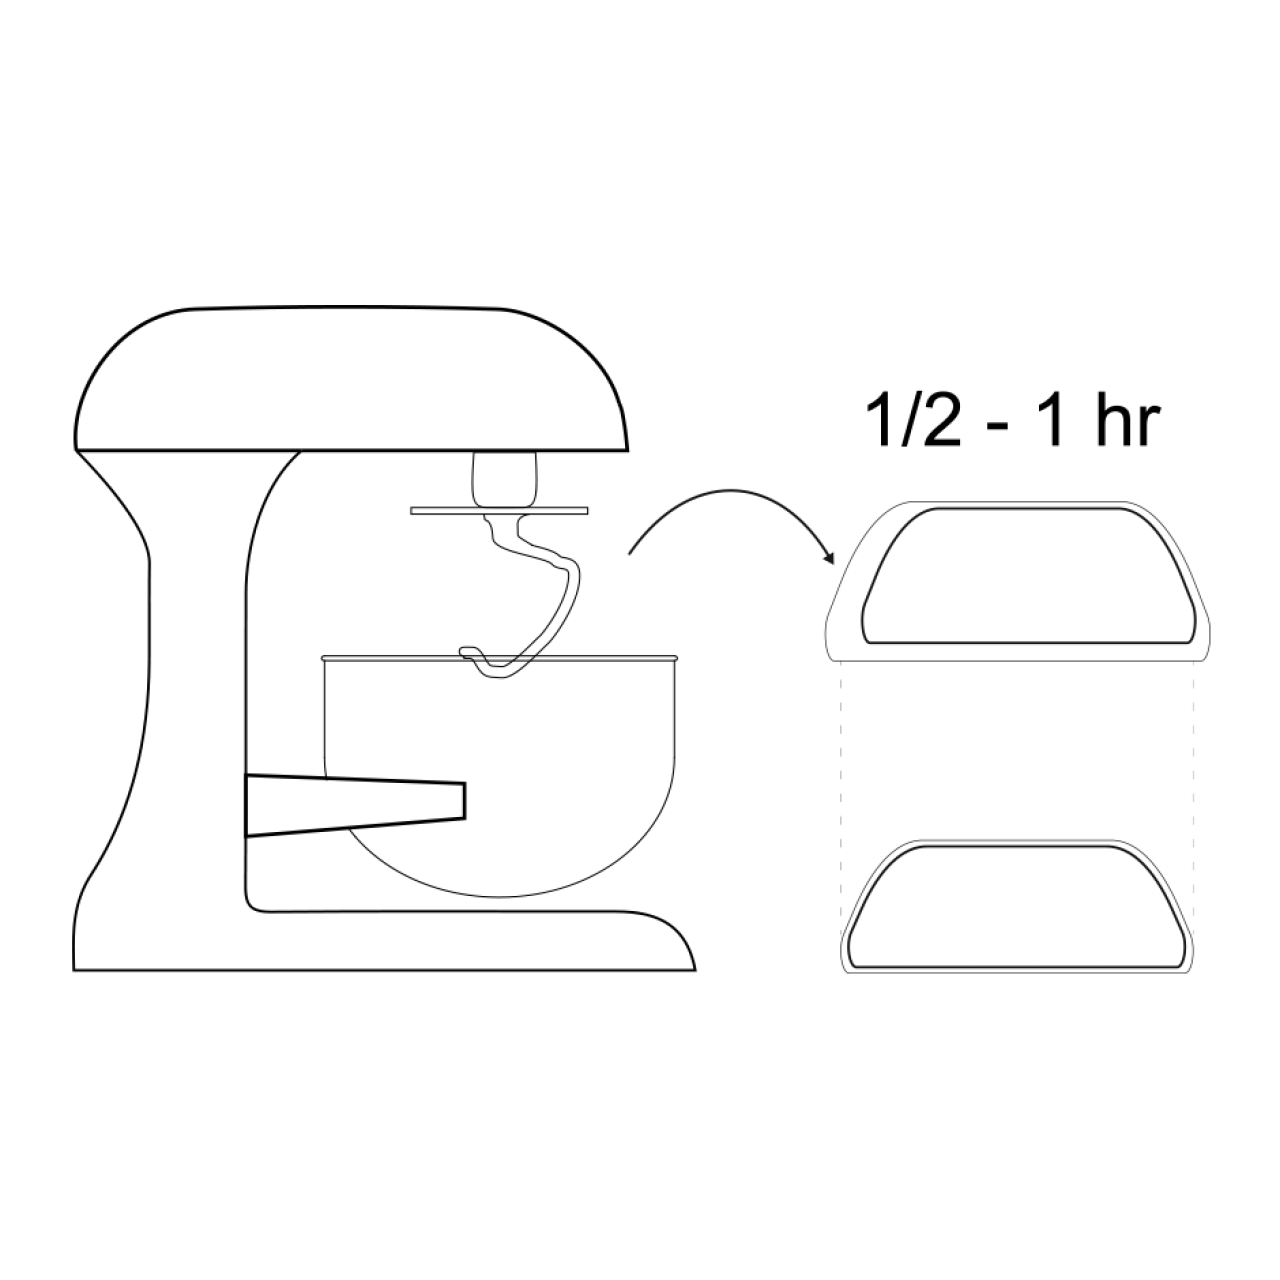
Knead the dough for 7-10 minutes by hand or using a Kitchenaid mixer with the pasta attachment. When you poke the dough, it should spring back.
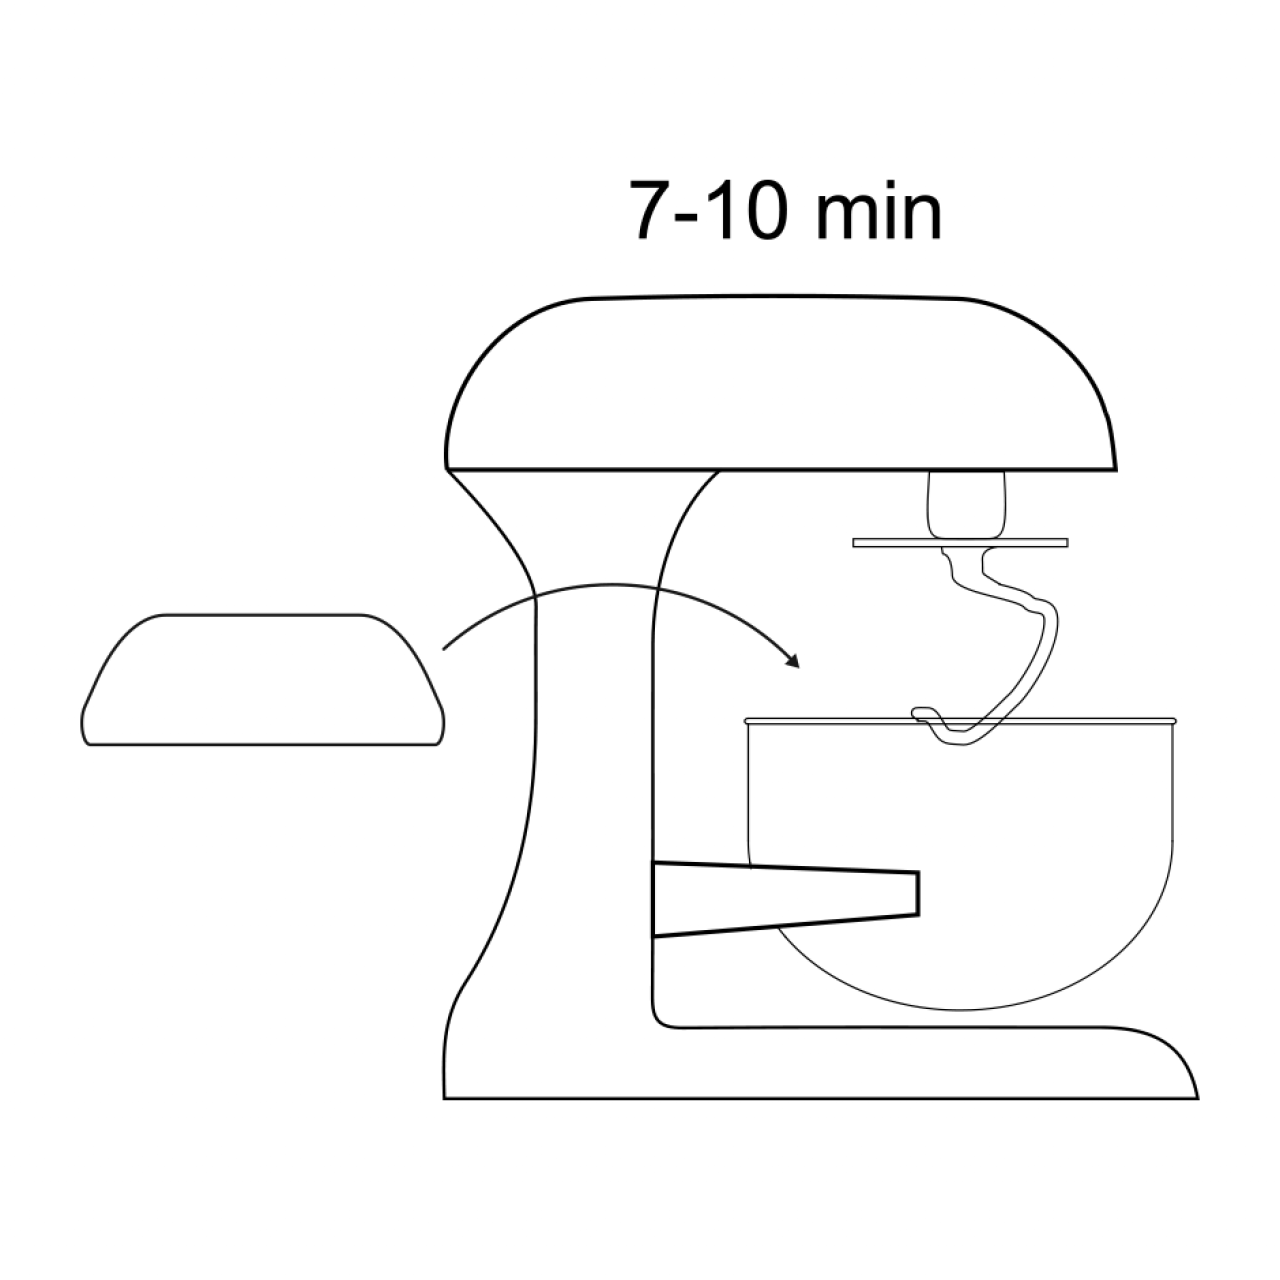
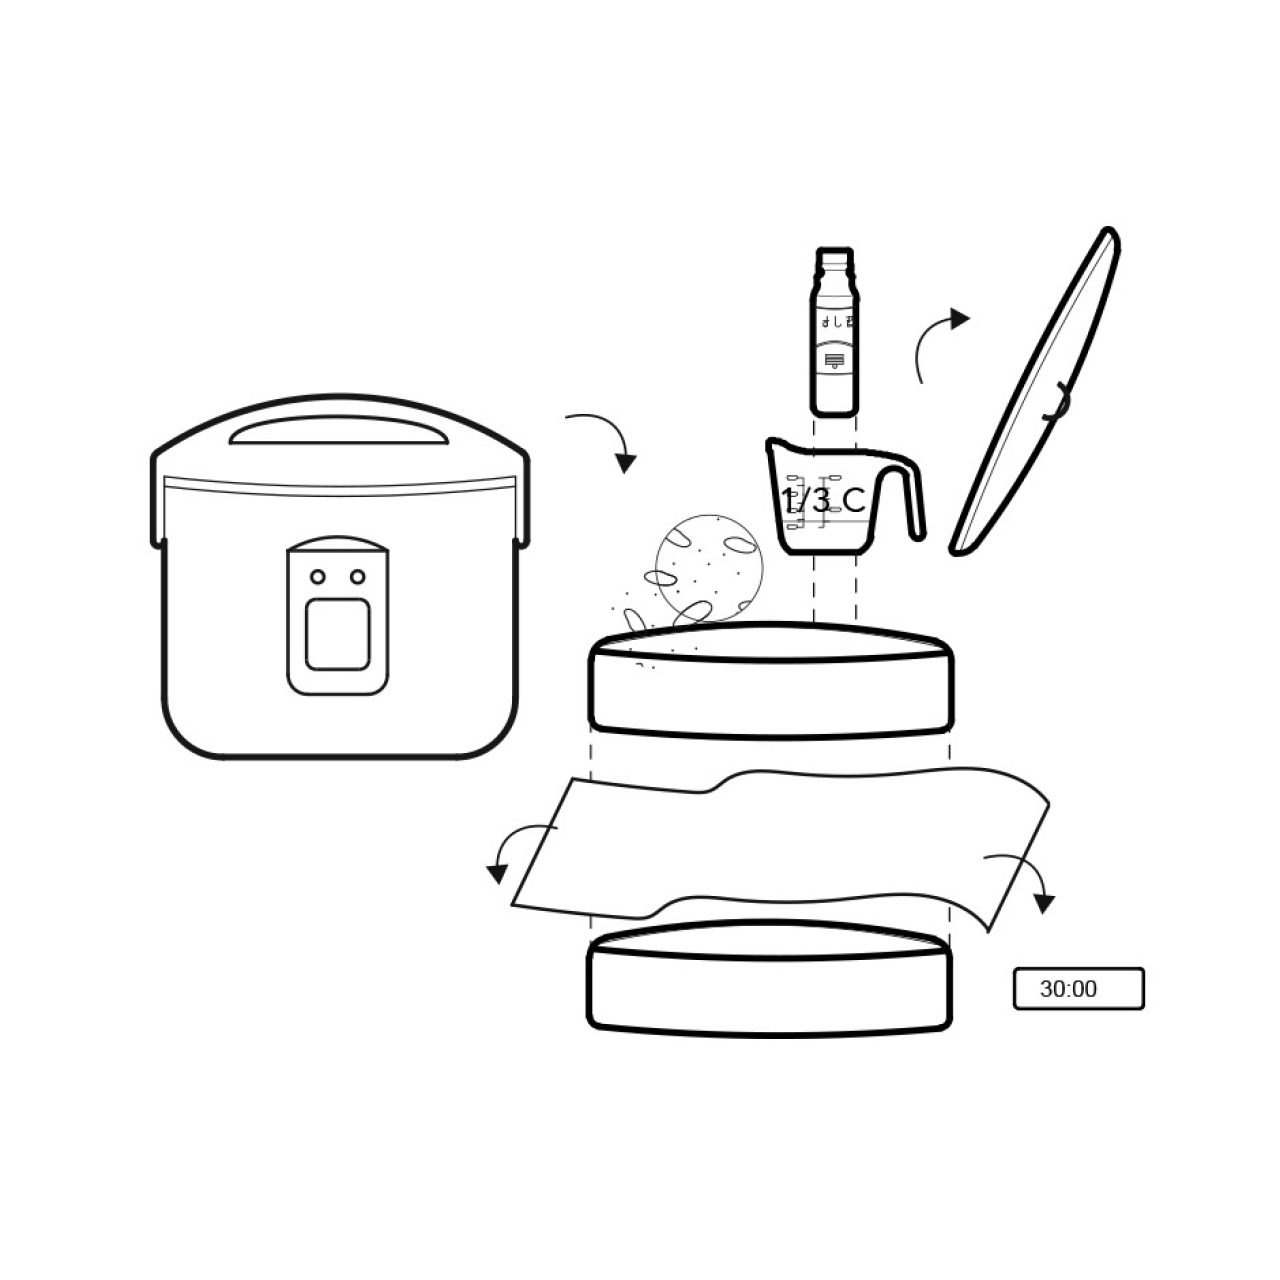
Knead the dough in plastic wrap and let it rest at room temperature for 1 hour or until the dough does not spring back when it’s poked.
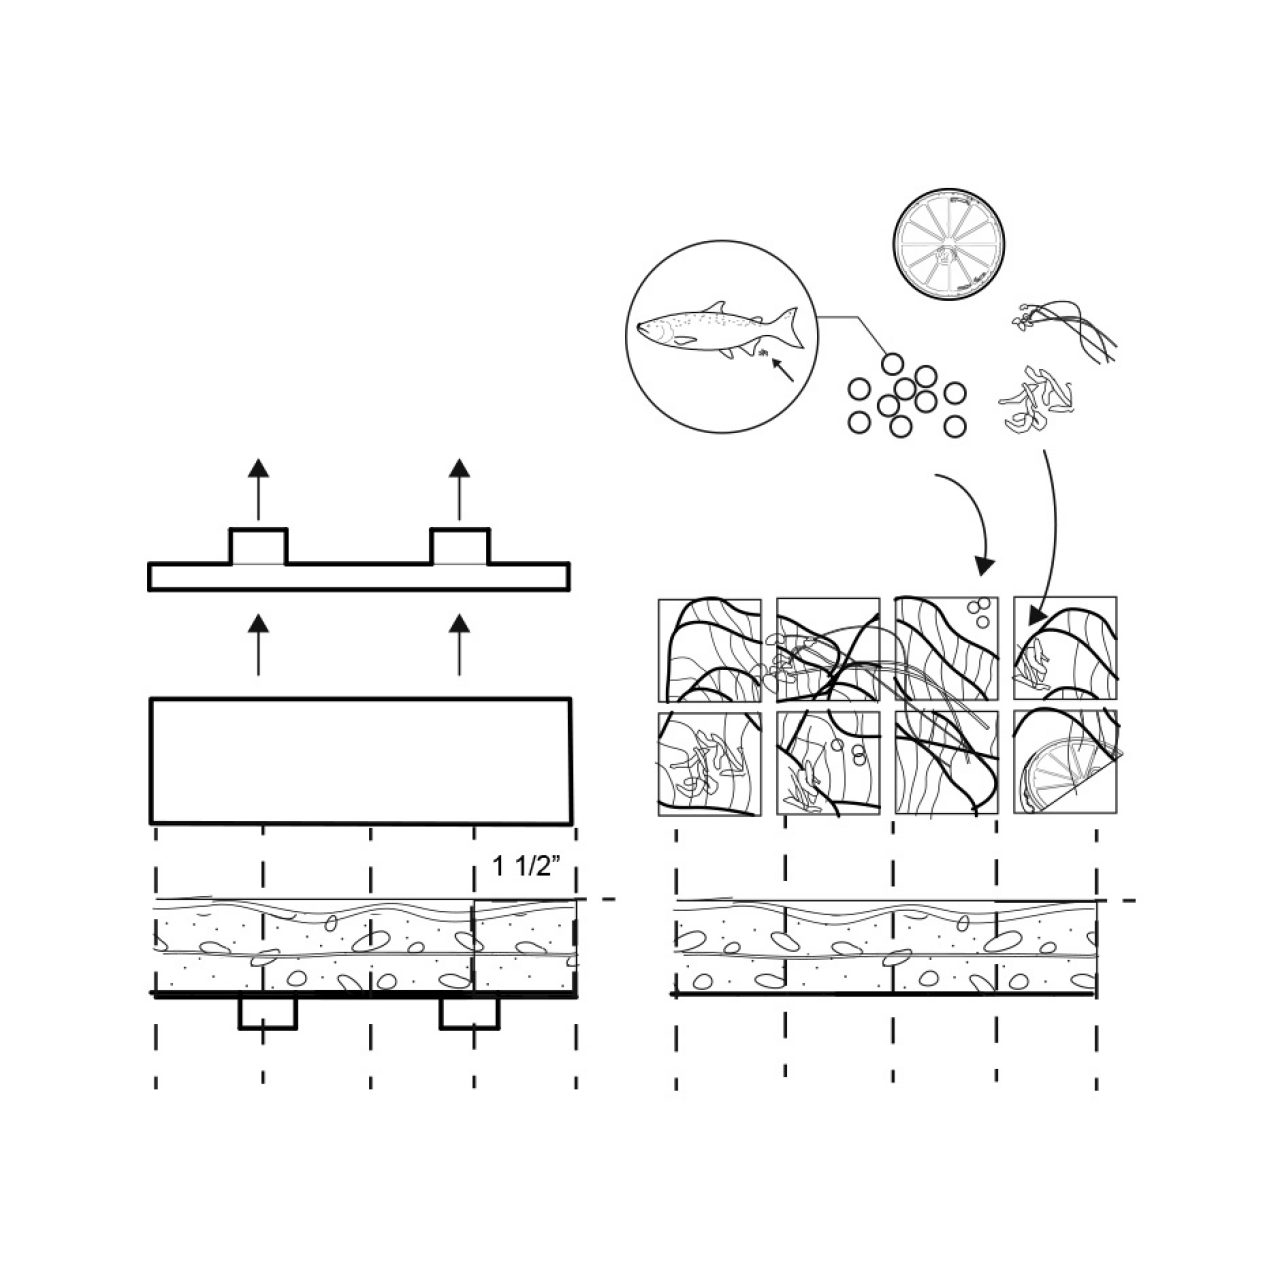
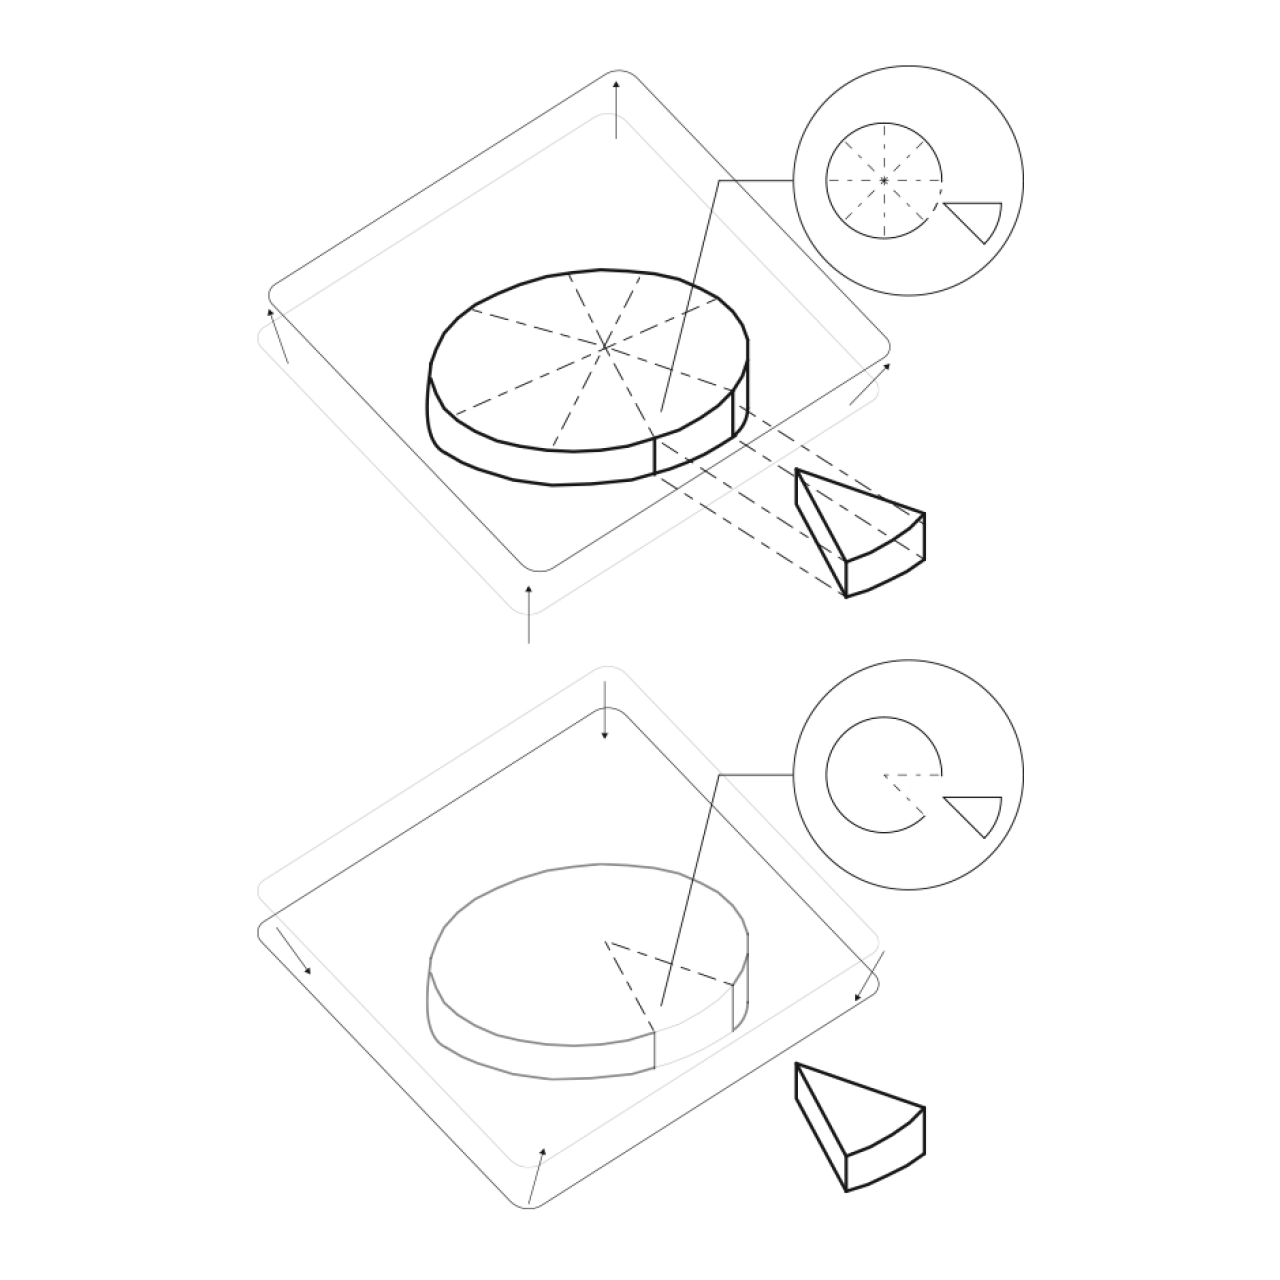
Unwrap the dough and cut it into 8 equal pieces with a pastry cutter or knife so it’s easier to work with. Take 1 piece and wrap the rest of the plastic wrap so it doesn’t dry out.
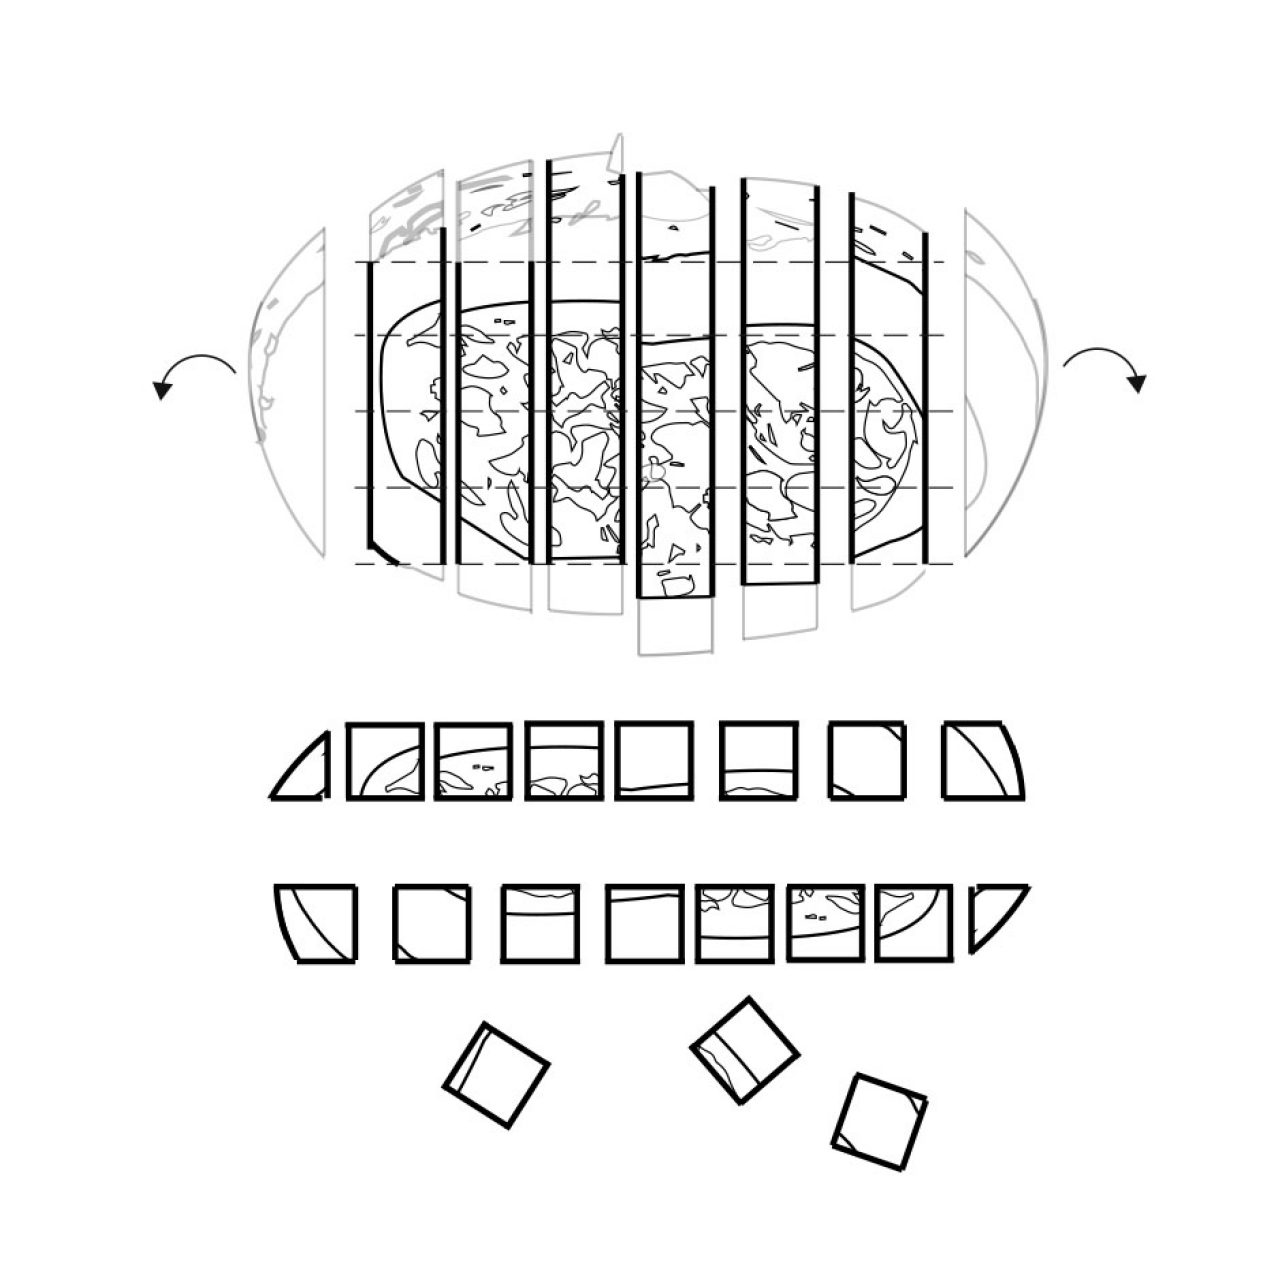
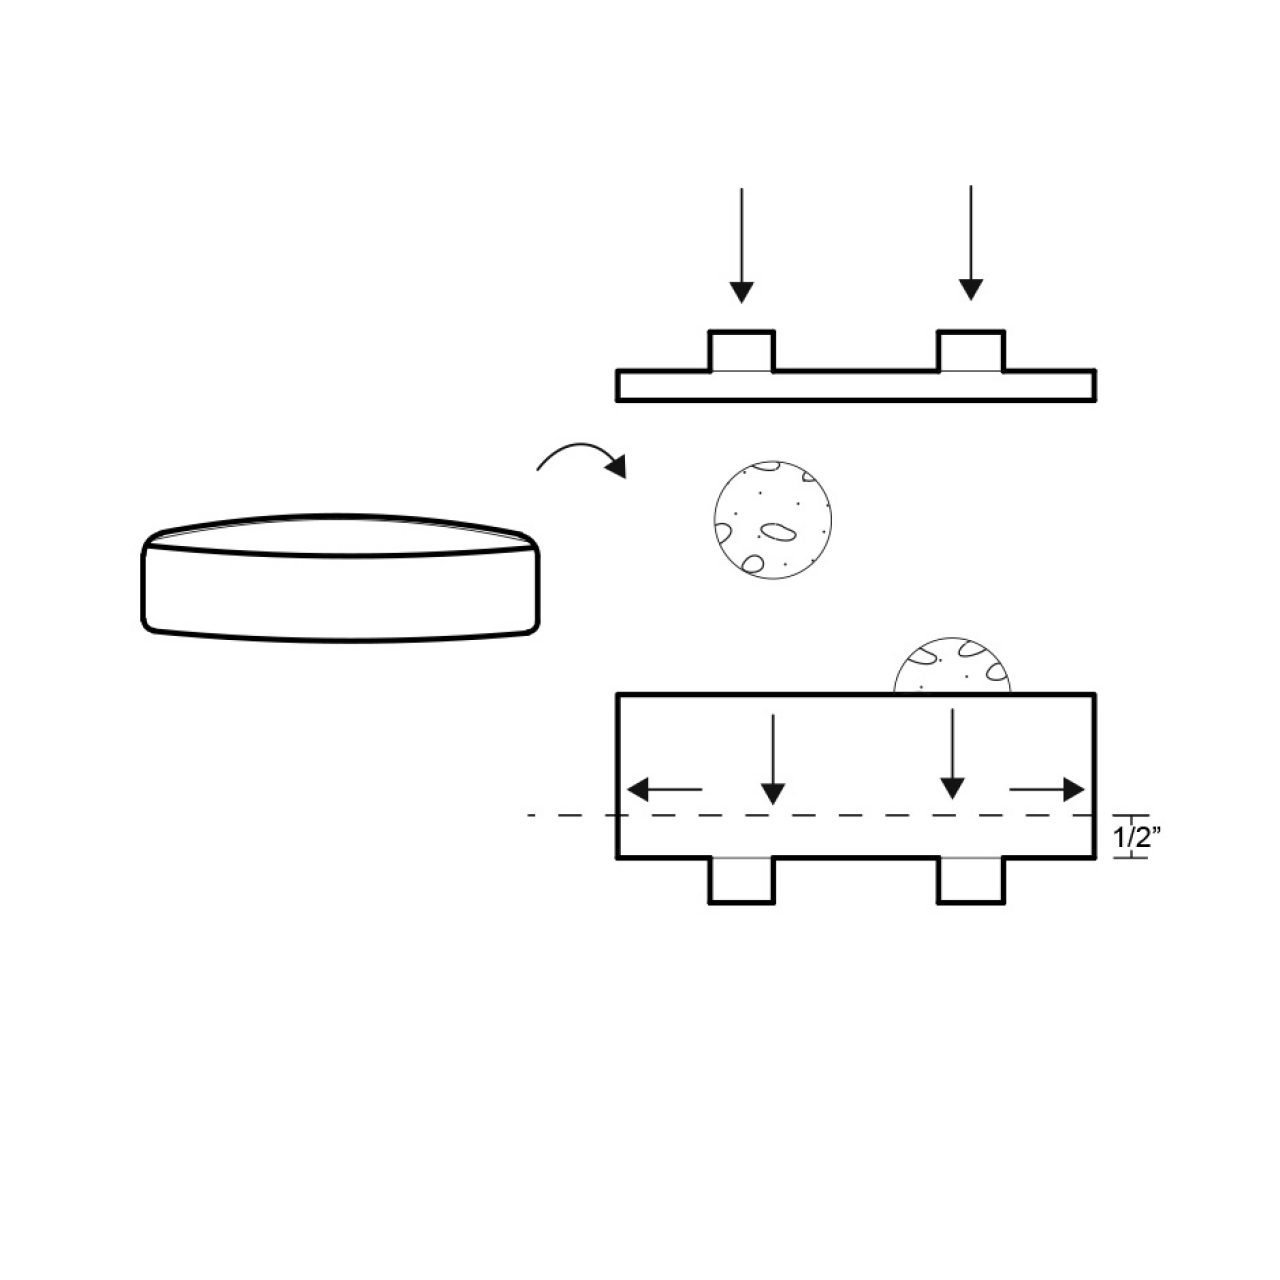
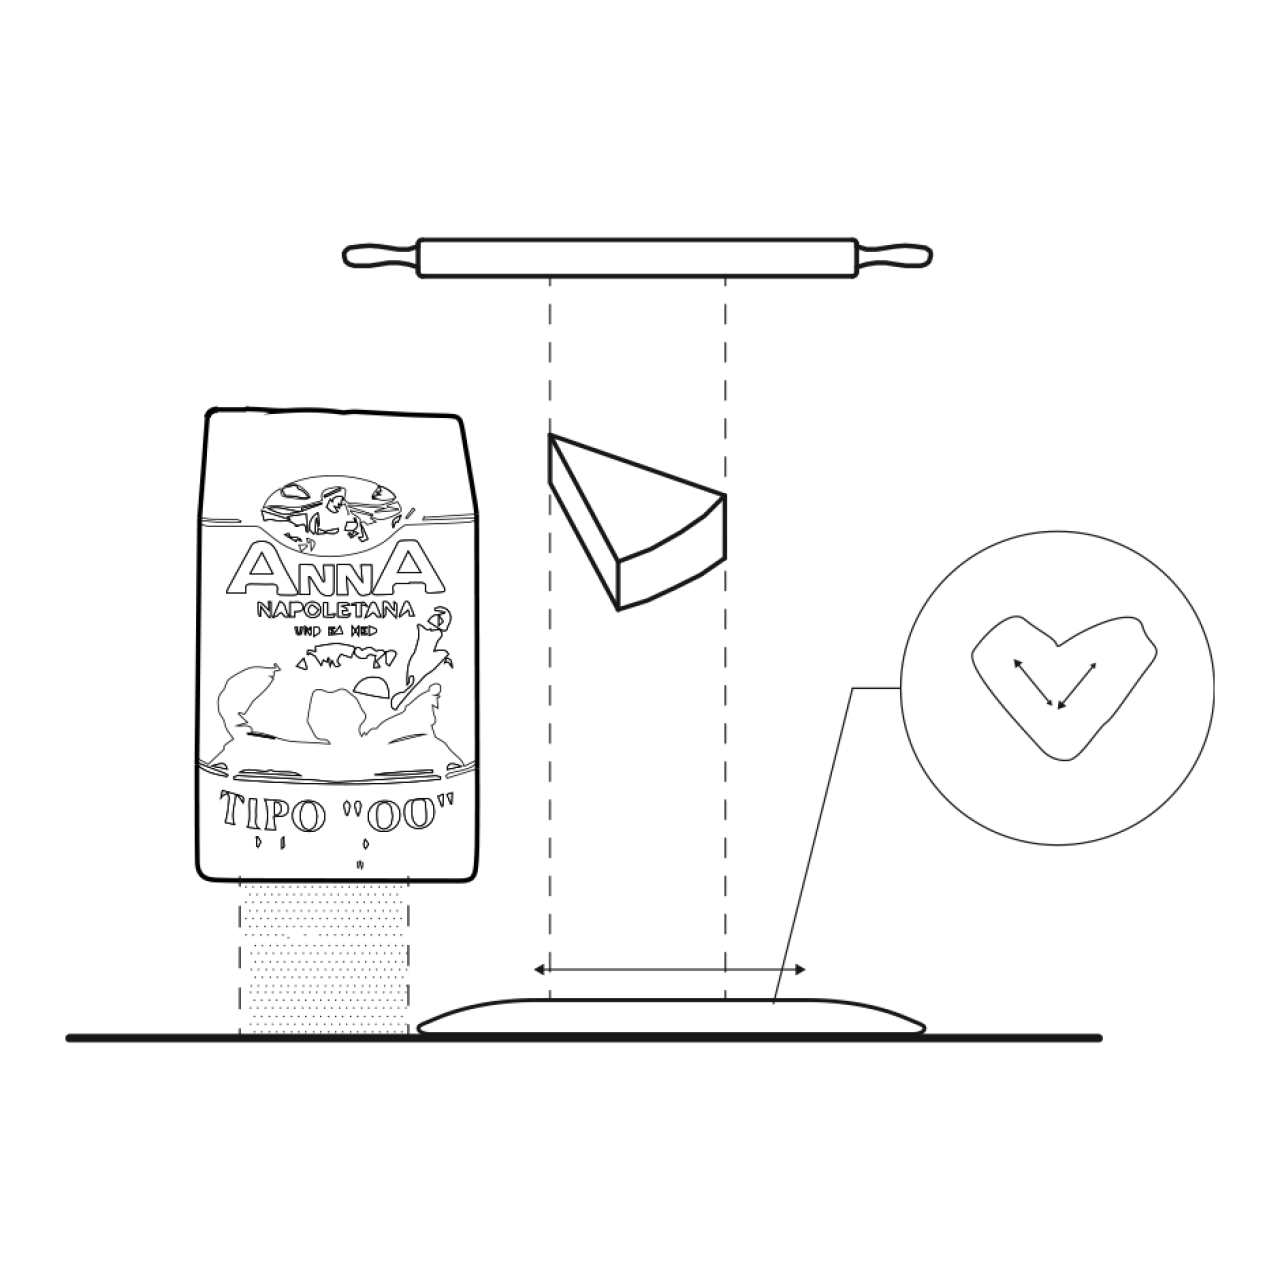
Lightly flour your clean work surface and begin to roll out the piece of dough into one long piece (you can go in a heart direction.)
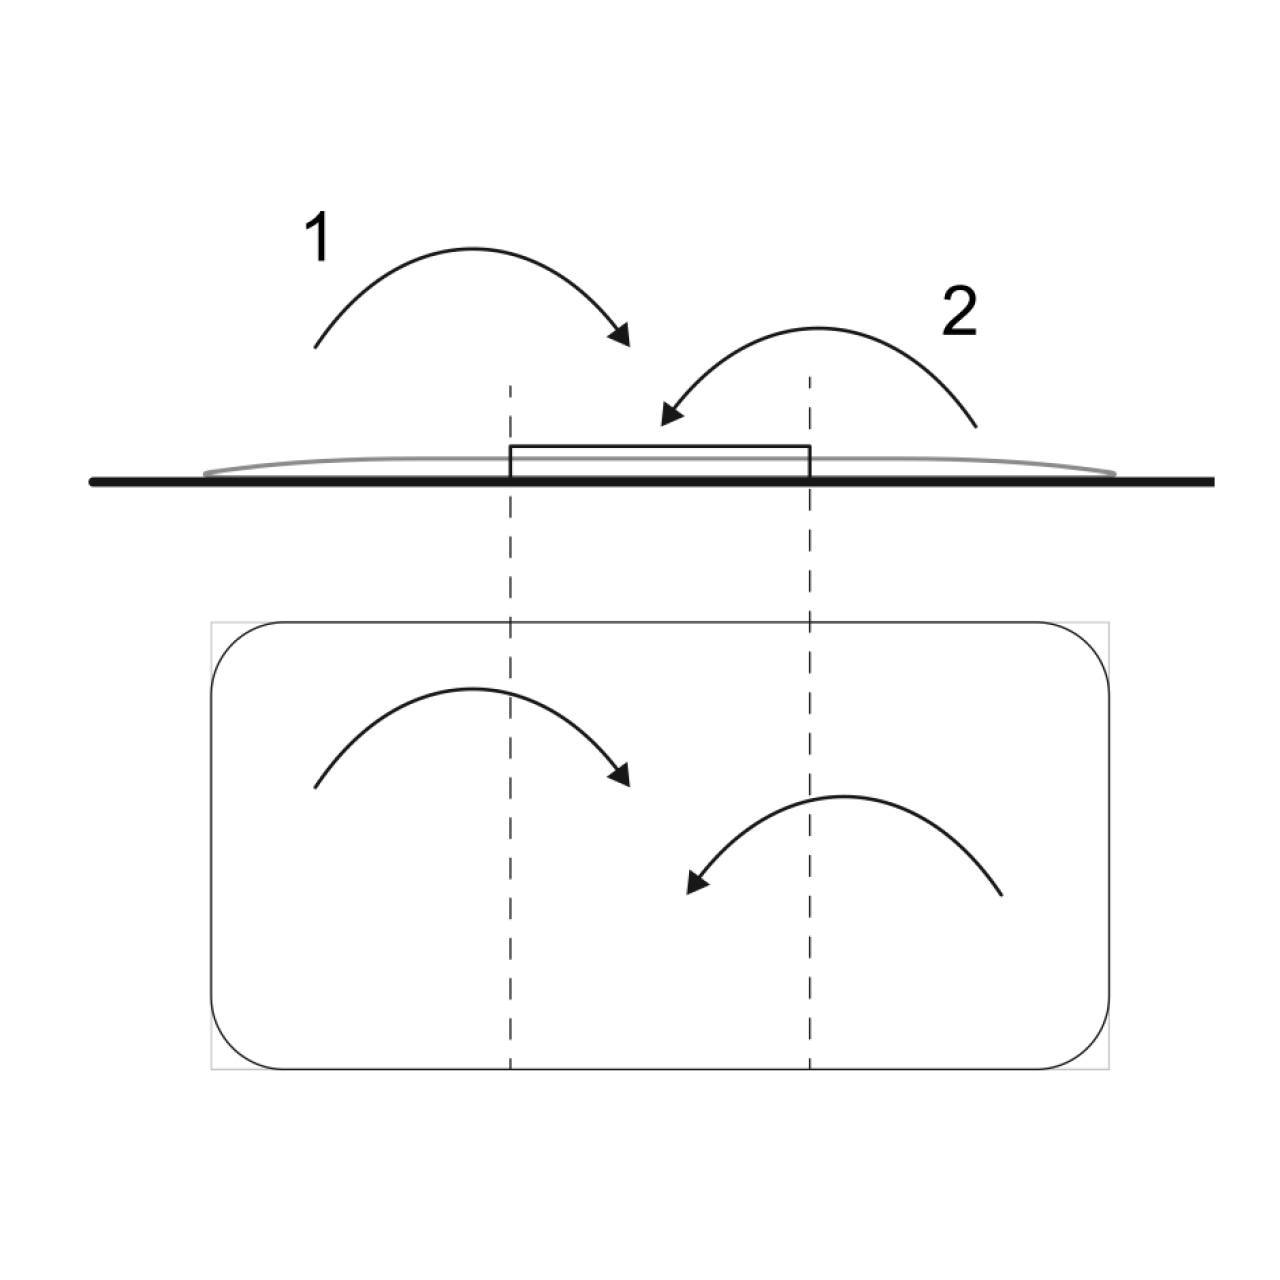
Then, fold the top third down and the bottom third over that, like a love letter. Rotate the dough 90 degrees and roll the piece back into a long shape. This helps it become a rectangle and easier to cut through in even. Repeat for remaining dough pieces.
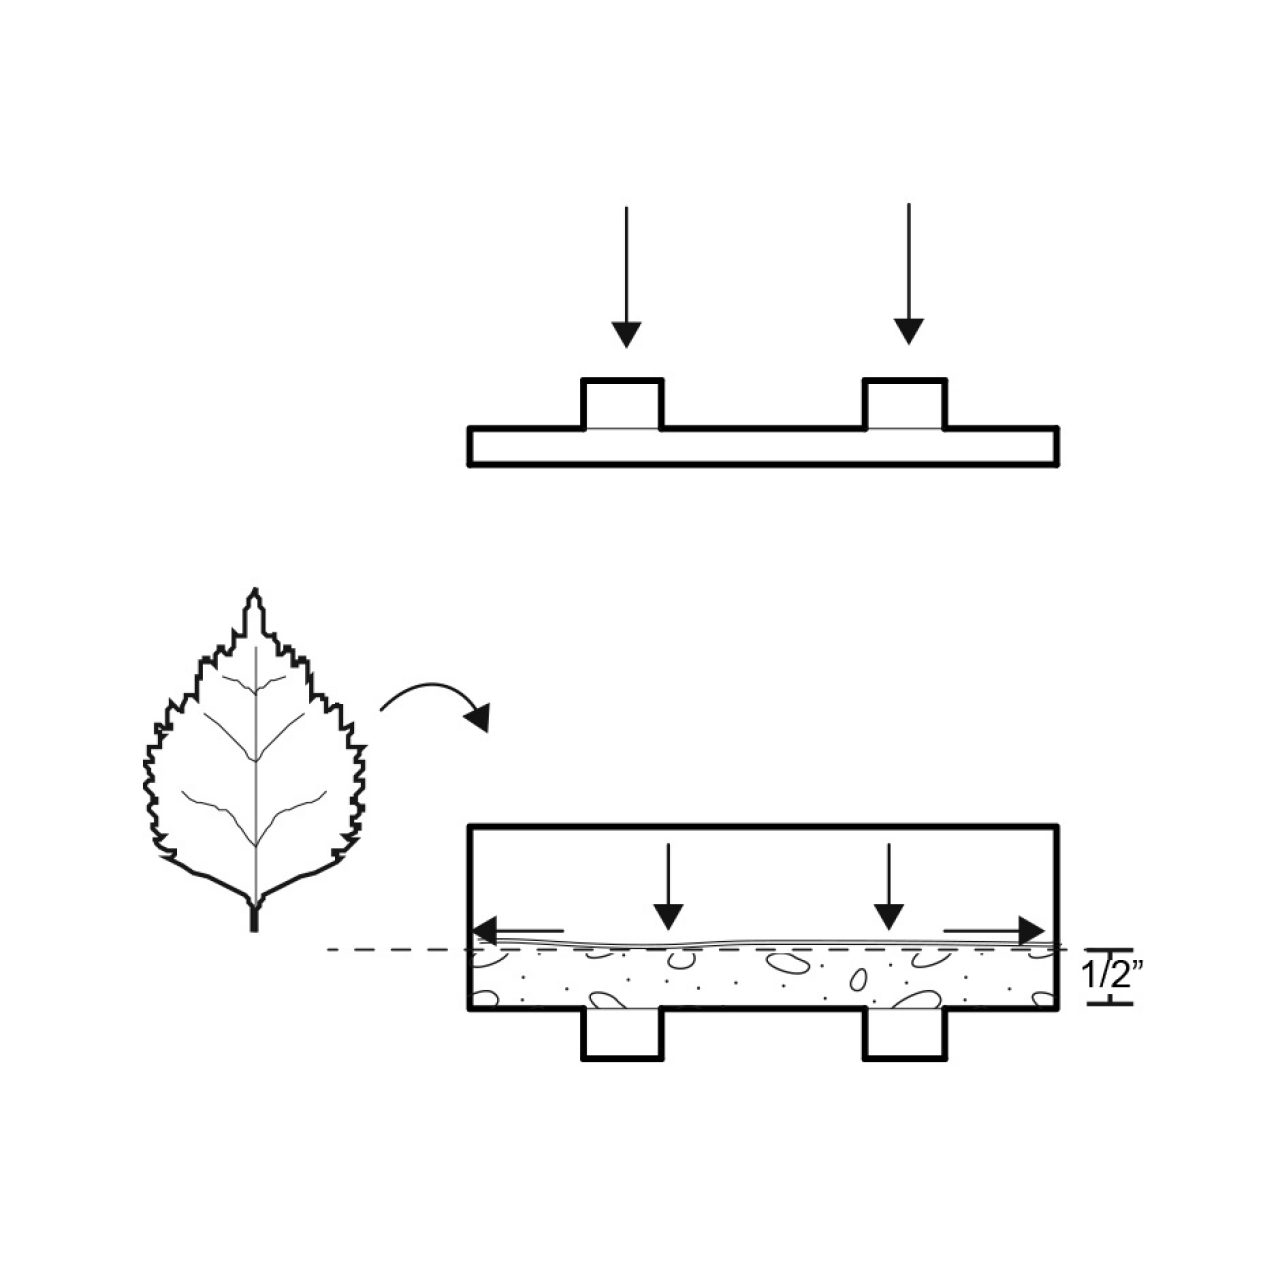
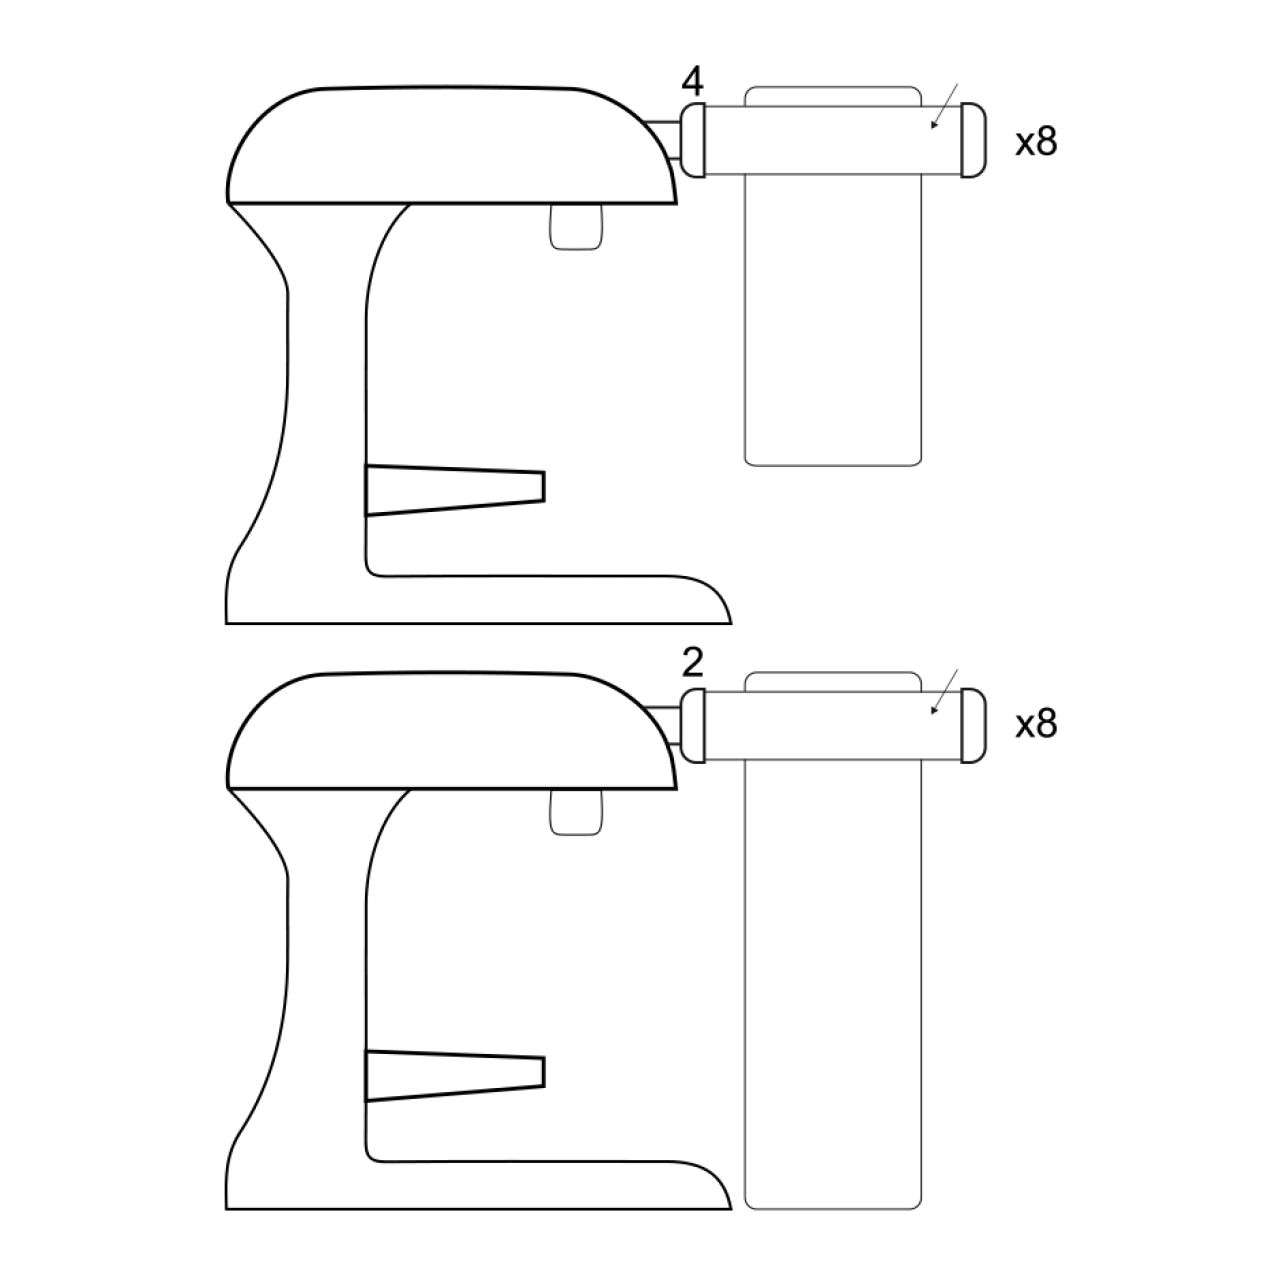
If you have a Kitchenaid attachment, run it through the 4 setting, then 2 setting to make sure it’s thin and long. Repeat for the remaining 7 triangles.
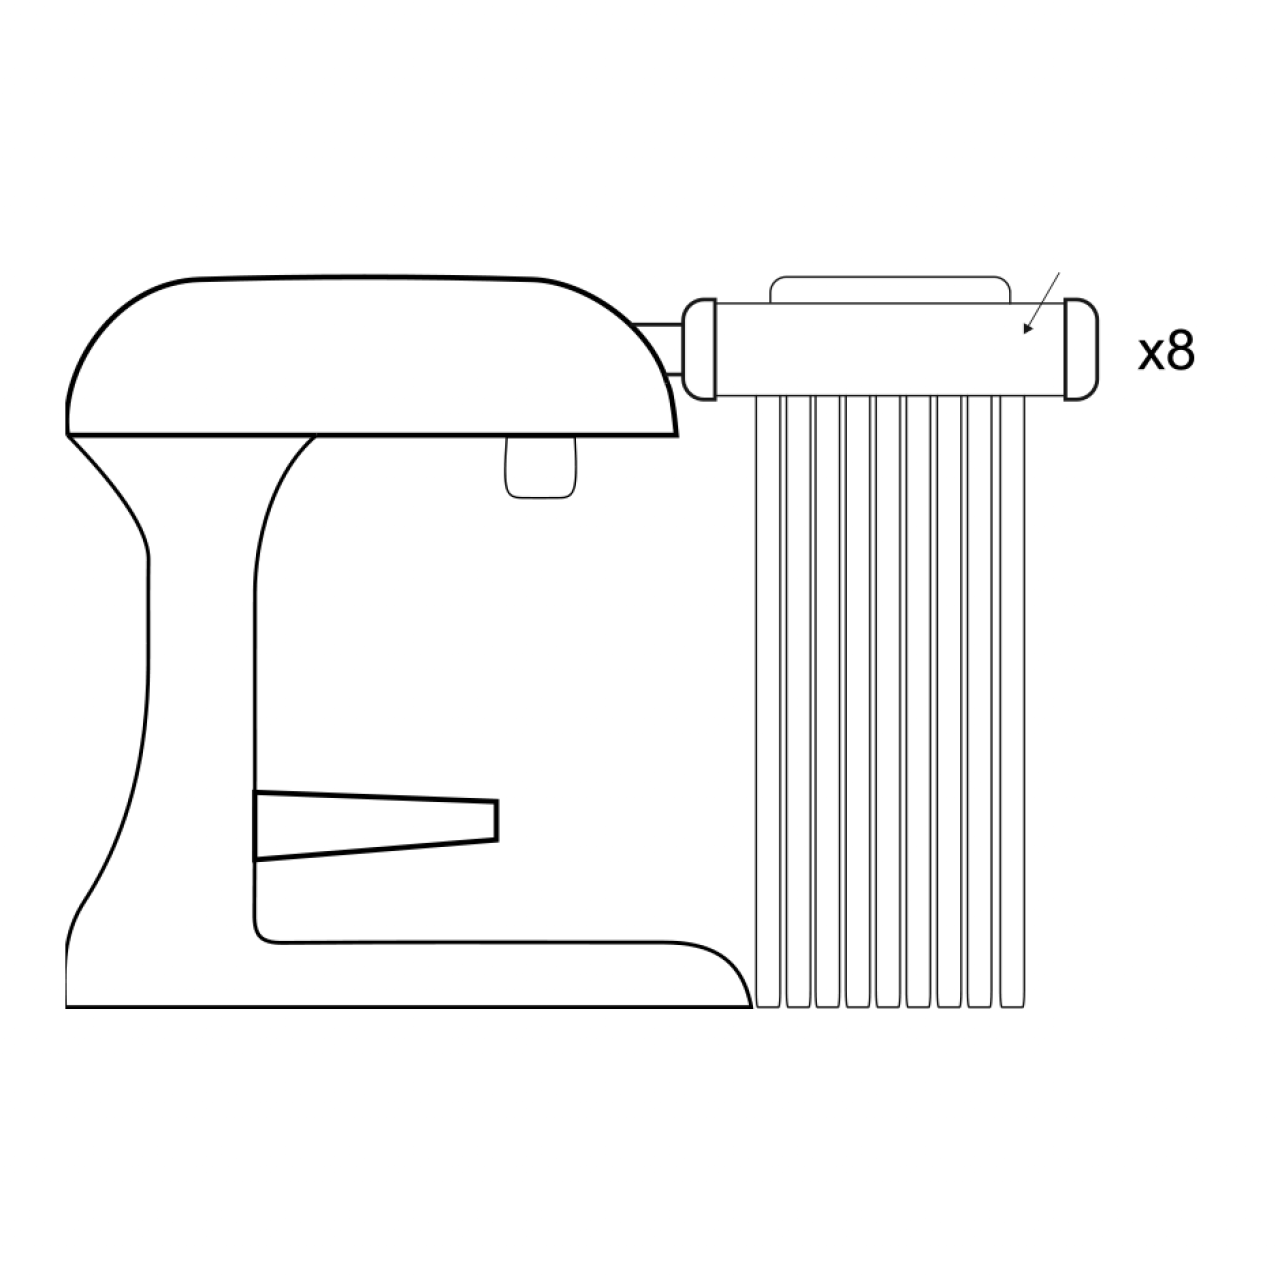
Once all of them have been thinned out, continue with the desired pasta shape cutter. If preparing for the creamy miso mushroom pasta, I recommend to use the fettuccini slicer attachment.
Note: Make sure that you keep the pasta separated and away from anything warm so that they don’t clunk together. Adding some semolina flour can also help the pasta from clumping together.
Miso Mushroom Fettuccini
Ingredients
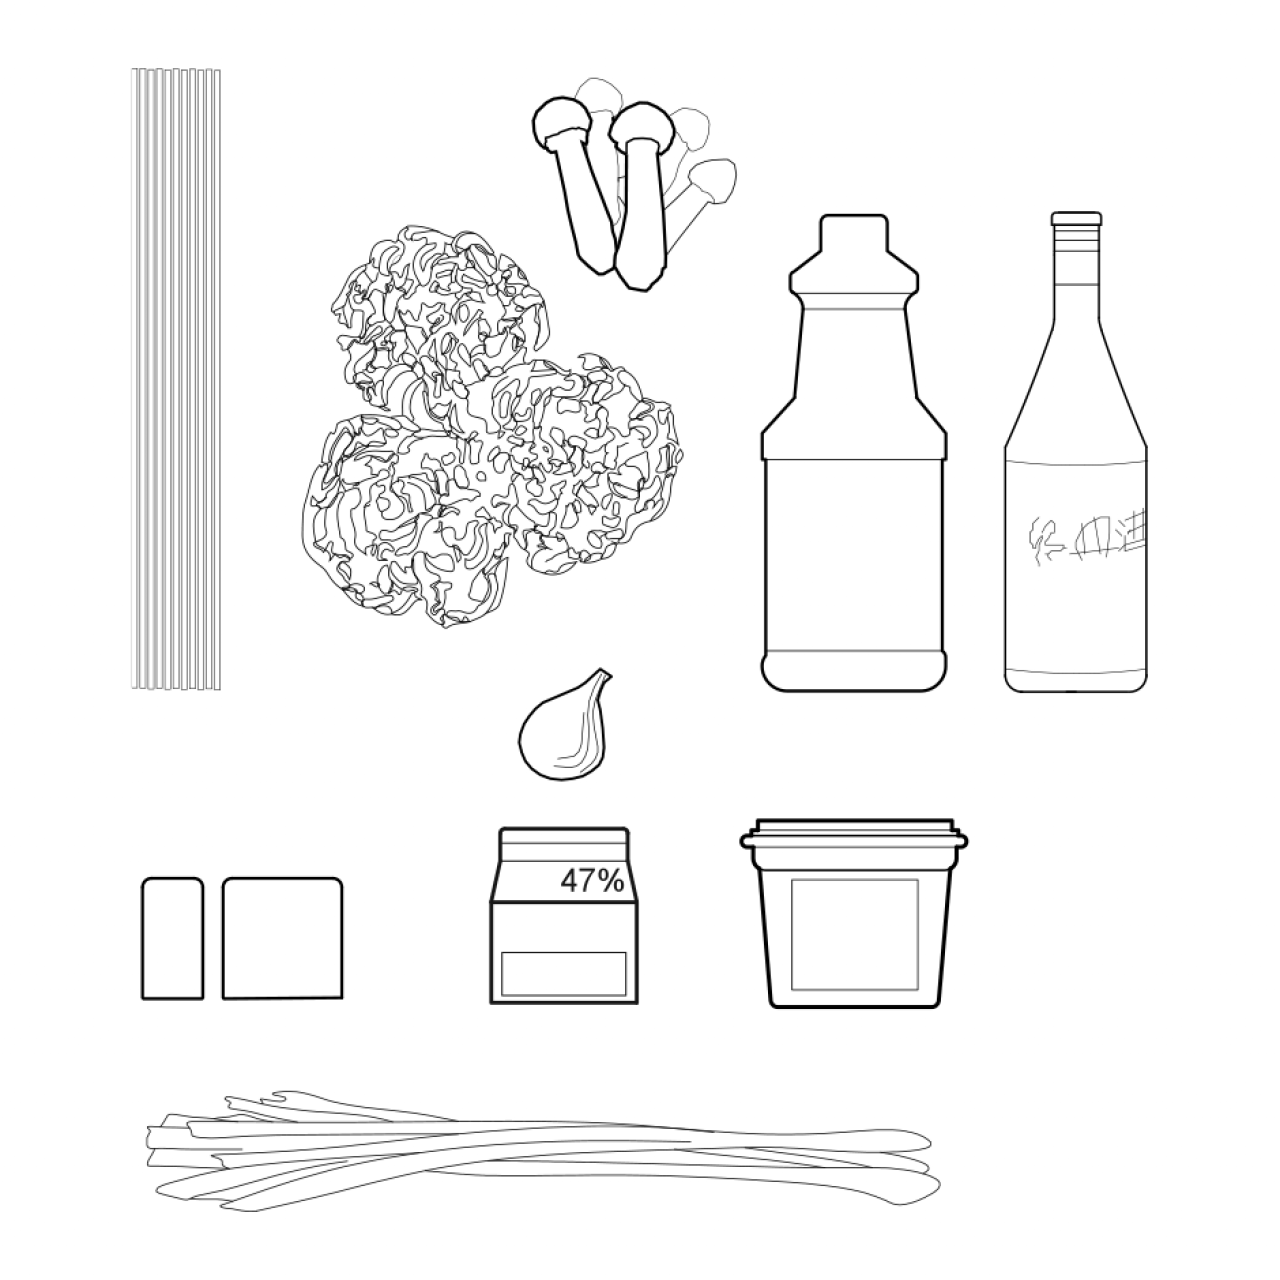
- 1 lb dried or fresh pasta
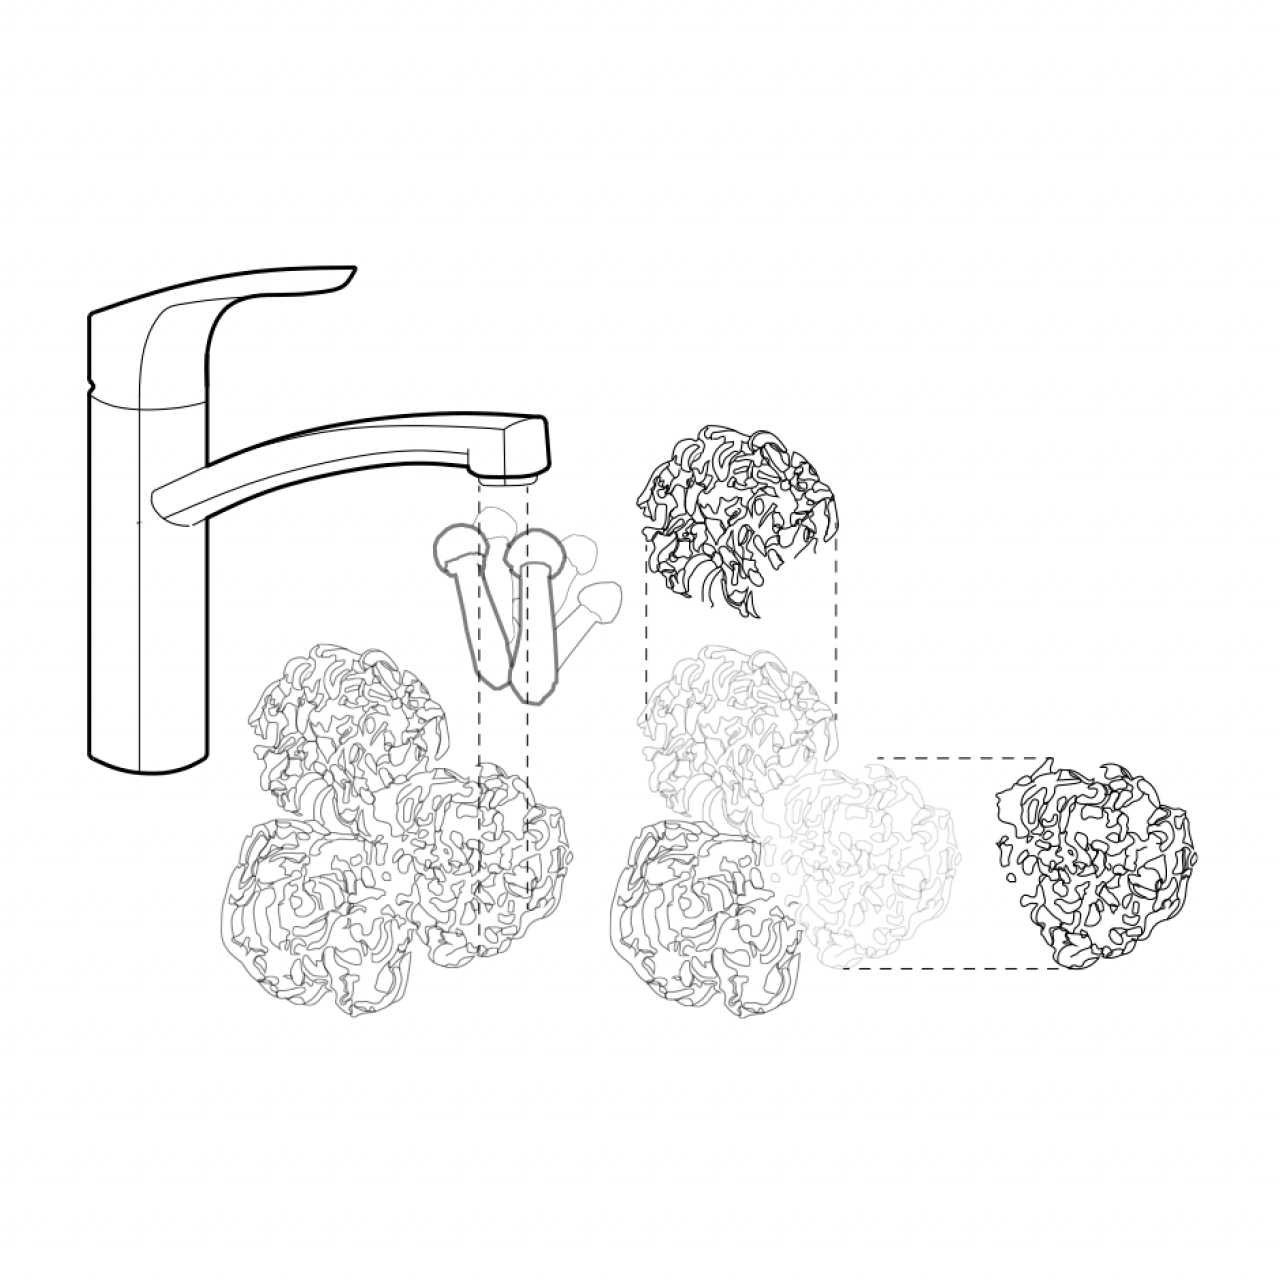
- 8 oz at least 1-2 varieties of mushroom (shiitake, shiimeji, enoki, maitake, etc)
- 3 tbsp vegetable oil
- 2 tsp mirin (rice cooking wine)
- 1 tbsp miso paste*
- 1 tbsp dijon mustard
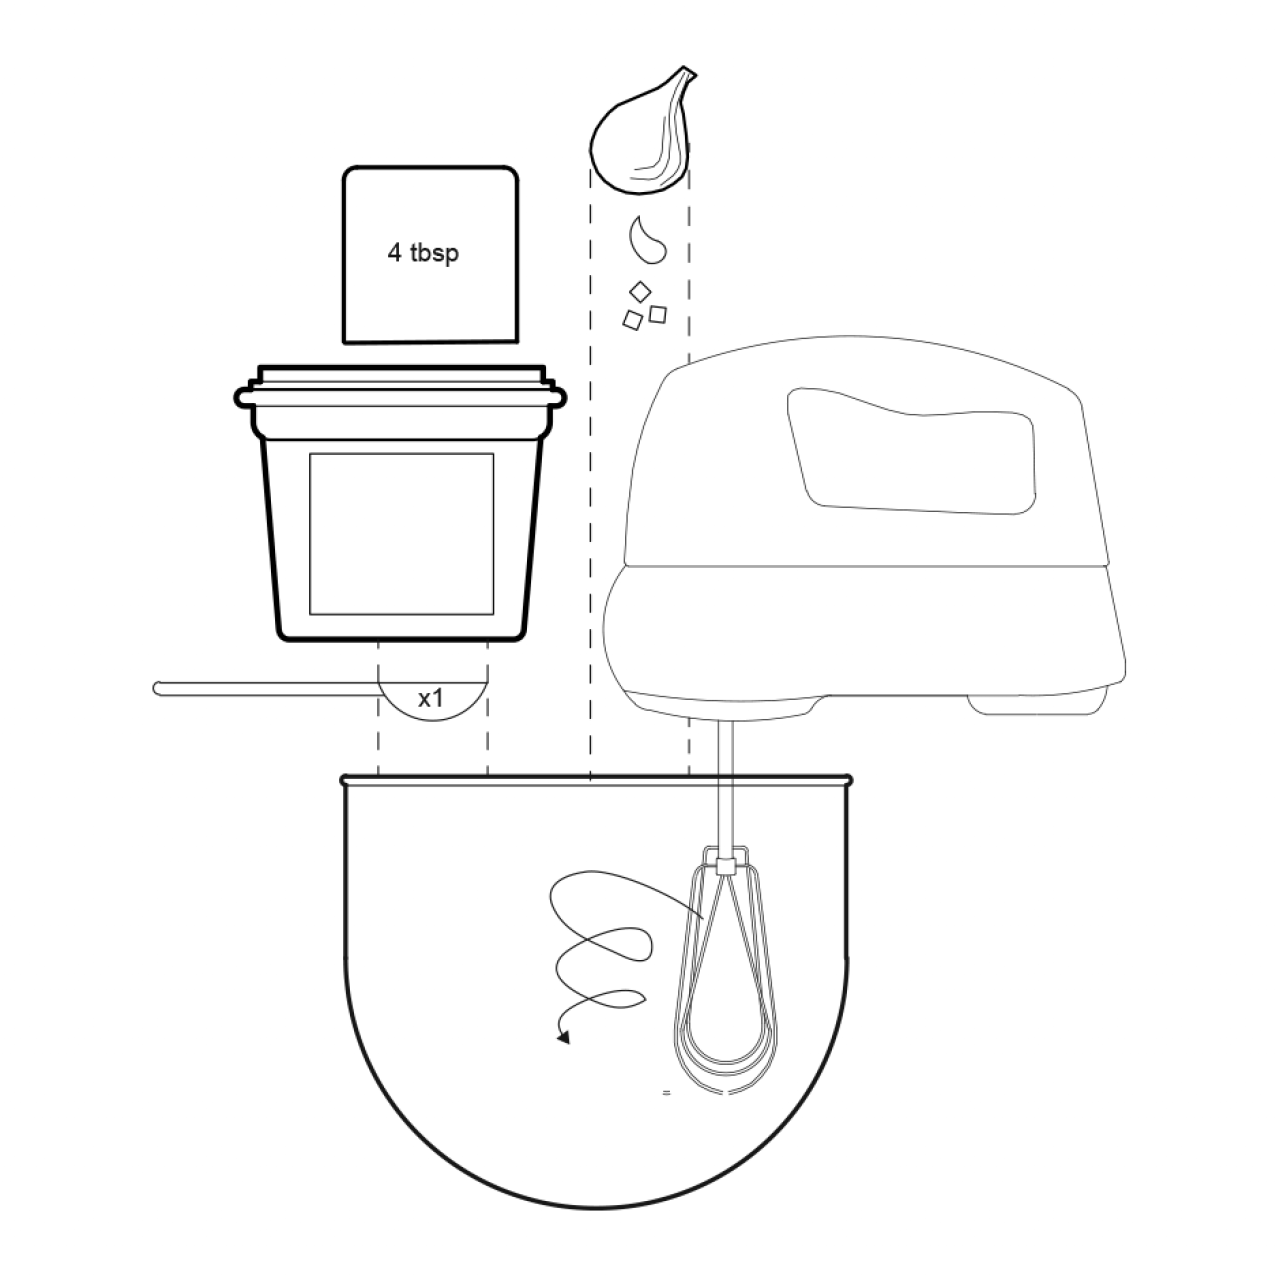
- 4 tbsp butter, softened
- 5 garlic cloves
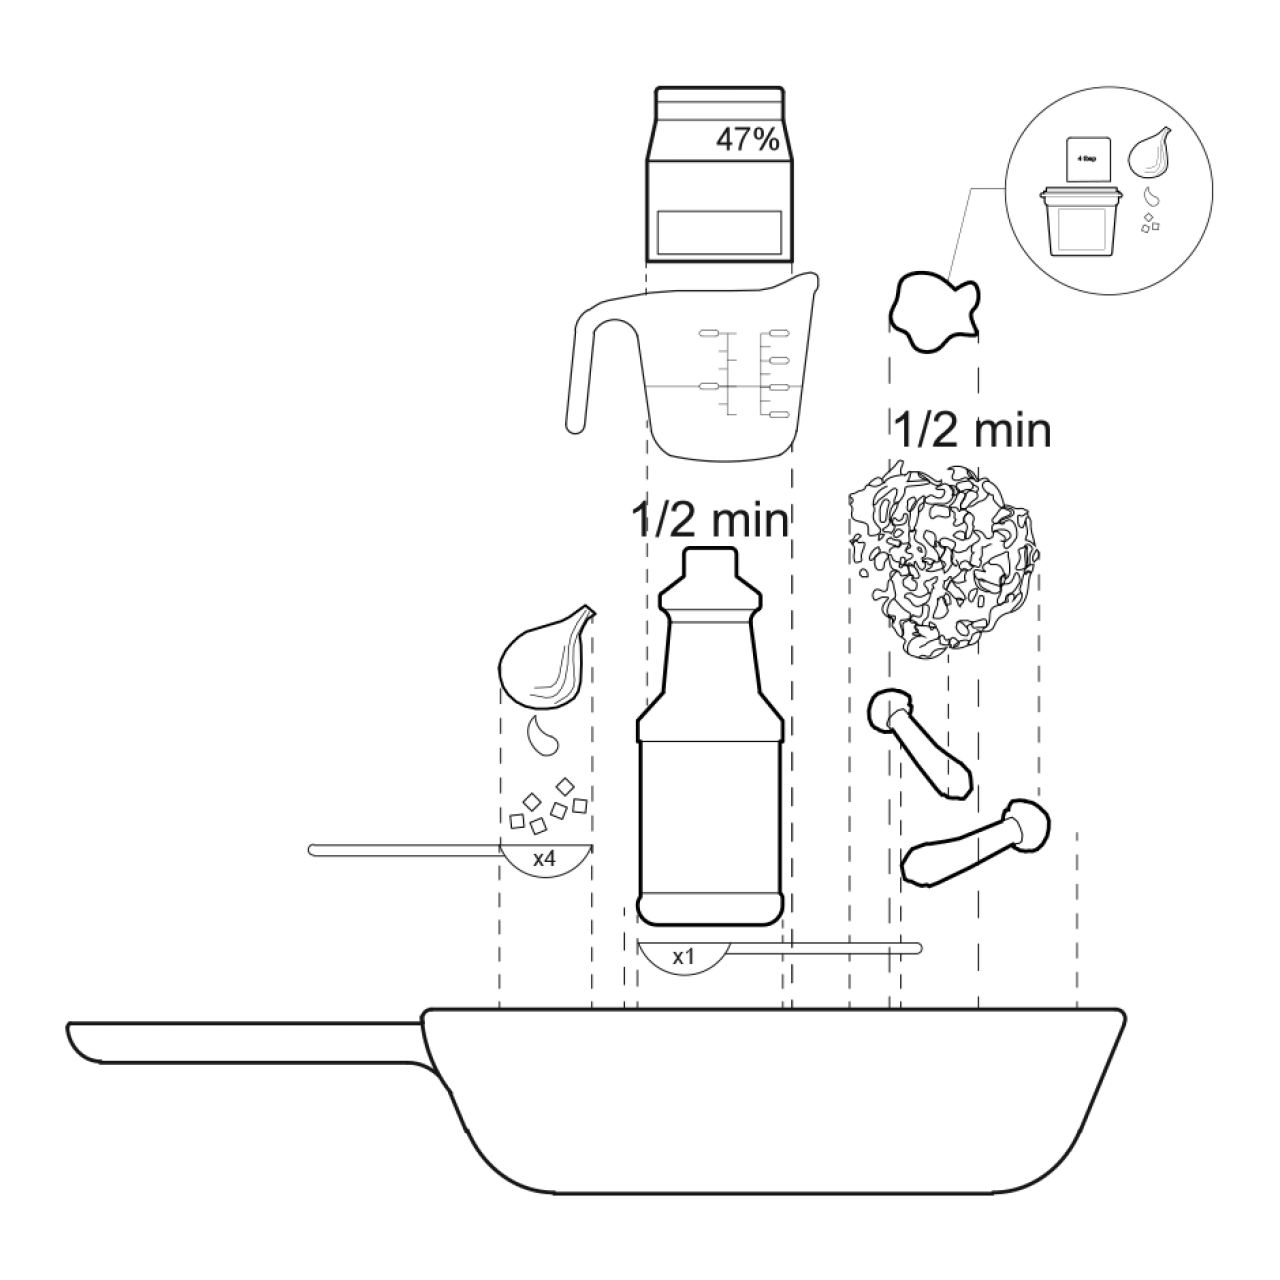
- 1/2 C heavy cream
- 1 stalk scallion
- dash sea salt
Directions
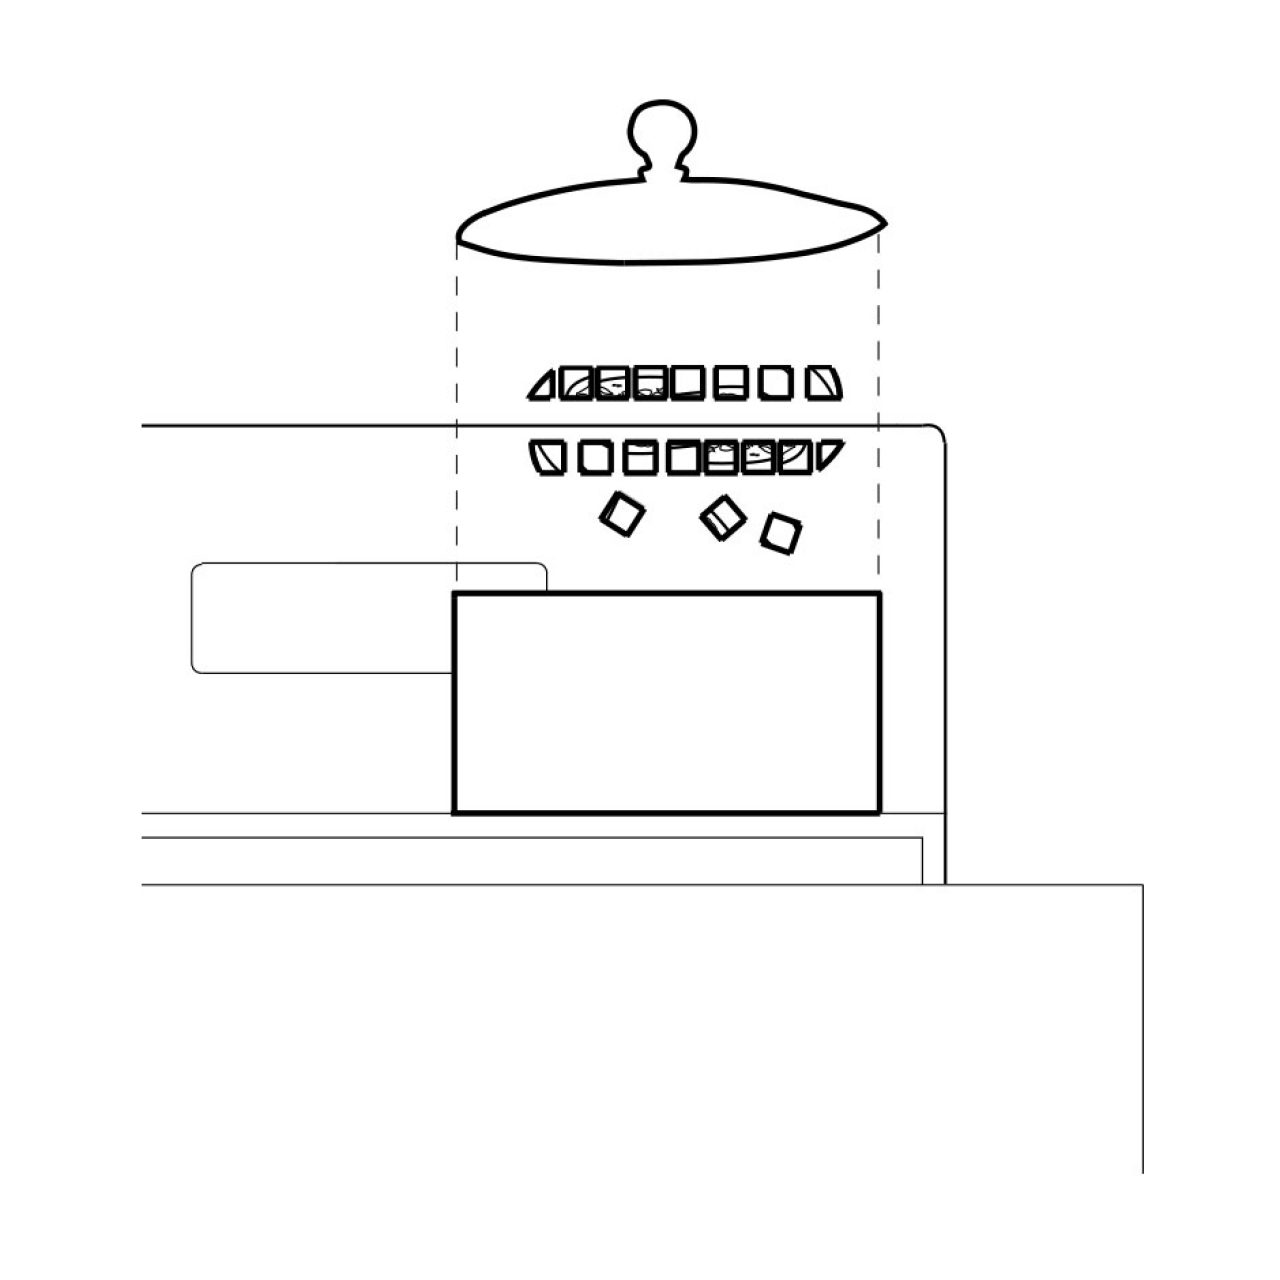
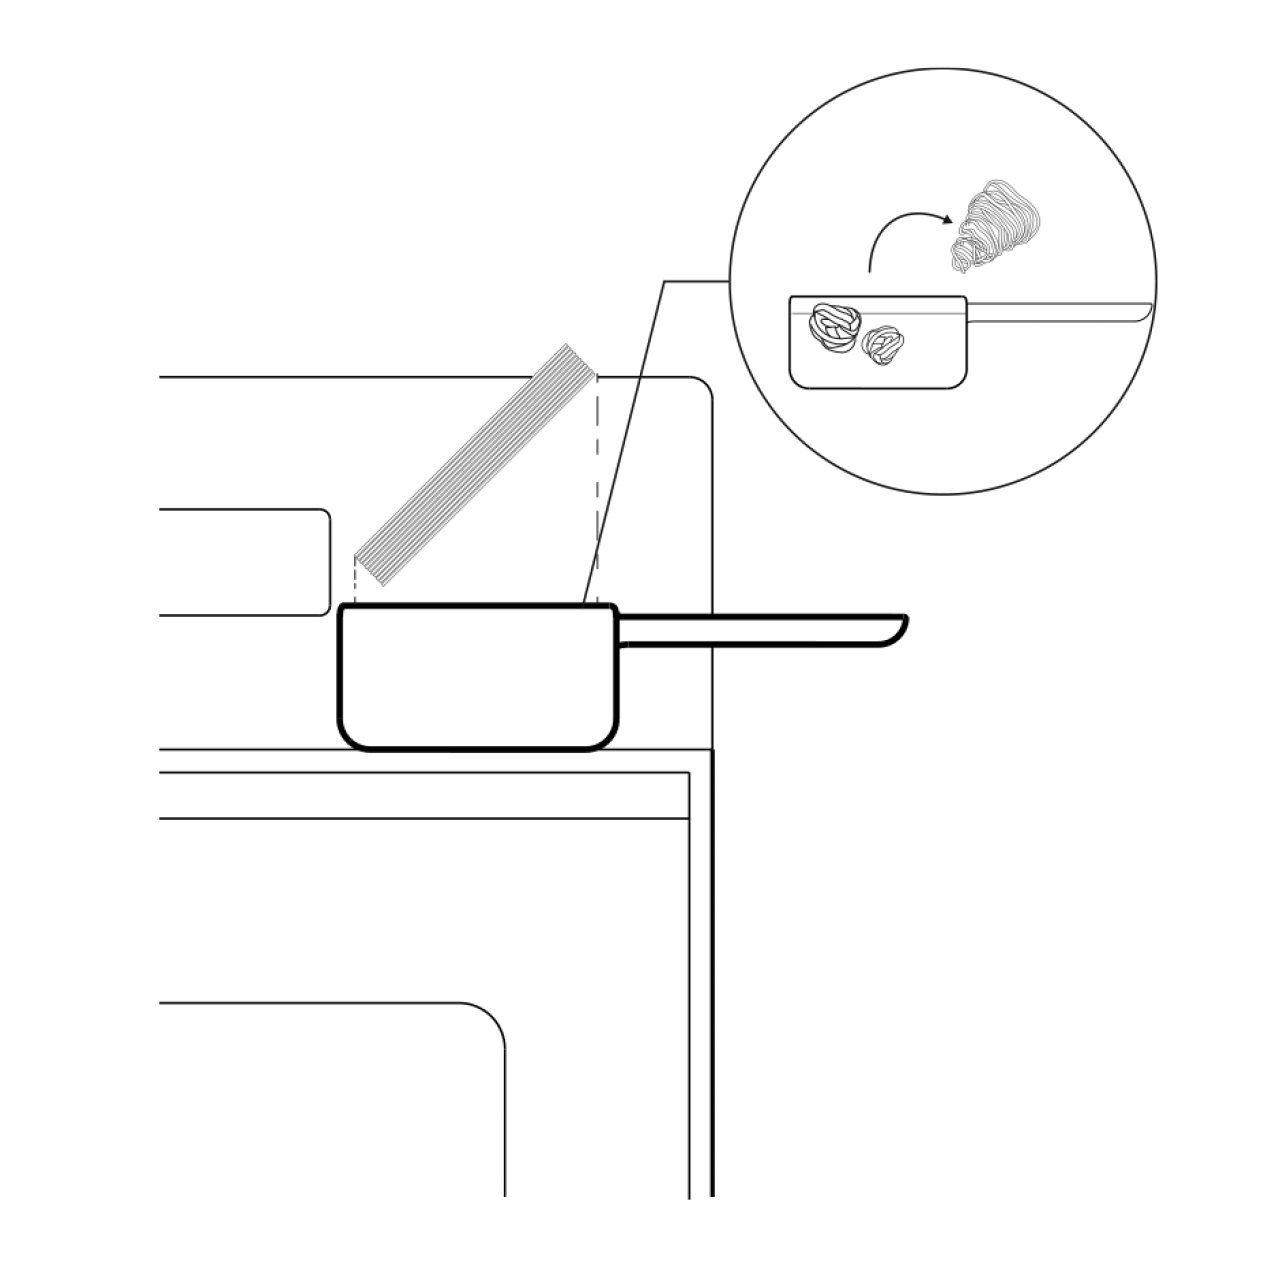
Bring a large pot of water to a boil. Season with salt and cook pasta.
if using fresh pasta, cook for just 1/2-1 min after the pasta comes to the surface.
If using dried pasta, follow pasta directions until al dente.
Wash and chop or pull the mushrooms into bite-sized chunks.
Heat a large skillet over with 1 tbsp vegetable oil and sauté with about 1/3 of your mushrooms for 3-5 minutes until browned (don’t let it overcrowd). When they’re done, add some mirin or other cooking wine to the pan, toss, and set aside.

For the sauce, whisk the miso paste, butter, dijon mustard (optional), and minced garlic together in a small bowl until it comes together to form a smooth, fluffy paste.
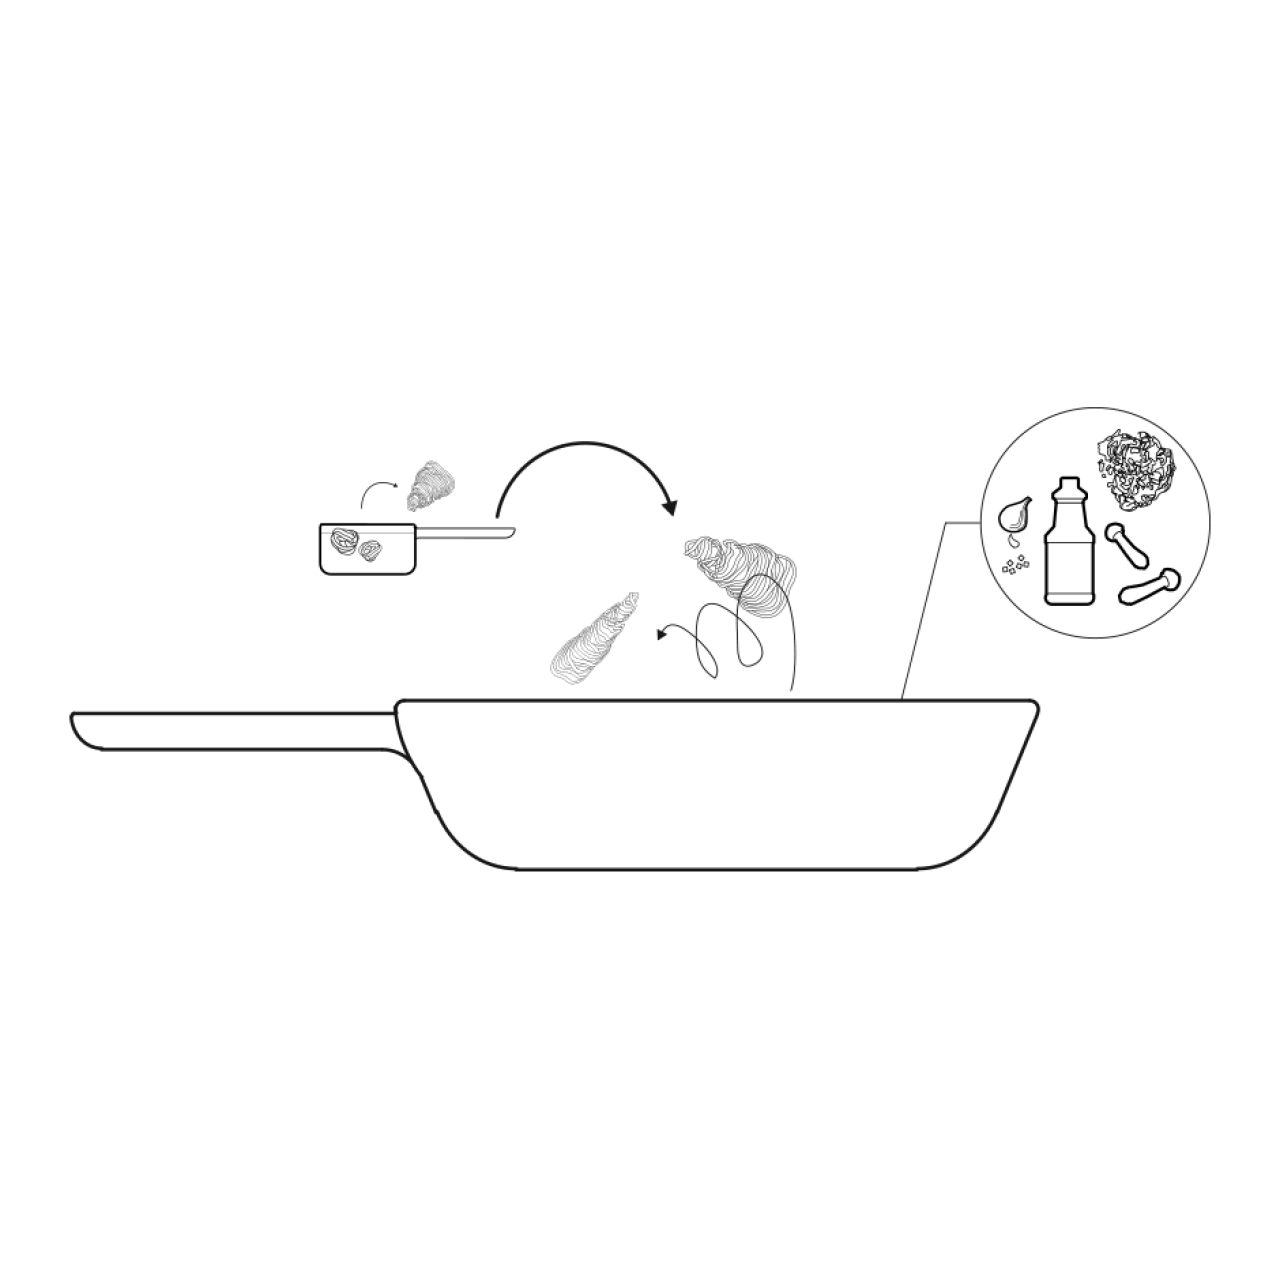
In a large saucepan, add the other 4 tbsp minced garlic and a tablespoon of oil, and stir fry for 30 seconds or until fragrant and lightly brown. Add in the sautéed mushrooms. Then, add the miso-butter sauce with heavy whipping cream.
Add the cooked pasta into the sauce, and stir until the pasta is well coated. Salt it to taste, and cook for 1-2 minutes until the pasta is al dente. Remove from heat.
Portion onto plates and garnish with sliced scallions. freshly cracked black pepper, and sesame seeds if you’d like.