Pi Day Pie

The two past weeks have been total back to back charette weeks. I started working at Bluestone Lane as a barista trainee / cashier / avocado toast maker / banana toast maker / whatever toast maker, while graphic designing avatars and logos for my UCLA doc friend’s health app, preparing UX/UI design slides for a grocery store while  applying for a UX/UI bootcamp program, and collaborating geeky projects with AutoCAD  like preparing this tantalizing pie for every mathematician’s favorite holiday:  PI DAY.


Every time I think of the  pi day, I flashback to my high school moment  of being confused and excited to see swarms of tiny students carry all kinds of magnificent pies to their classrooms before first period started. Yet once I wiggled my way through geometry, I learned that geometry wasn’t as terrifying, that proofs weren’t as difficult as everyone made them seem, and  pi was more than just a strange 3.14 number to memorize; it’s a glorious  number that enables us all to calculate anything circular. Oh pi, I’ve always loved working with you in the classroom and in my kitchen.

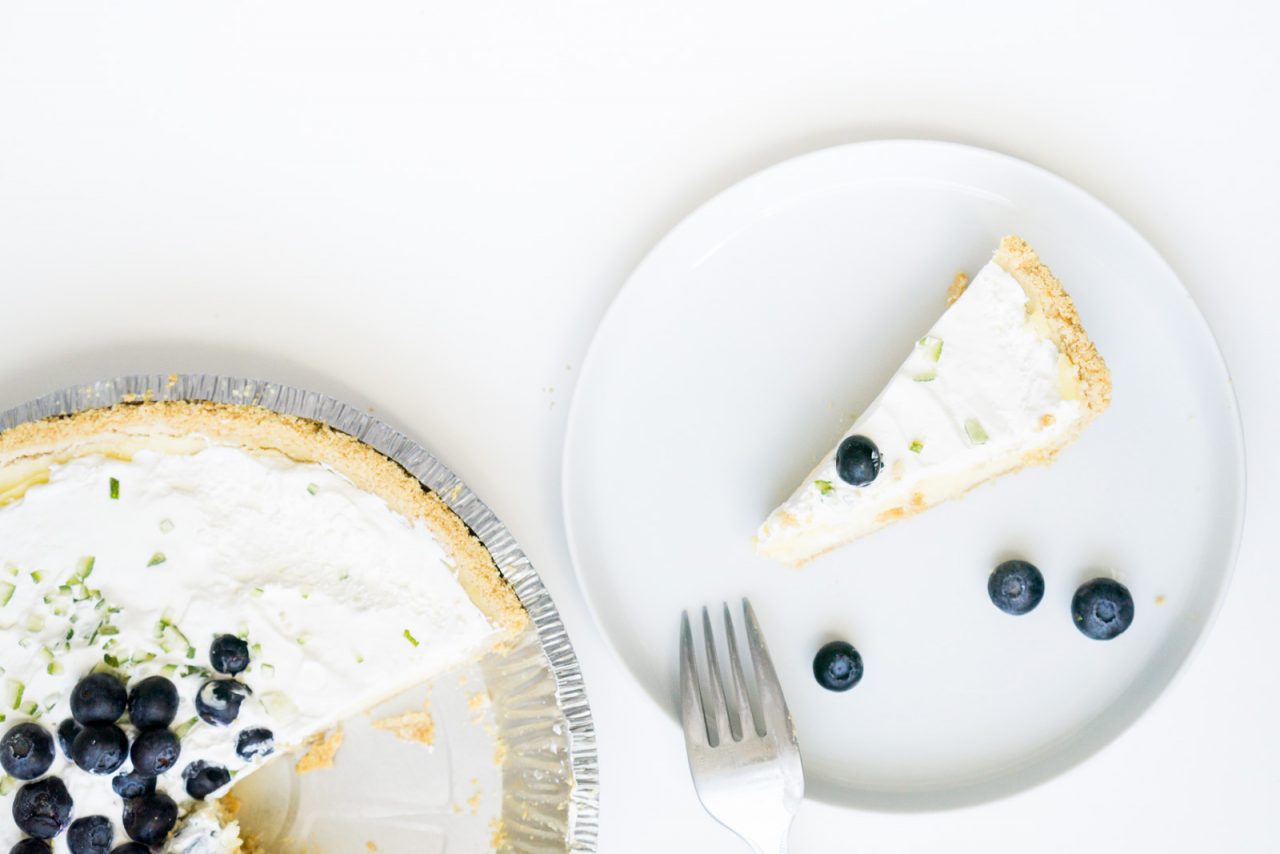
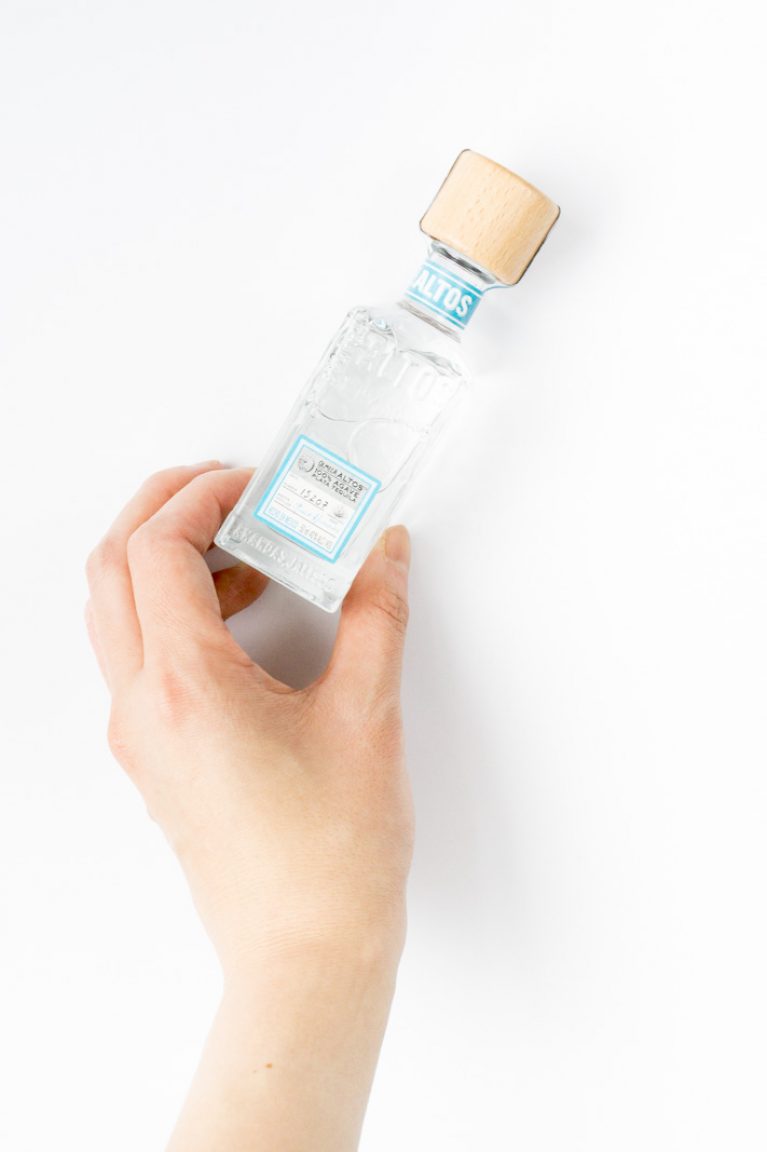
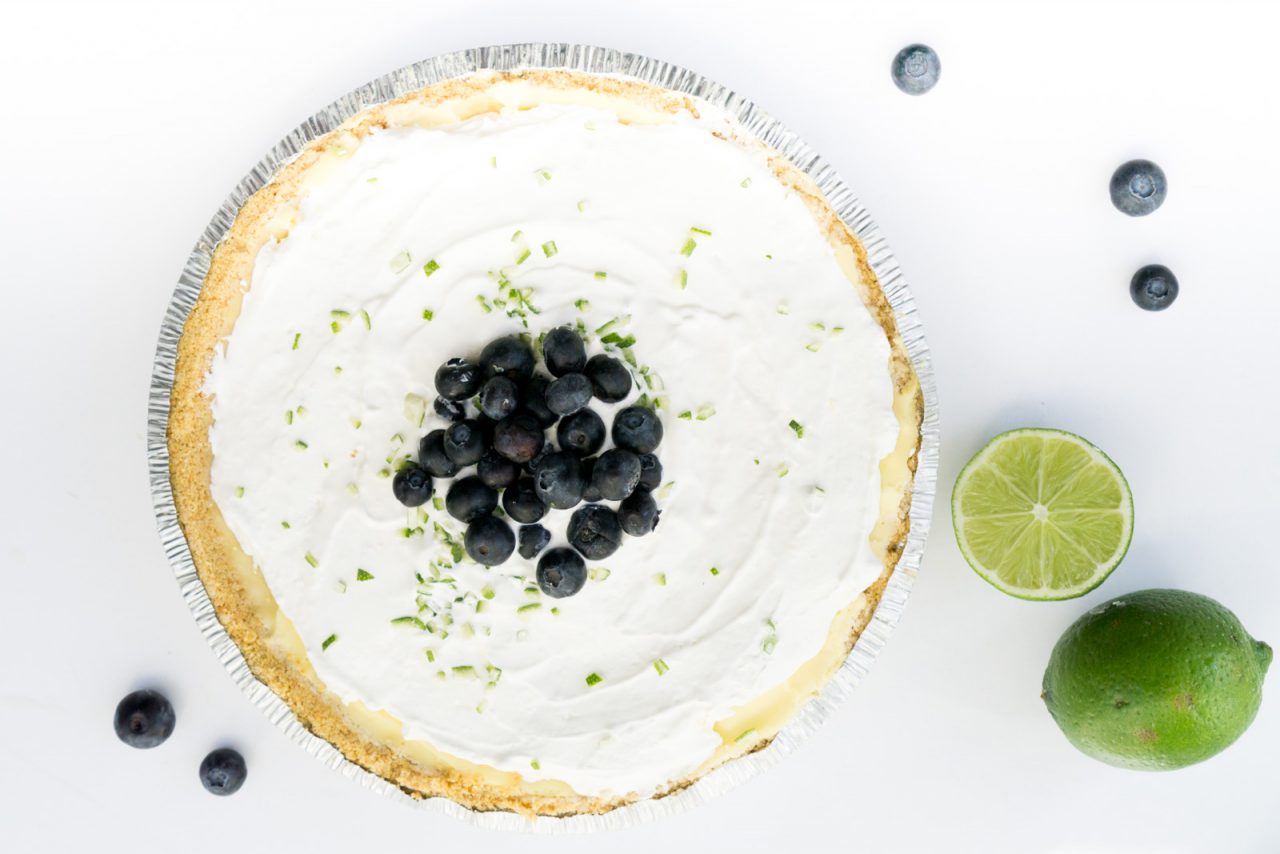
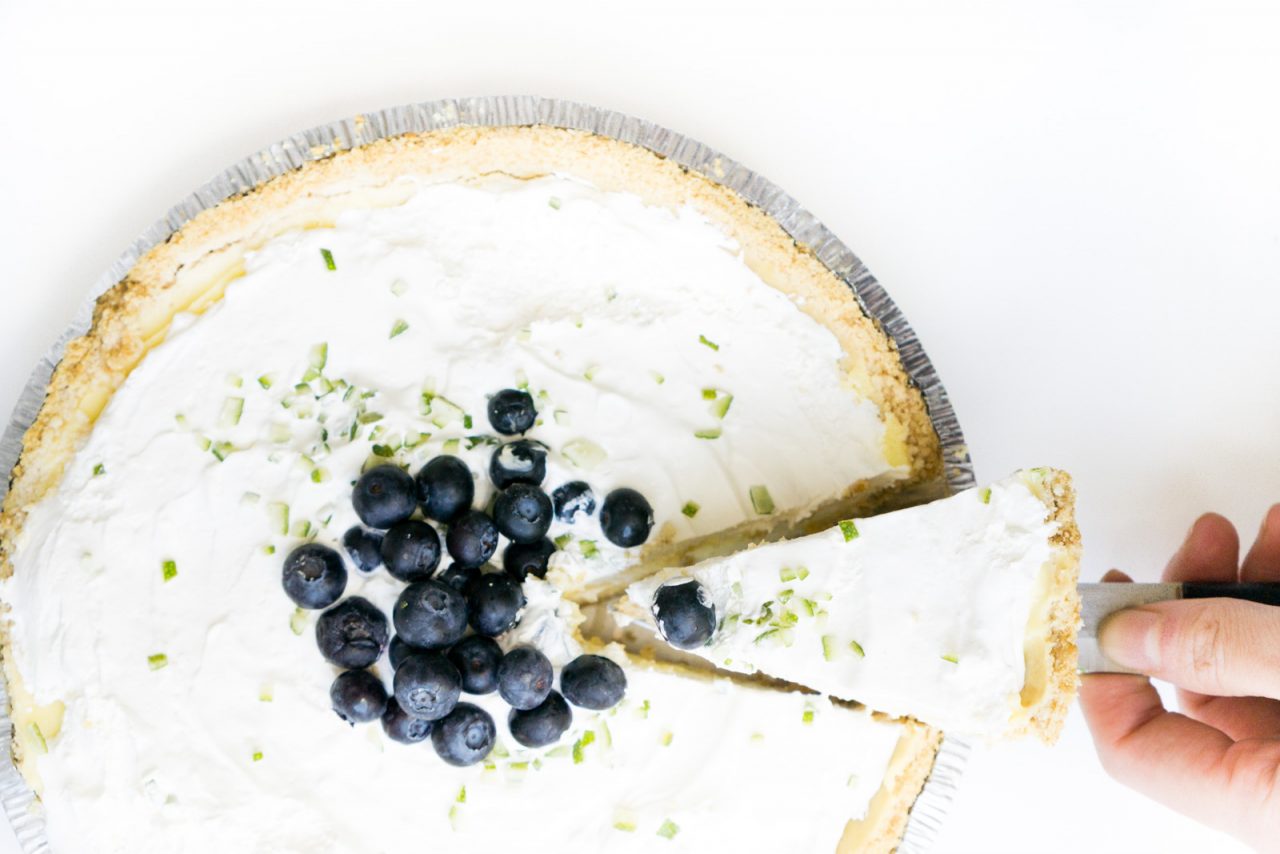
So, what pie do we have here? I wanted to prepare a green dessert because I’ve realized I haven’t had a recipe for St. Patrick’s Day and found a cool lime pie recipe, but required too much work for me with the handmade crust and  tools that I didn’t want to purchase, especially because I’ve been  living with my brother in his tiny cute apartment. So I figured I could save myself (and ourselves) tons of time and money by preparing a St Patrick’s Day  pie with a ready made crust that we can all find in Target and/or other grocery stores, and focus more on a creamy boooozy part, with the magic of 2 tiny bottles of tequila, fresh limes, and  a tub of fluffy cool whip.Yes, every spoonful or forkful of it… is purely tantalizing. So,  go grab your ingredients, your bottles of booze, and whip up some of your own pi day pie for pi day / St. Patty’s / whatever spring holiday or gathering.


PI DAY PIE

Ingredients

Preparation Time
4-6 hrs.
Cooking Time
10 min.
Ready In
About 7 hours.
Serving Size
4-6
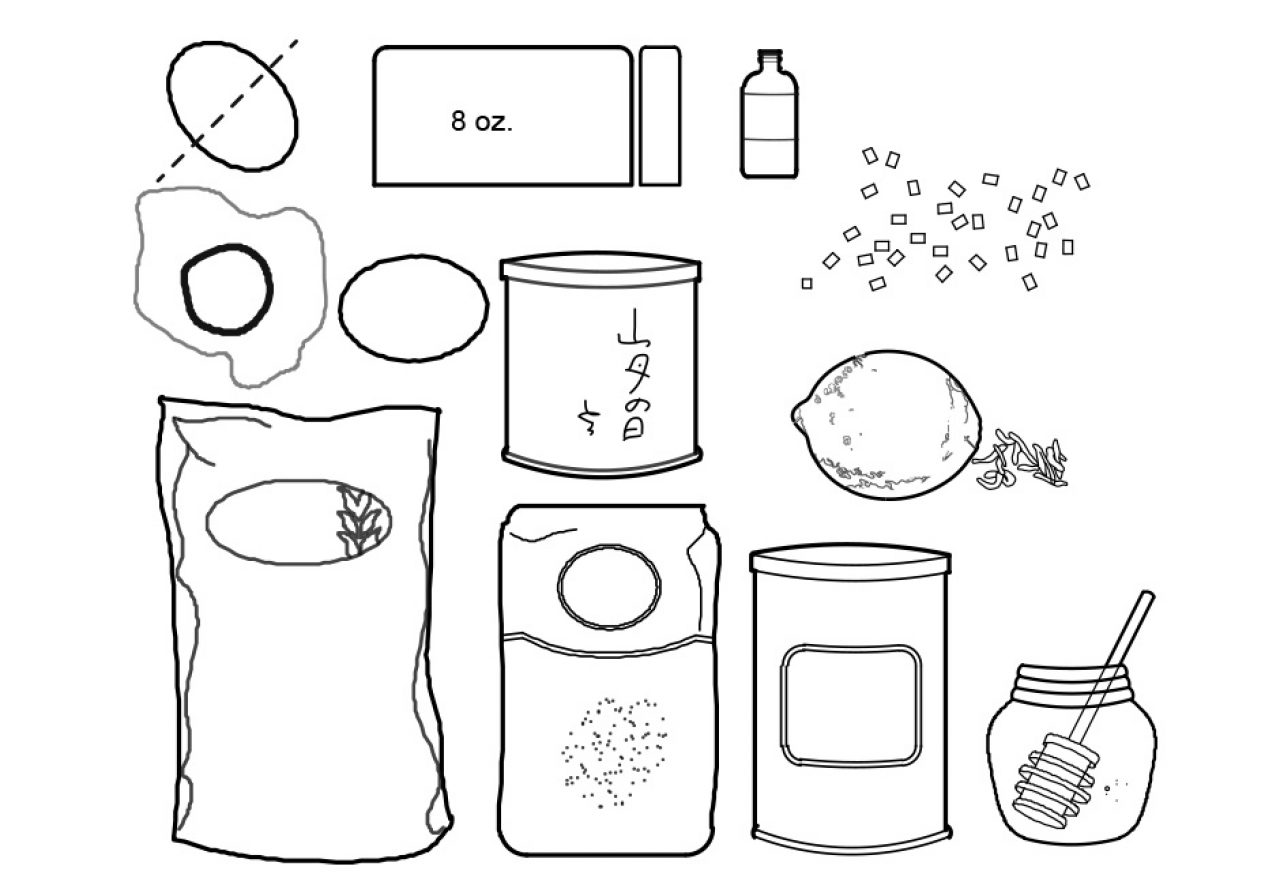
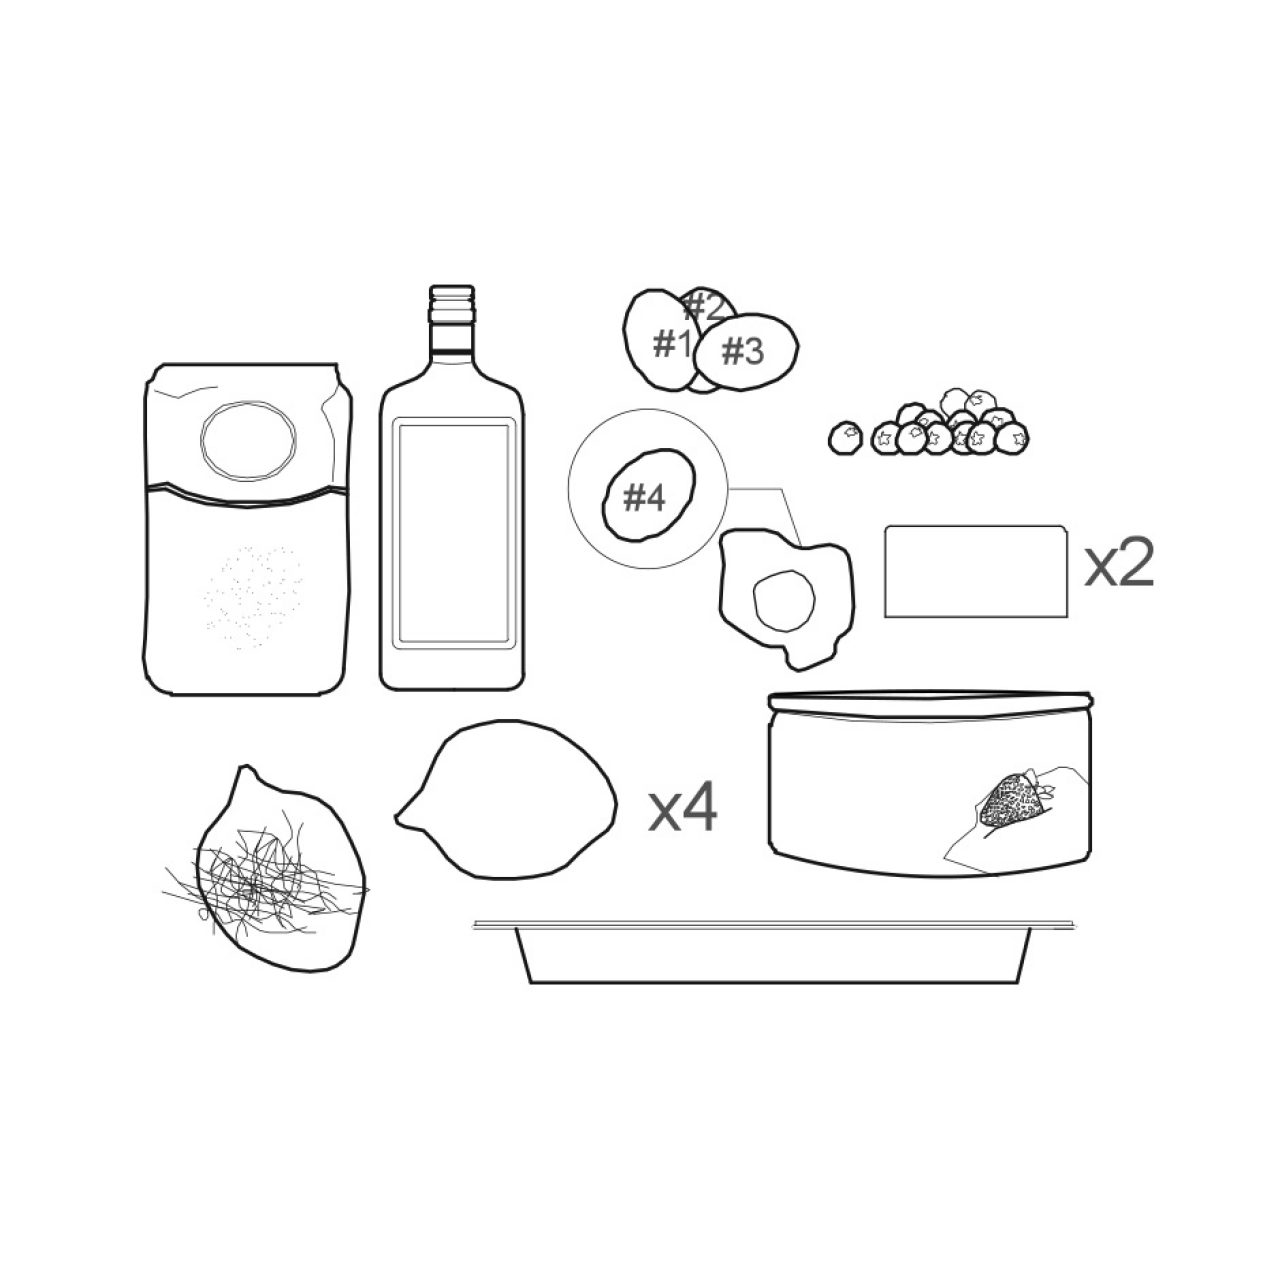
  • 1 9" graham cracker crust
  • 3/4 C granulated sugar
  • 1/4 C tequila (or lime juice)
  • 1/4 C fresh lime juice
  • 3 lg. eggs, plus 1 yolk
  • 1 C blueberries
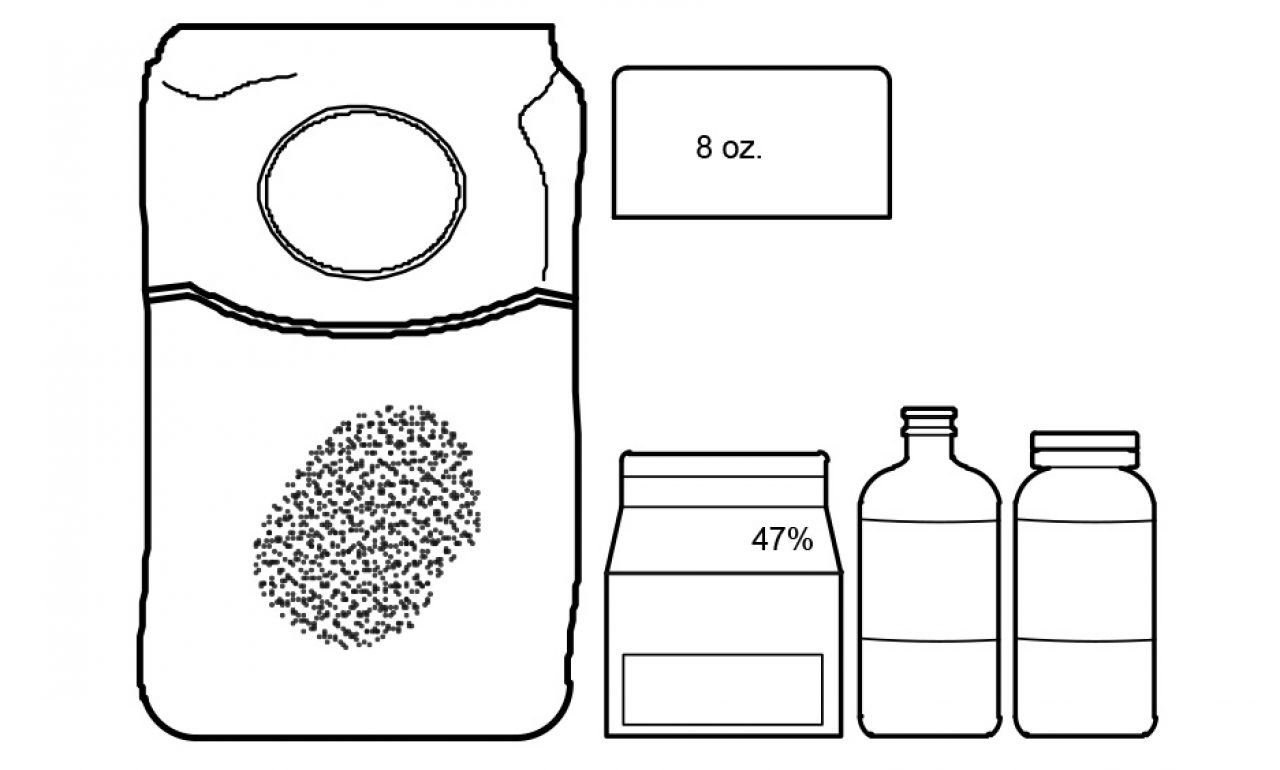
  • 1 8 oz. cool whip container
  • 1/2 lb butter (2 sticks)
  • 1 lime

Directions

Step 1.

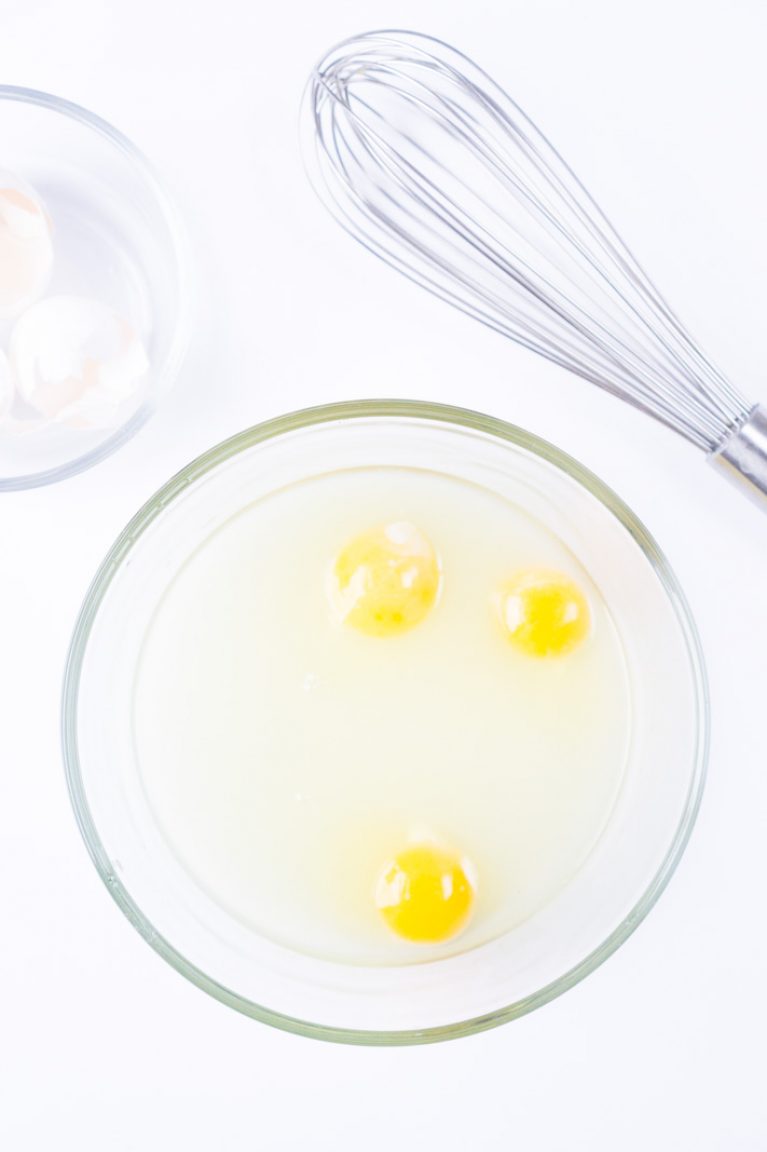
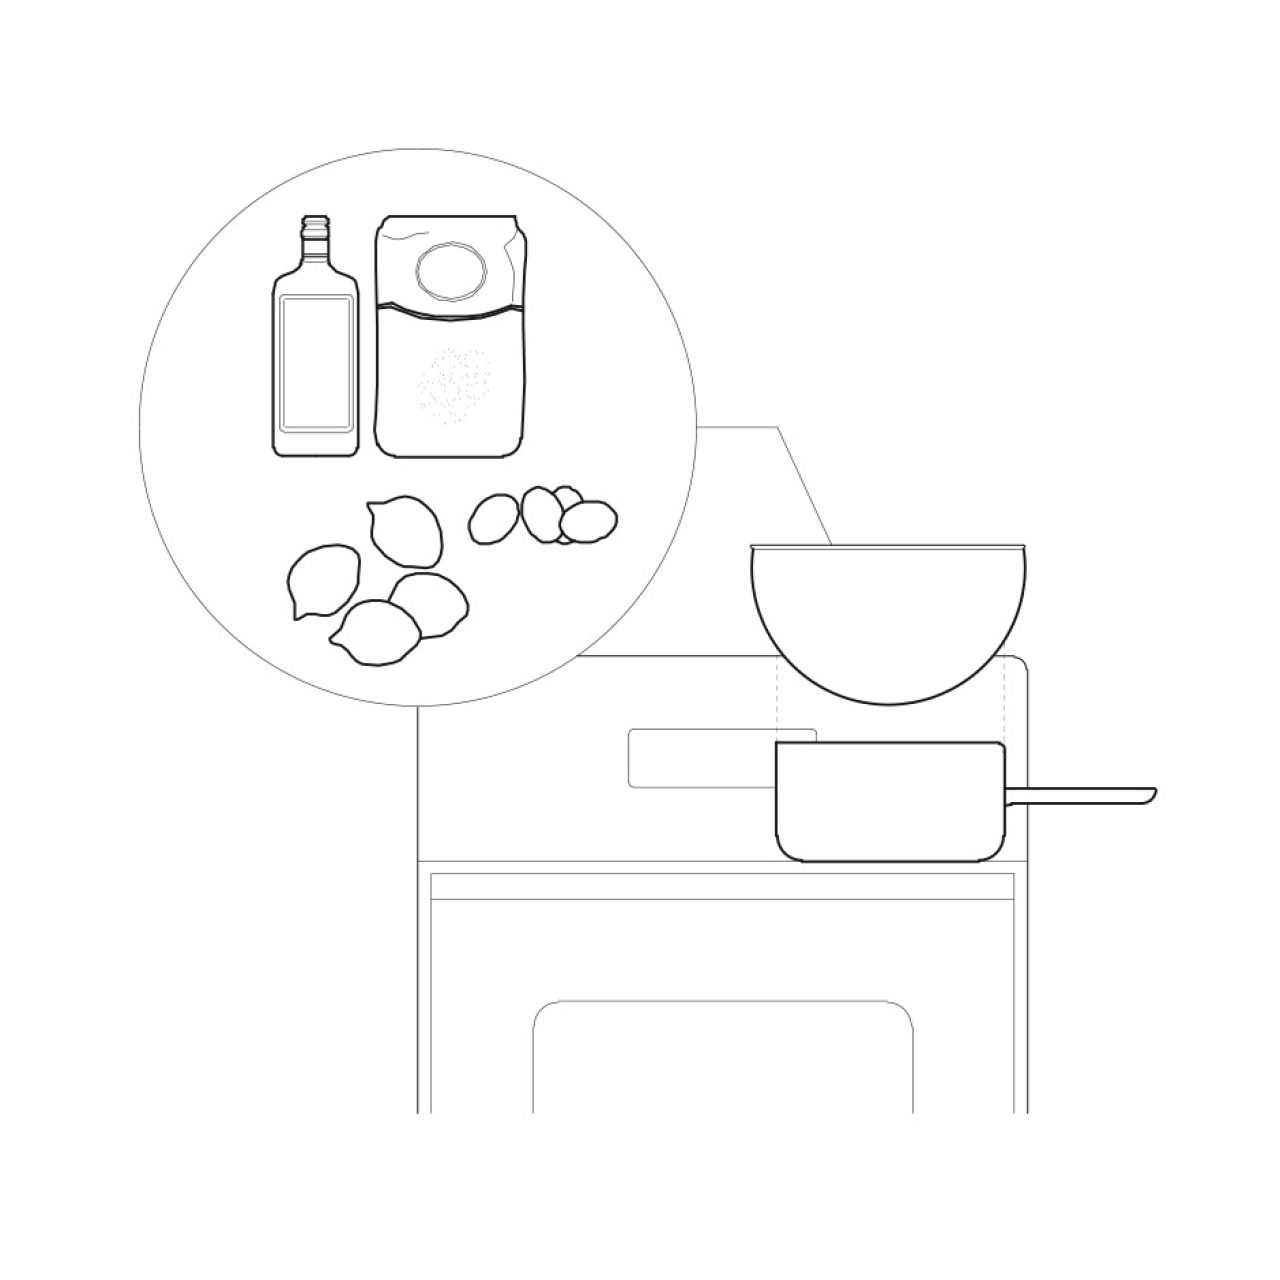
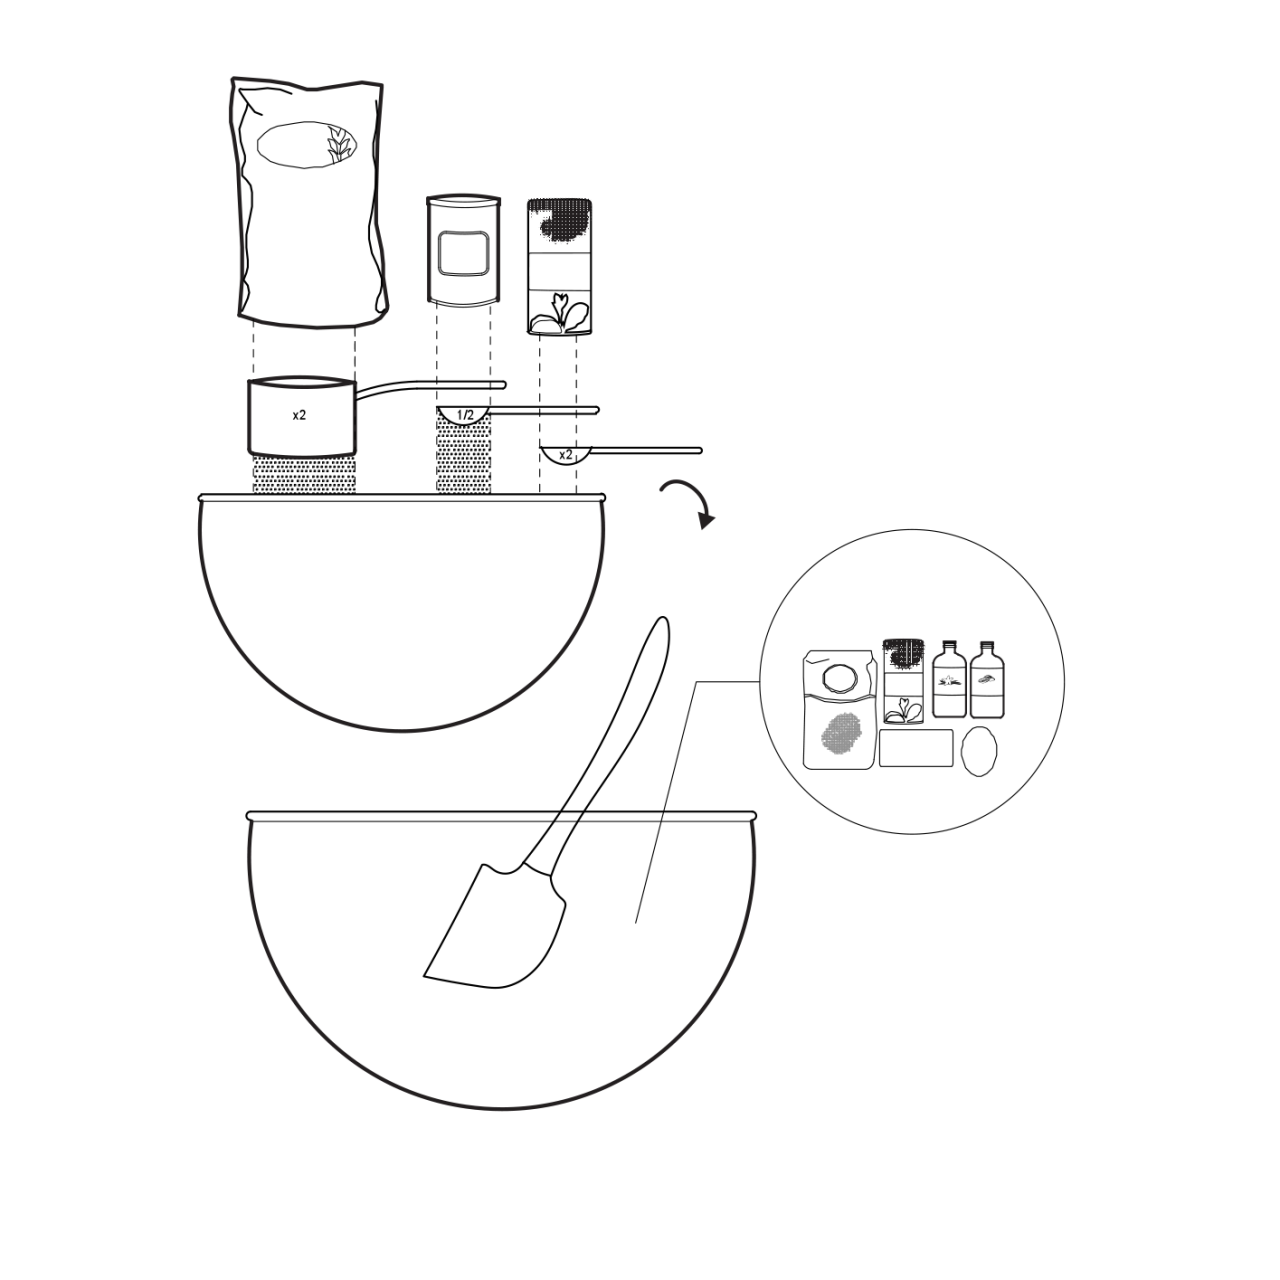
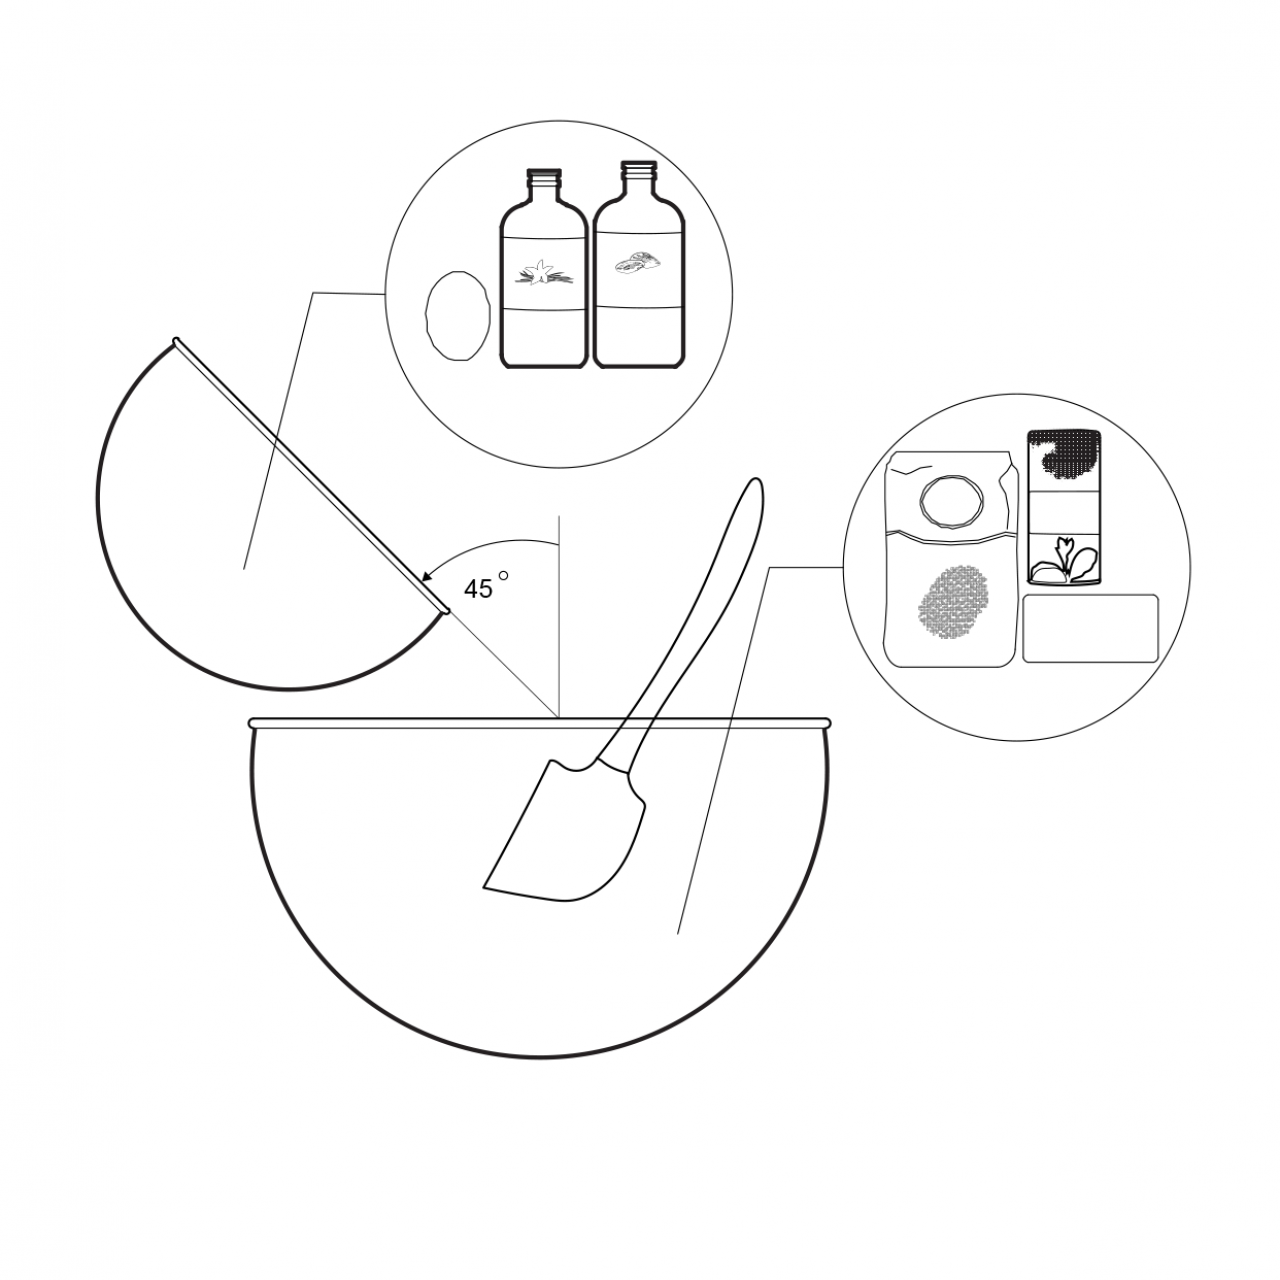
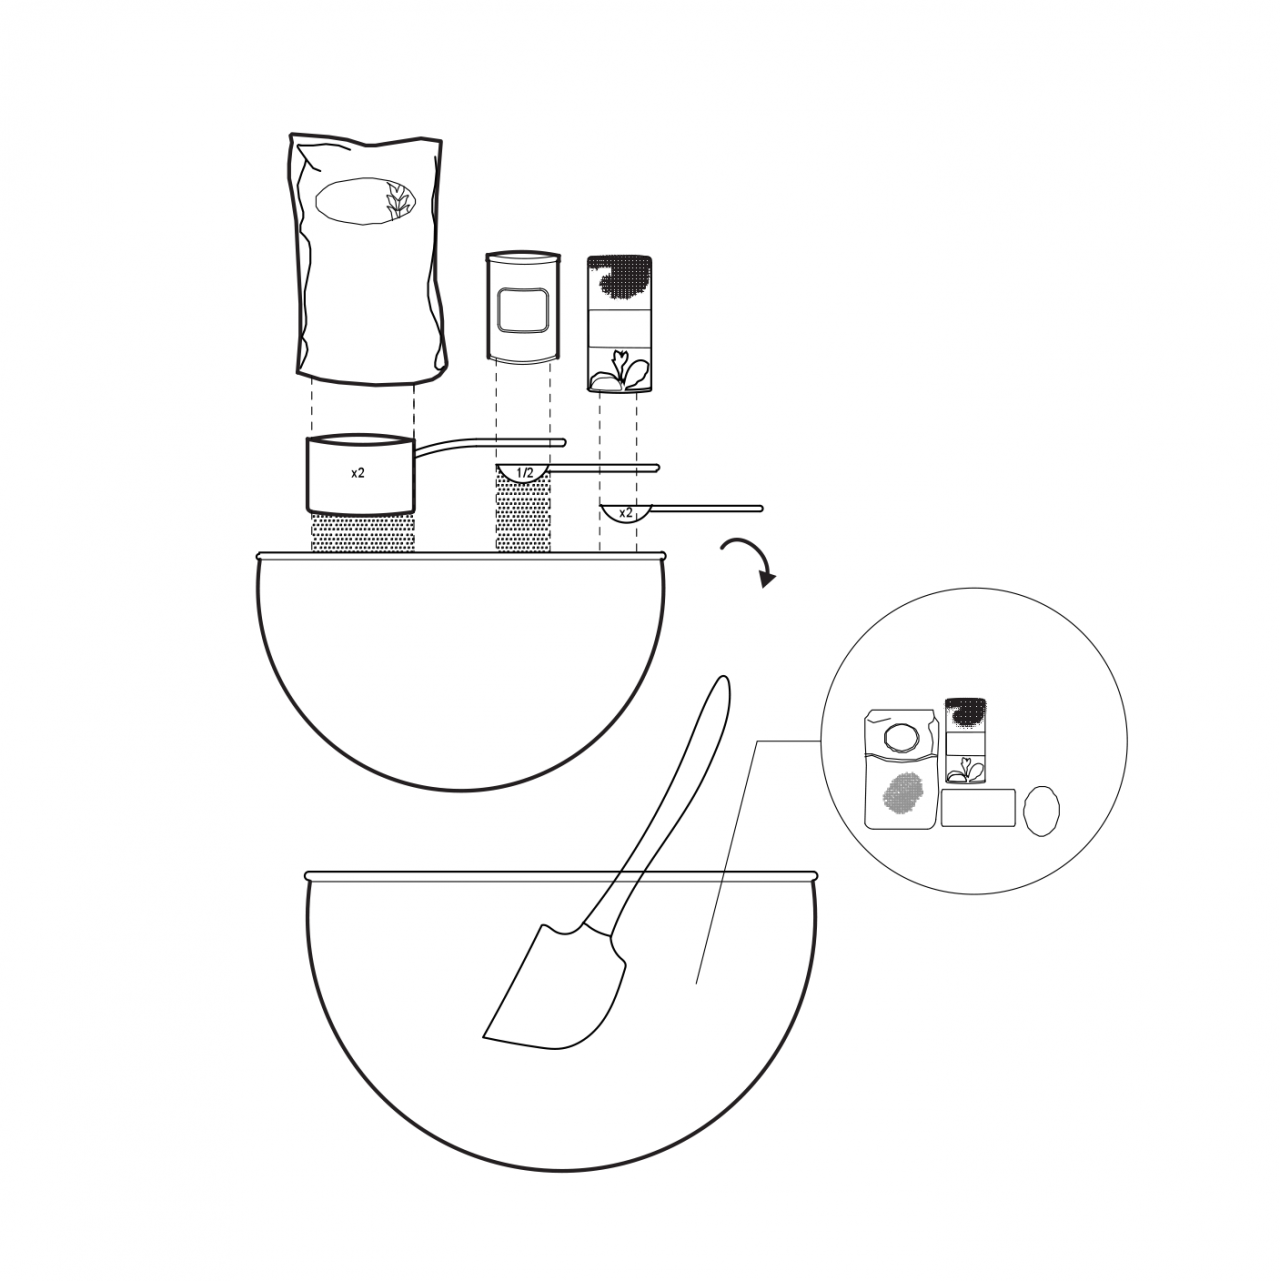
Make the margarita curd: In a large heatproof bowl, whisk together the lime juice, extra lime juice / tequila, sugar, eggs and egg yolk.

Step 2.

Whisk continuously and place over a medium saucepan of simmering water. Stir occasionally until a creamy, thick custard consistency forms, 6 to 8 minutes.

Step 3.

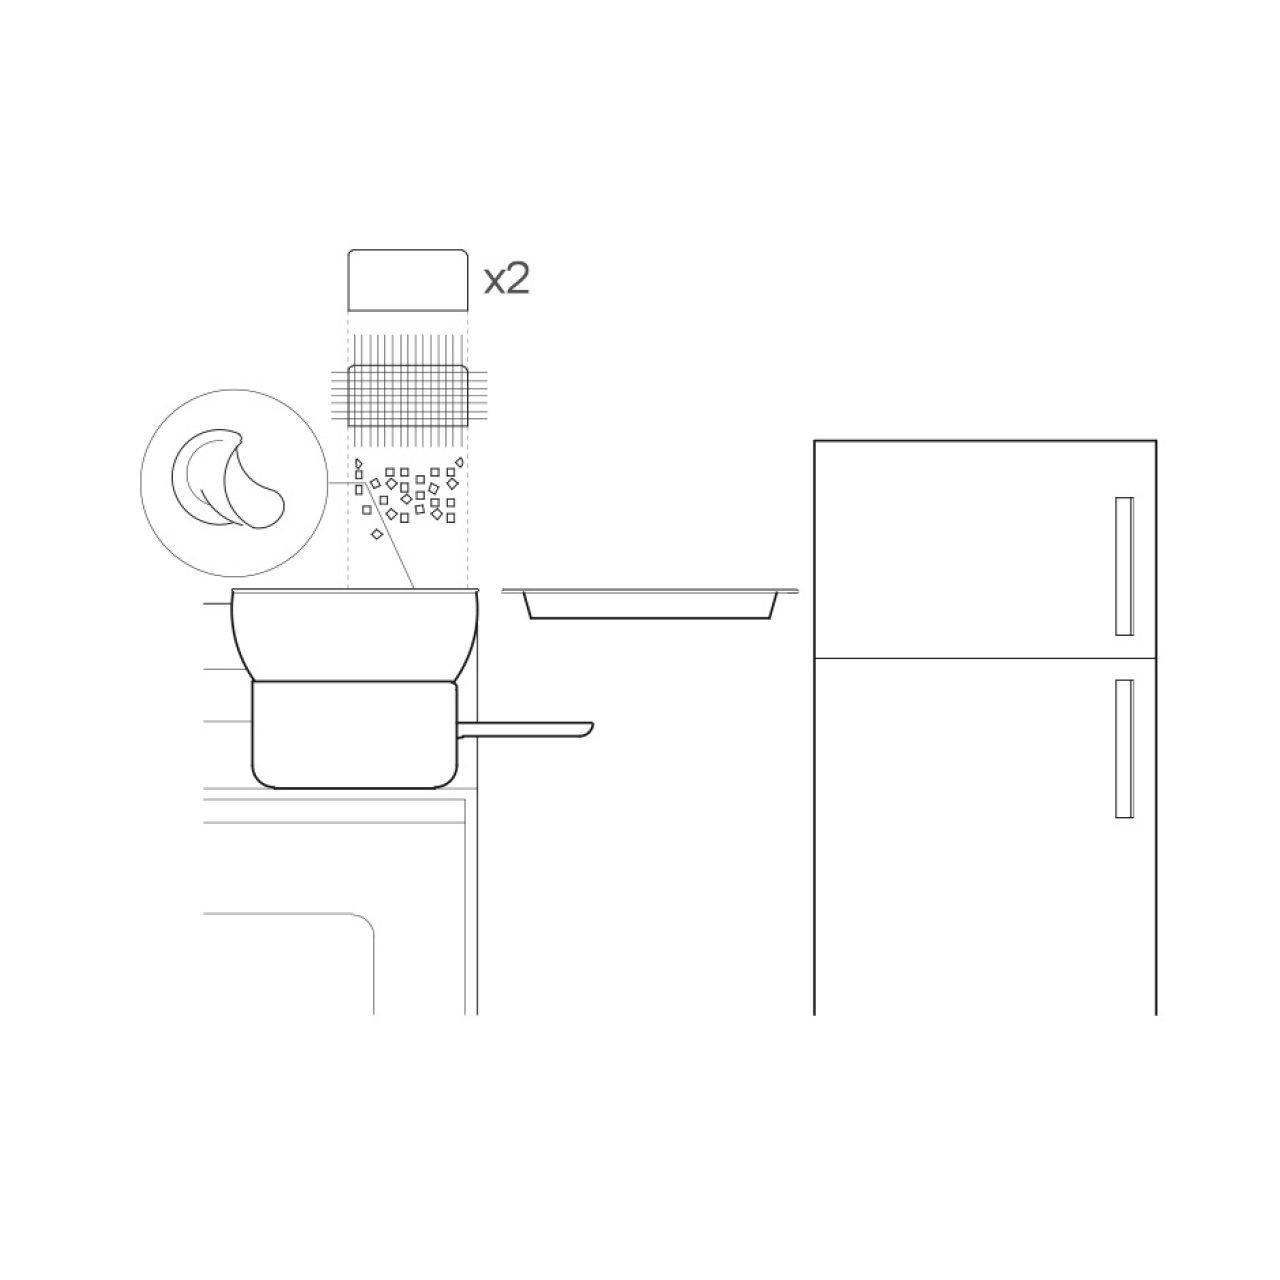
Gradually whisk in the cubes of butter until incorporated and remove from the heat. Pour into the prepared pie crust. Freeze until completely firm, 4 to 6 hours.

Step 4.

Make the lime whipped topping by squeezing the juice of one lime into the 9 oz. cool whip tub. Using a spatula, mix the whipping cream and spread over the pie.

Step 5.

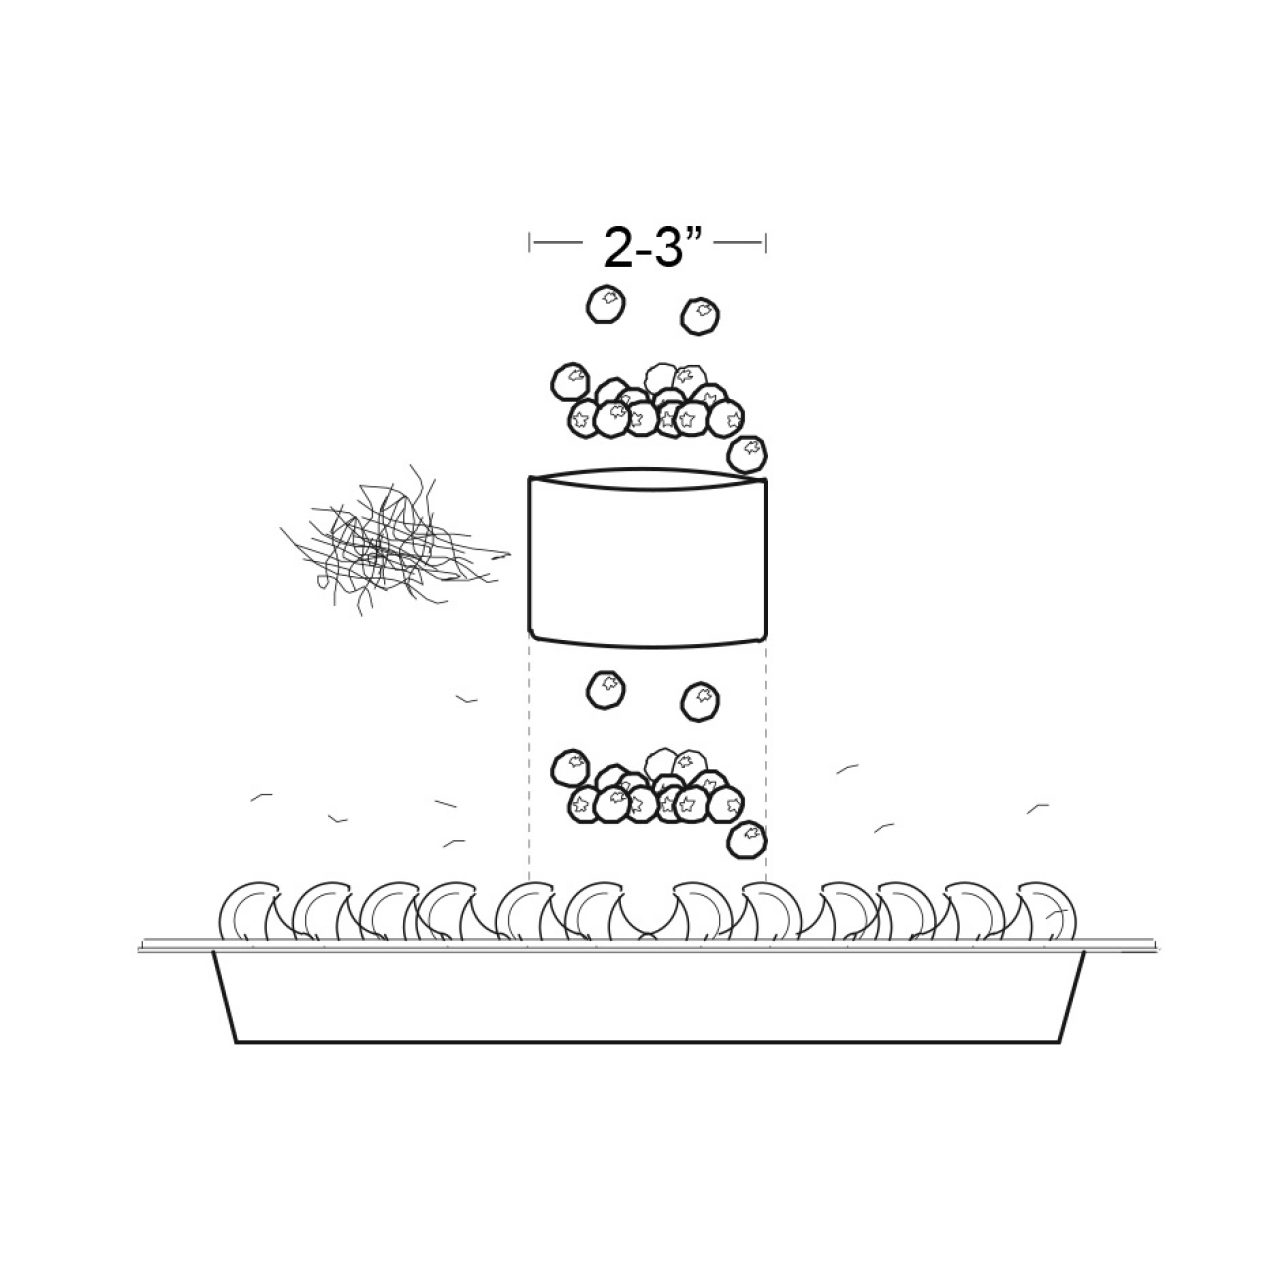
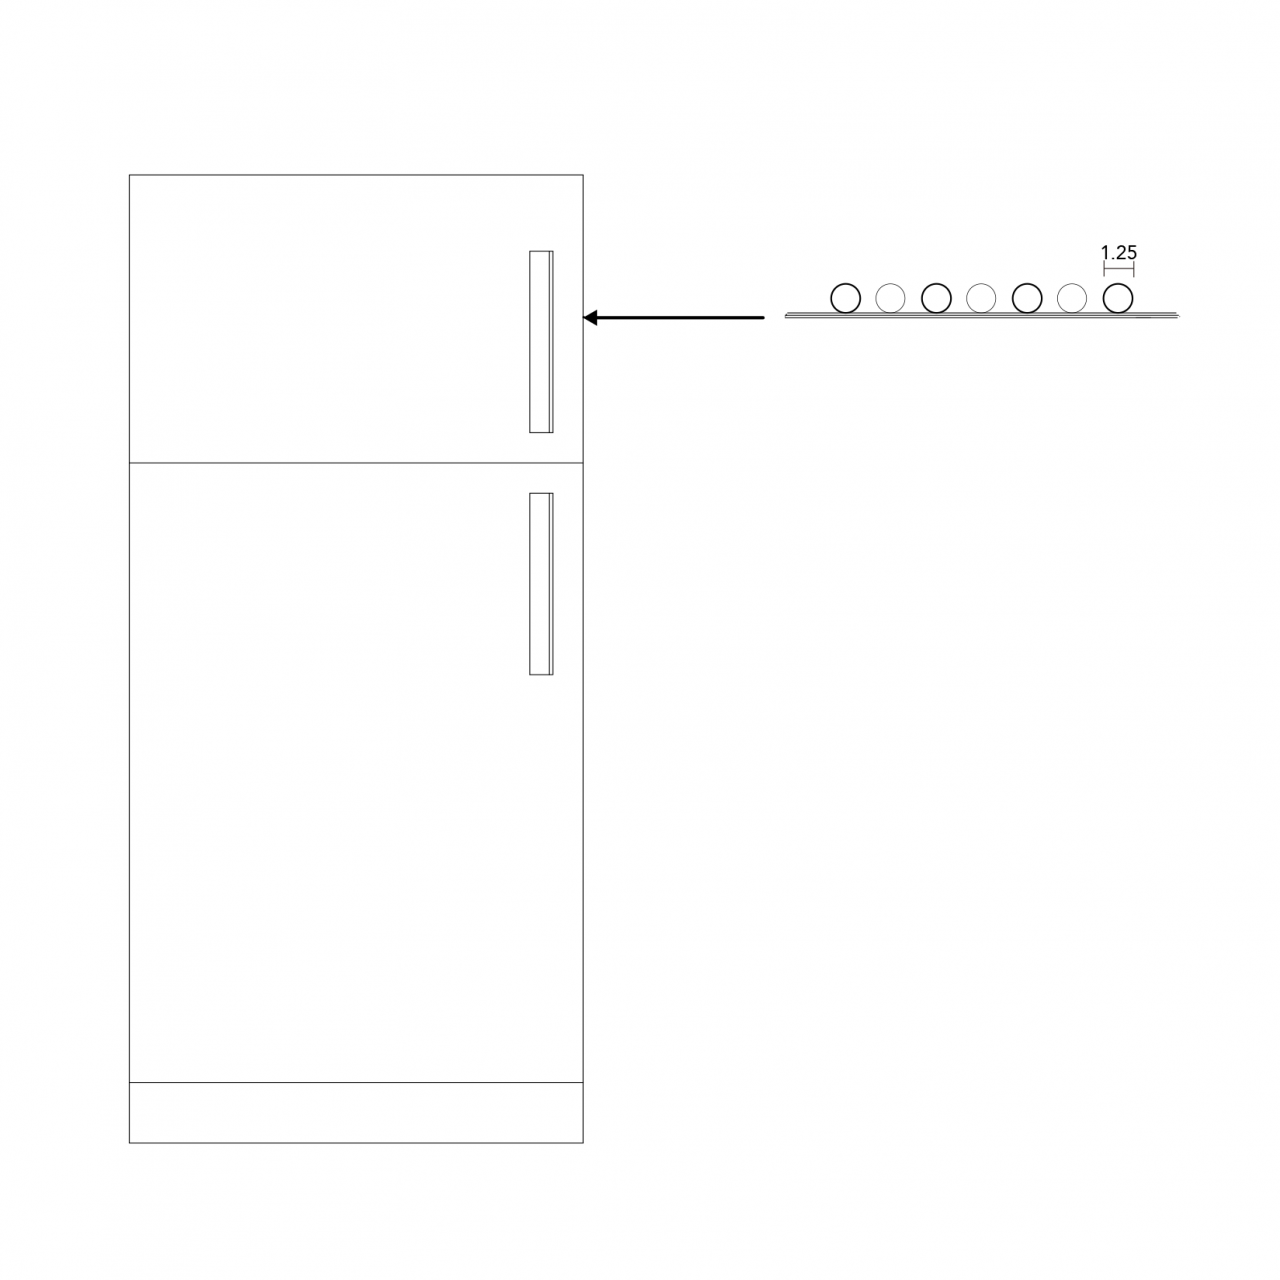
Freshly zest one lime onto the pie. Carefully place a 3″ ring mold over the pie and garnish the blueberries into the ring mold. Remove the ring mold. If you don’t have a ring mold, garnish with blueberries evenly over the pie. Serve immediately or tightly wrap and refrigerate for up to 2-3 days.

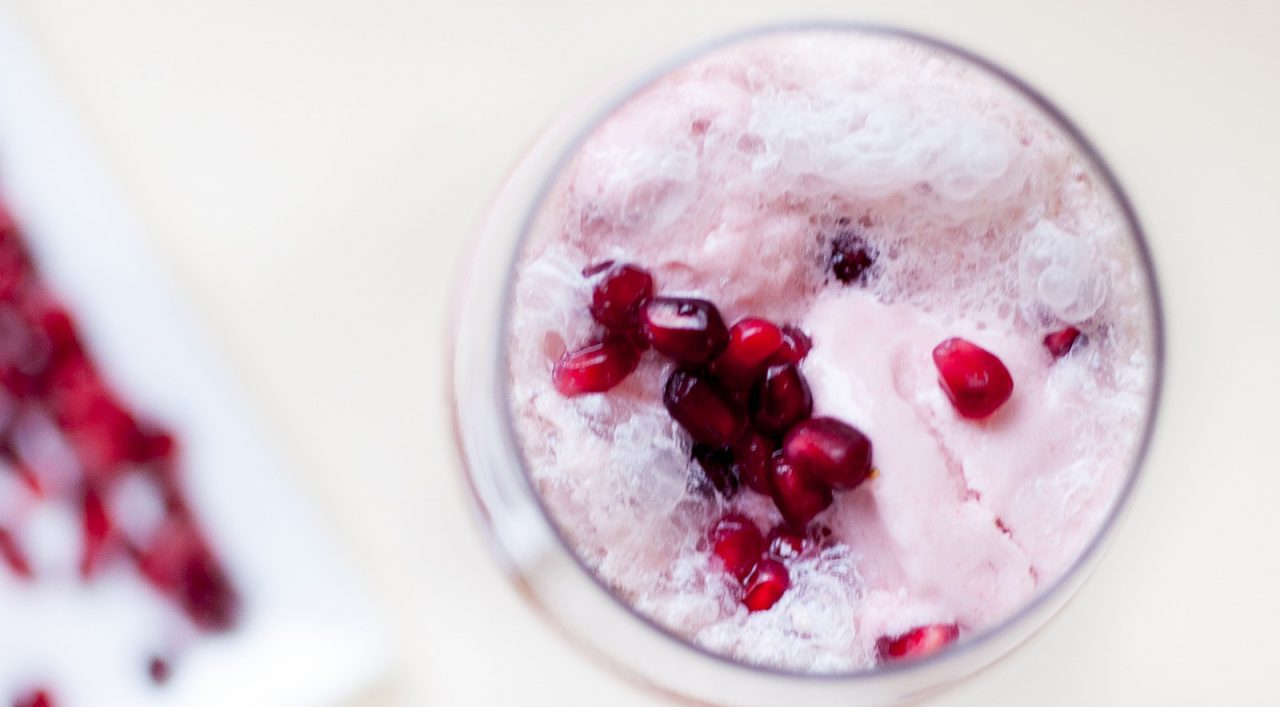
Strawberry Champagne Floats with Pomegrante Seeds

WOOHOOO!! it’s almost the big V-dayyyy. What could be better than celebrate it with some champagne AND ice cream?!

That’s right. They’re back. They’re cold. They’re sweet. And they’re fizzy. And they’re good for you and if you have a friend and/or lover, that friend.

I have an obsession with ice cream. I love how you can eat ice cream in a bowl, a glass, a plate. And we can all eat it on waffles and plop it on soda/champagne!

How was ice cream invented anyway?!  Ice cream origins as far as the second century B.C., but there isn’t a specific date. Over a thousand years later, Marco Polo returned to Italy from the Far East with a recipe that closely resembled what we call “sorbet.” Paris’s first cafe, Cafe Procope, introduced the recipe that blended milk, cream, butter, and eggs. But ice cream was still an exotic dessert offered to the elite…. But soon insulated ice houses were invented. Manufacturing ice cream became an industry in America, pioneered in 1851 by a Baltimore milk dealer named Jacob Fussell. Ice cream increased and became more widely available  because of technological innovations like the steam power, mechanical refrigeration, the homogenizer, electric power and motors, packing machines, and new freezing processes and equipment. Today’s total frozen dairy annual production in the states is over 1.6 million gallons! In 1874, the American soda fountain shop emerged with the invention of “ice cream soda.” In response to religious criticism for eating “sinfully” rich ice cream on Sundays, they left it out and invented the ice cream Sunday. The name was eventually changed to “sundae” to remove any connection with Sabbath. After World War 2, America celebrated its victory with ice cream.

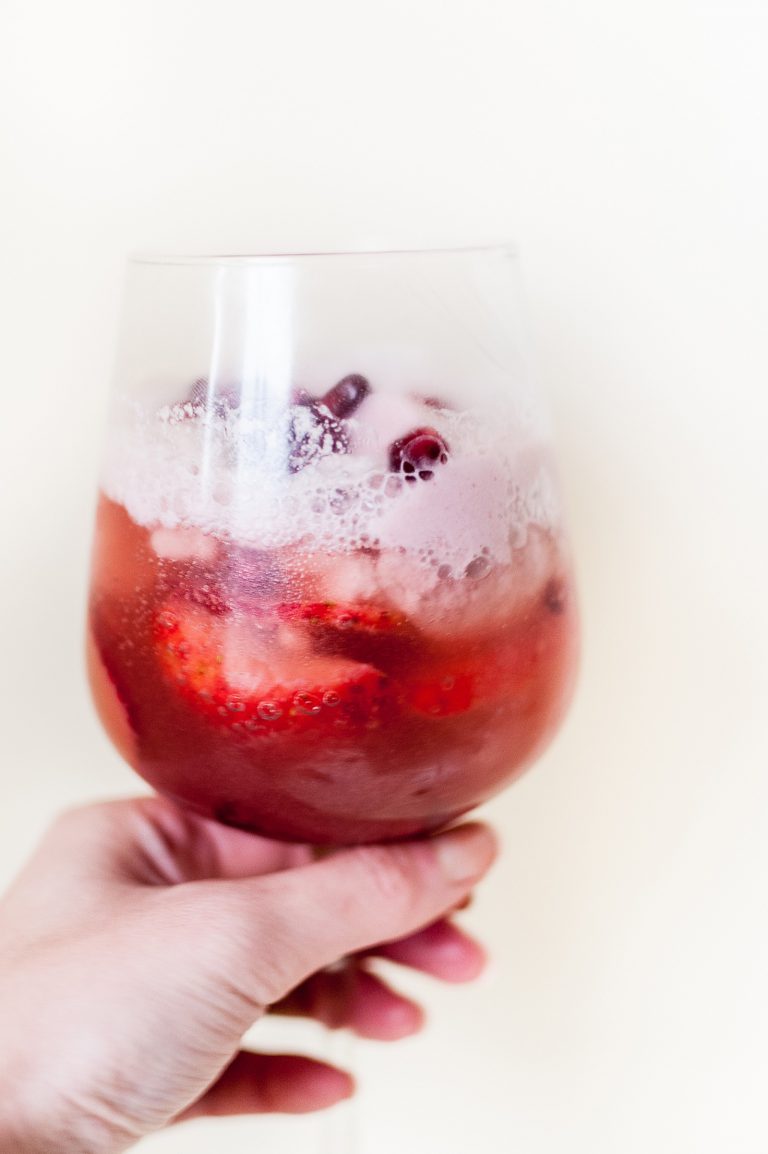
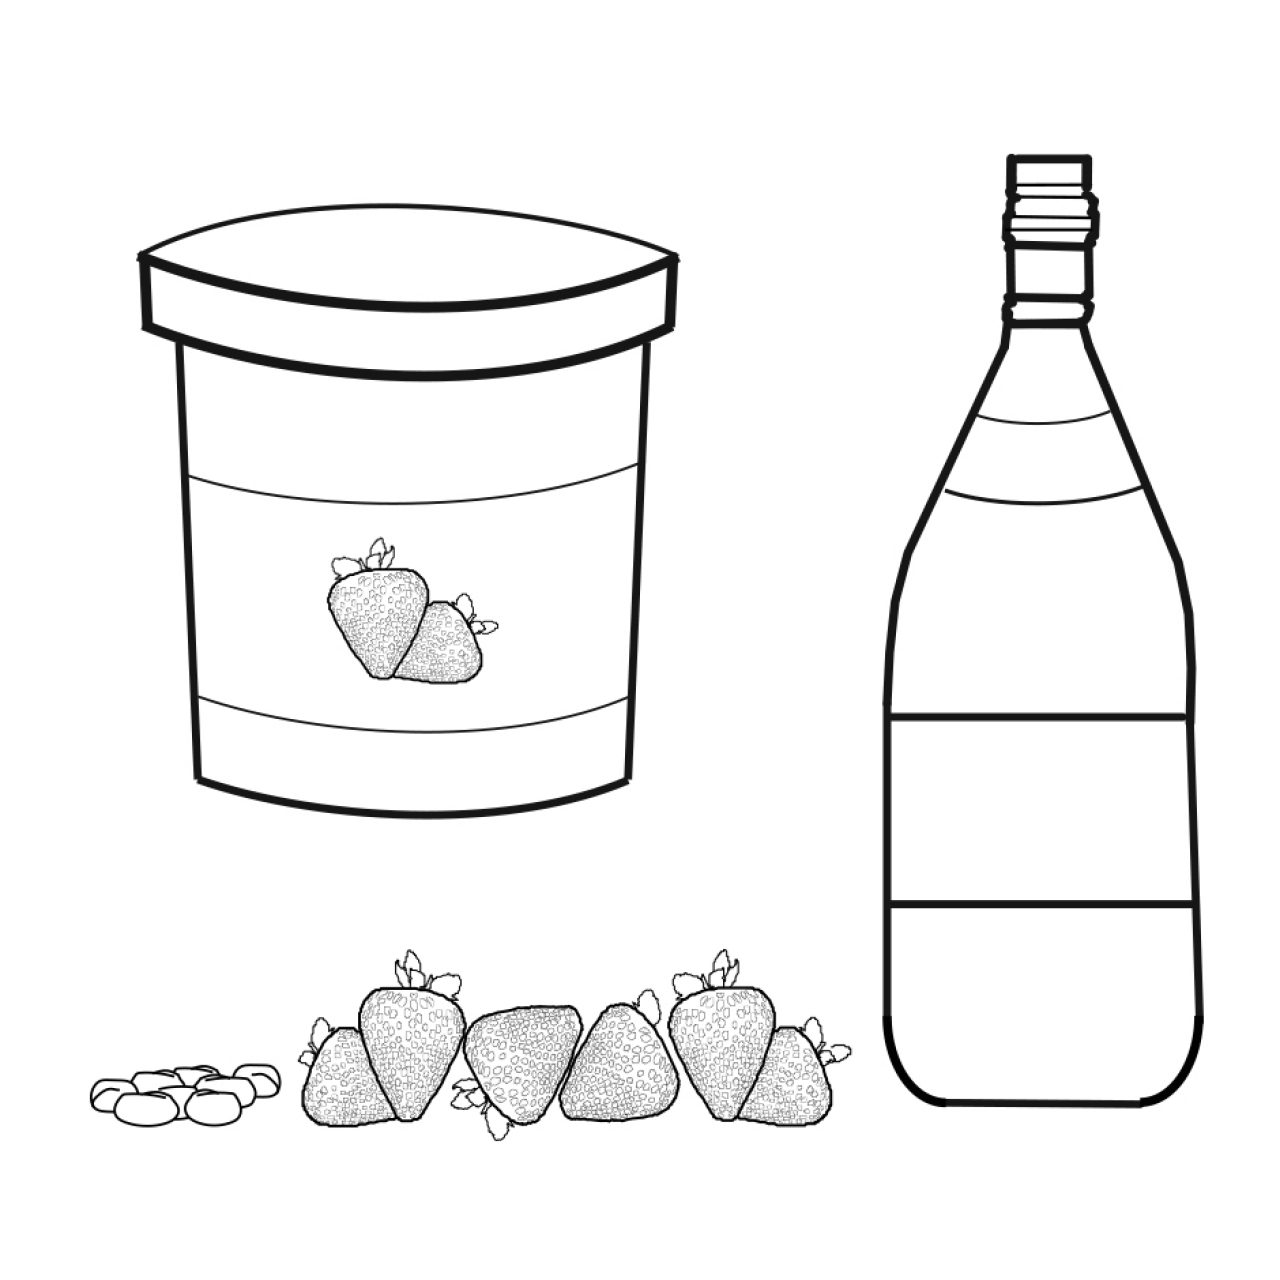
This recipe only calls for 4 ingredients: strawberry champagne, (victory!) strawberry ice cream, strawberries, and pomegranate seeds.

Ingredients

Preparation Time
5 min.
Ready In
5 min.
Serving Size
6 glasses / 6 servings
  • 6 Strawberries
  • 1 bottle Strawberry champagne (I used Trader Joes’s La Burgondie Strawberry champagne)
  • 1 quart Strawberry ice cream
  • 1/2 cup of Pomegranate seeds

Directions

Step 1.

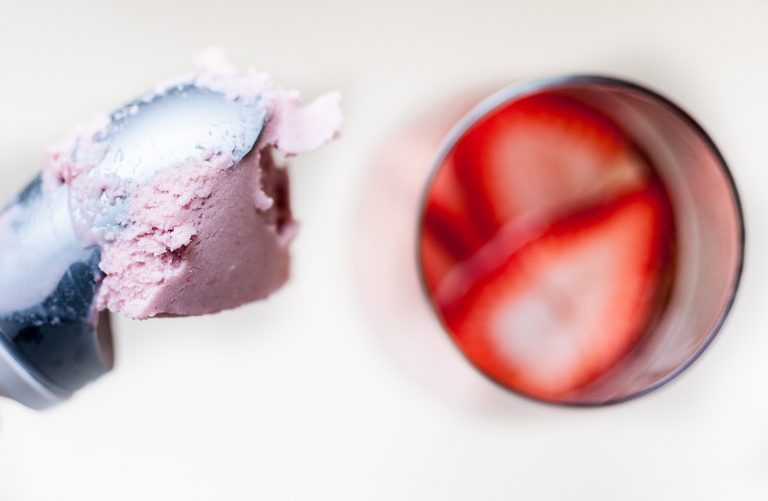
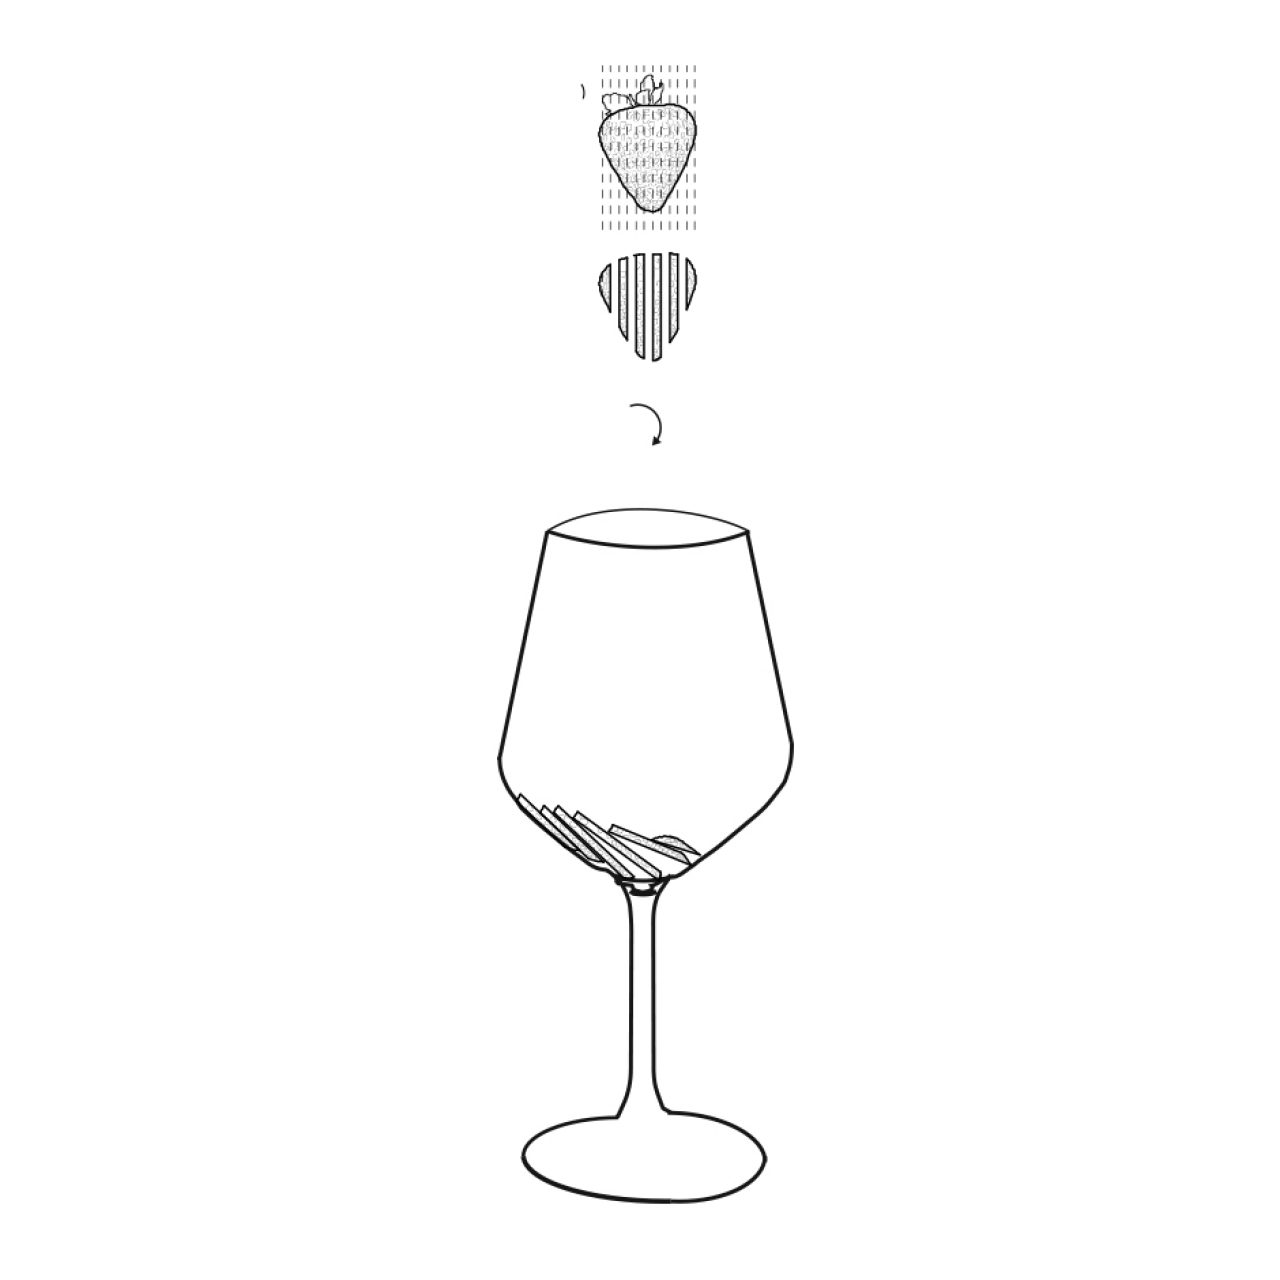
Wash the strawberries, then slice and fill each glass with one sliced strawberry.

Step 2.

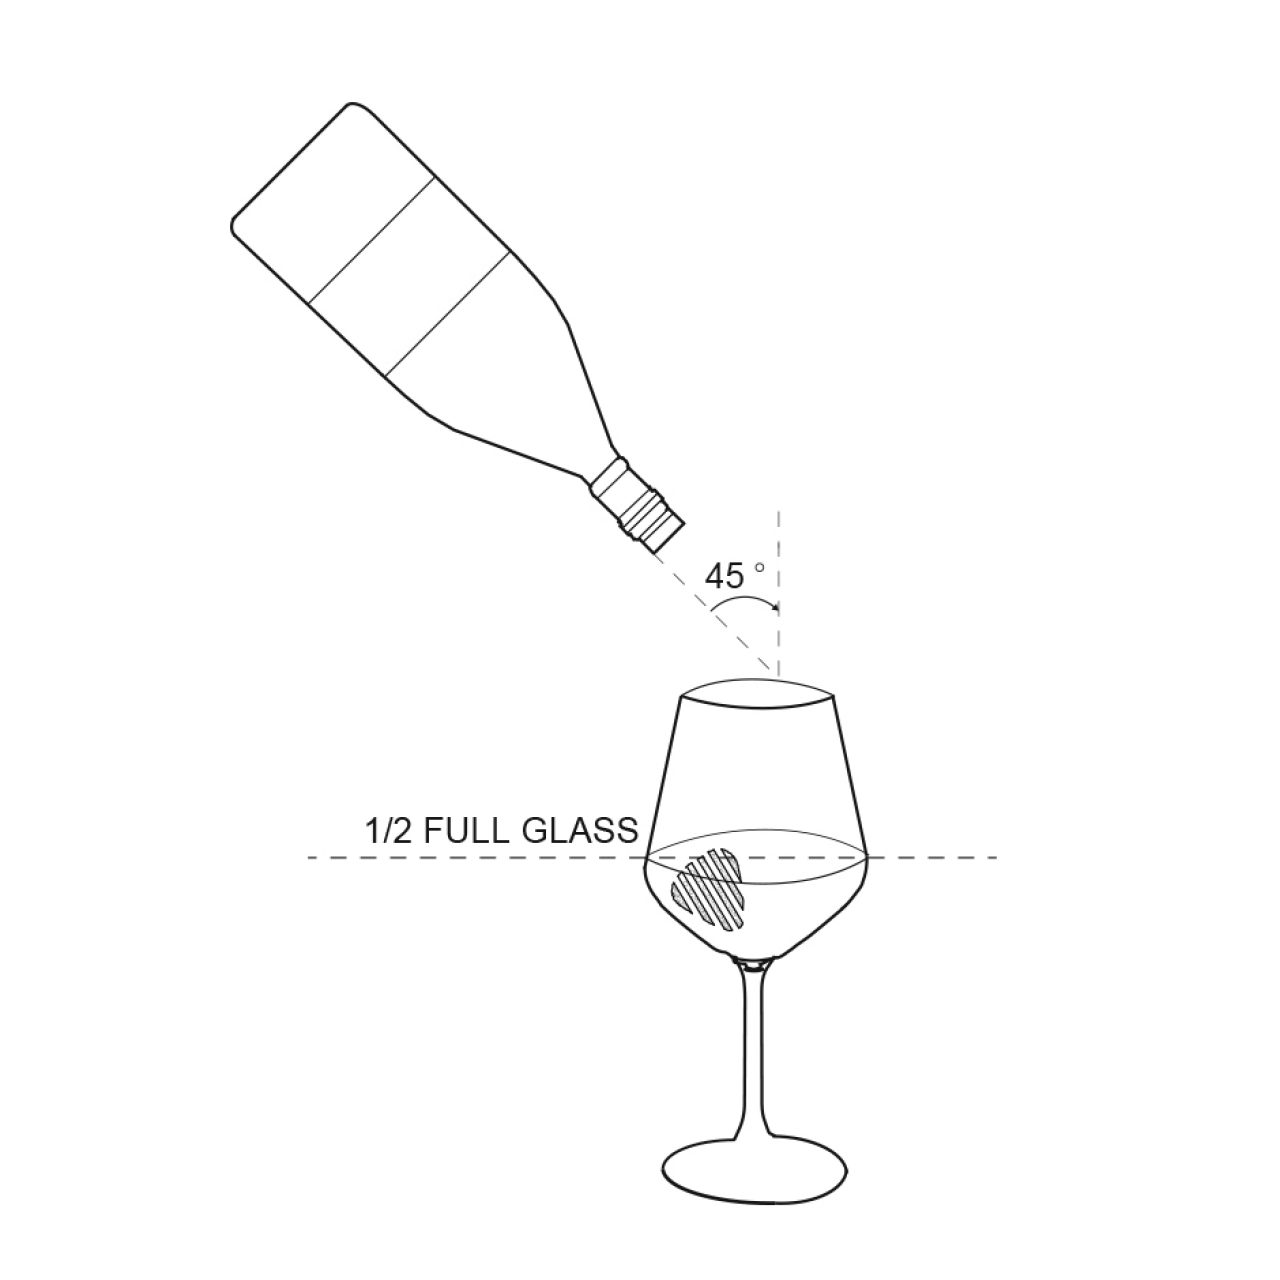
Pour the champagne so the glass is half filled.

Step 3.

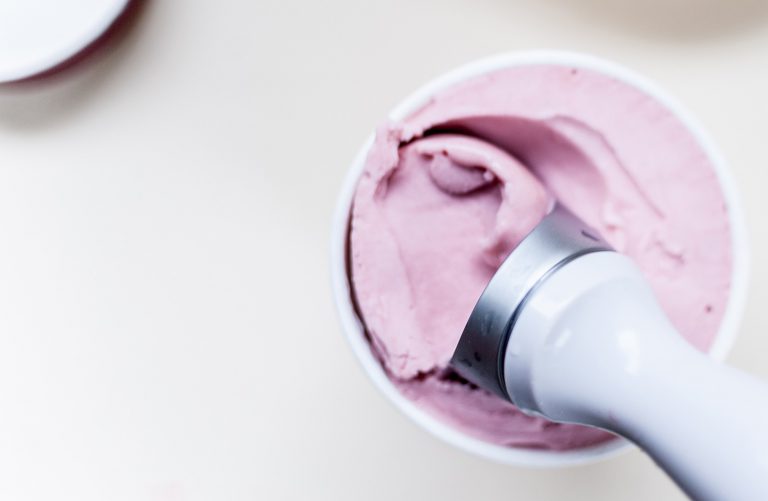
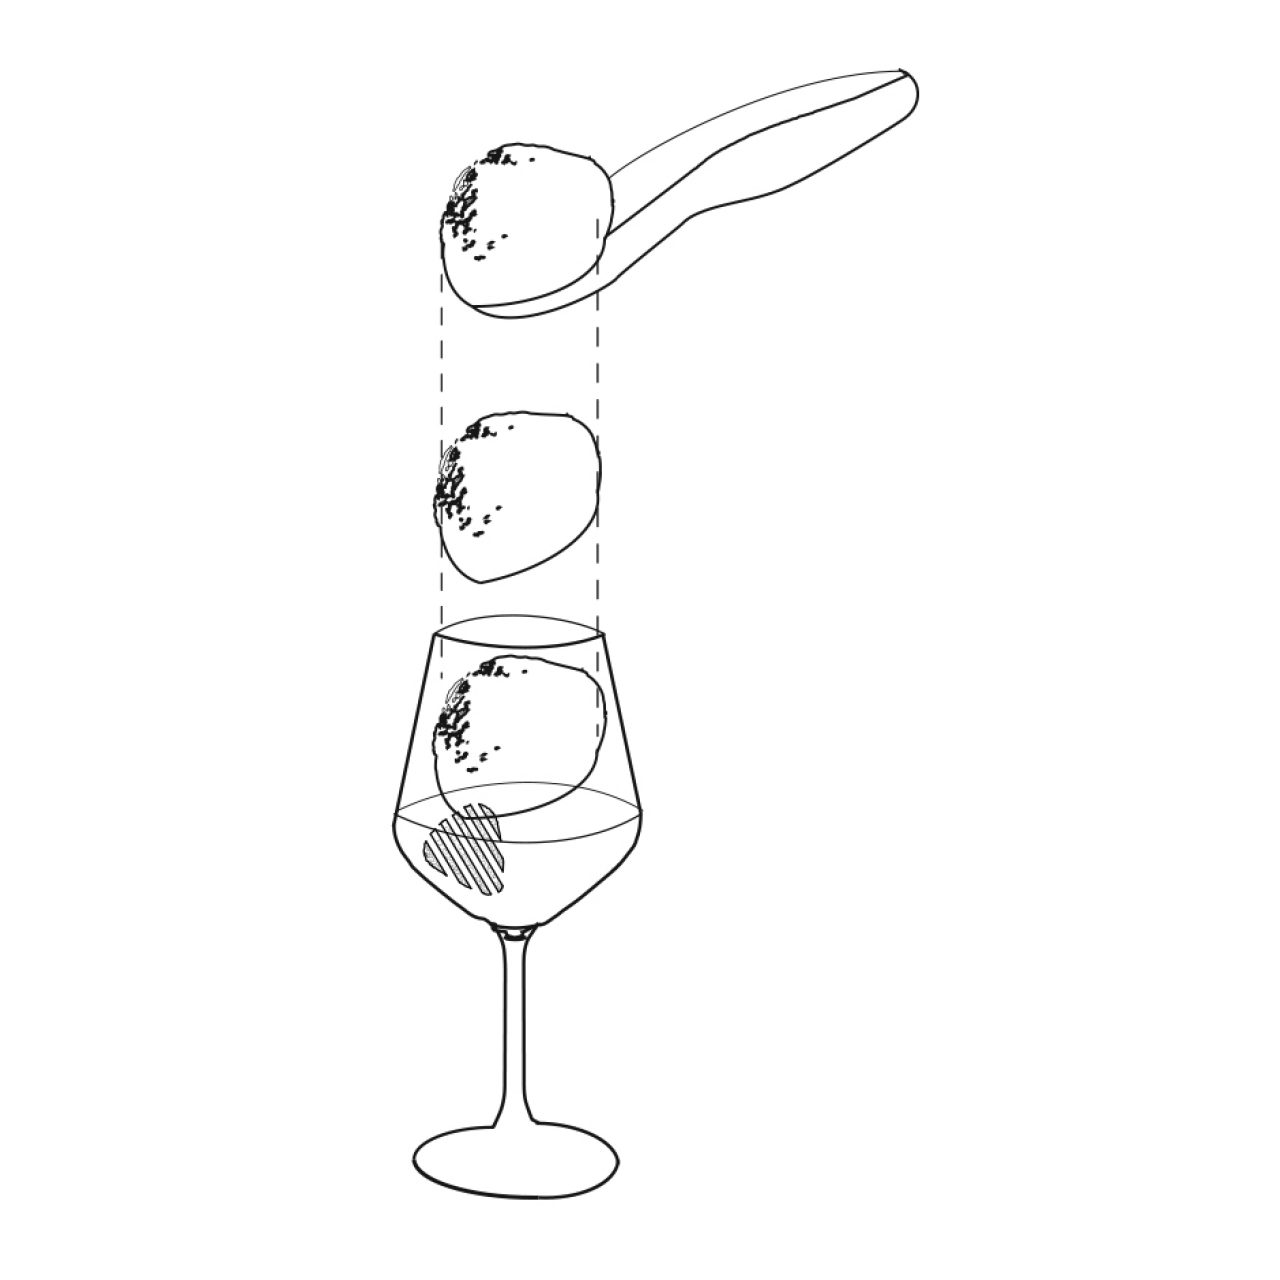
Scoop one scoop of strawberry ice cream over the champagne in the glass.

Step 4.

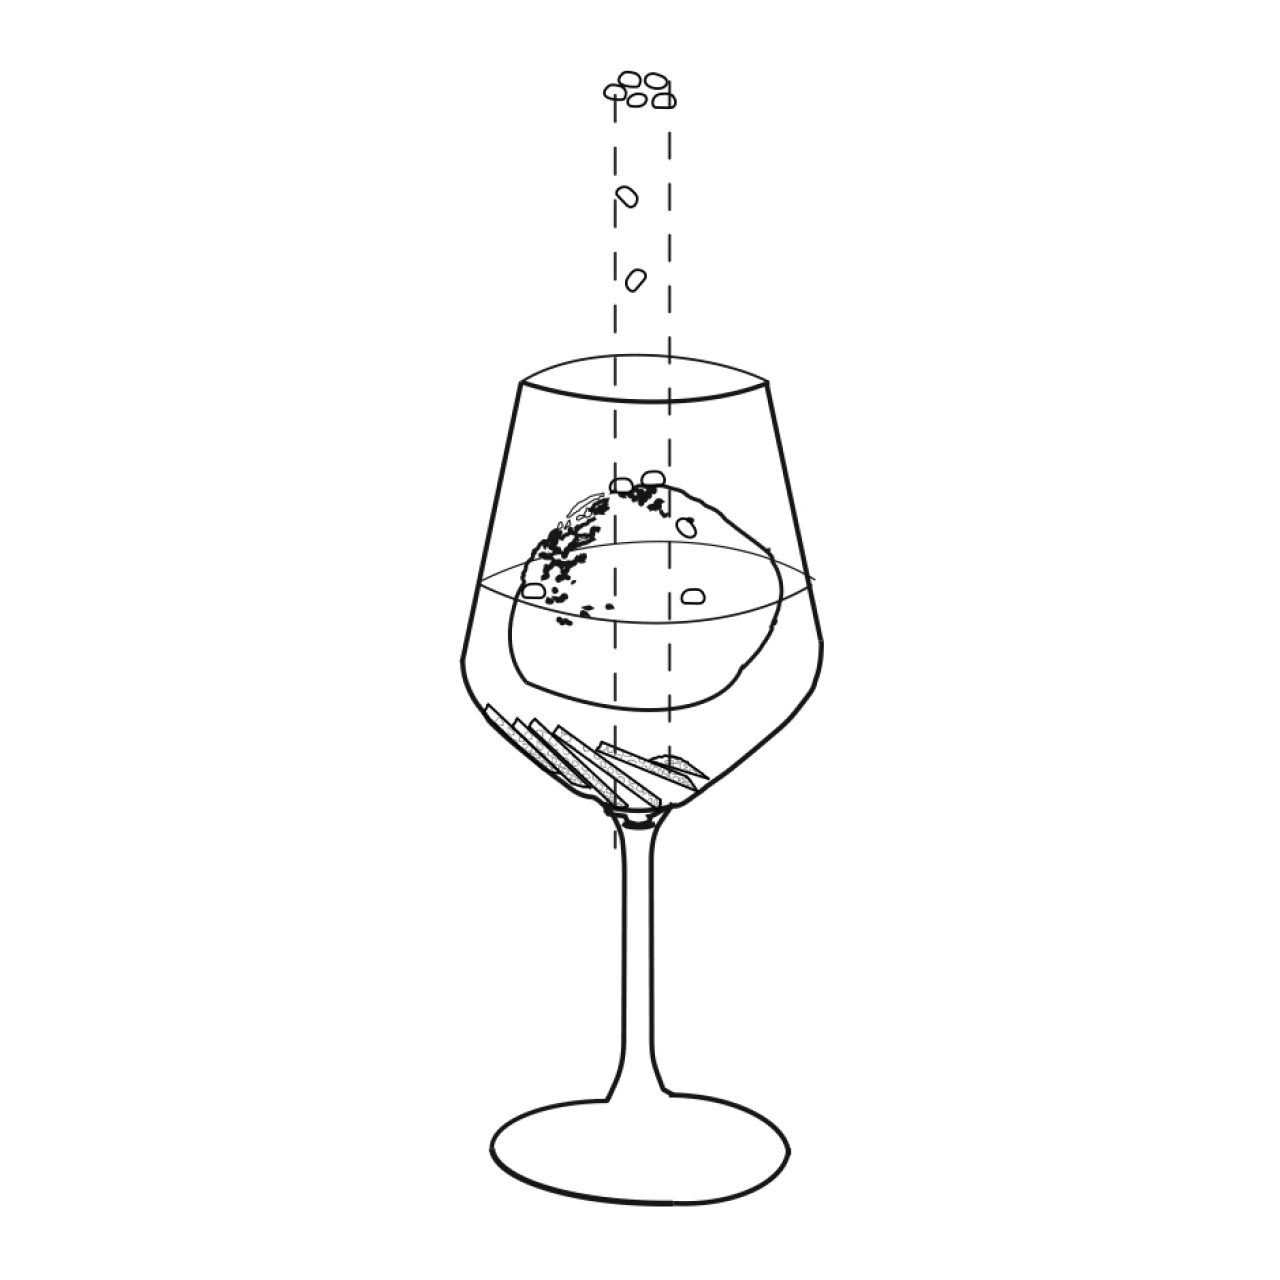
Top with pomegranate seeds and serve immediately with a spoon. Enjoy!

Matcha Whoopie Pies with Vanilla Buttercream

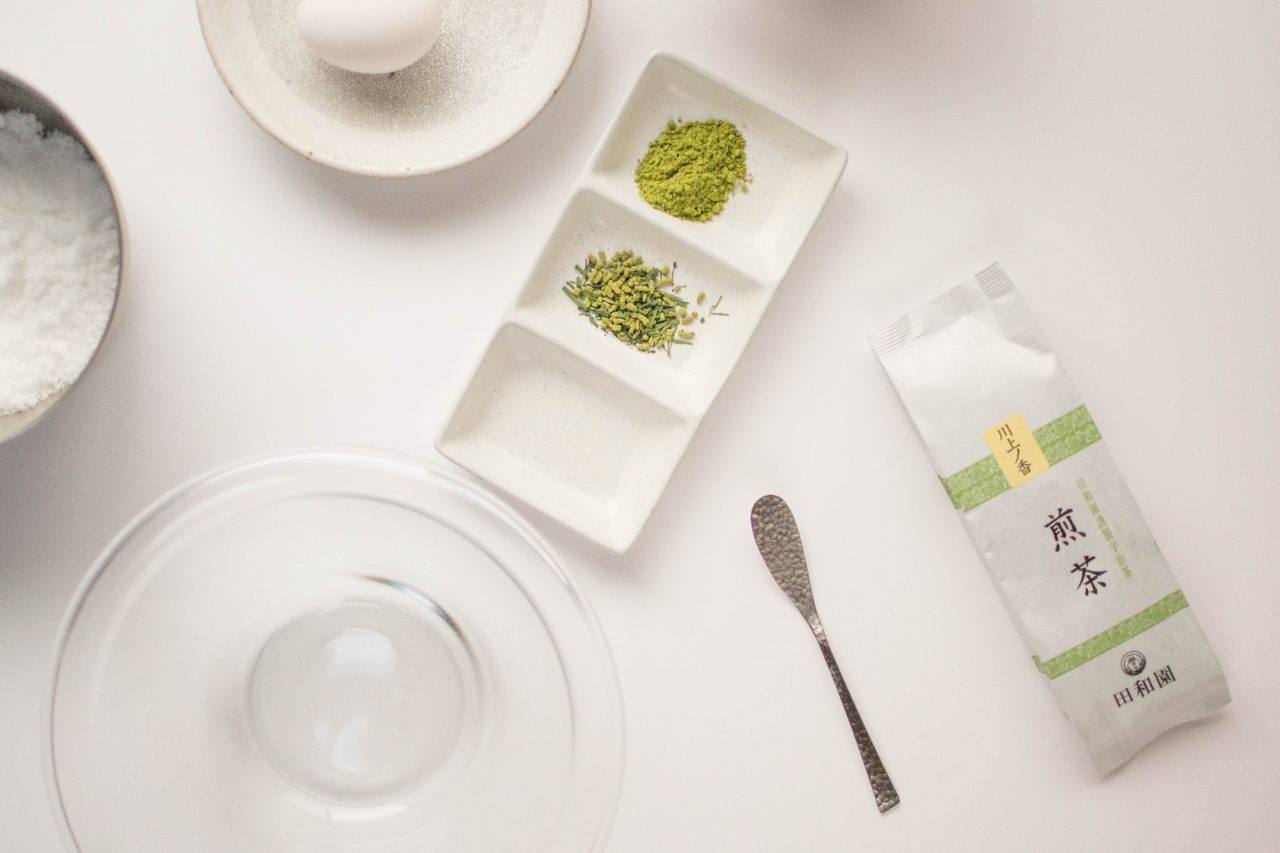
Guys, meet Gabby Gertel – she’s this kickass architect, illustrator, baker, superwoman that helped me bust out this recipe for my end of the year charette. Gabby and I studied architecture, pushed through for 5 demanding years until we happily graduated together at USC. Shortly after I moved back to LA from Tokyo, I reunited with her during our lunch break and she shared to me her recent, profound love for baking cookies and how baking has been her therapeutic break from architecture. I’m a huge fan of collaborating, and honestly, when you’re sleep deprived and slammed with Revit model refining, elevation drawings, wall sections, a dozen meetings, and pressured to send something out to your SF and Tokyo friends, an extra hand or two can be lovely.

Every year for the past 6 years of final exams/finalizing end of the year work, I made it a personal tradition to bake matcha cookies and send them to neighbors and old and new friends. After a busy, stressful season of cramming a Revit model, elevation drawings, wall sections, and back to back meetings with contractors and engineers, there is one thing rather than sleep I love to make time for: baking holiday sweets for friends. There is simply, so much delight in leveling off flour to the top edge of a cup and the clanging tones of whisking eggs with sugar crystals. And hey, who doesn’t love matcha evaporating into the air and scooping spoonfuls of some thick matcha chocolate batter? Every year since high school, I’ve been baking matcha cookies. You can find my first recipe here. This year I reached out to Gabby to follow up with a collaborative project. While we are both extremely sleep deprived and delirious, we fluffed things up a bit and made a few (what Gabby calls) “happy accidents” with the ingredients while following Little Flower and Ali Sagle’s recipes. Yet these happy accidents have led to dozens of helluva happy cookies.

While Gabby and I were baking together, we both admitted the way we torture and reward our bodies; Gabby reminded me you have to earn your right to pee. And I laughed. How many times have we architects held our bladder before finishing a drawing, sending an email, plotting a set? Too damn many. And I have to confess to you in hope that you do appreciate my hard work: I told myself I couldn’t get off my computer and pee until I clicked “publish.” So there you have it ladies and fellas. The Chef Charette’s busted out Matcha whoopie pies. Happy Holidays from the Chef Charette!

Vanilla buttercream frosting

Ingredients

  • 1 cup Unsalted butter, softened
  • 1 1⁄2 tsp Vanilla extract
  • 3 1/3 cups Powdered sugar
  • 1 tsp Sea salt
  • 3 tsp Heavy whipping cream

Directions

Step 1.

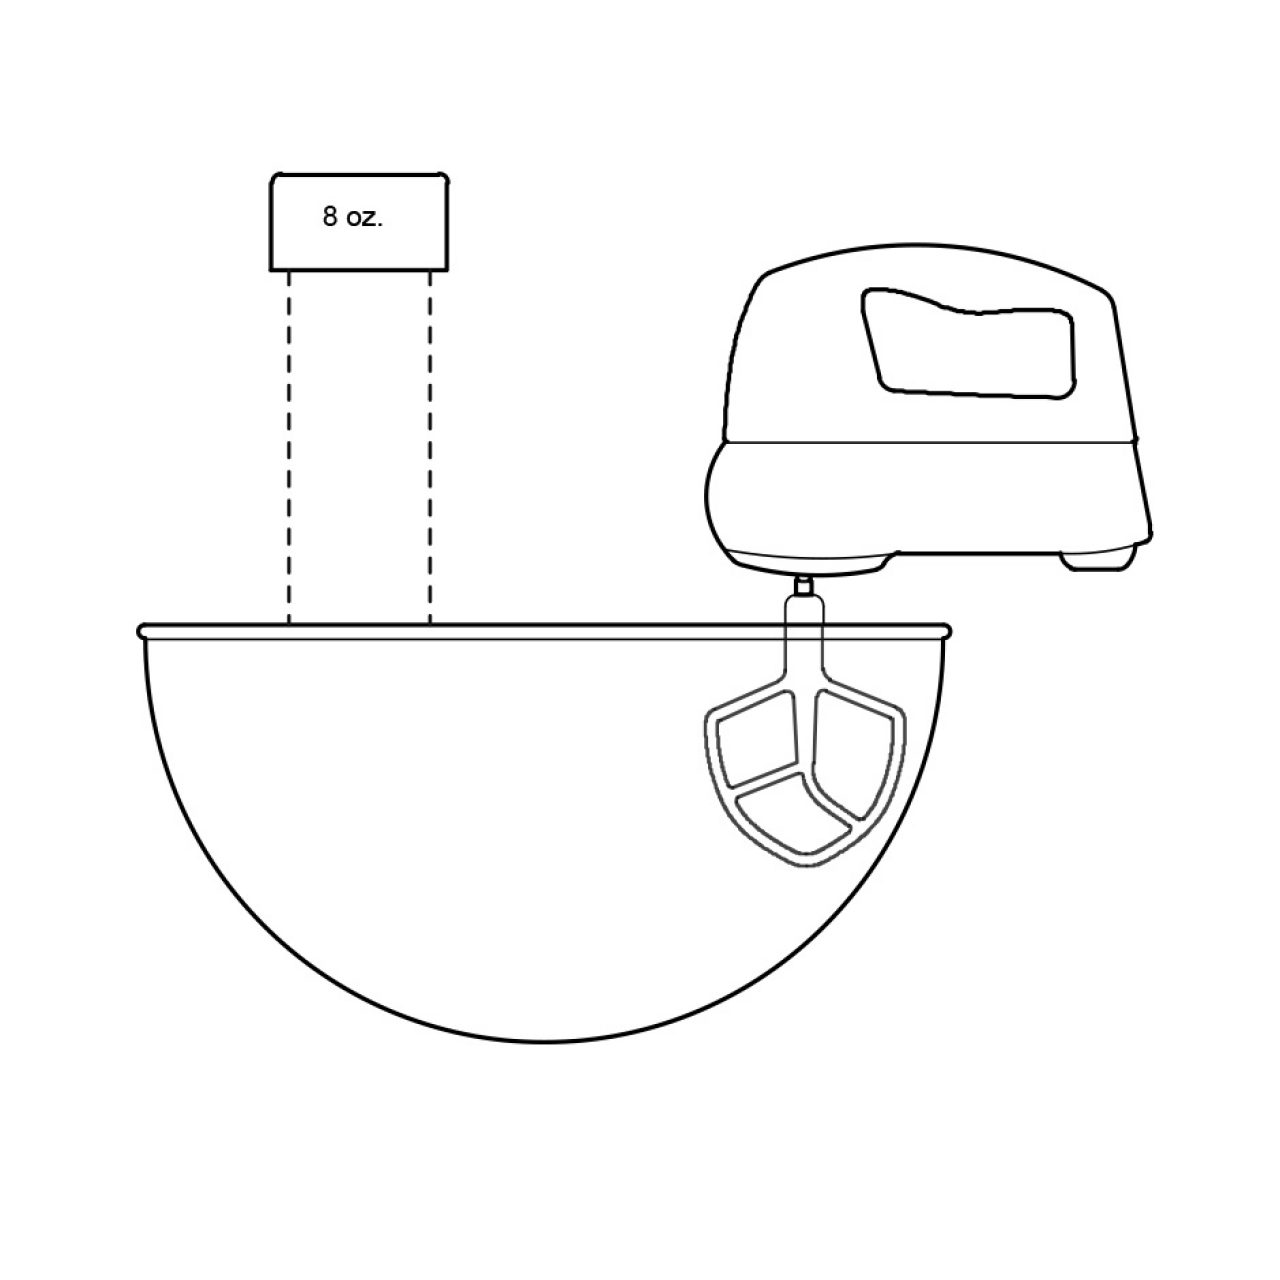
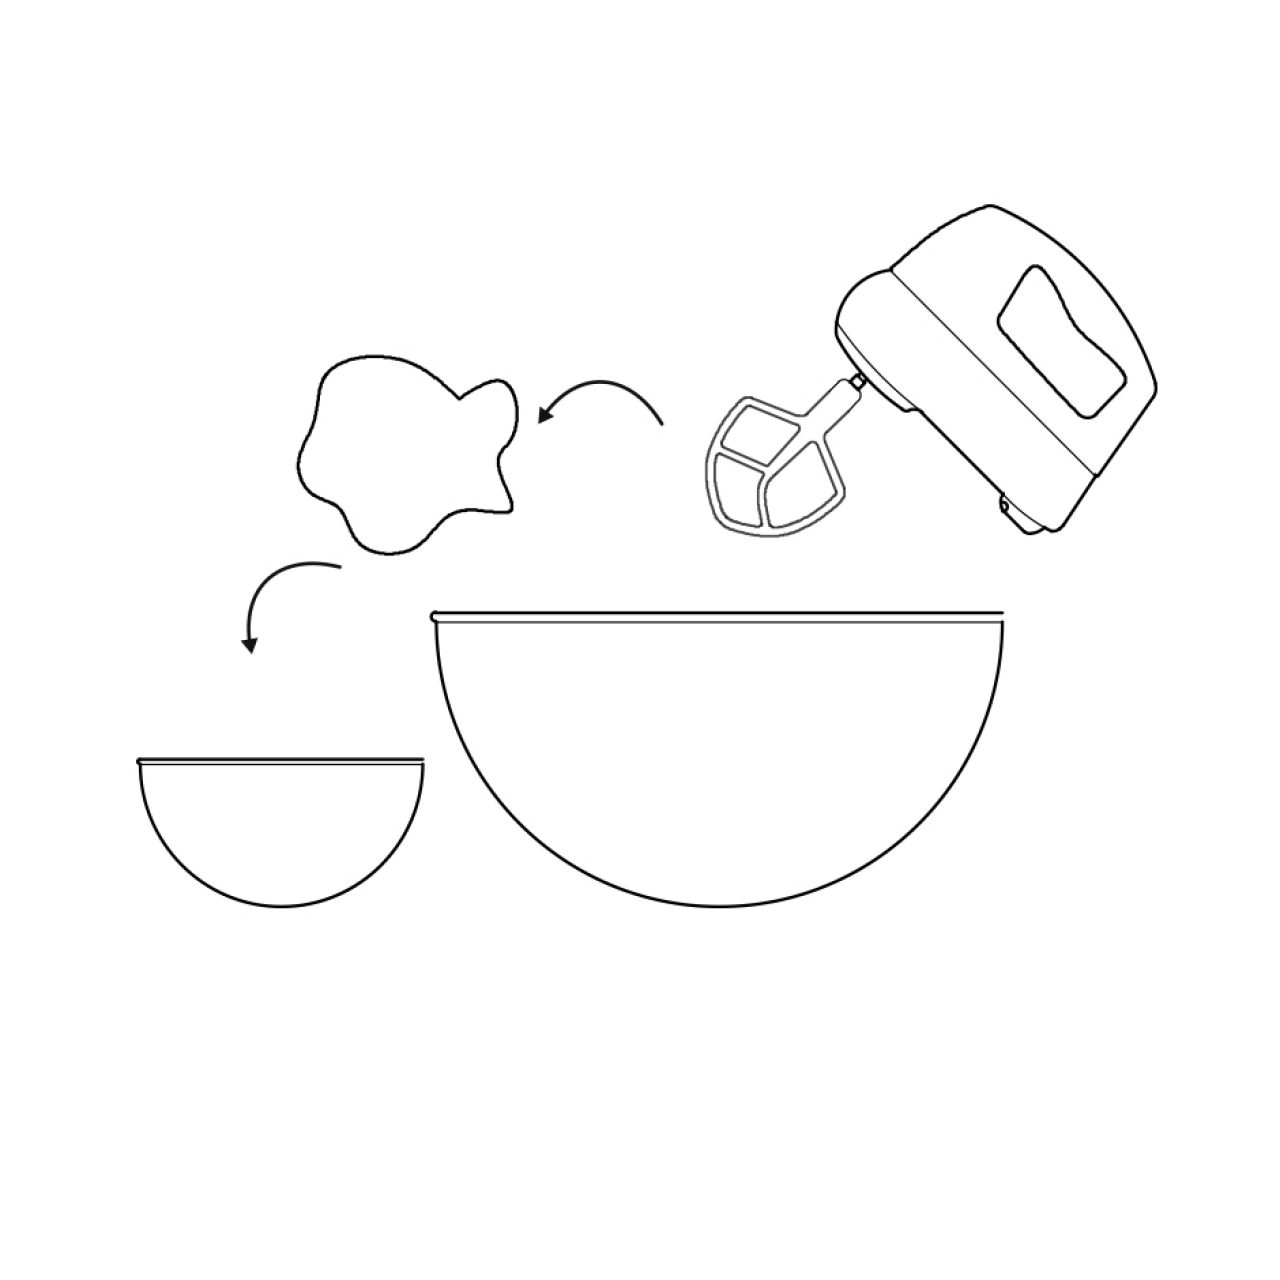
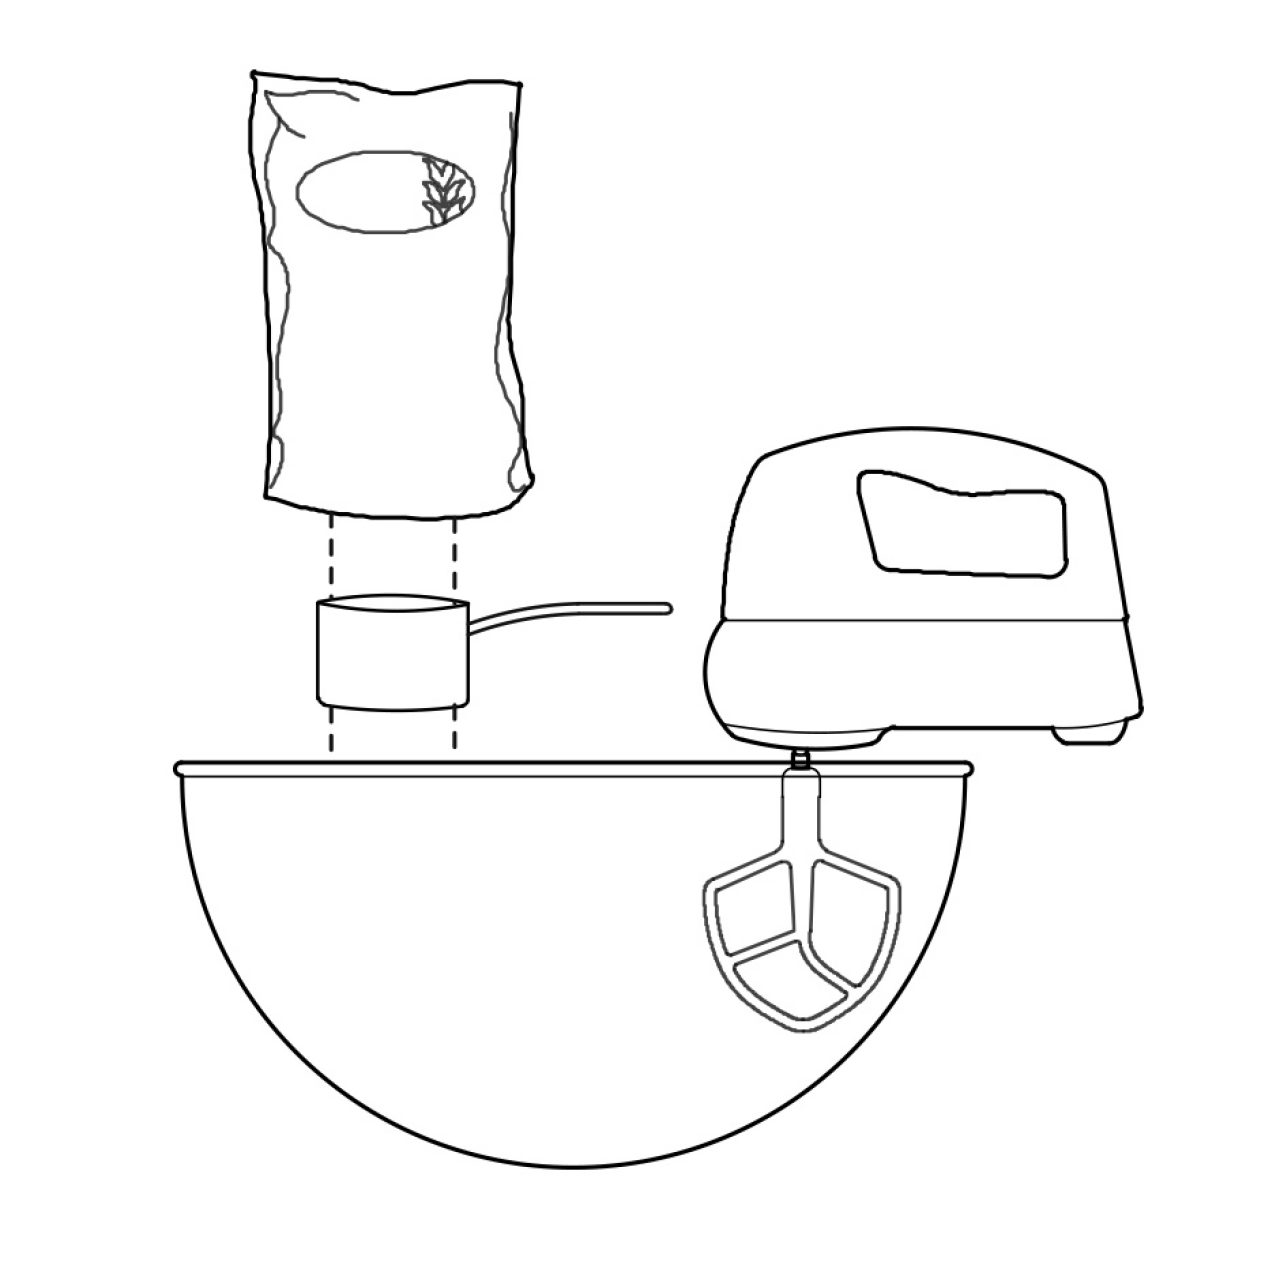
In the bowl of a stand mixer fitted with the paddle attachment, cream butter on medium speed until fluffy, about 2 min.

Step 2.

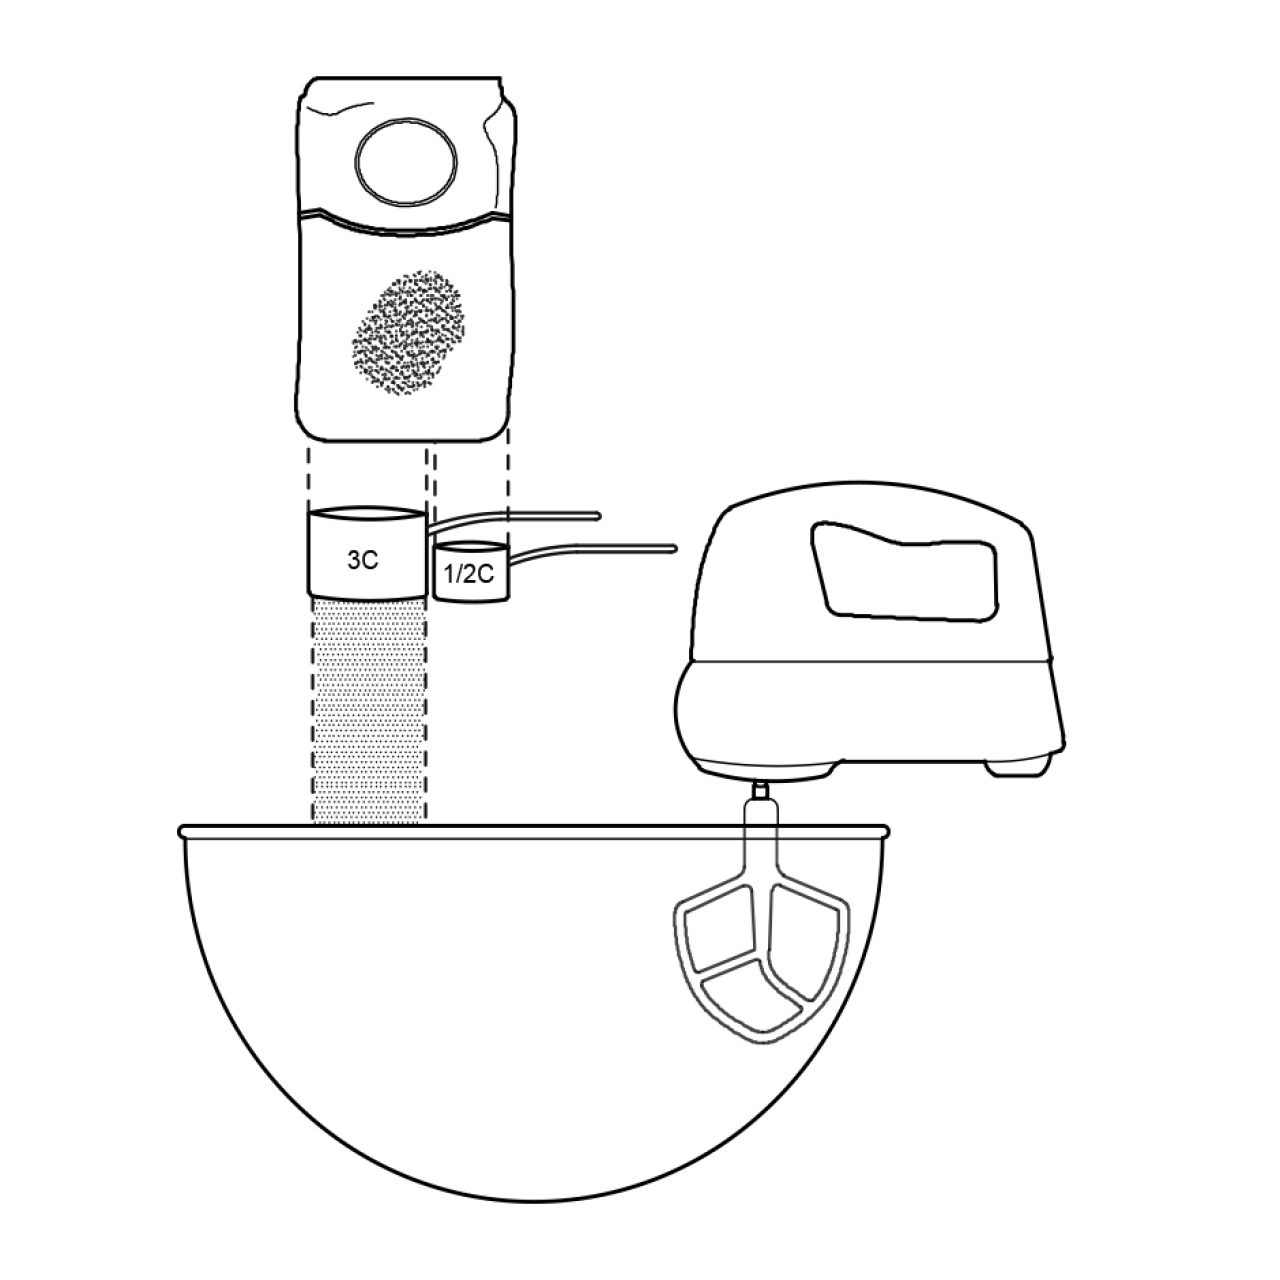
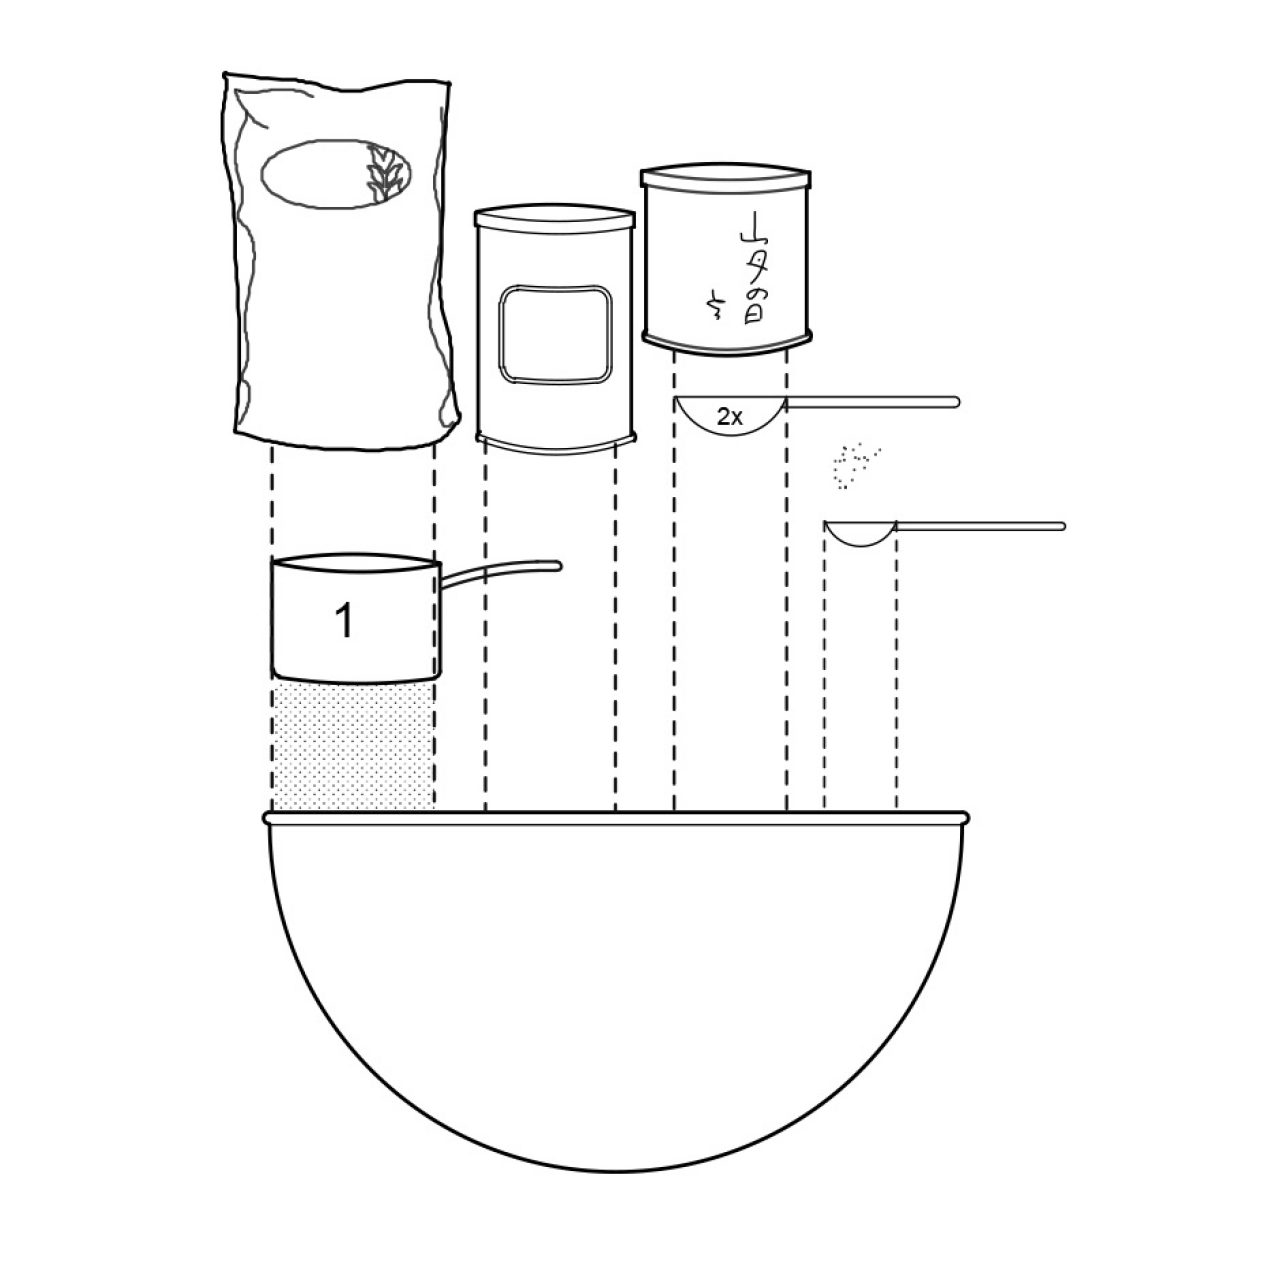
Add powdered sugar in 3 additions on low speed. Scrape bowl well with rubber spatula after each addition.

Step 3.

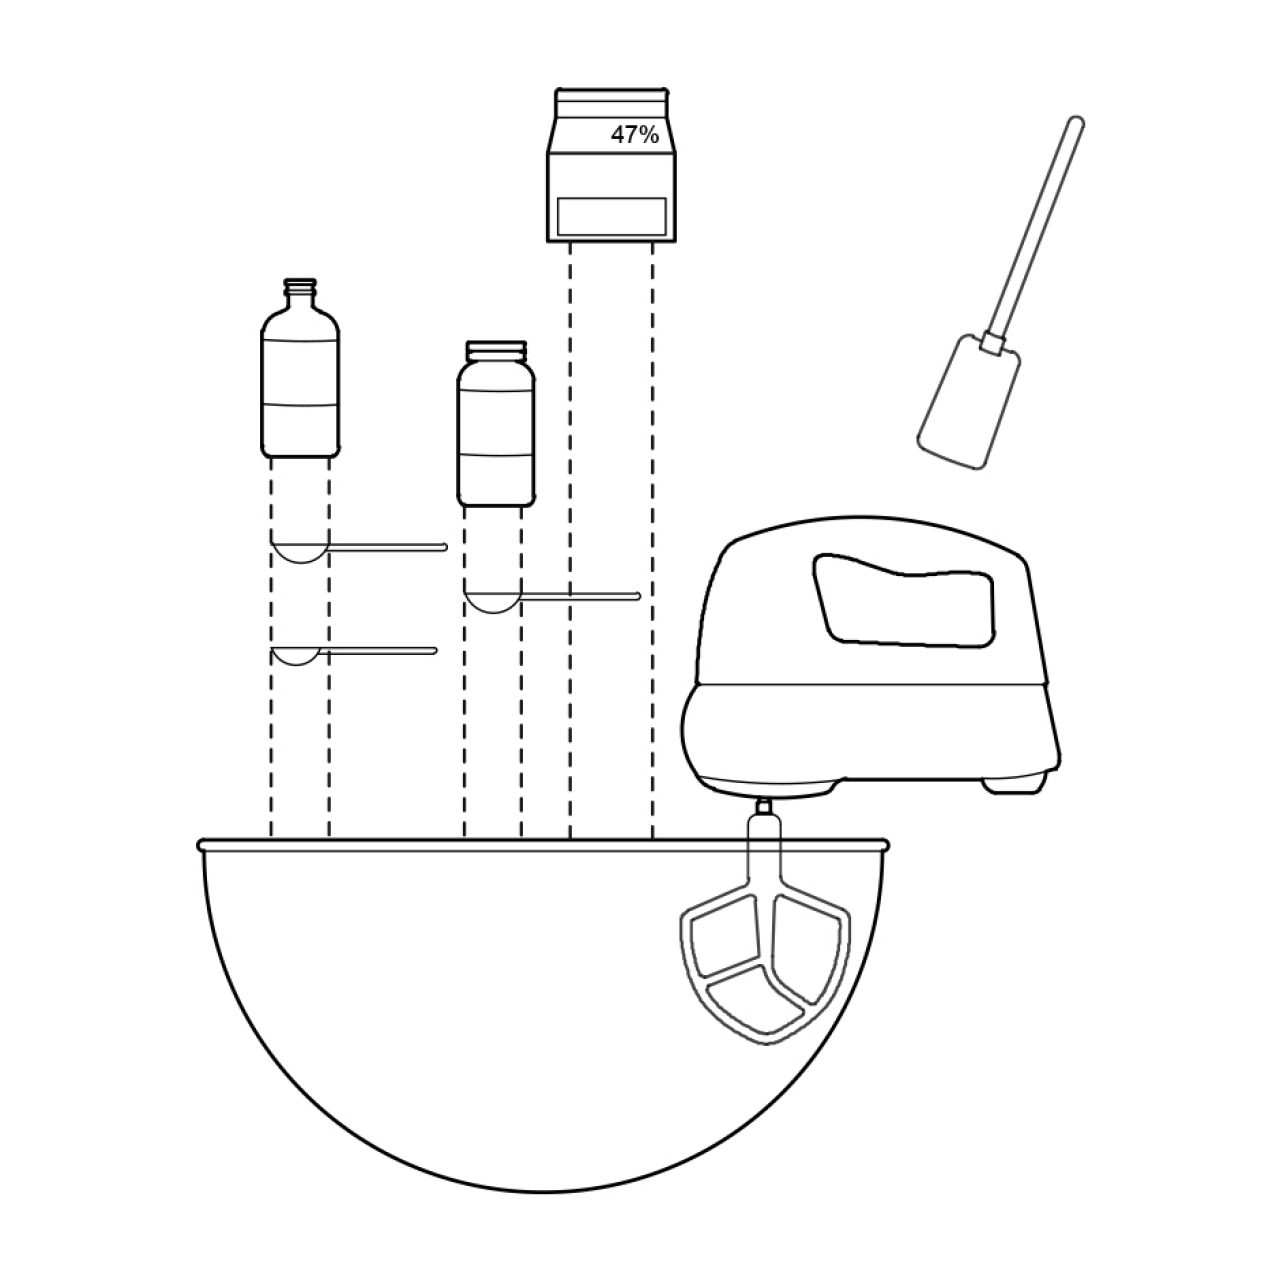
Add vanilla extract and salt and mix until incorporated. Scrape bowl well. Add cream and mix on low speed until well incorporated. Scrape bowl well. Increase speed to medium-high and cream for 2 min.

Step 4.

Transfer into a smell-free container. Use immediately or store covered in refrigerator up to 2 weeks.

Matcha whoopie pies

Ingredients

Preparation Time
25-30 minutes
Cooking Time
1 hour
Ready In
1.5 hours
Serving Size
About 30 whoopie pies
  • 2 cups All-purpose flour
  • 1/4 tsp Baking soda
  • 1/2 tsp Kosher salt
  • 2 tbsp plus 1/2 tsp Matcha, divided
  • 1 cup plus 2 tbsp Unsalted butter, cut into pieces, room temperature
  • 1/2 cup Packed light brown sugar
  • 1 1/2 tsp Honey
  • 1 Large egg
  • 1 Large egg yolk
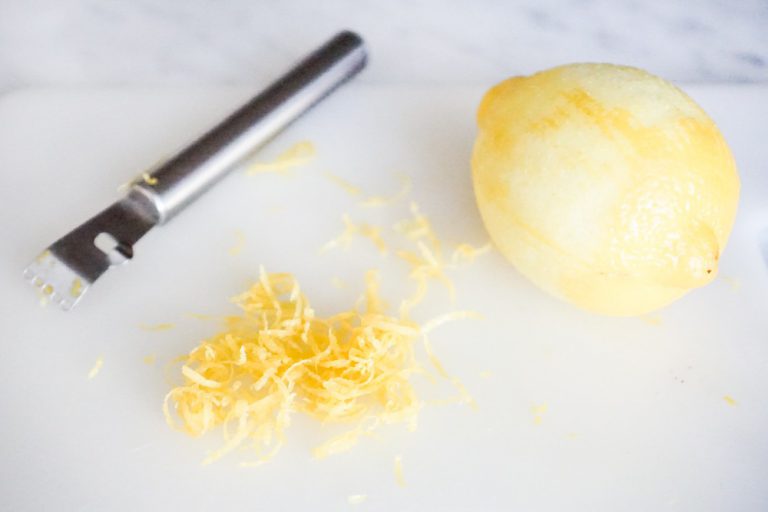
  • 2 tsp Finely grated lemon zest
  • 3 oz.  White chocolate, chopped
  • 1/2 cup Granulated sugar

Directions

Step 1.

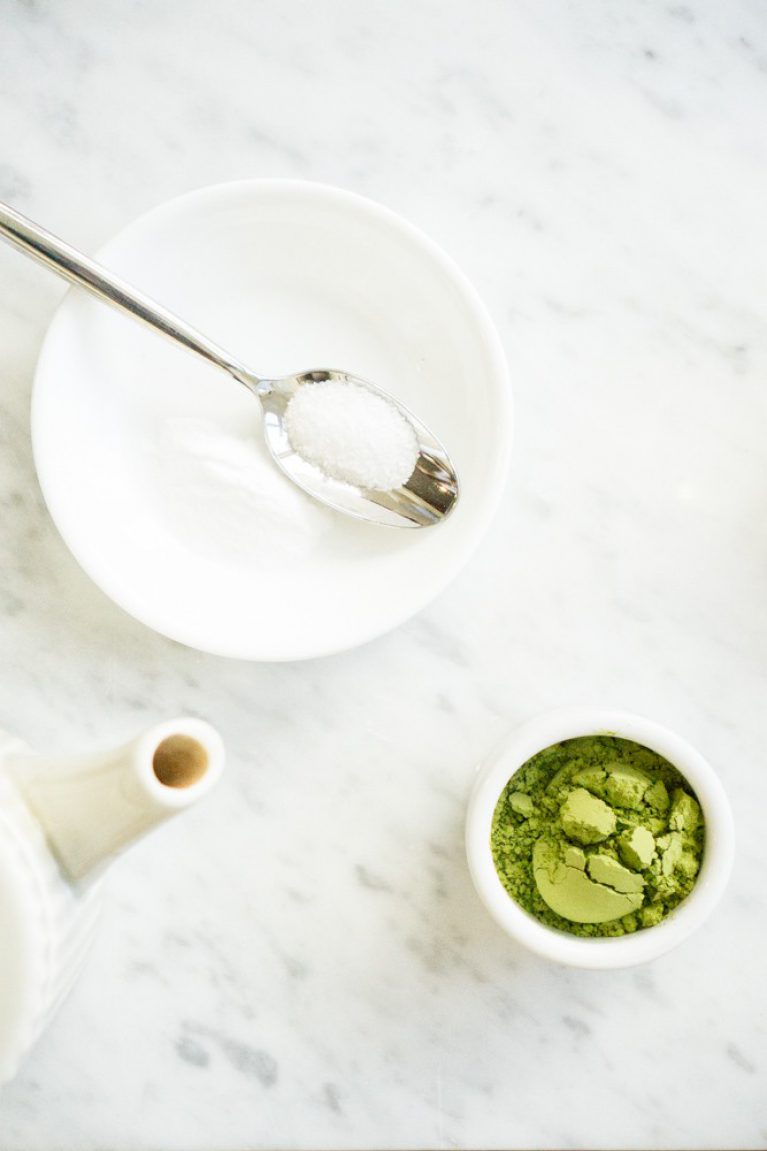
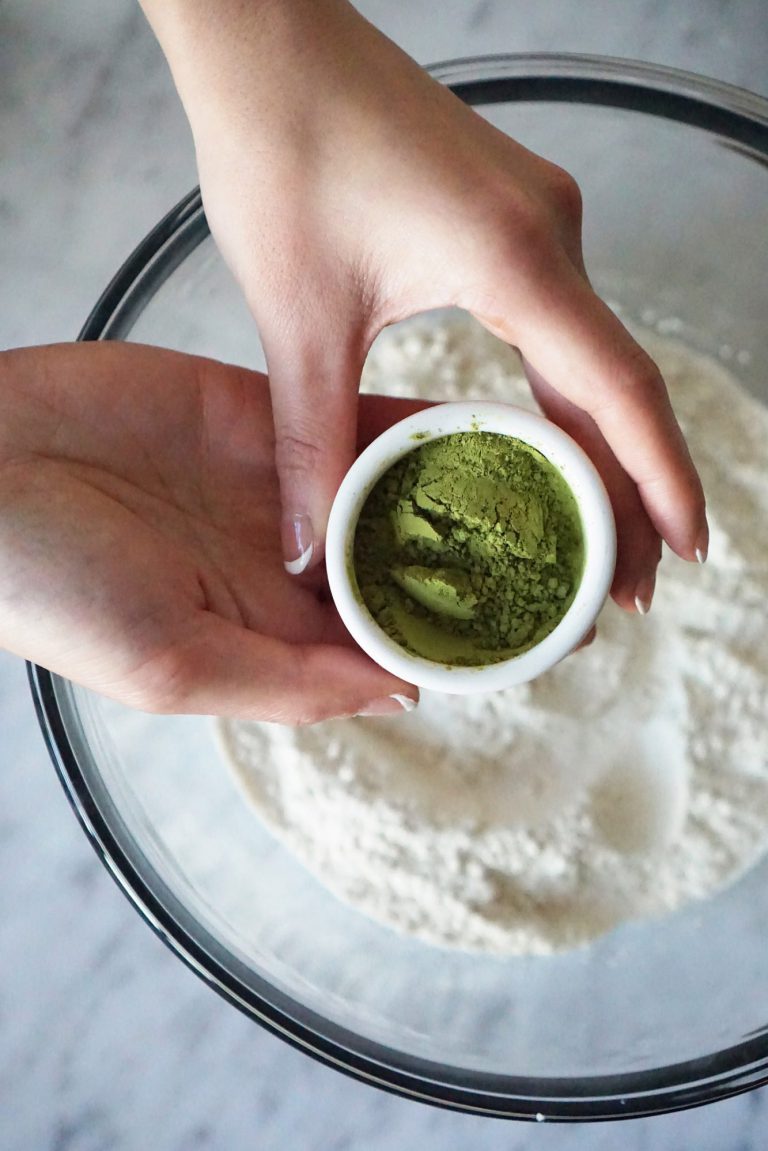
Whisk flour, baking soda, salt, and 2 tbsp. of matcha in a medium bowl.

Step 2.

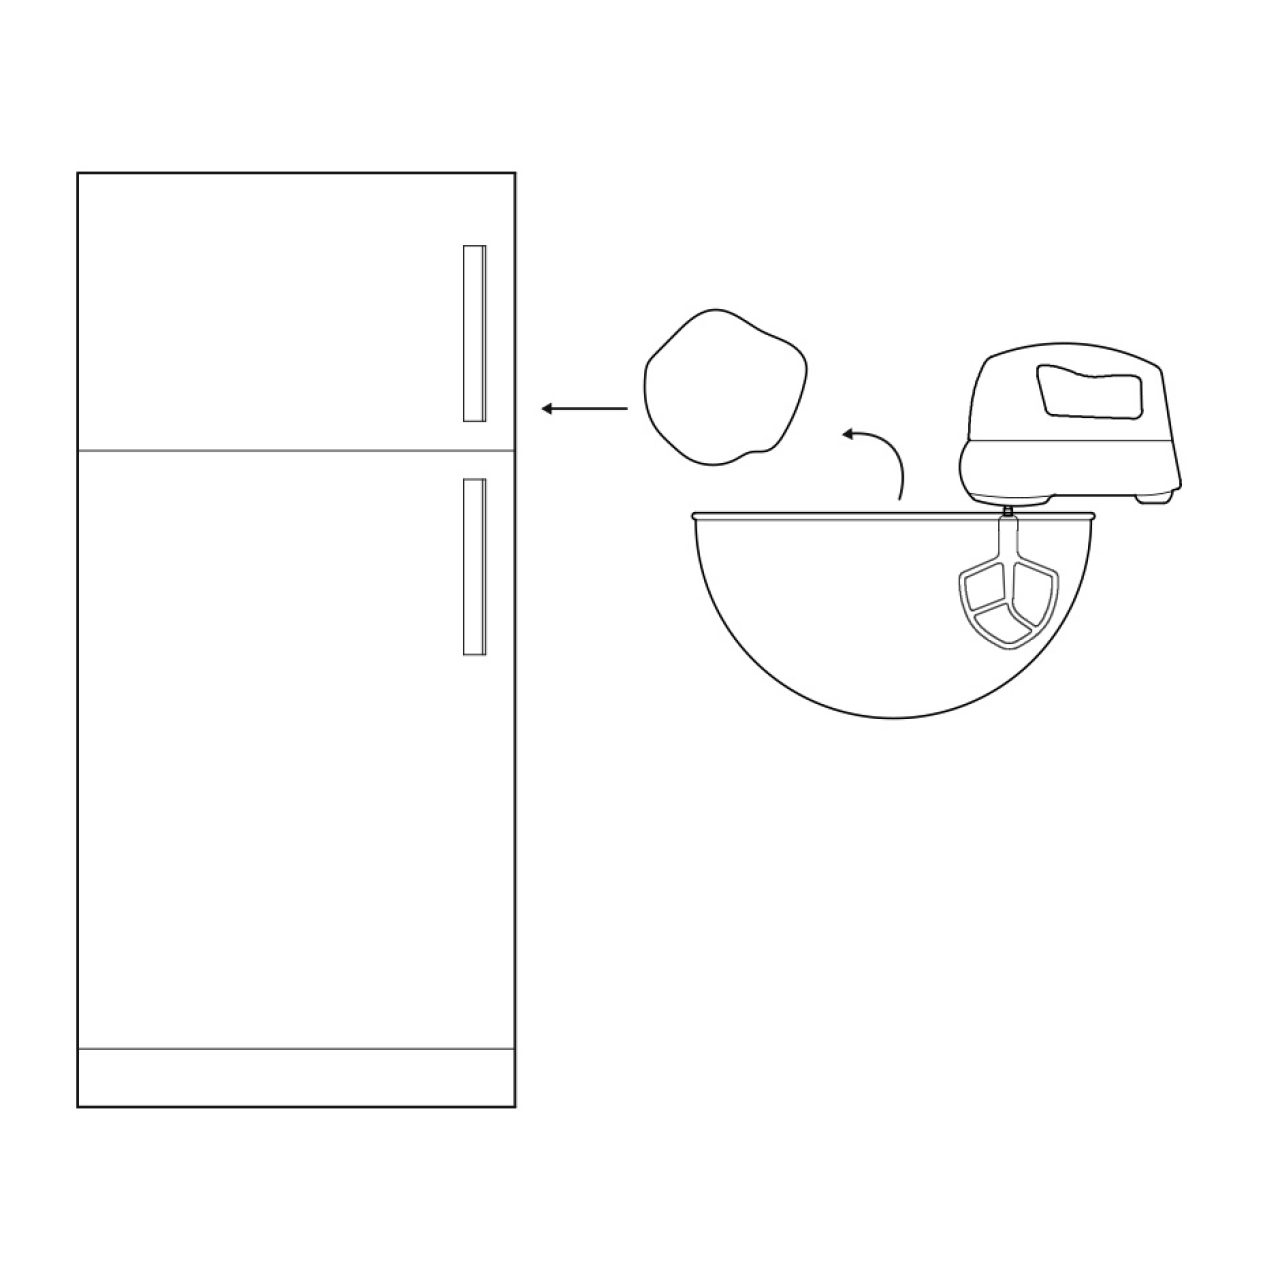
Using an electric mixer on medium-high speed, beat the butter, brown sugar, and honey in a medium bowl until light and fluffy, about 4 minutes. Add the egg, egg yolk, and lemon zest and mix until very pale, (about 4 minutes)

Step 3.

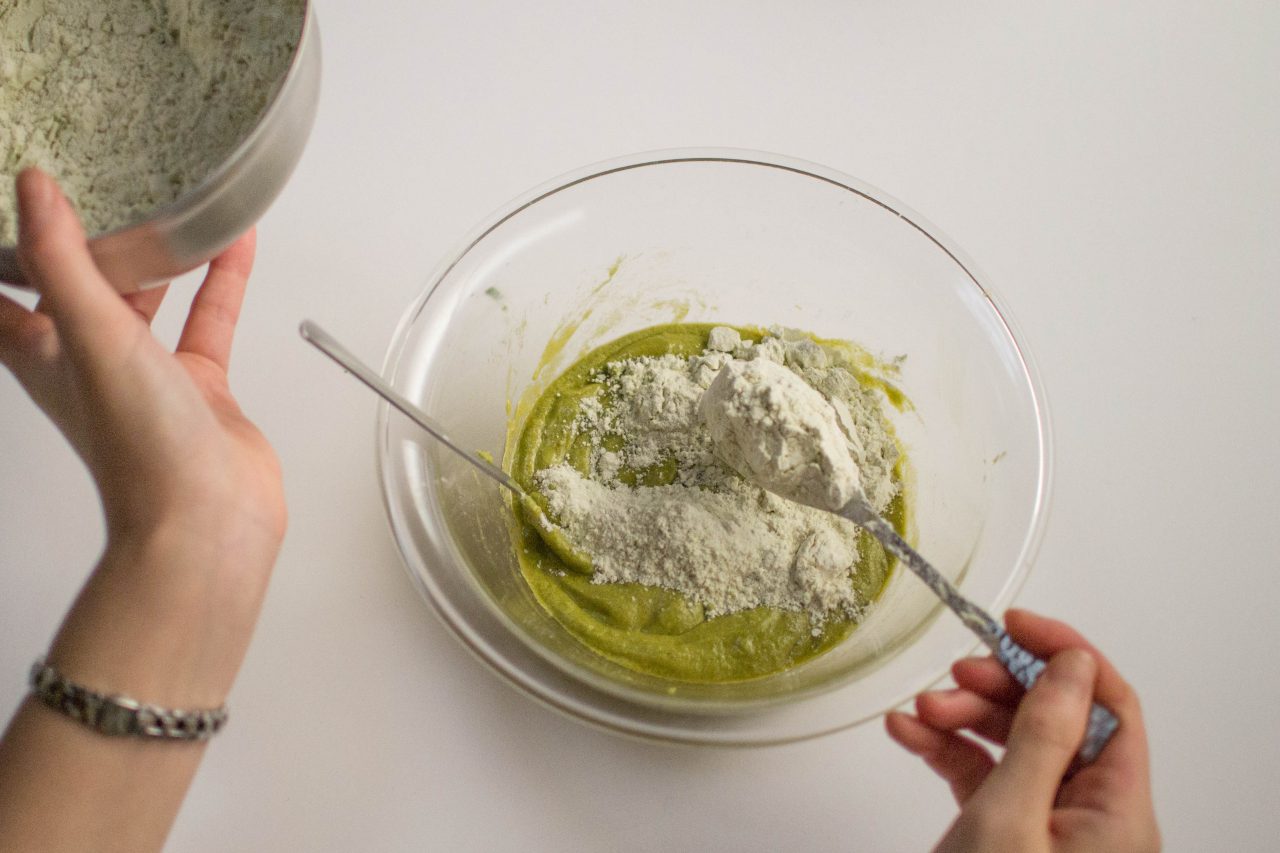
Reduce mixer speed to low, and with the motor running, add the flour mixture. Mix the flour mixture until no dry spots remain.

Step 4.

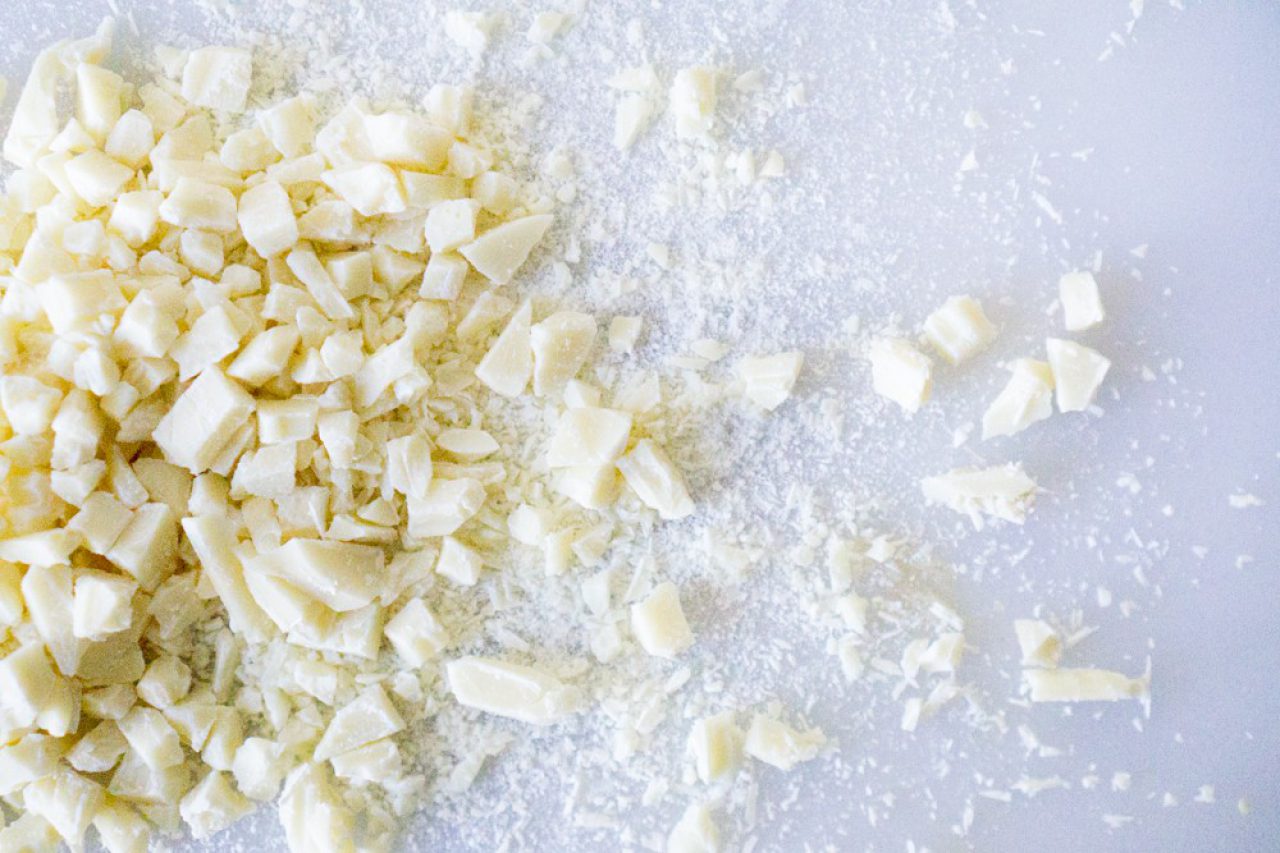
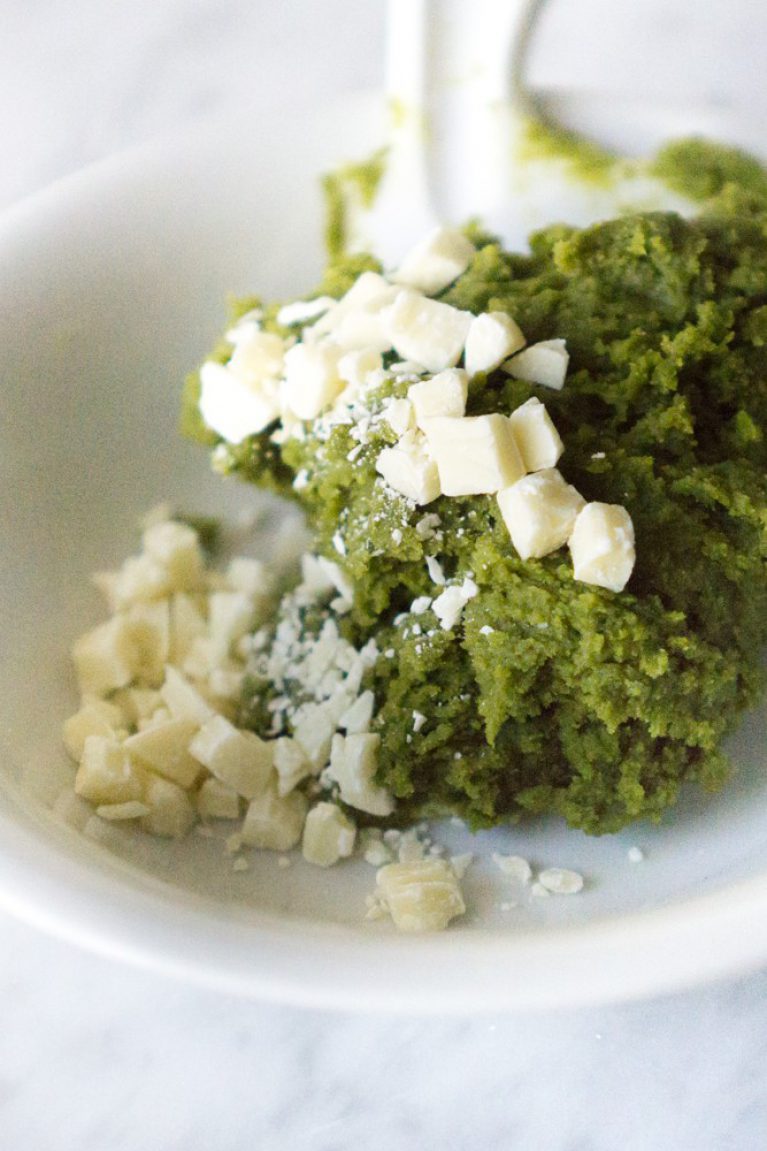
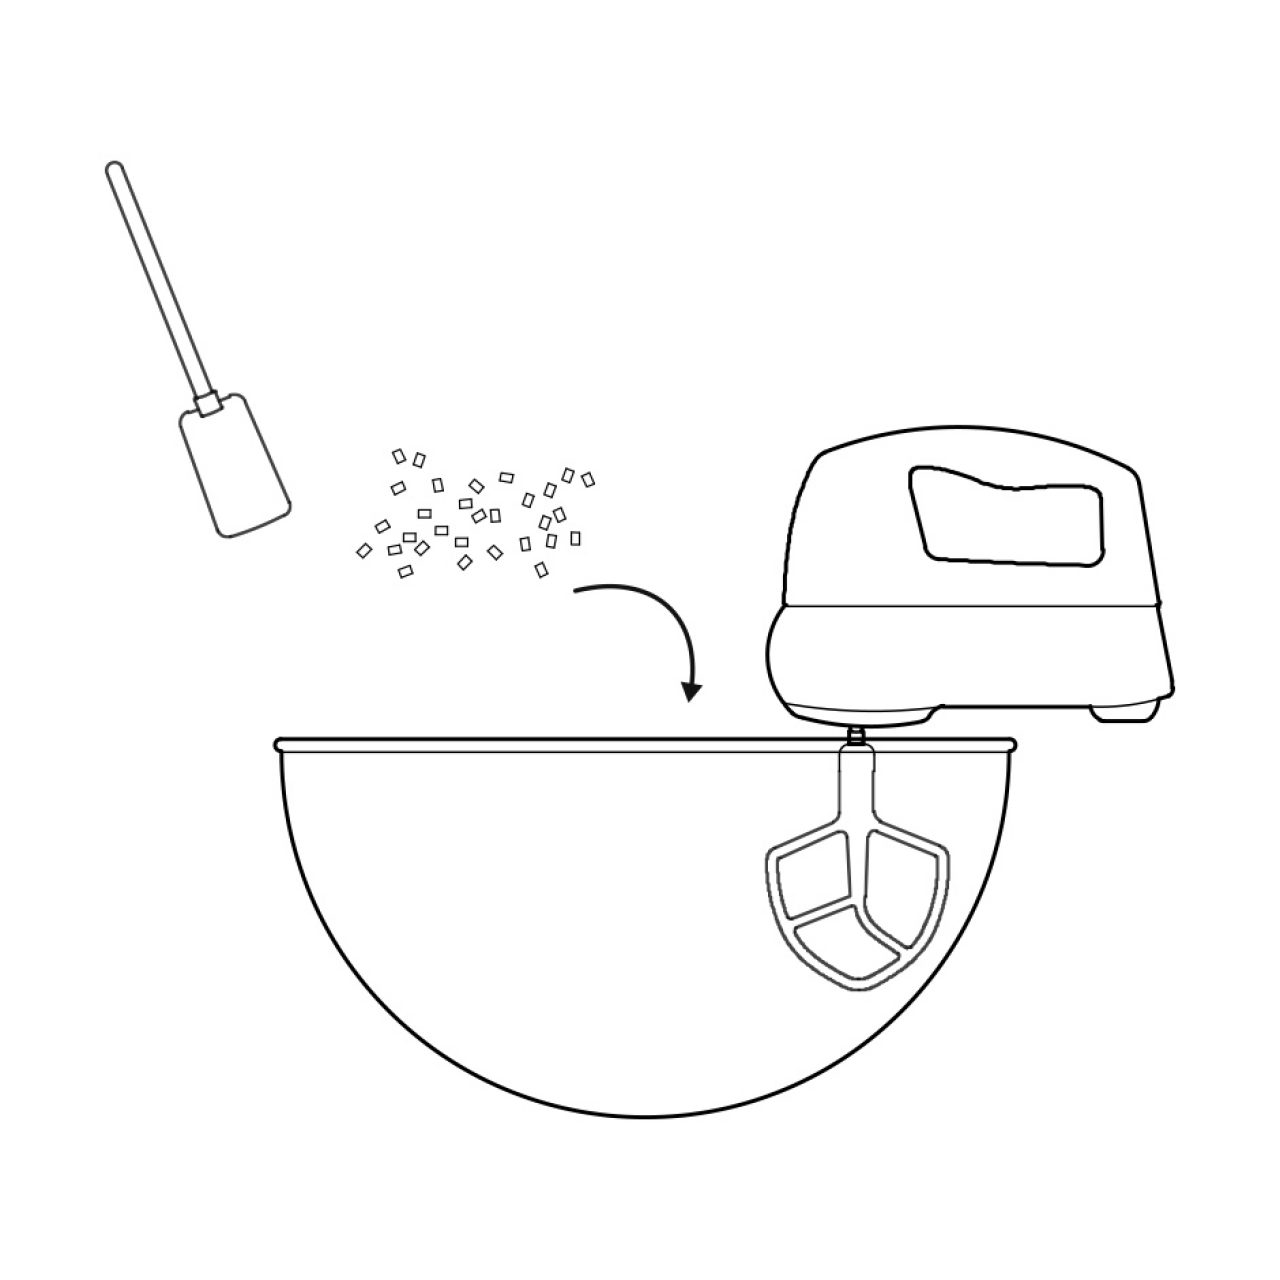
Using a wooden spoon or rubber spatula, mix in the white chocolate chunks.

Step 5.

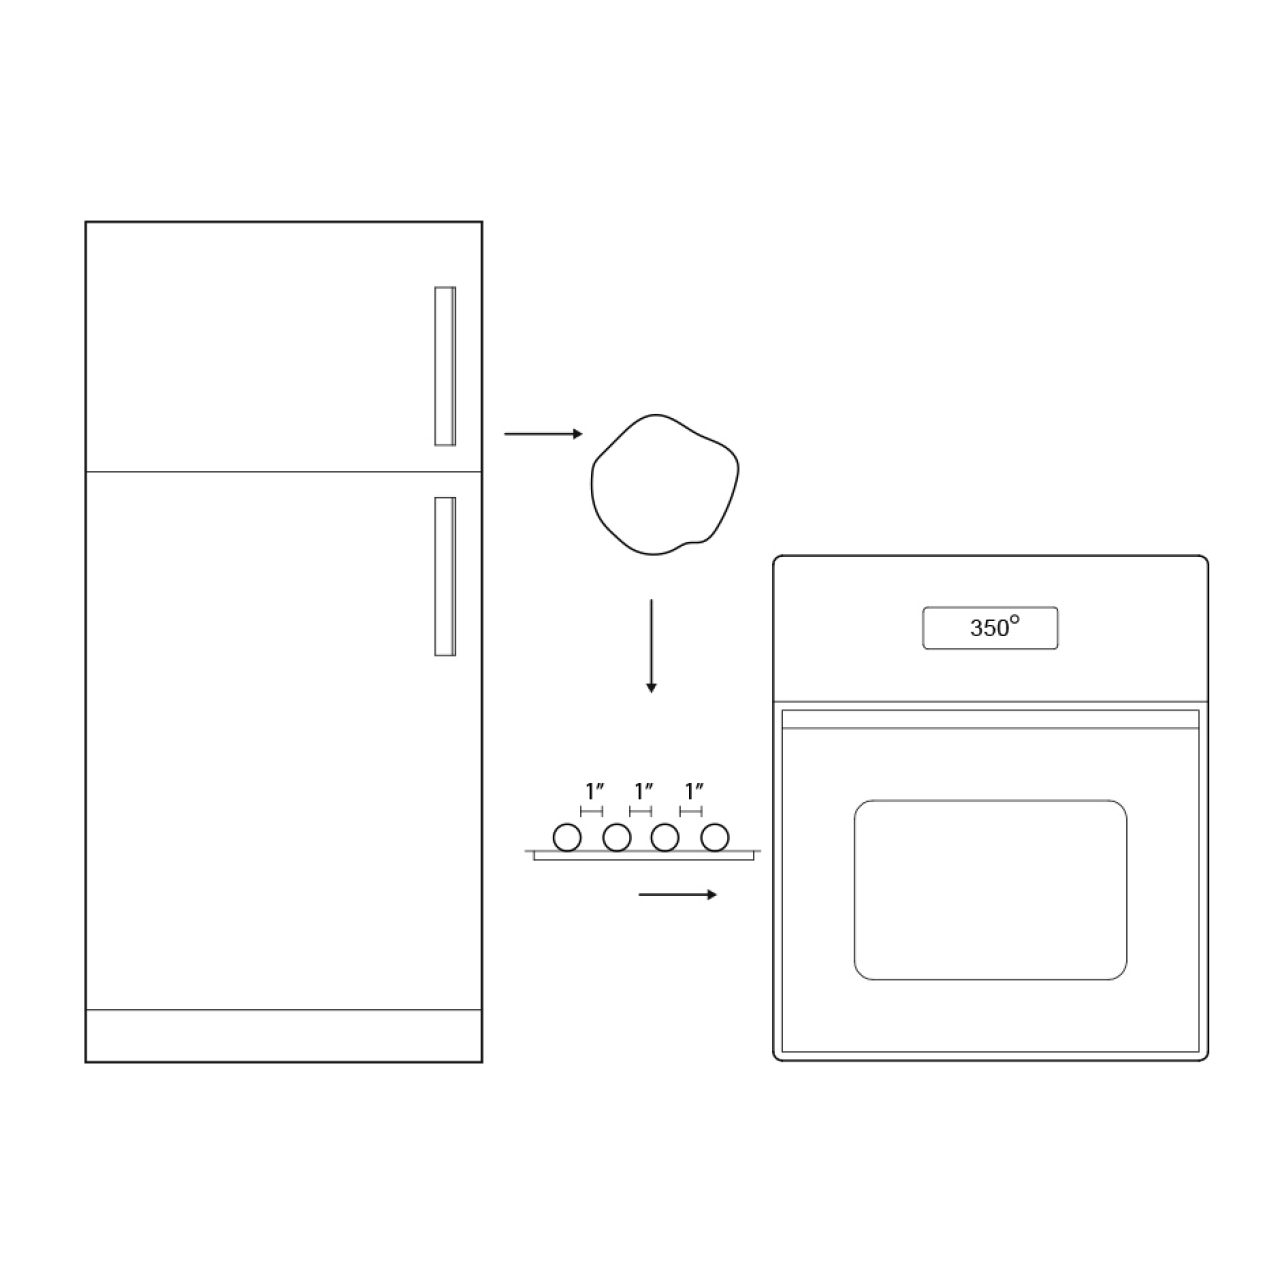
Wrap the dough in plastic and chill at least 2 hours and up to 5 days. If chilling more than a few hours, let the dough sit at room temperature for 1 hour to soften before scooping and baking.

Step 6.

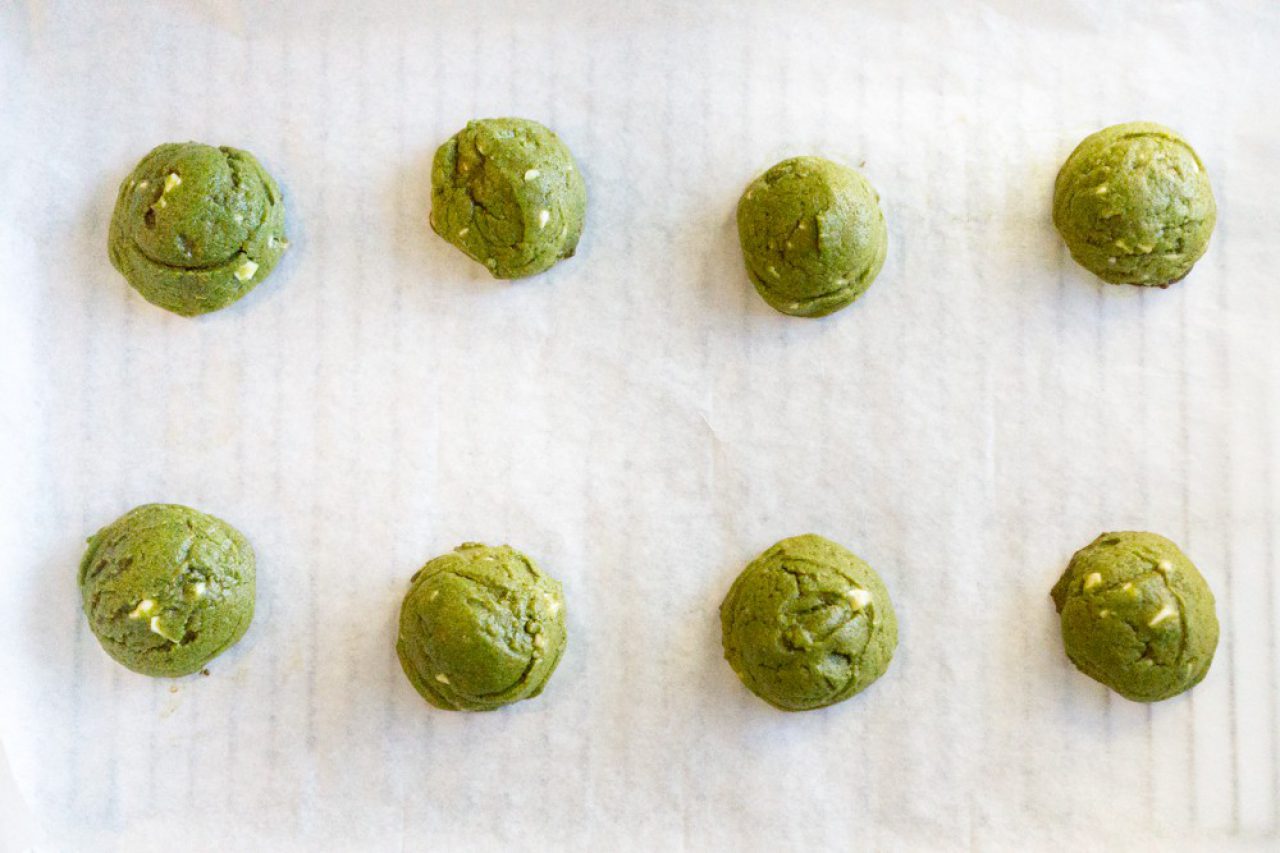
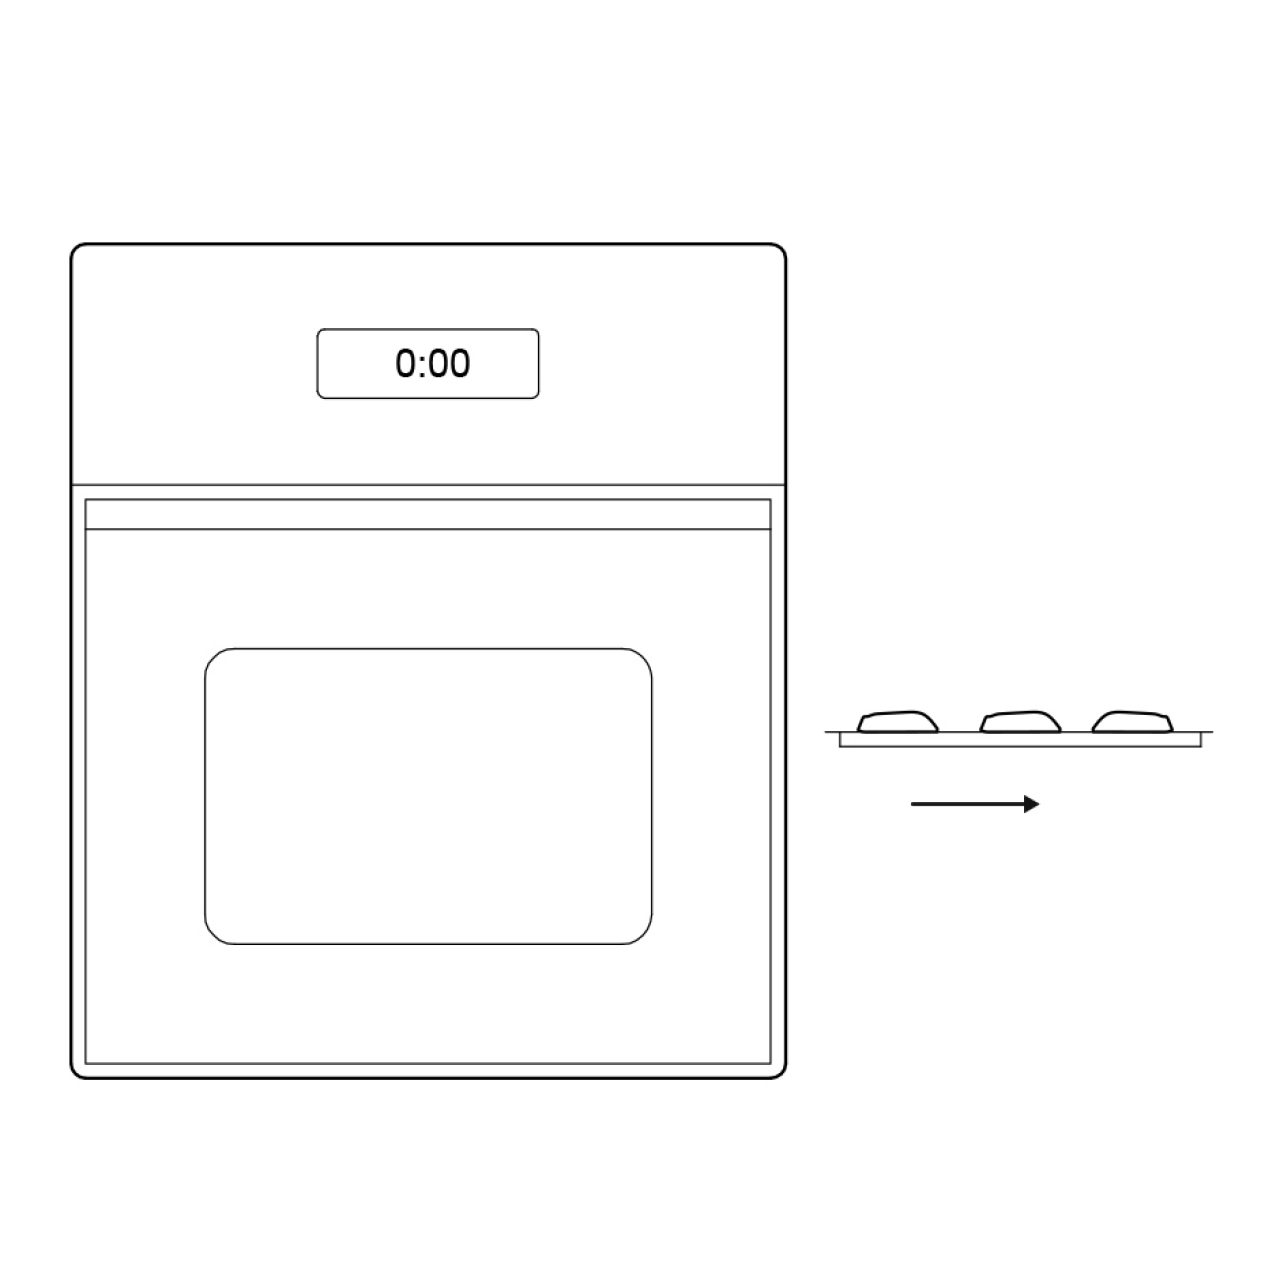
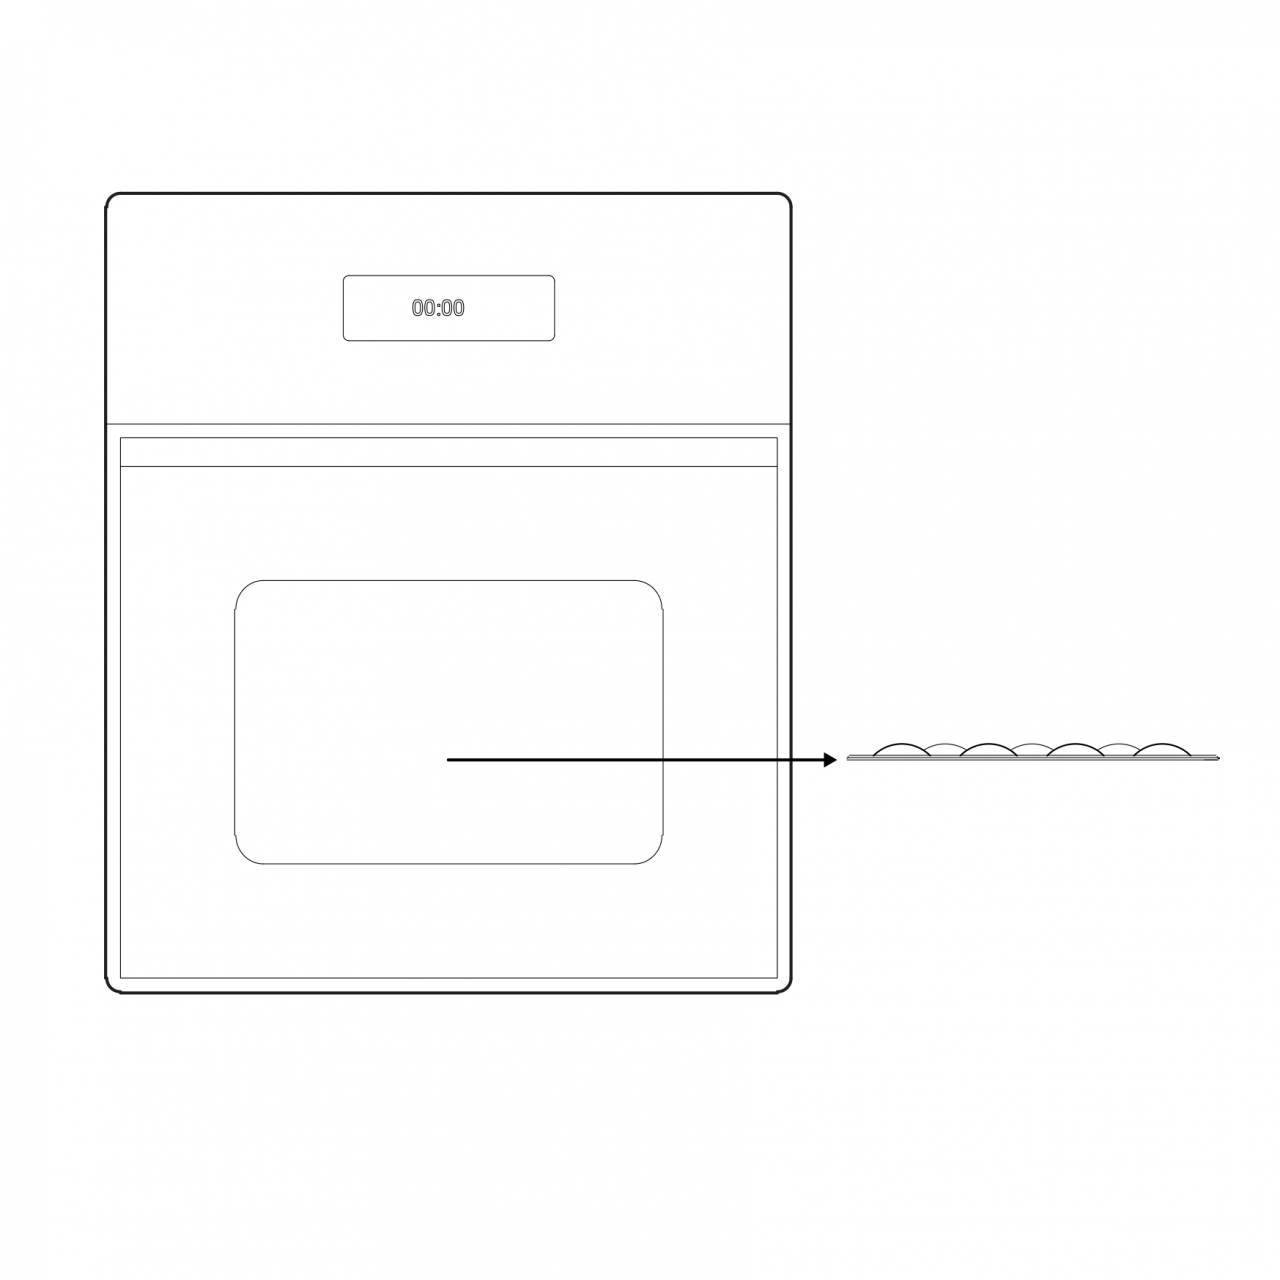
Preheat the oven to 350° F. Scoop the dough by the scant tablespoonful into 2 parchment-lined sheets, spacing each about 1 inch apart. Bake the cookies for 8-10 minutes, until the bottoms and edges are lightly golden.

Step 7.

Carefully transfer the cookies onto wire racks and allow them to cool.

Step 8.

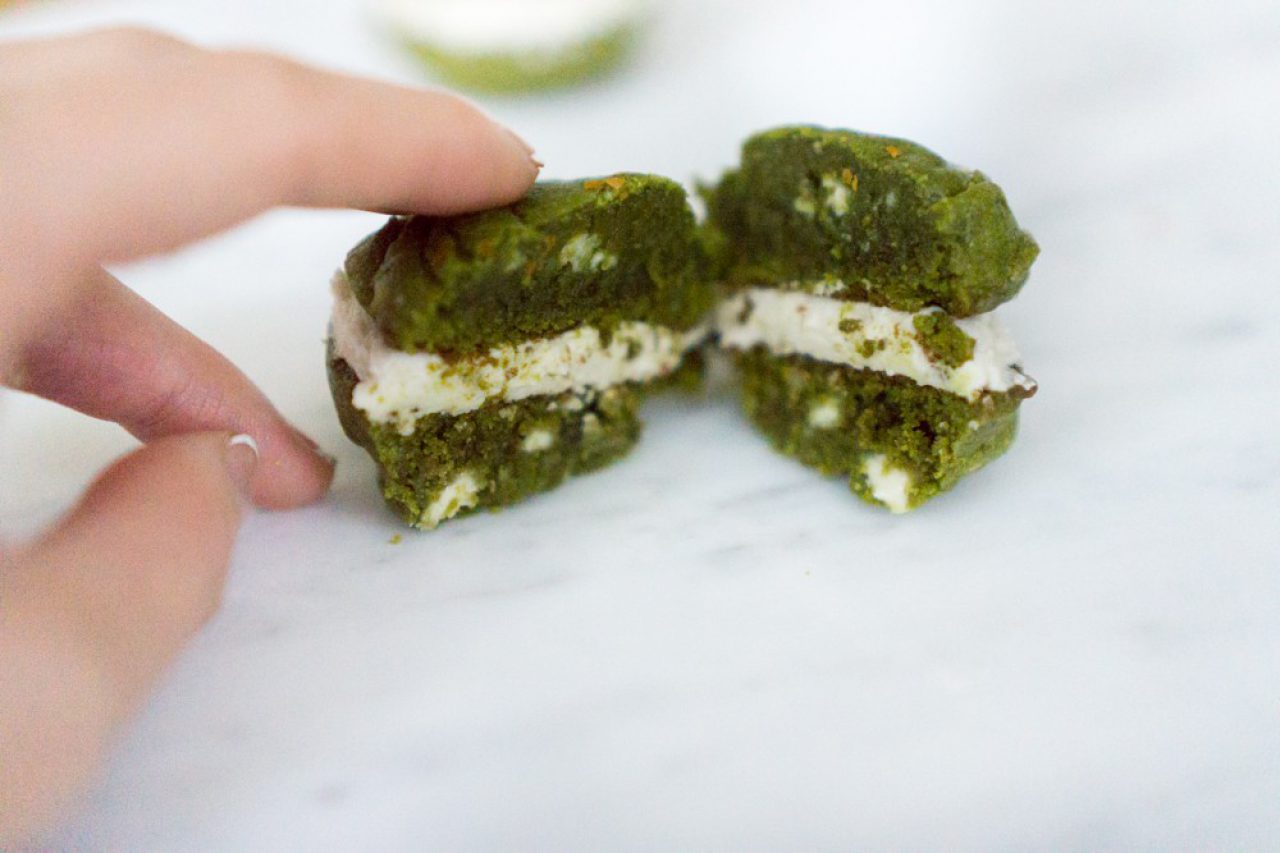
Once cool, use an offset spatula to spread 1-2 tbsp. of the vanilla buttercream frosting onto one half of a whoopie pie. Carefully sandwich the frosted cookies with another unfrosted cookie, pressing down gently to ensure a solid connection. Repeat and serve!
Matcha Cookies

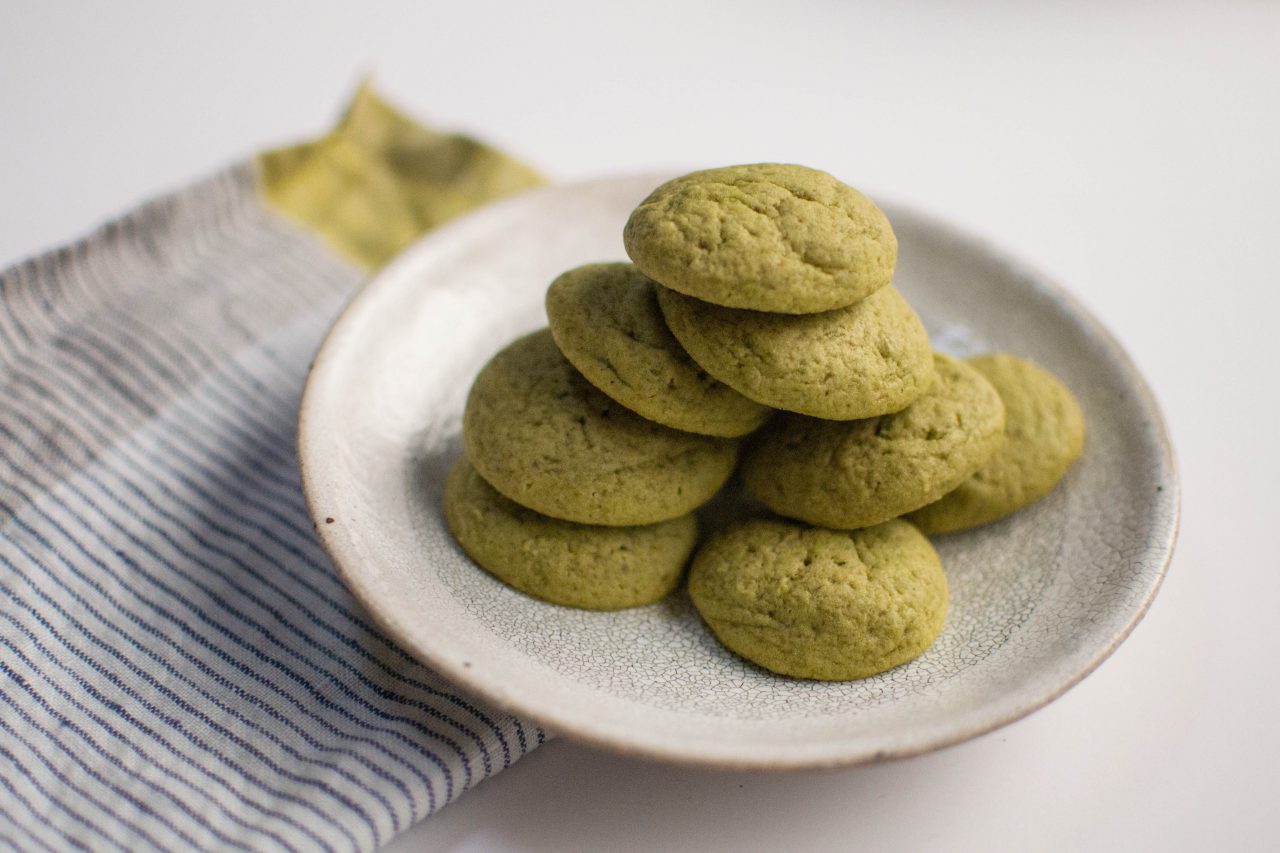
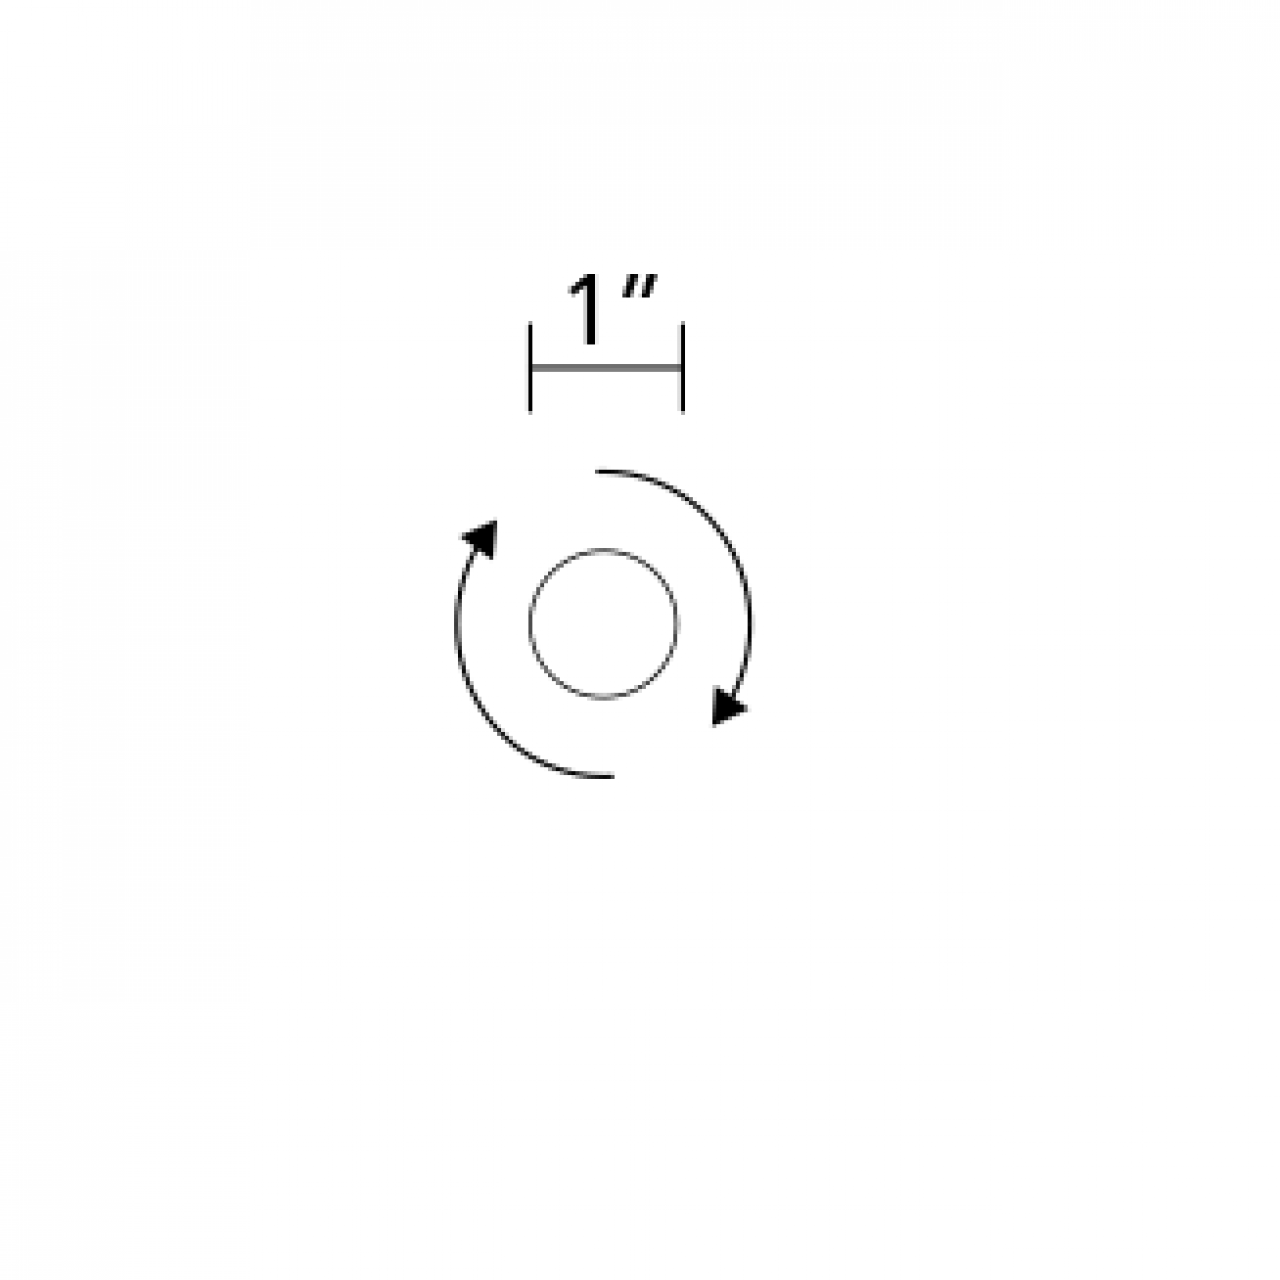
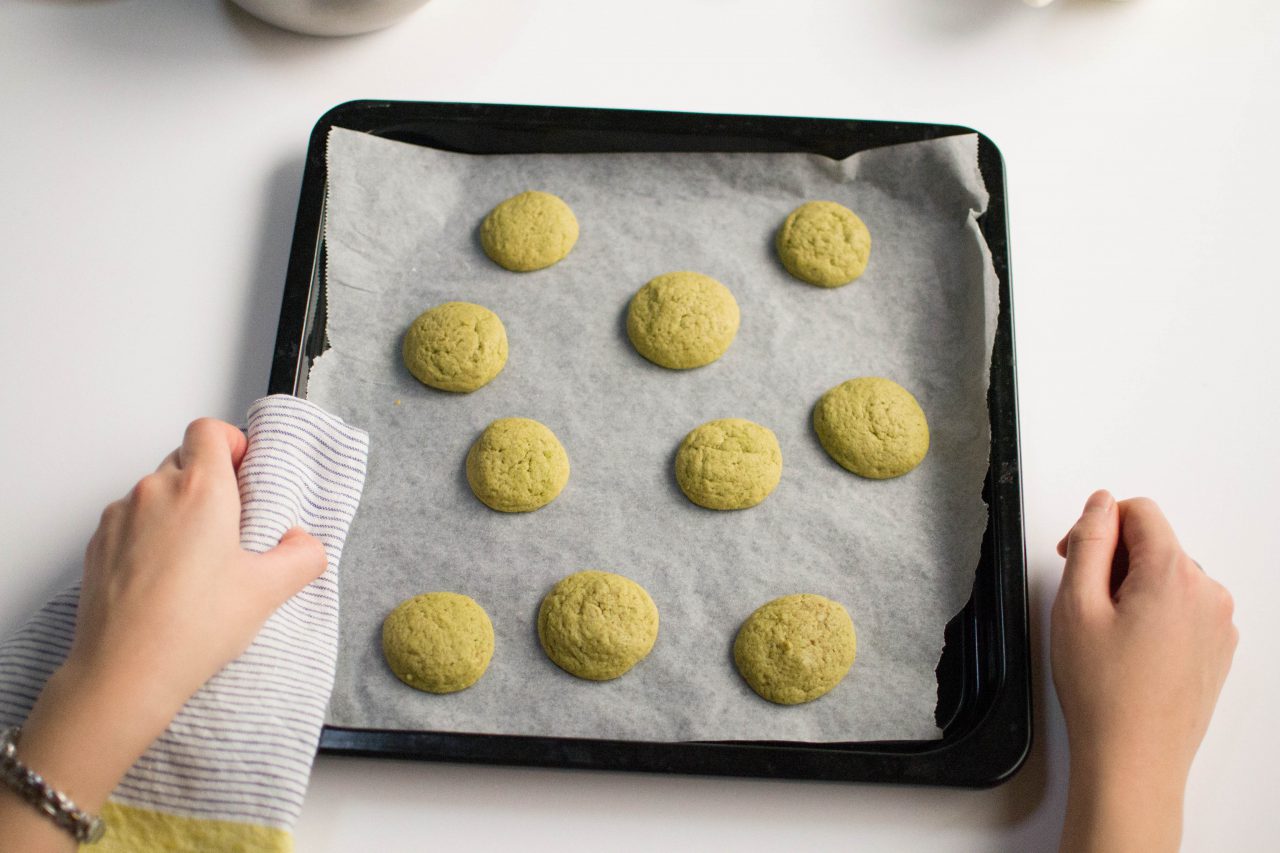
Many of my architecture colleagues will tell you that I worried more about baking enough matcha cookies than on how well I studied for my architecture finals. Instead of analyzing if a beam was statically determinate, I’d much rather be molding matcha batter into 1″ balls and sit watching them turn into this deep chartreuse color. Shipping to meet the Christmas deadline was much more of a priority than crafting a 1/4″ scale model by the architecture school deadline…. I’m very convinced that what saved me from failing my structures 202 and 302 classes were these cookies that I turned into the professor (as I turned in my exam)…yes, cookies can make up for points too.

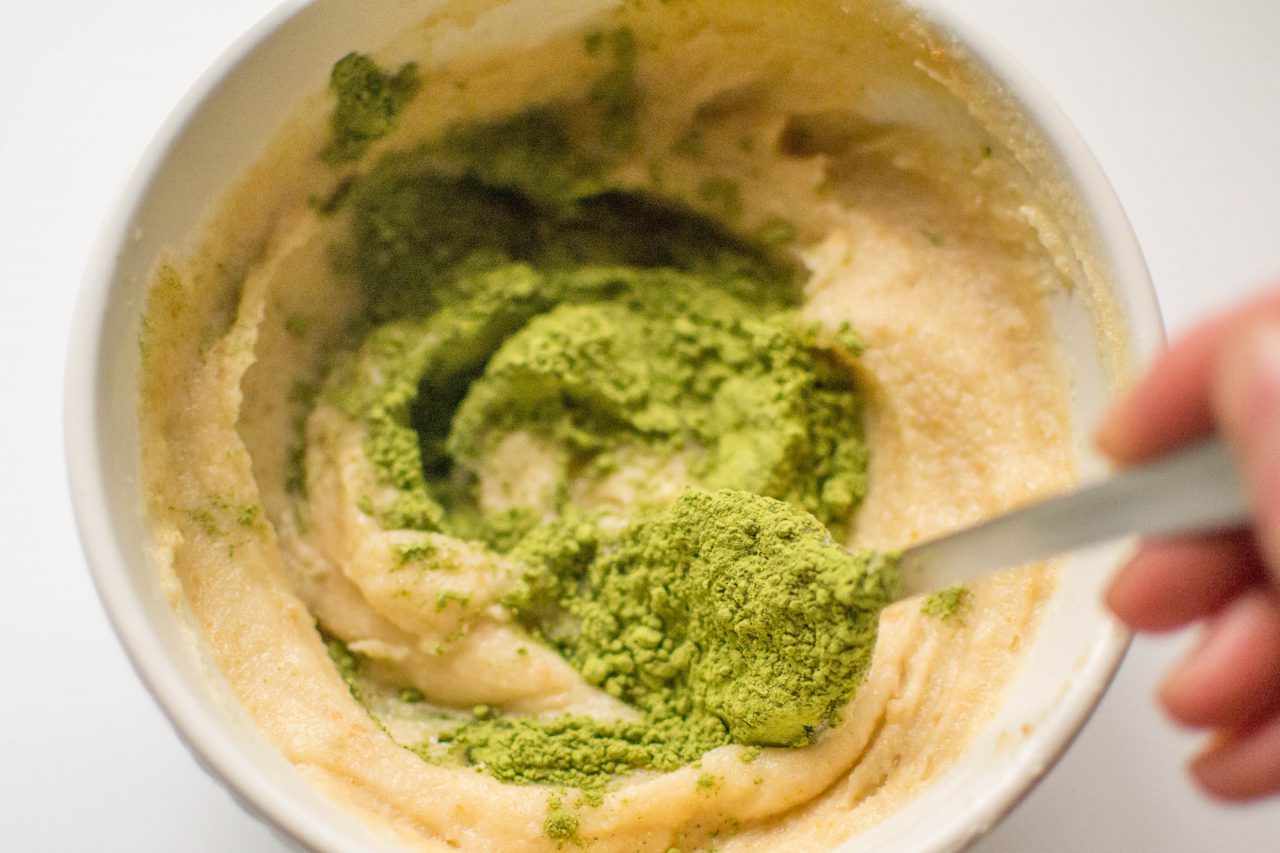
I’m excited to share with you guys that these cookies is what also eventually started The ChefCharette. My lifelong love for drinking green tea developed into an obsession of baking matcha cookies. When I was 14 years old, I baked my first batch of matcha cookies in my dad’s kitchen and fell in absolute love with every moment spent with it: cracking one egg open, whisking in sweet homemade vanilla and almond extracts, measuring spoonfuls of fine matcha as the powder evaporated up into the air, swirling more matcha into a sweet matcha buttercream, and of course licking the green sticky batter off my fingers before sliding the trays of it all into the oven. It has always been this bliss,  experimental project that I was eager to master. My dad and I realized it became an obsession once we realized I bought out all the boxes of matcha from our 2 local Japanese supermarkets and pulled an allnighter to ship the cookies a week before the Christmas deadline.

After constant experimenting of various grades and amounts of matcha, revising the recipe to this humble delectable one, I began to slip these cookies into paper bags and write personalized notes. Baking and bag-writing has always been my way to encourage friends and show a bit of my gratitude, love, and holiday spirit. This has become one of my favorite Christmas traditions.

For more holiday spirit, you can also easily prepare red bean filled matcha cookies. Just before rolling the matcha batter into 1″ balls, simply add in one teaspoon of adzuki (red bean) paste. Adzuki paste can be found in cans or airtight pouches in several international stores. Continue the recipe as follows and make sure you refrigerate any unused adzuki paste.

Ingredients

Preparation Time
20 minutes
Cooking Time
12 minutes
Ready In
32 minutes
Serving Size
About 2 dozen cookies
  • 1 Large egg
  • 1 tbsp Vanilla
  • 1 tsp Almond extract
  • 1 Stick of butter (4 oz butter)
  • 1 1/2 cups White sugar
  • 3/4 cups Brown sugar
  • 1 tbsp Green tea powder
  • 2 cups All purpose flour
  • 1/2 tsp Baking soda
  • 1/4 tsp Salt
  • 2 tbsp Matcha (or however much you’d like)

Directions

Step 1.

Whisk wet ingredients (egg, vanilla, almond, and about 1 tsbp green tea powder) in a small-med bowl.

Step 2.

Using a hand spatula, cream together the creamables, butter and sugar, in a large bowl until its smooth and even.

Step 3.

Slowly mix in the egg, vanilla, and almond mixture into the sweetened butter mixture.

Step 4.

Mix the dry ingredients in a medium sized bowl and then gradually mix the dry ingredients into until well incorporated.

Step 5.

Using your hands, roll and shape balls about 1” in diameter.

Step 6.

Place them each about 2″ apart on a cookie sheet and bake at 350º for about 10 min or until the edges of the cookies are firm and golden brown.

Step 7.

Remove the cookies from the oven and let them stand for at least 2 minutes. then place the cookies on wire racks to cool.

Chef’s notes: