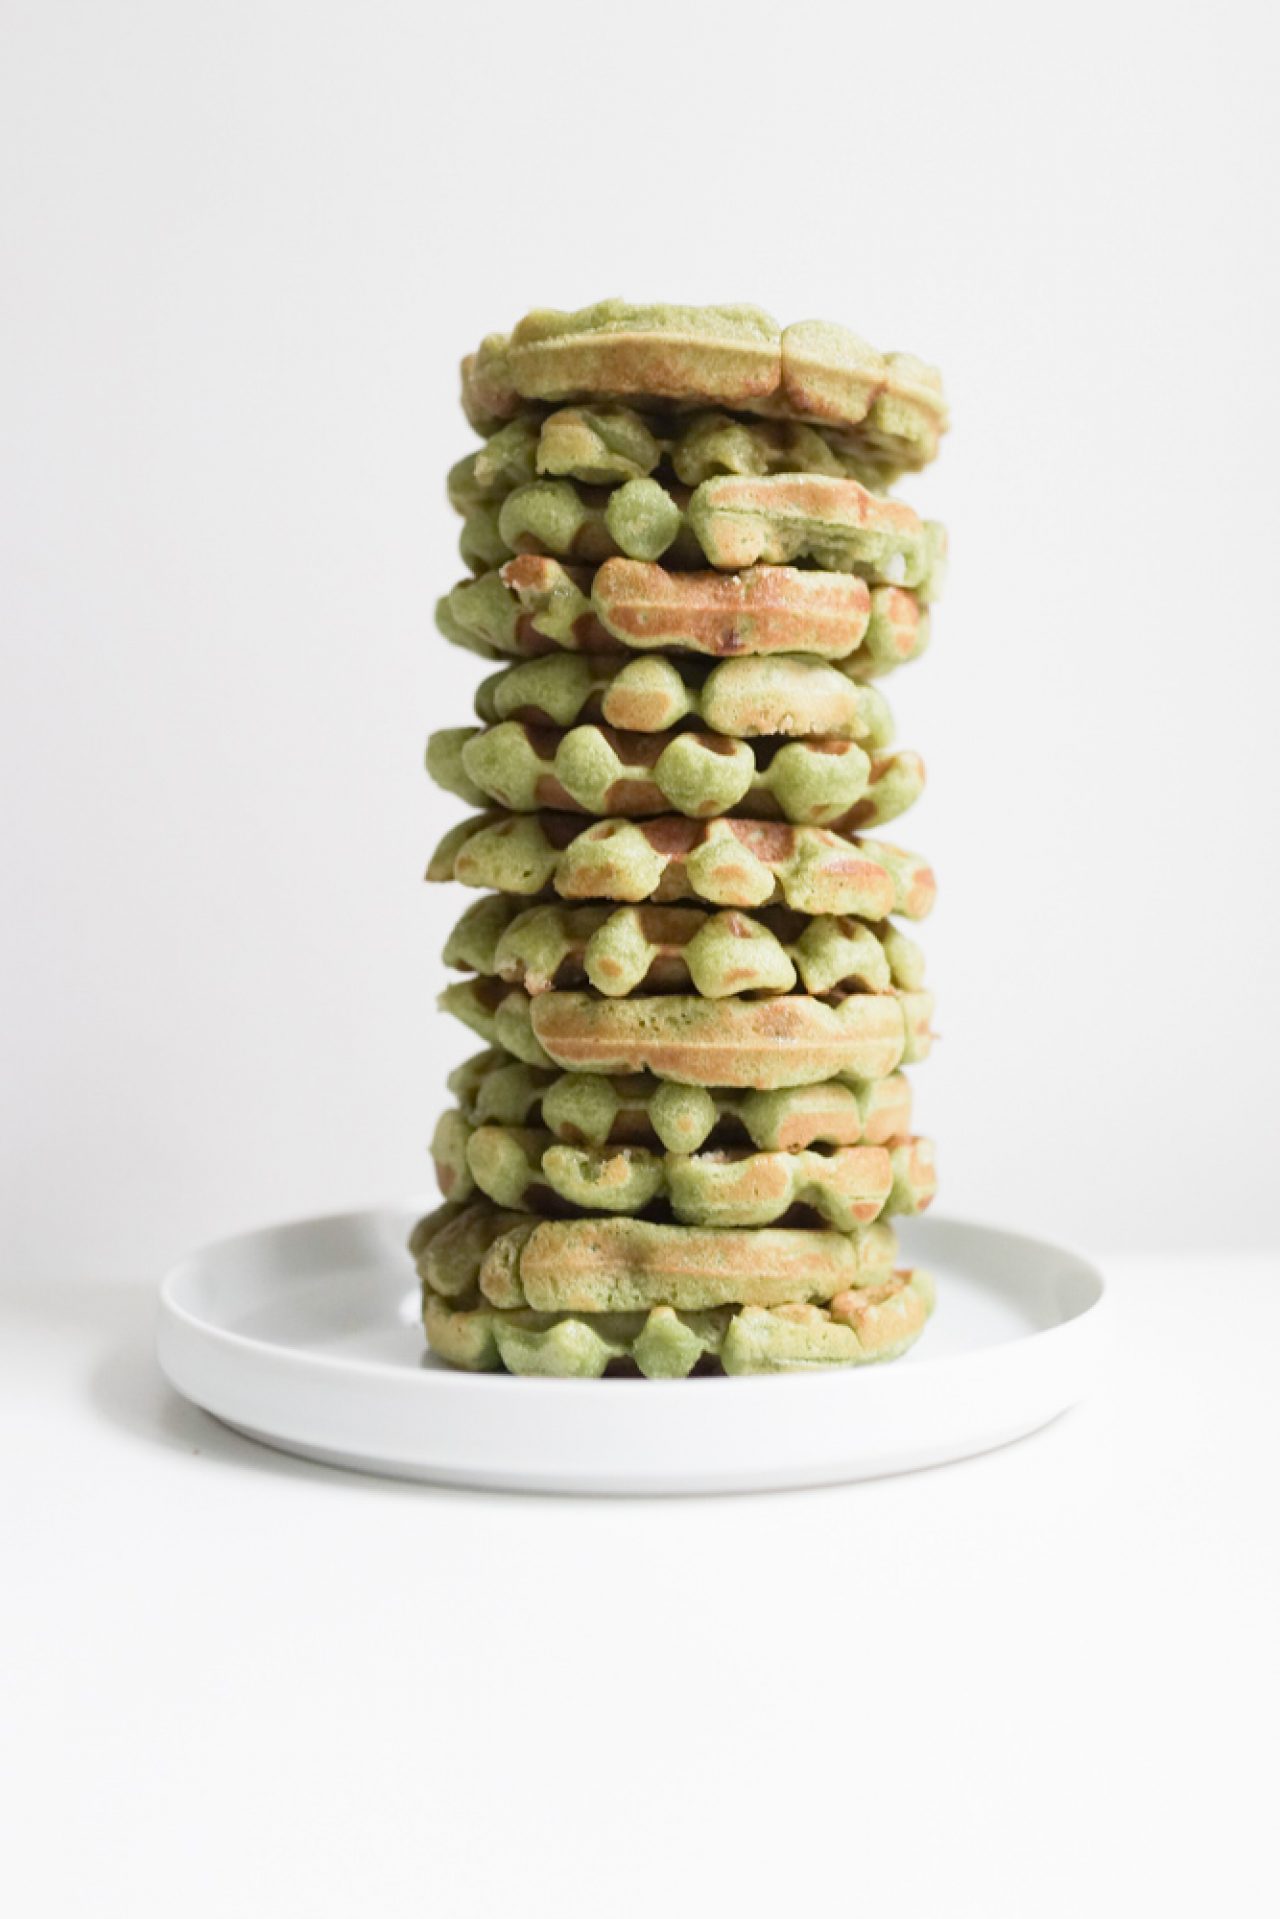
Matcha Mochi Waffles

In preparation for the breakfast I had to make for my IT team (+ the Superbowl) I’ve been playing with different types of flour and wondered what I could do with the rest of the mochiko in my cabinet. After I asked O what he’d think about mochi waffles, he looked at me incredulously (pfft, what? why? how?)

Well, hell – if there is a will, there is a way.

If there’s anything that’ll “bring me joy” …it’s WAFFLES. Not just any waffles – Belgian waffles. Liege waffles. (Sometimes…toasted homestyle Eggo waffles).

In making this recipe, I have a few confessions:

1) I cringe a little working with yeast. Thankfully, we live in a world of baking powder – the handy dandy replacement to act as the yeast substitute ingredient.

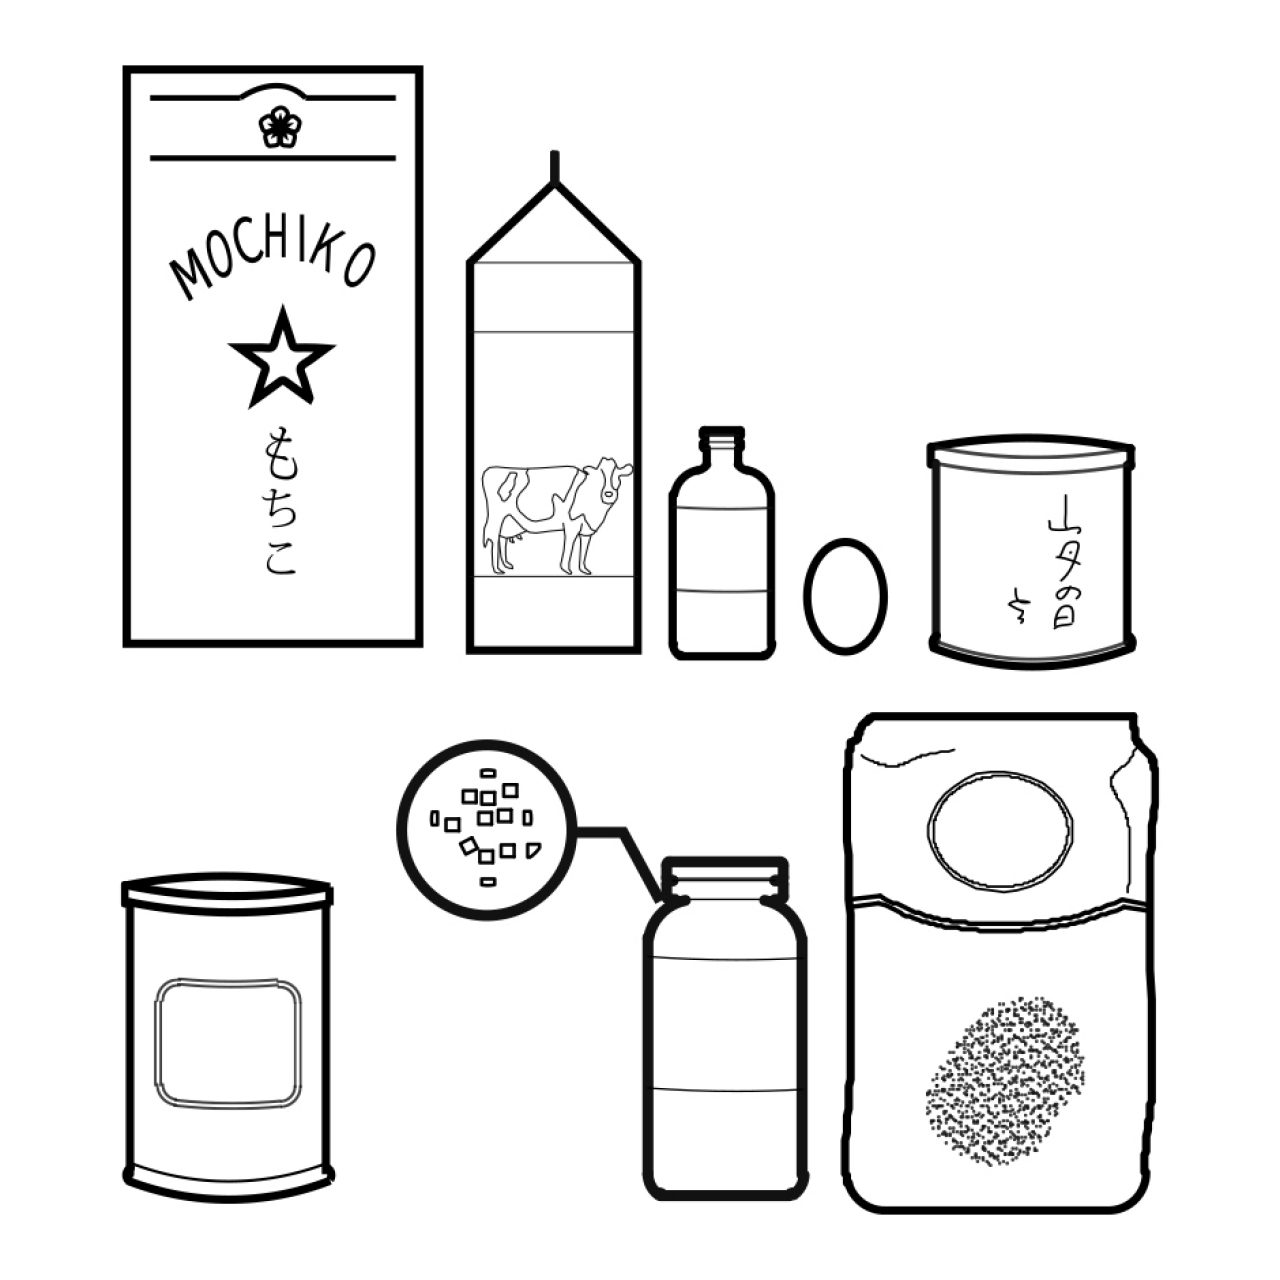
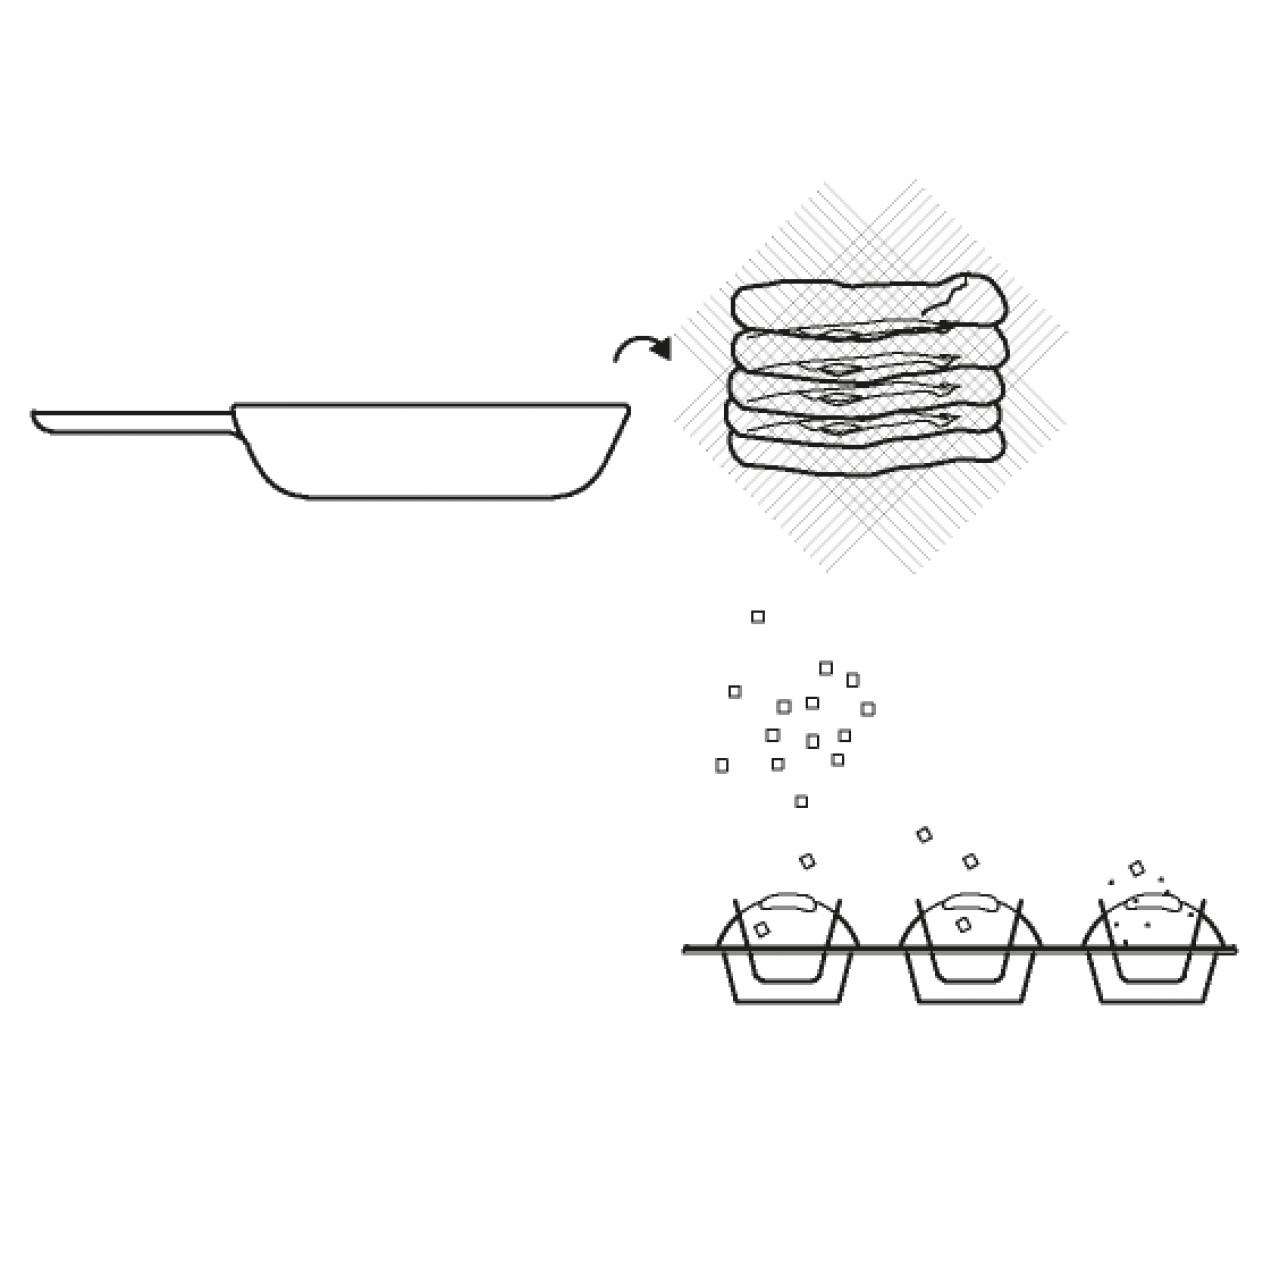
2) I don’t have that awesome liege waffle iron for deeper pockets. However, I did have Lars pearl sugar – which I cannot emphasize enough: is completely life-changing. Pearl sugar contains its crystalized form so that when you bite into the baked good, you not only enjoy the dough but also little instances of sweet, crunchy crystals. If you don’t have it or can’t find it at your local gourmet store, you can order it from Amazon.

I will use pearl sugar at any given opportunity for a baked pie or pastry.

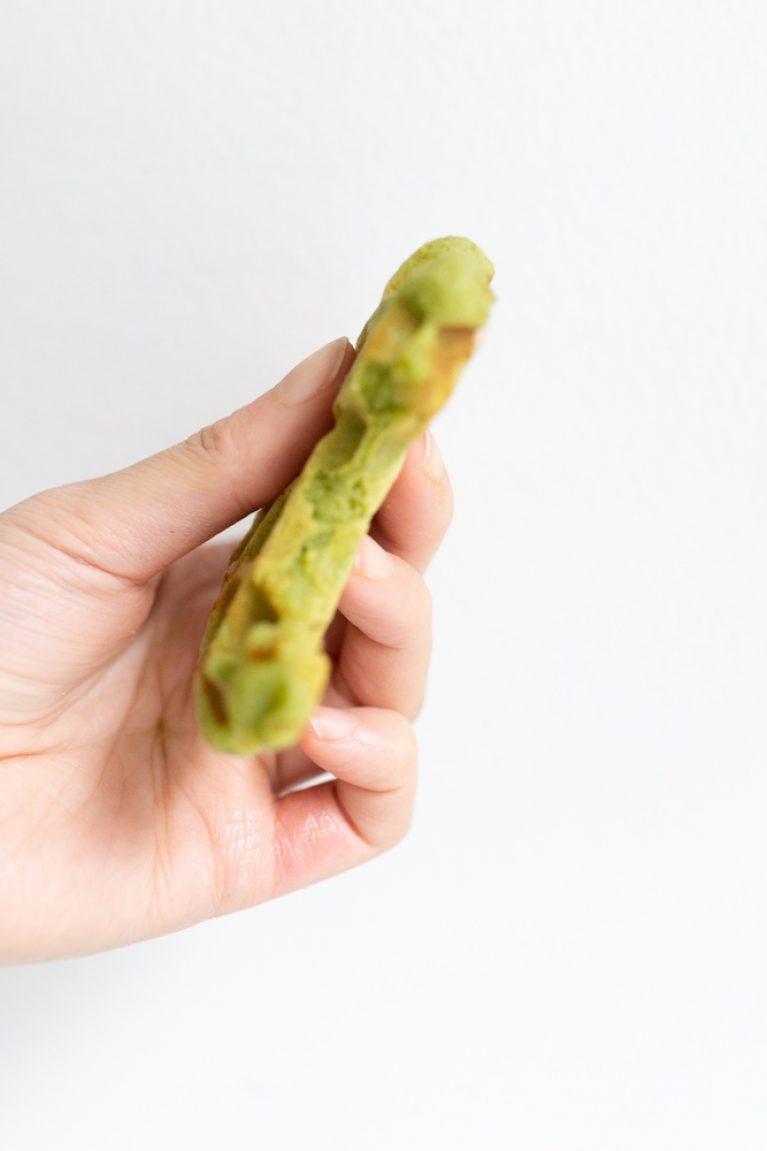
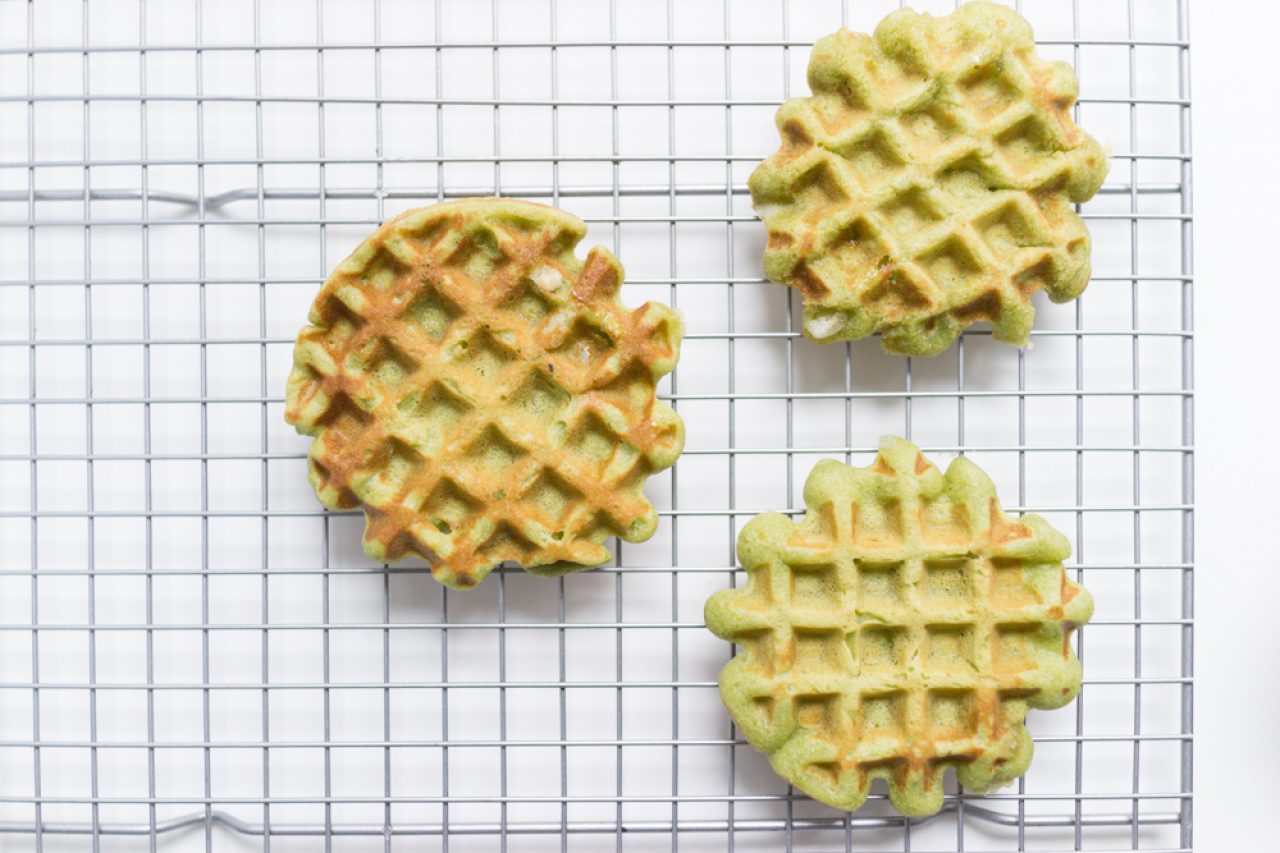
My latest favorite type of waffle: crispy slightly sweet waffle with a sticky, stretchy texture filling inside. Best when served fresh out of mini waffle irons, but also great when re-toasted in the oven.

Oh – and another tip: don’t be afraid of adding more sugar / playing with different toppings. I mixed in 1/4 C semi sweet chocolate chips into my batter and some of my IT friends loved it.

MATCHA MOCHI WAFFLES

Ingredients

Preparation Time
15 min.
Cooking Time
20 min.
Ready In
35 min.
Serving Size
12 mini waffles
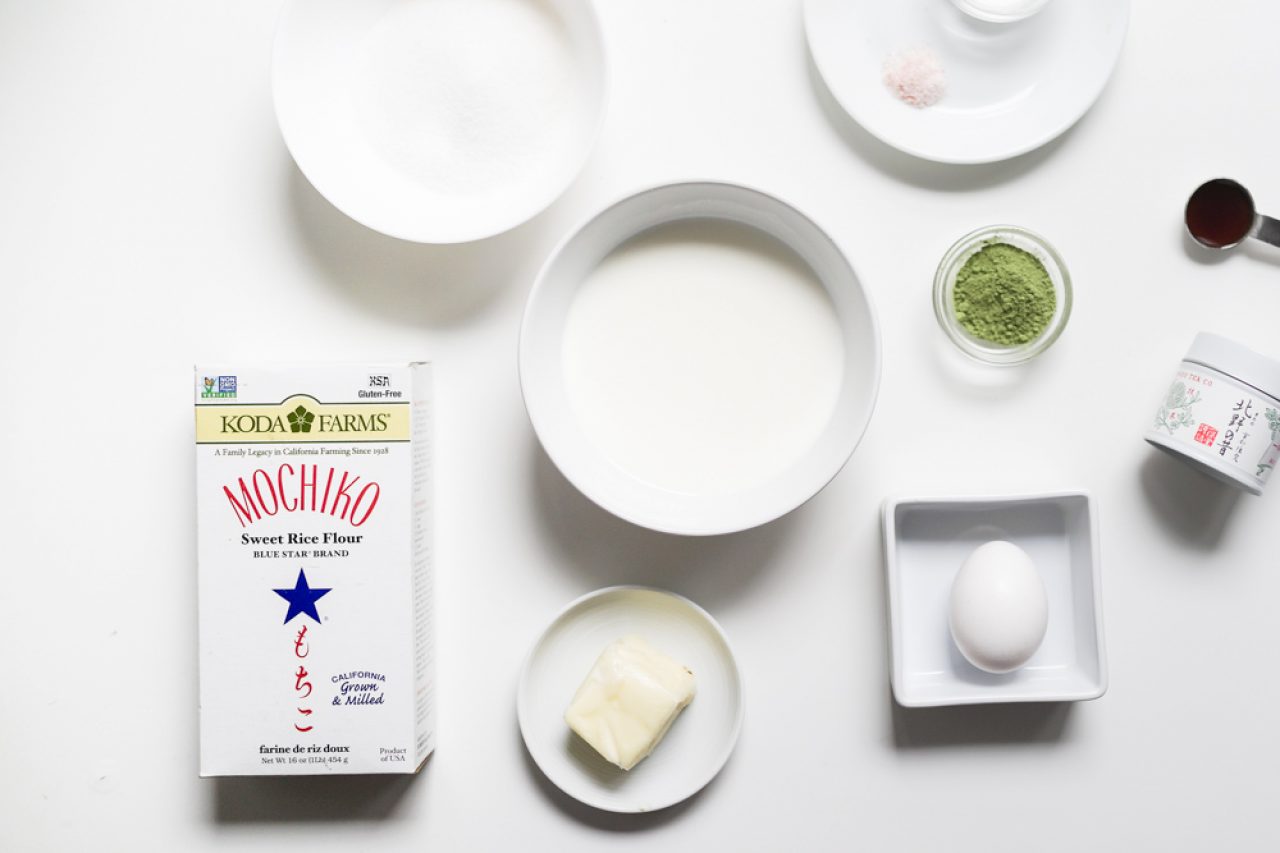
  • 1/4 C mochiko
  • 3/4 C whole milk
  • 1 tsp vanilla extract
  • 1 lg egg
  • 3 tbsp butter
  • 1 1/2 C mochiko
  • 2 tbsp matcha powder
  • 1/2 C sugar
  • 1 1/2 tsp baking powder
  • 1/4 tsp sea salt
  • 2 tbsp pearl sugar (optional)
Directions

Step 1.

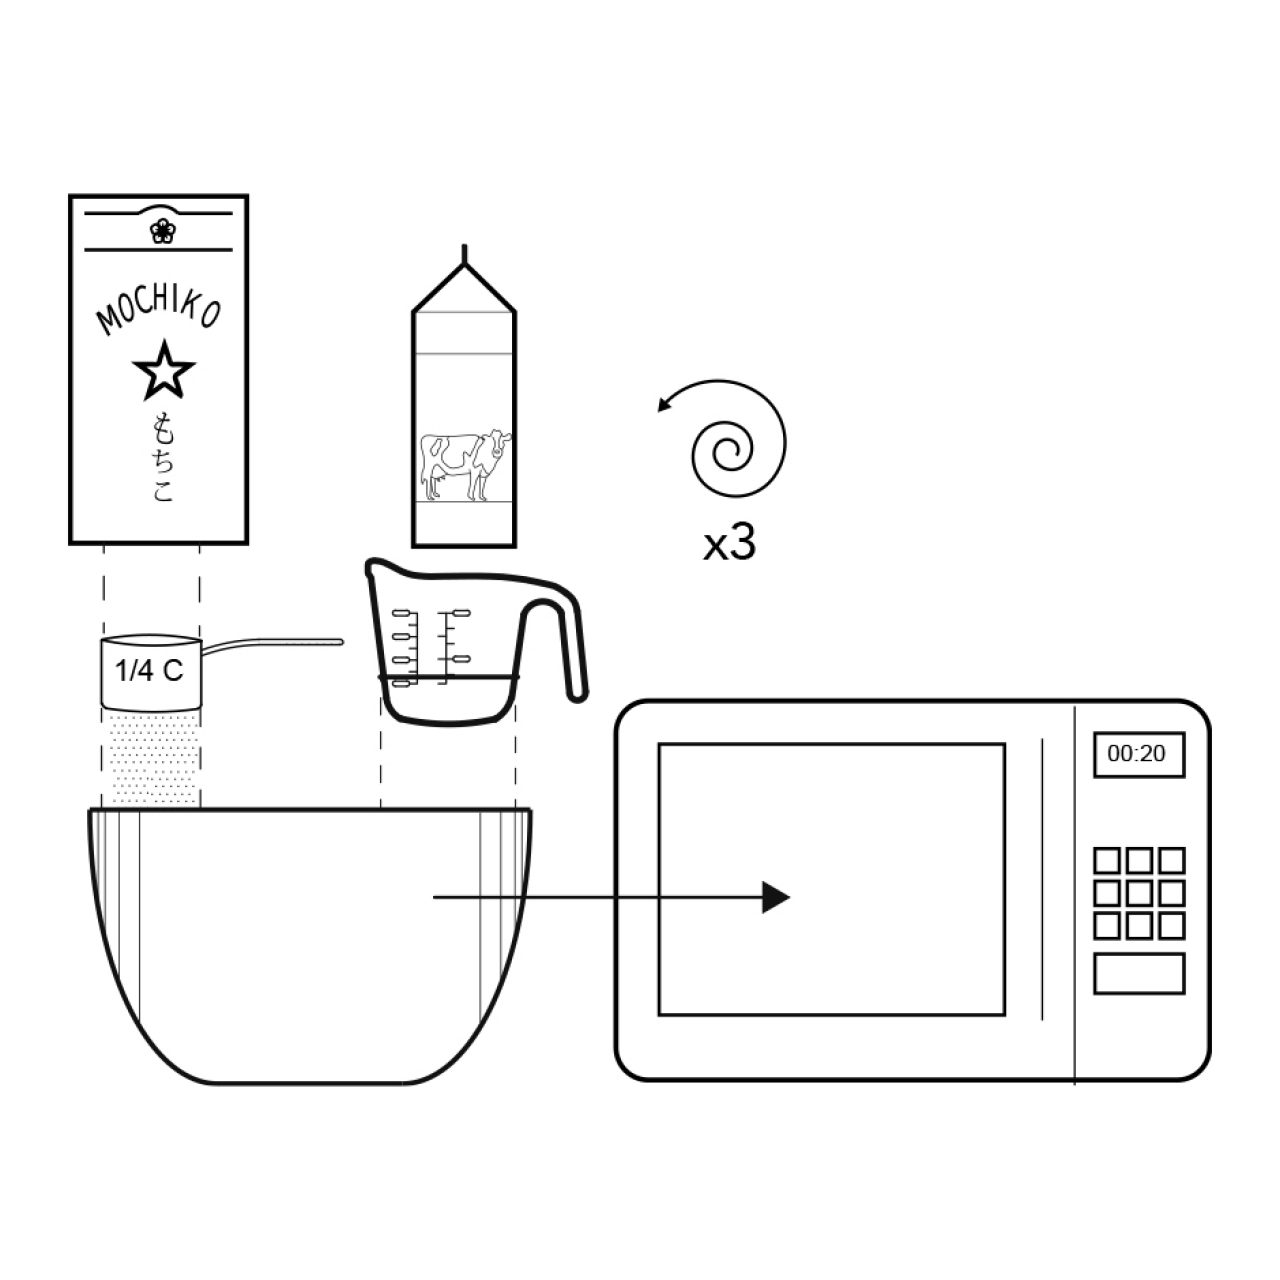
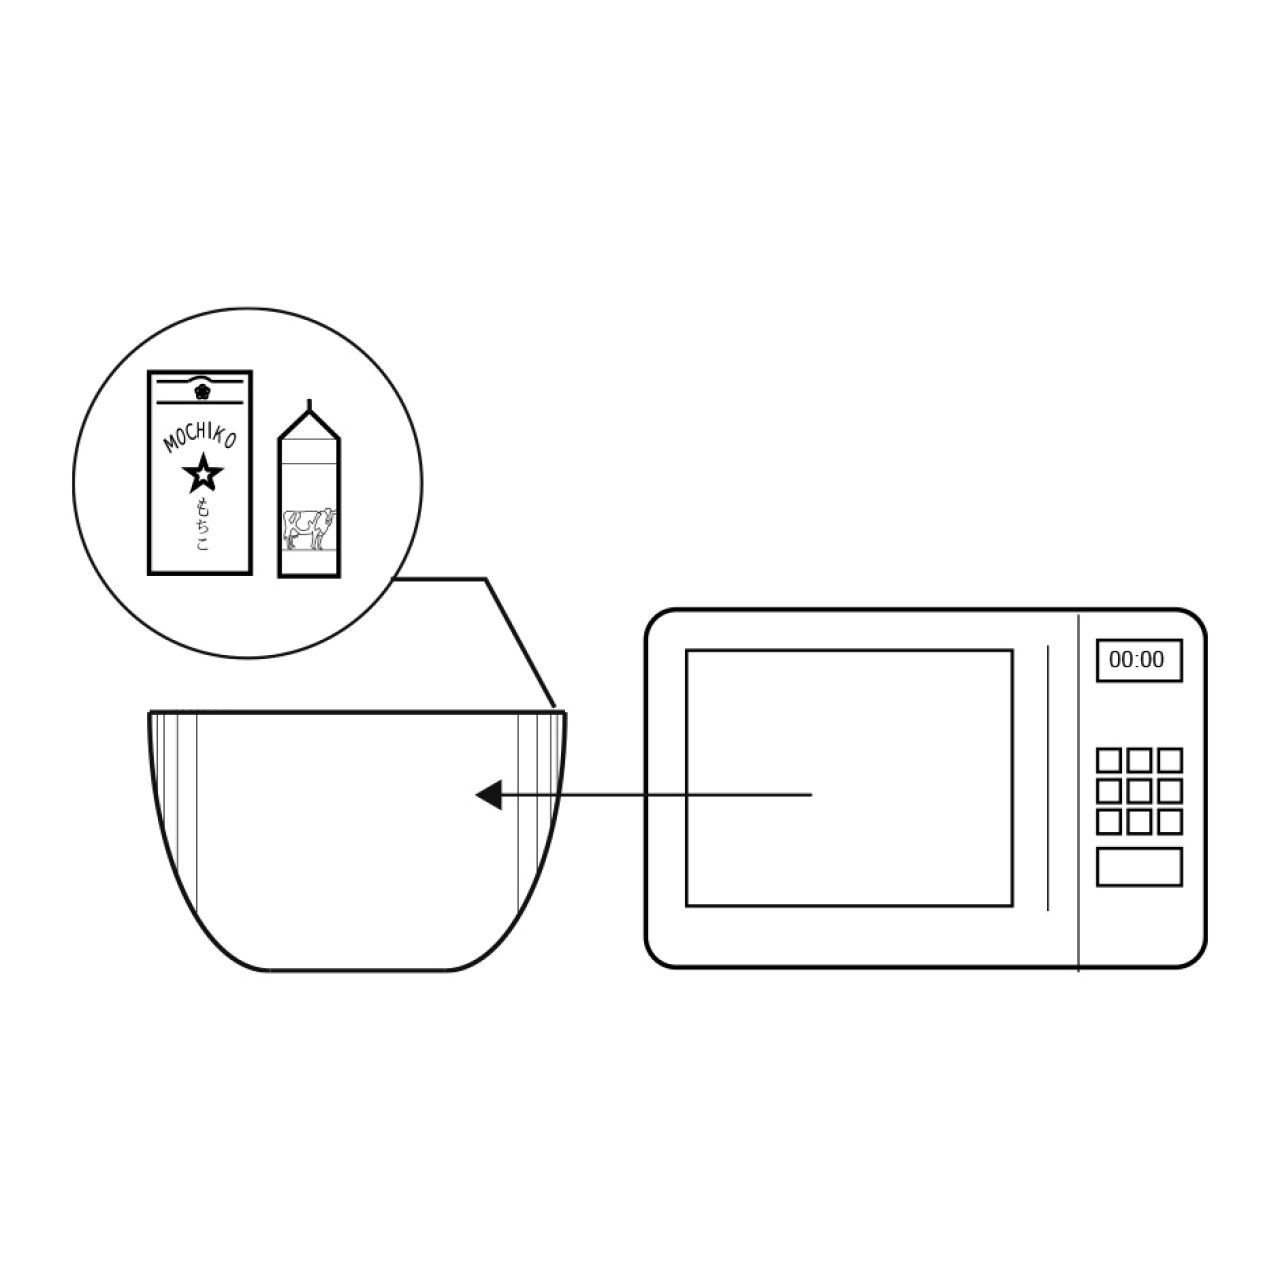
Stir 1/4 cup sweet rice flour and 1/4 cup whole milk in a microwave safe bowl. Heat in the microwave for 60 seconds in intervals of 20 seconds. Stir contents together between each interval. The resulting mixture should come together to form a white sticky dough.

Step 2.

Let the batter cool for about 3 minutes. Transfer the dough to a stand mixer bowl or large bowl.

Step 3.

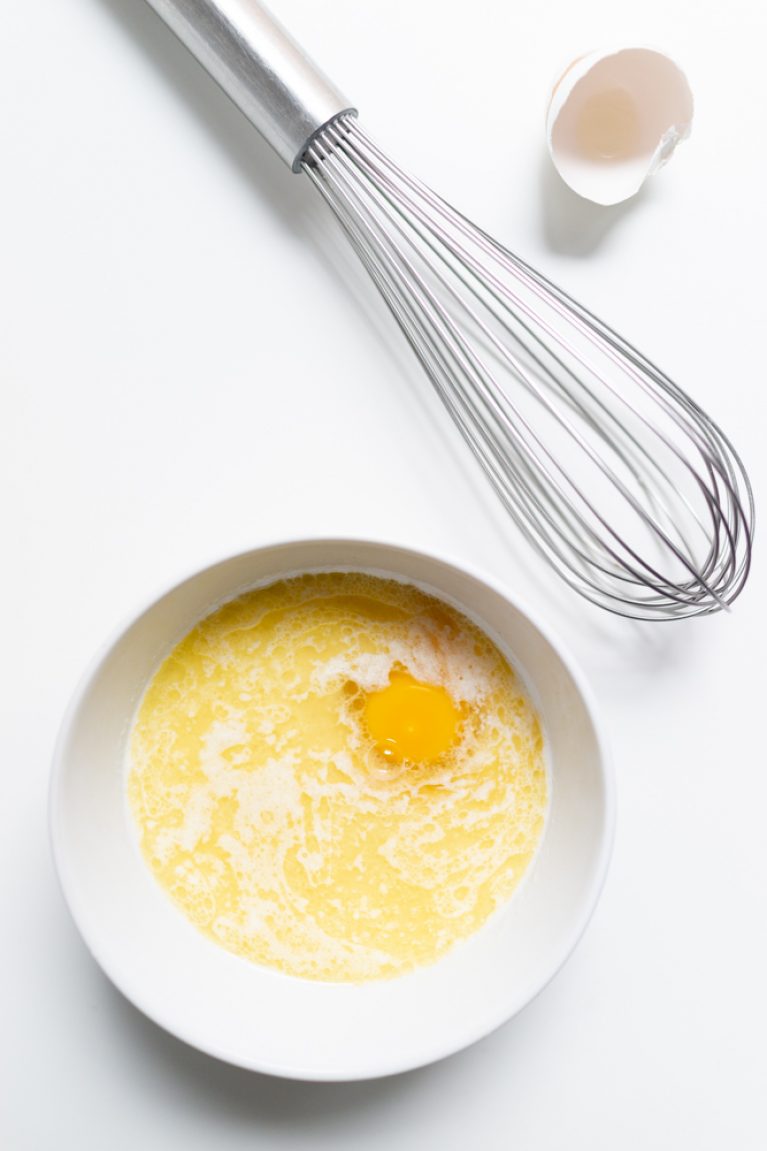
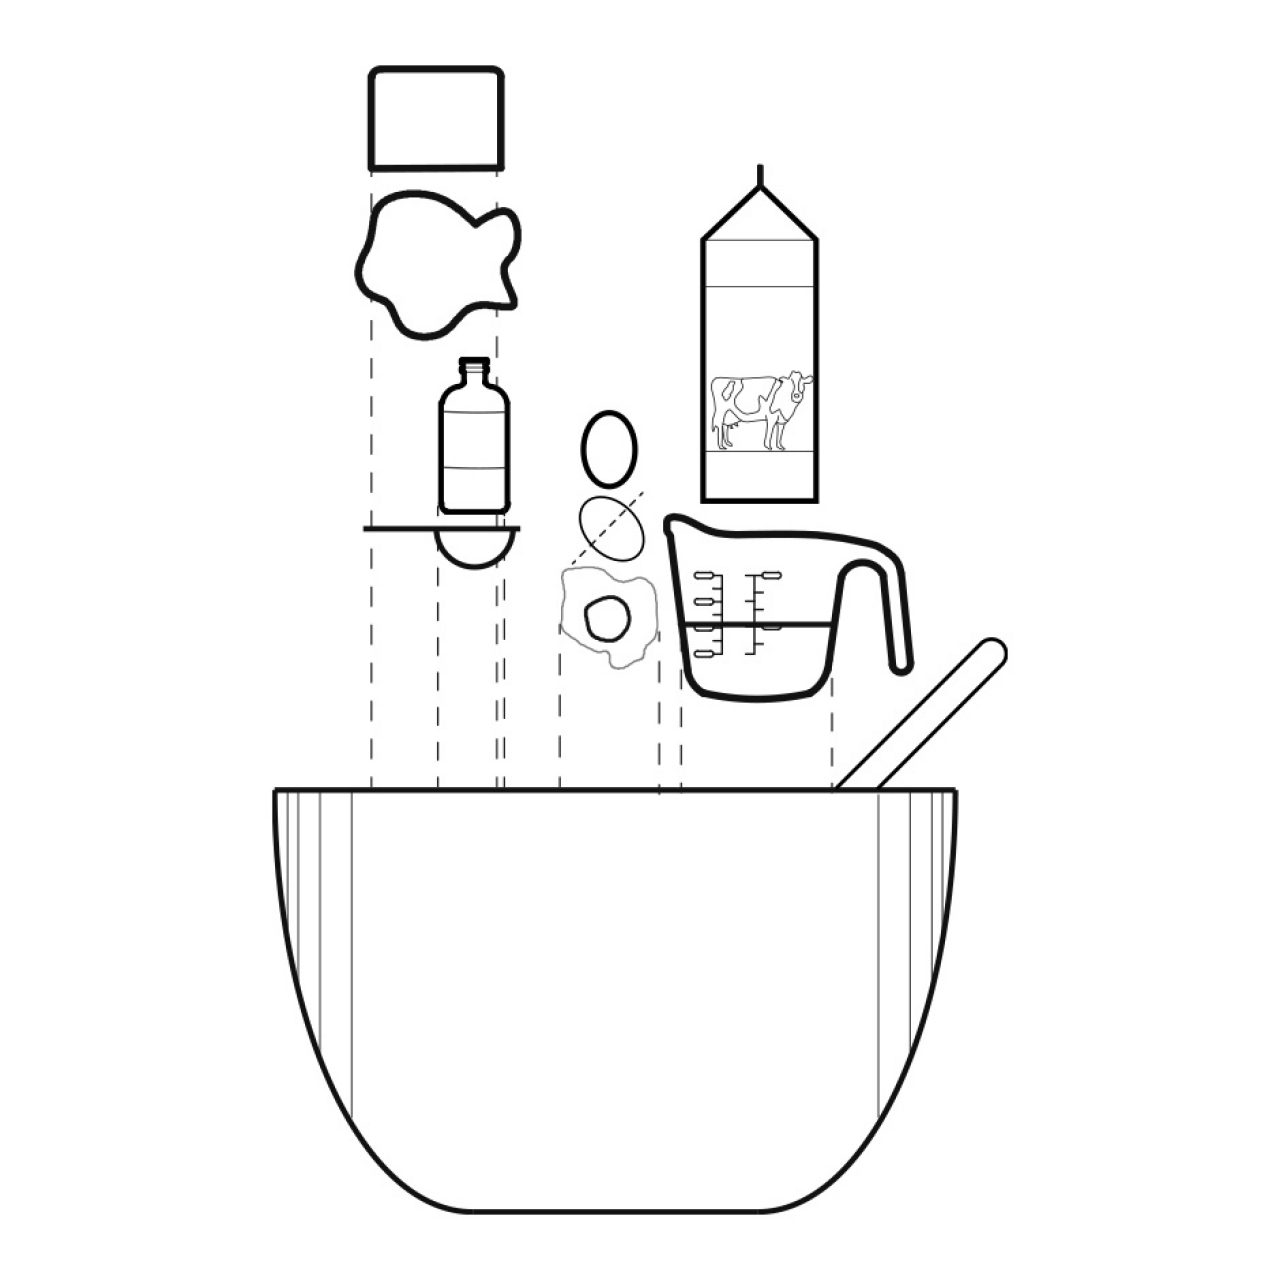
In a small-medium bowl, combine the remaining 1/2 cup milk, vanilla, egg, and melted butter. Pour this batter into the stand mixer or bowl with the milk and mochiko batter. If you have a stand mixer, use the paddle attachment and mix on low speed. If not, mix the batter well until well incorporated.

Step 4.

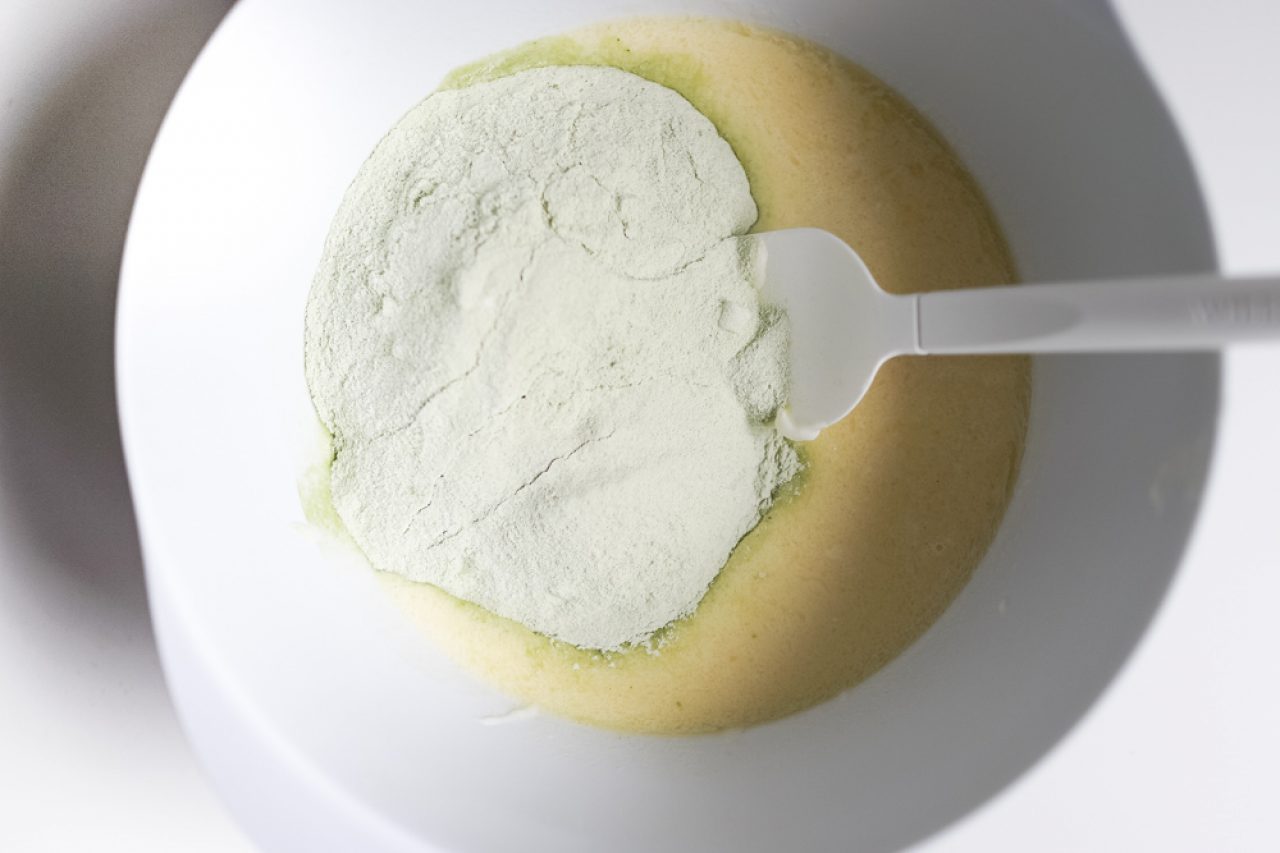
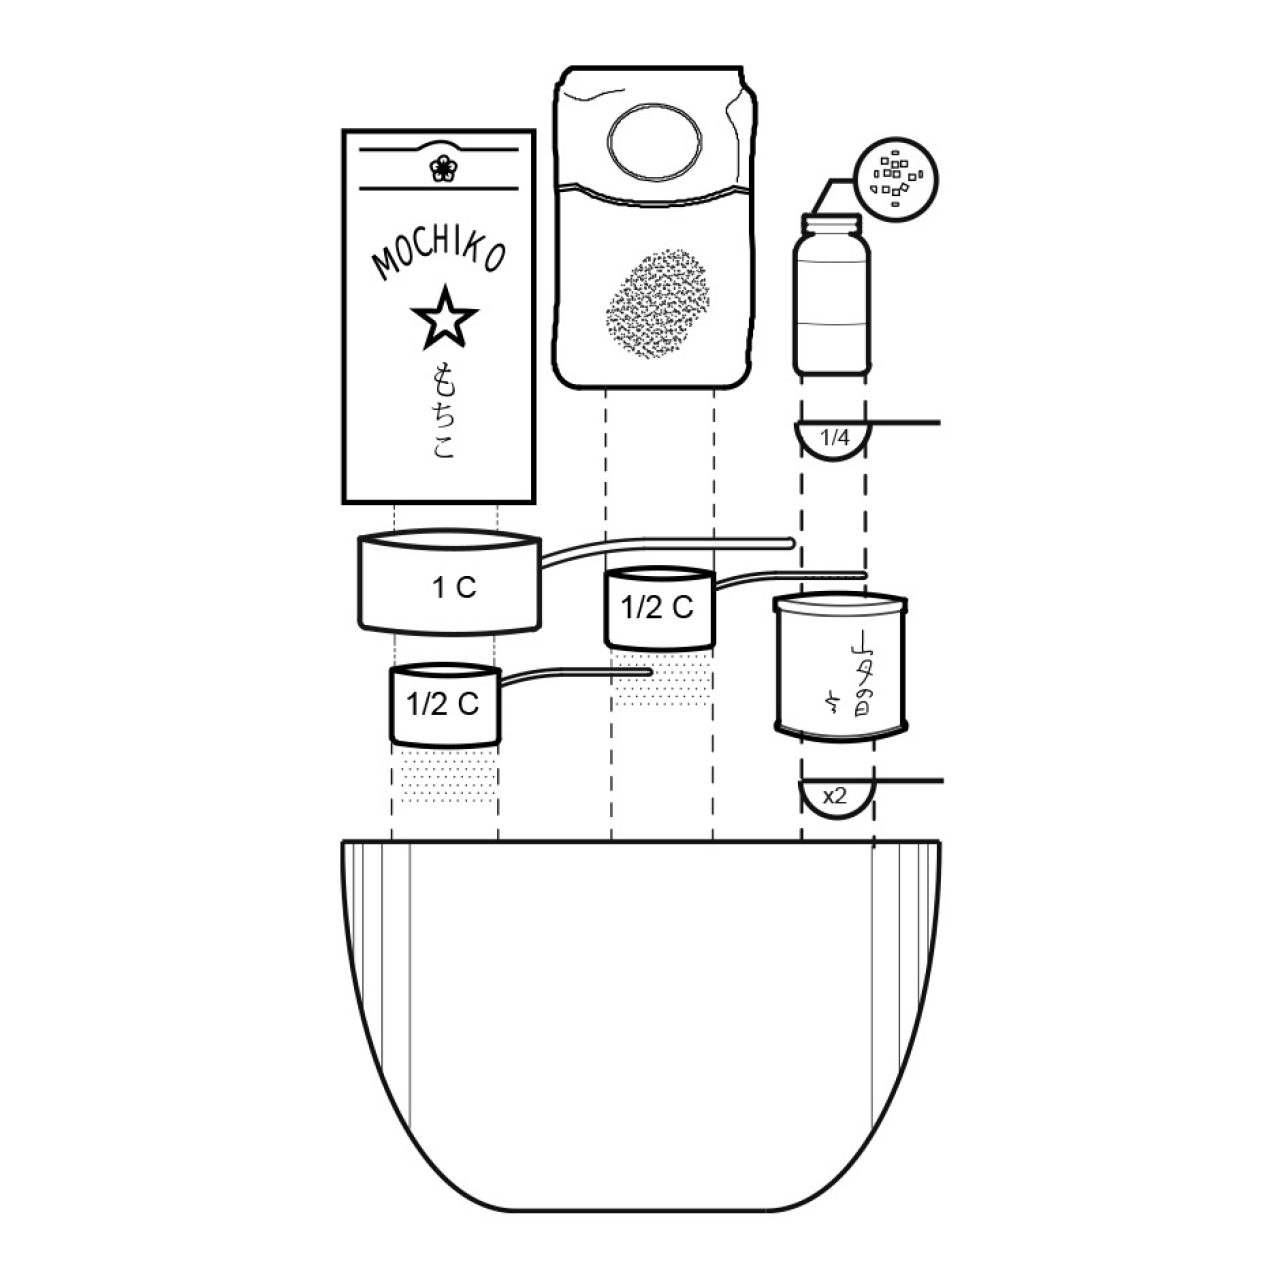
In another bowl, whisk the remaining 1 1/2 C + 2 tbsp sweet rice flour, 1/2 C sugar, 3 tbsp pearl sugar (optional), matcha powder, baking powder, and sea salt into a bowl. Add to mixing bowl and continue to mix on low speed until combine. Increase speed to medium and mix until smooth. Dough will be thick and sticky. If it is too dry, add tablespoons of milk in increments.

Step 5.

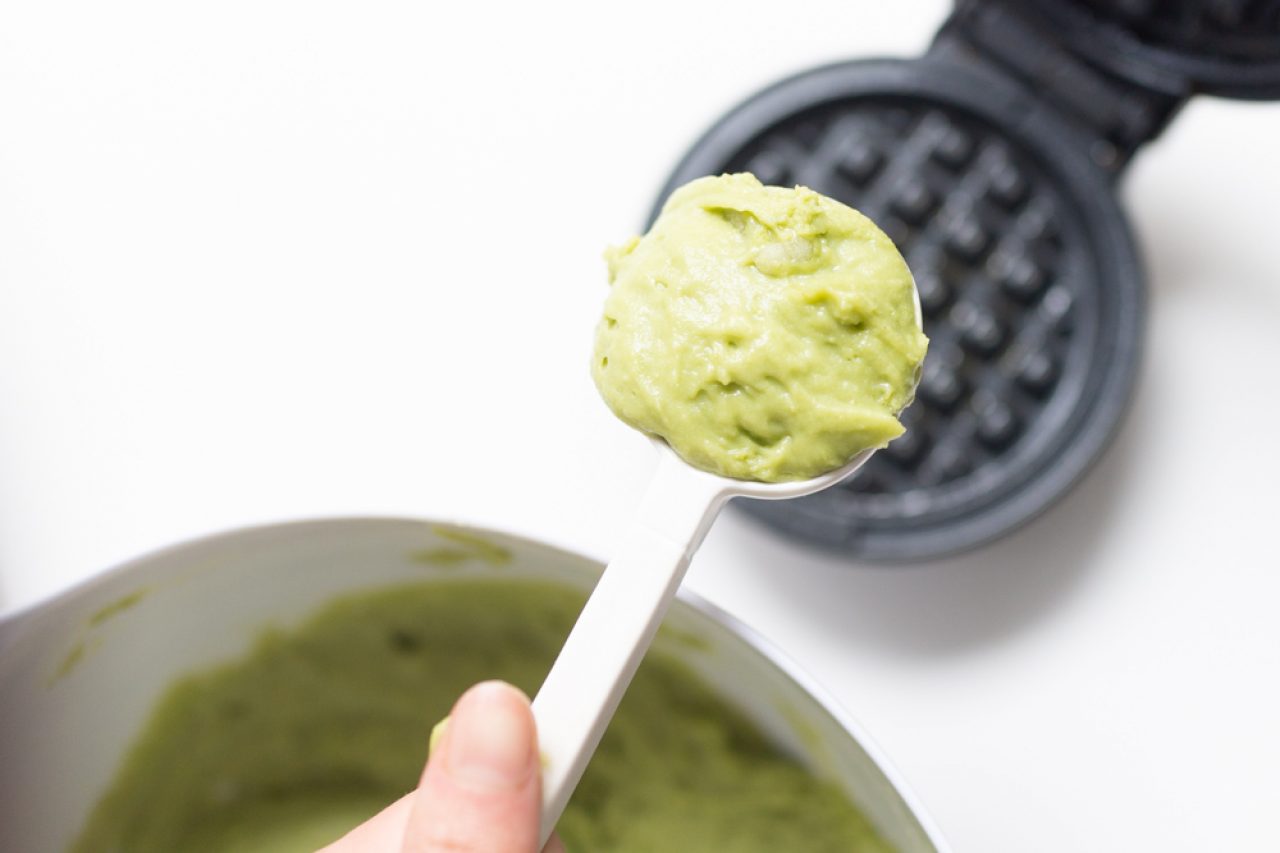
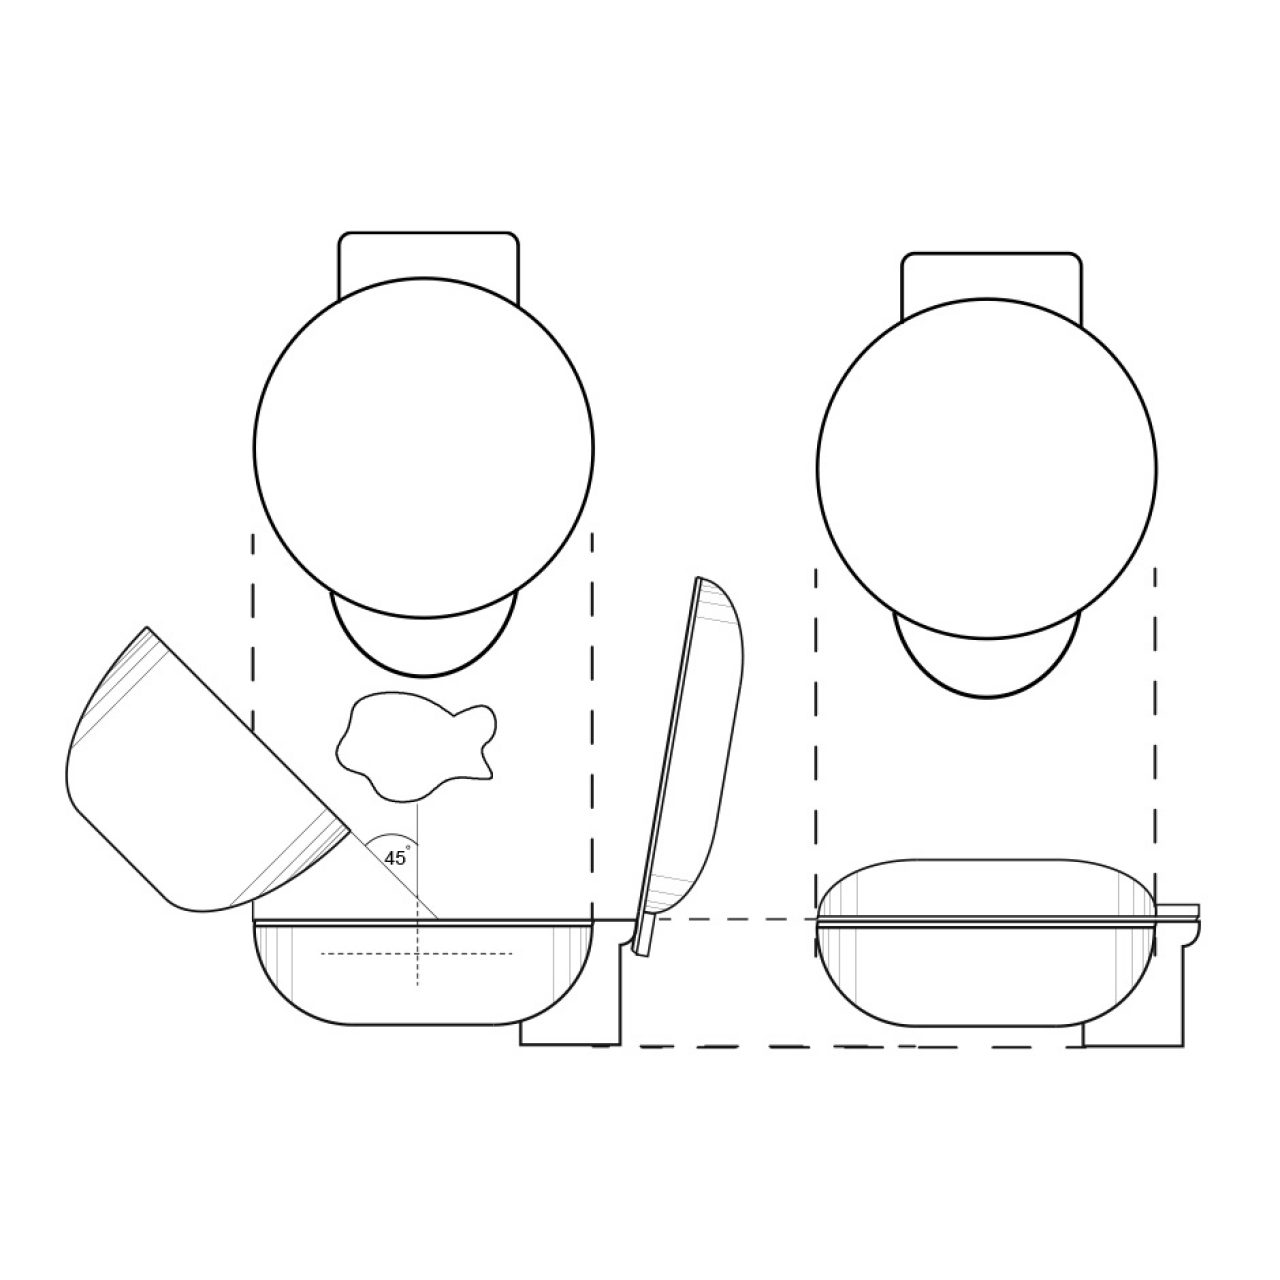
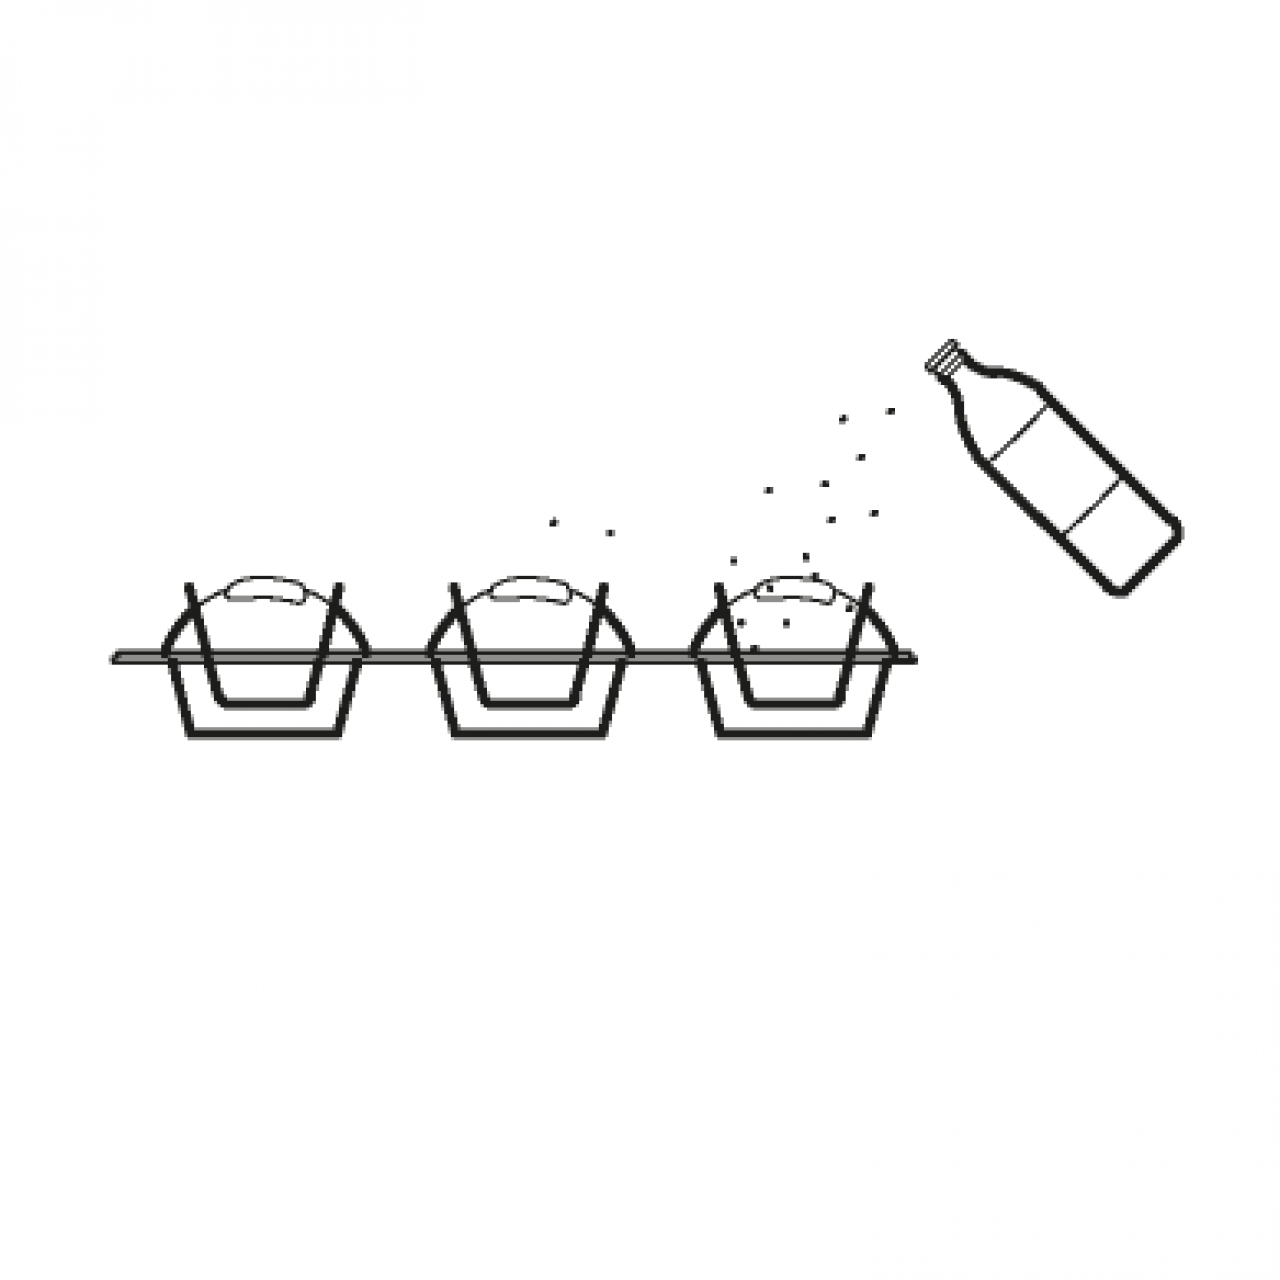
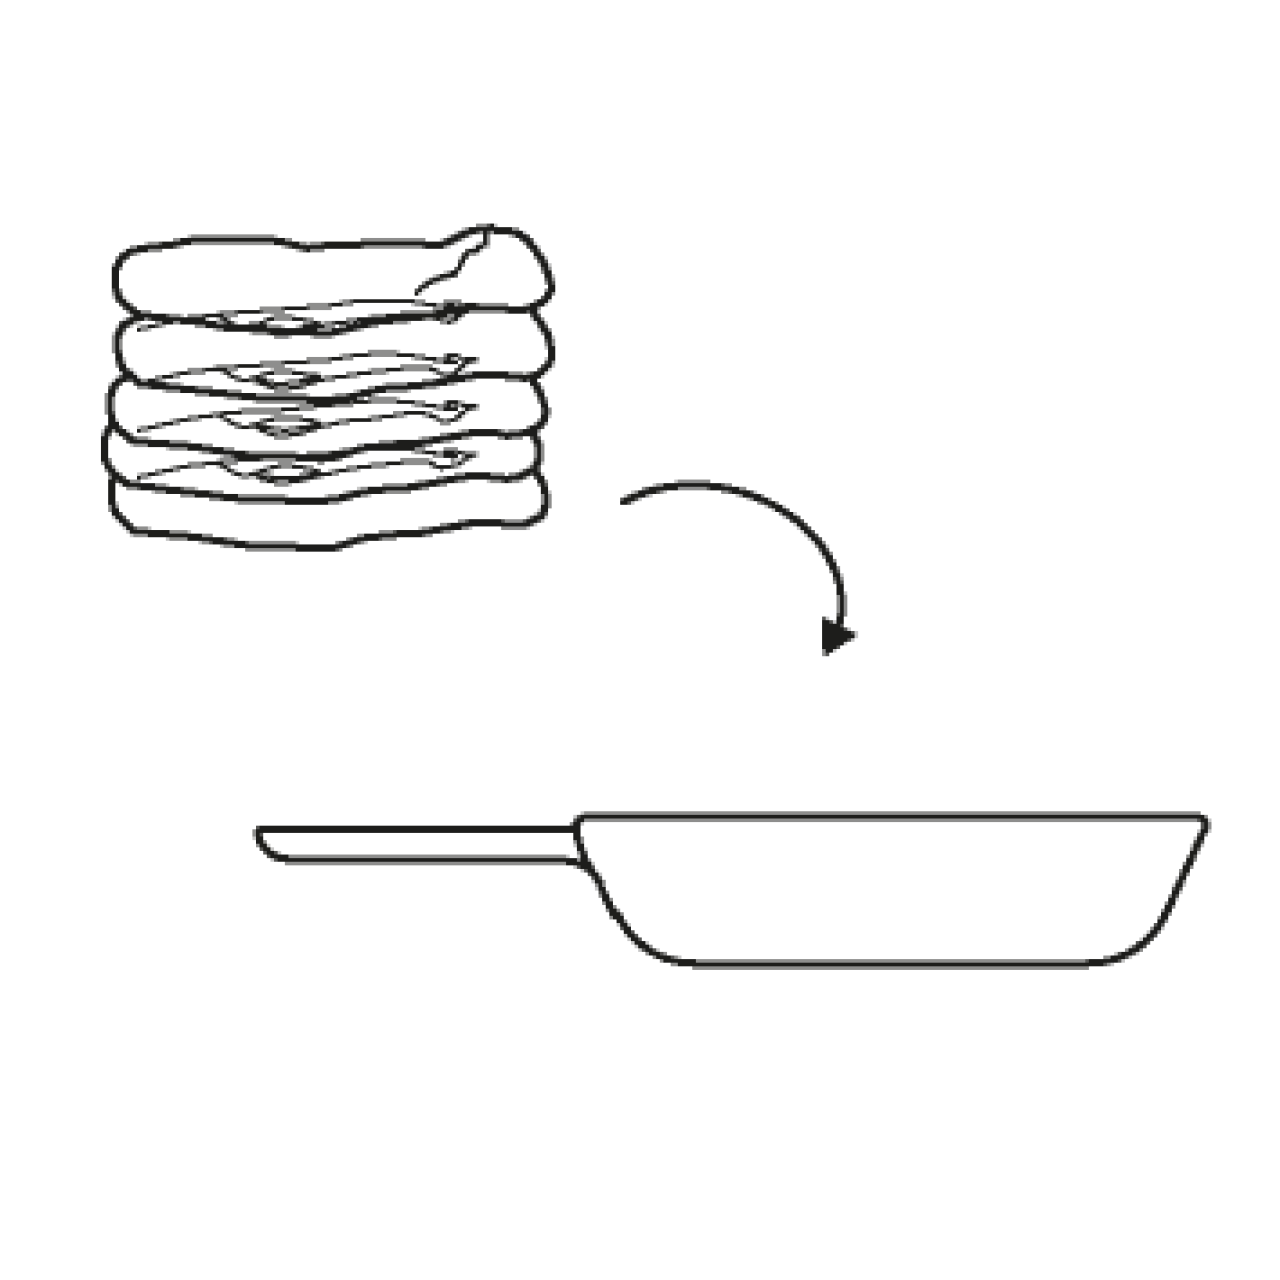
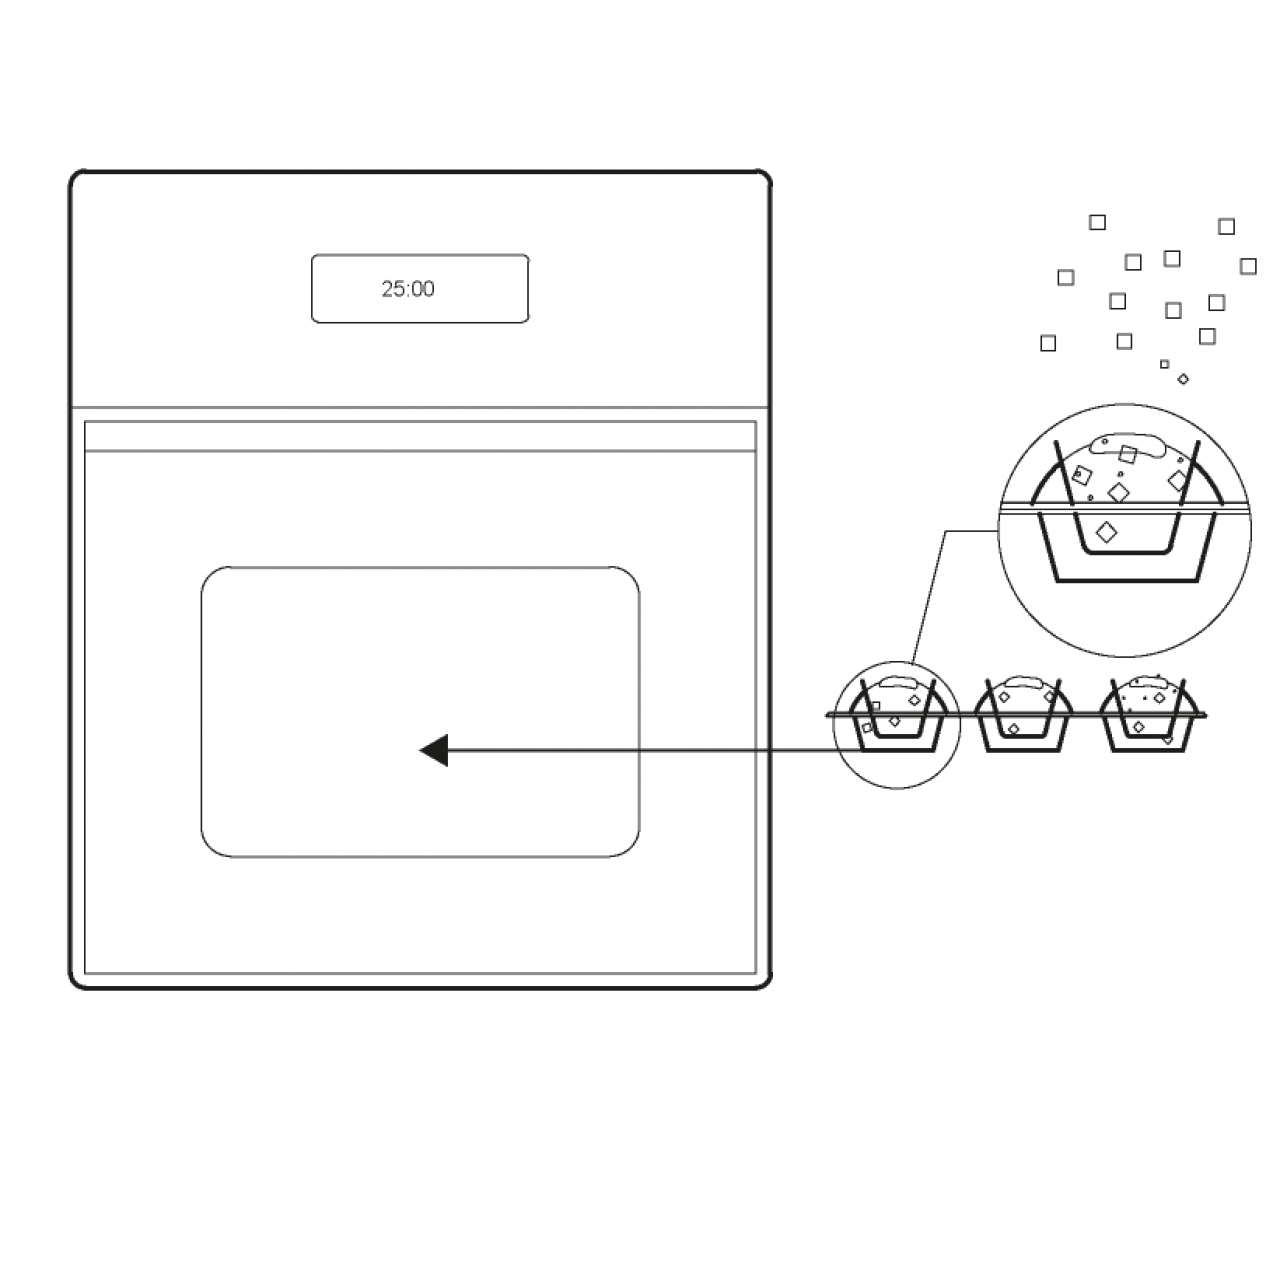
Preheat your waffle iron to medium-high. Lightly coat the waffle iron with a non-stick spray. Add about 3-4 tbsp of waffle batter (depending on size of waffle iron and preferred size waffles) and firmly close the lid. Cook for 6 minutes.
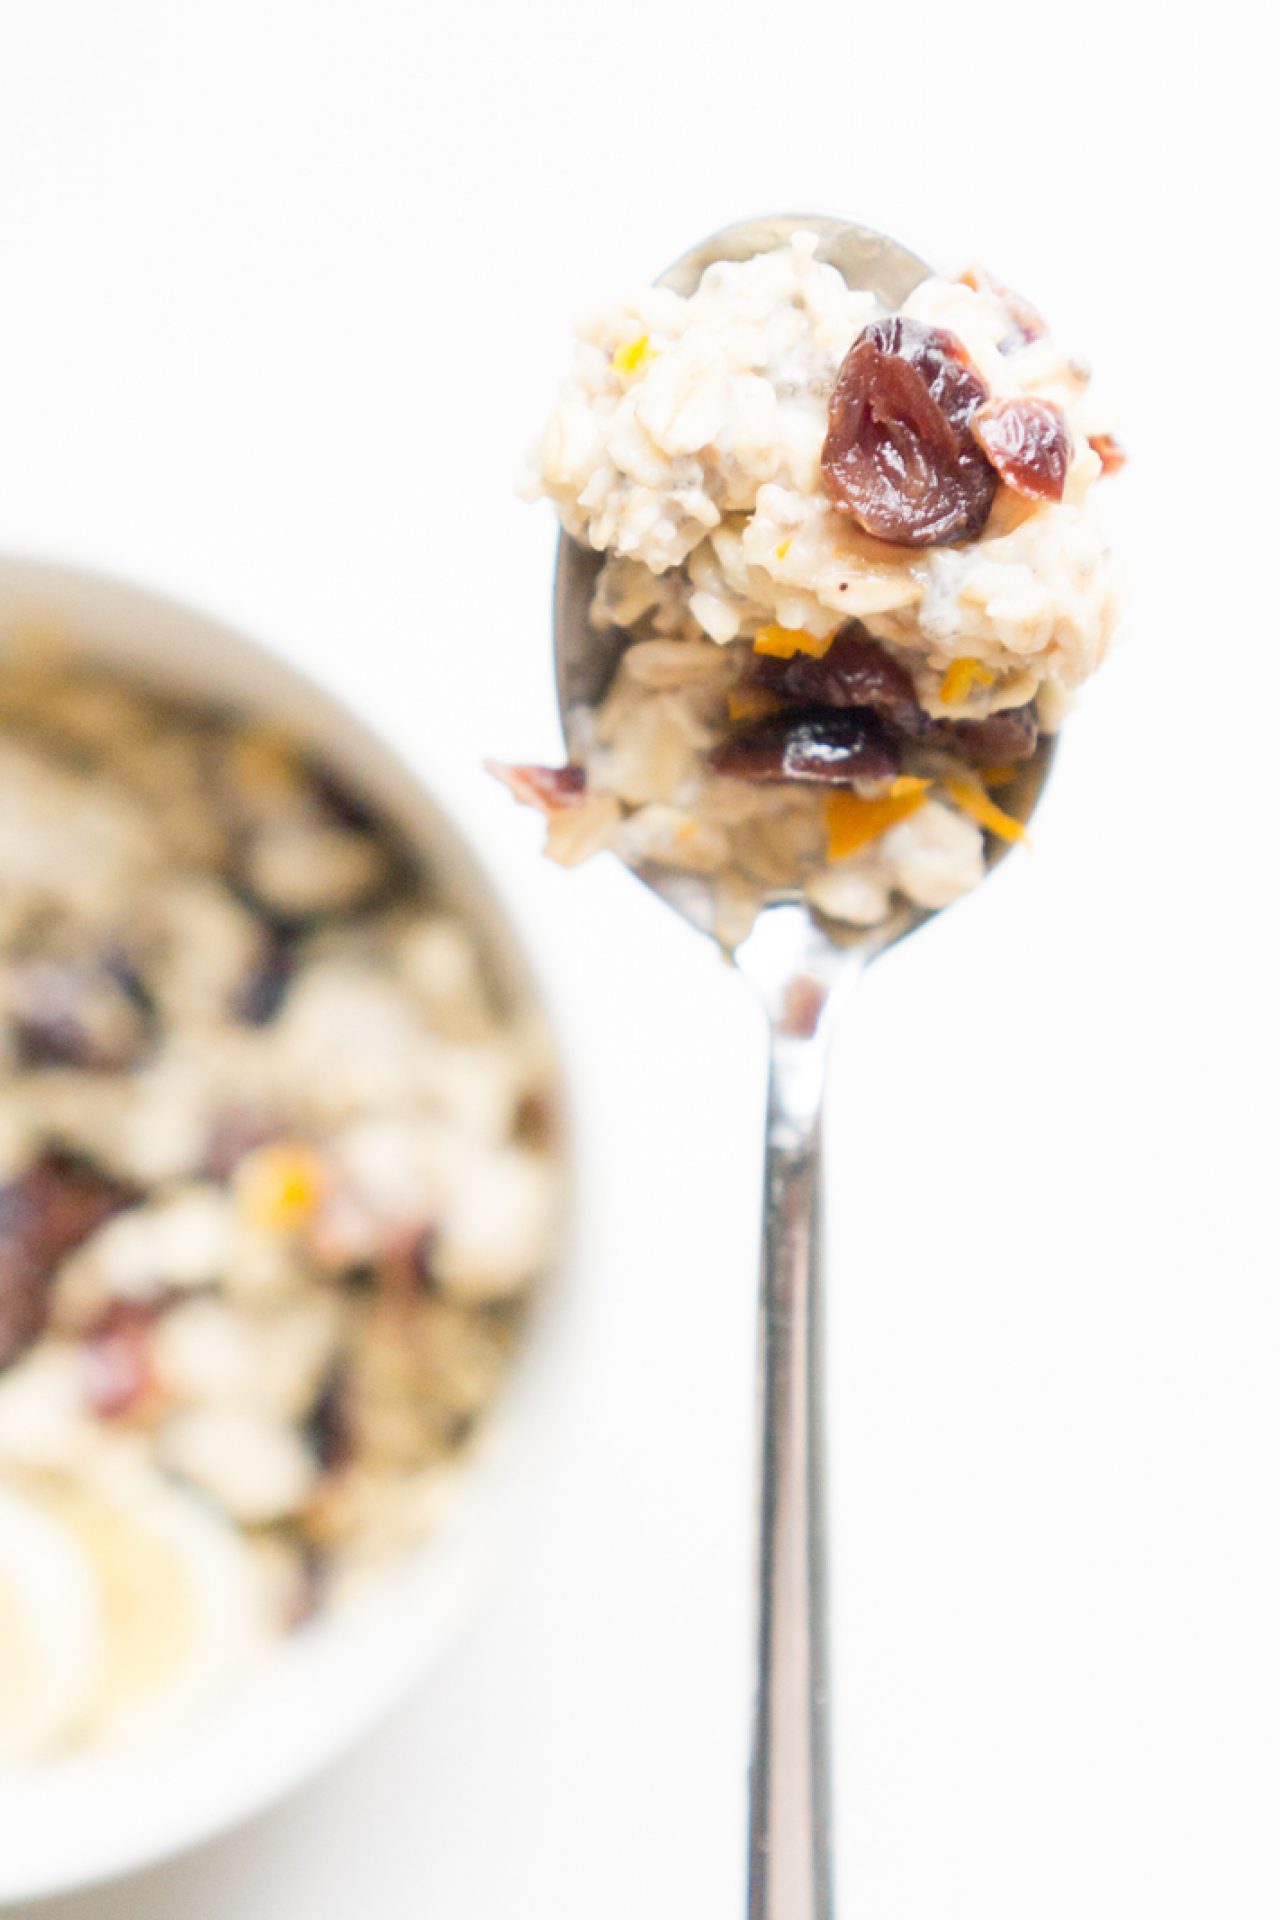
Citrus Oatmeal with Cranberries

Guys, NYC is getting quite cold. I got sick last week, and the only thing I could really put in my mouth were spoonfuls of my brother’s delicious hot chili, Oly’s hot pot, and …. my oatmeal. When I was a kid, my dad LOVED eating oatmeal and tried to convince me to try it. I thought oatmeal’s smudgy texture was like “old people’s food” because it didn’t really require any biting and didn’t look very appetizing.  But hell, I love breakfast and the health benefits of oatmeal are quite impressive; it does magical wonders of providing antioxidants, provides making me feel full longer.

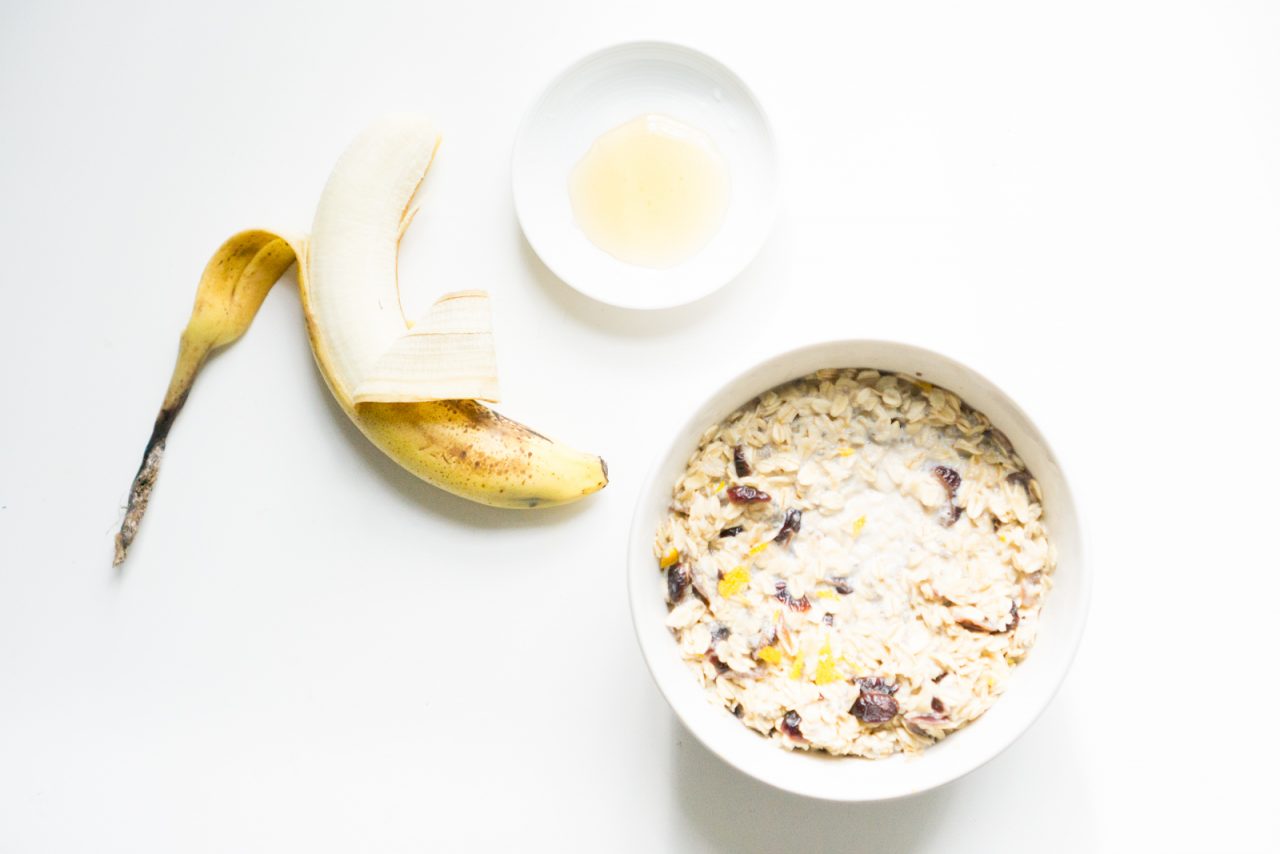
The other thing I love about oatmeal is that the add-in options for oatmeal are endless! I love altering between bananas, but if unavailable, apples or just dried cranberries are great. Nevertheless, adding any citrus-tang to it always helps energize me to get started through the day. Also, do note that there are a variety of ways to prepare oatmeal: Overnight (in a mason jar), over the stove top, and microwave. Although I’m a big fan of the overnight mason jar method, and  I’m not a big fan of the microwave, I’ll opt for the microwave on colder days for a quick way to start the day warm. (Really don’t like washing dishes and slow cooking simple meals for myself)

Anyway, vwala. Citrus oatmeal with cranberries. If you don’t want to cook everything in a pot, feel free to microwave with minute intervals of stirring.

Citrus Oatmeal with Cranberries

Ingredients

Preparation Time
5 min
Cooking Time
10 min
Ready In
5 min
Serving Size
1
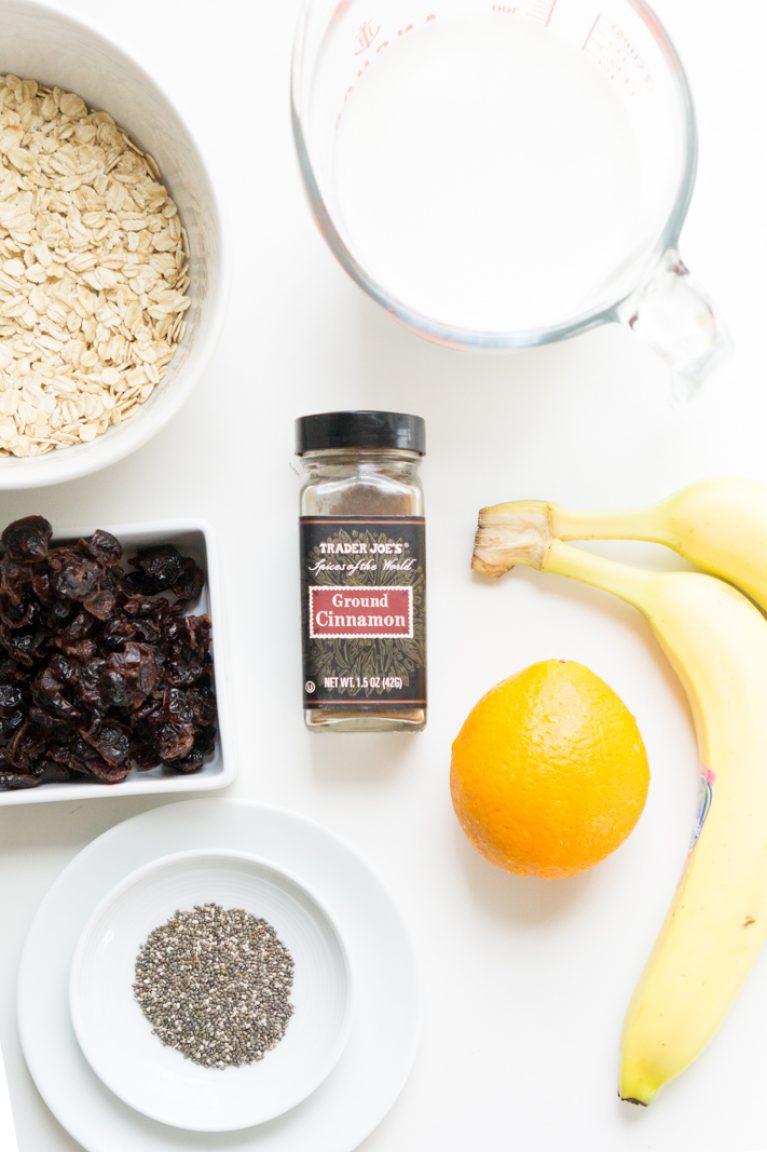
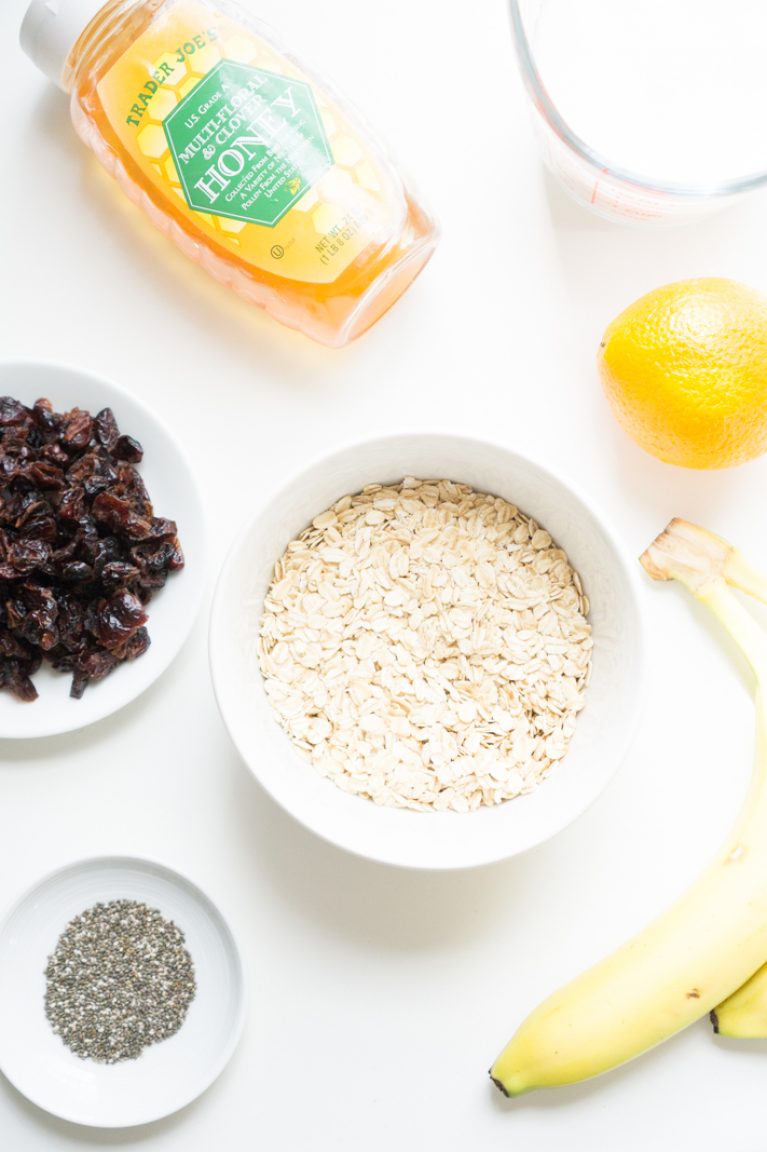
  • 1 C quick oats oatmeal*
  • 1 3/4 C whole milk*
  • 1/2 C orange cranberries*
  • 1 orange
  • 1 tbsp chia seeds

Directions

Step 1.

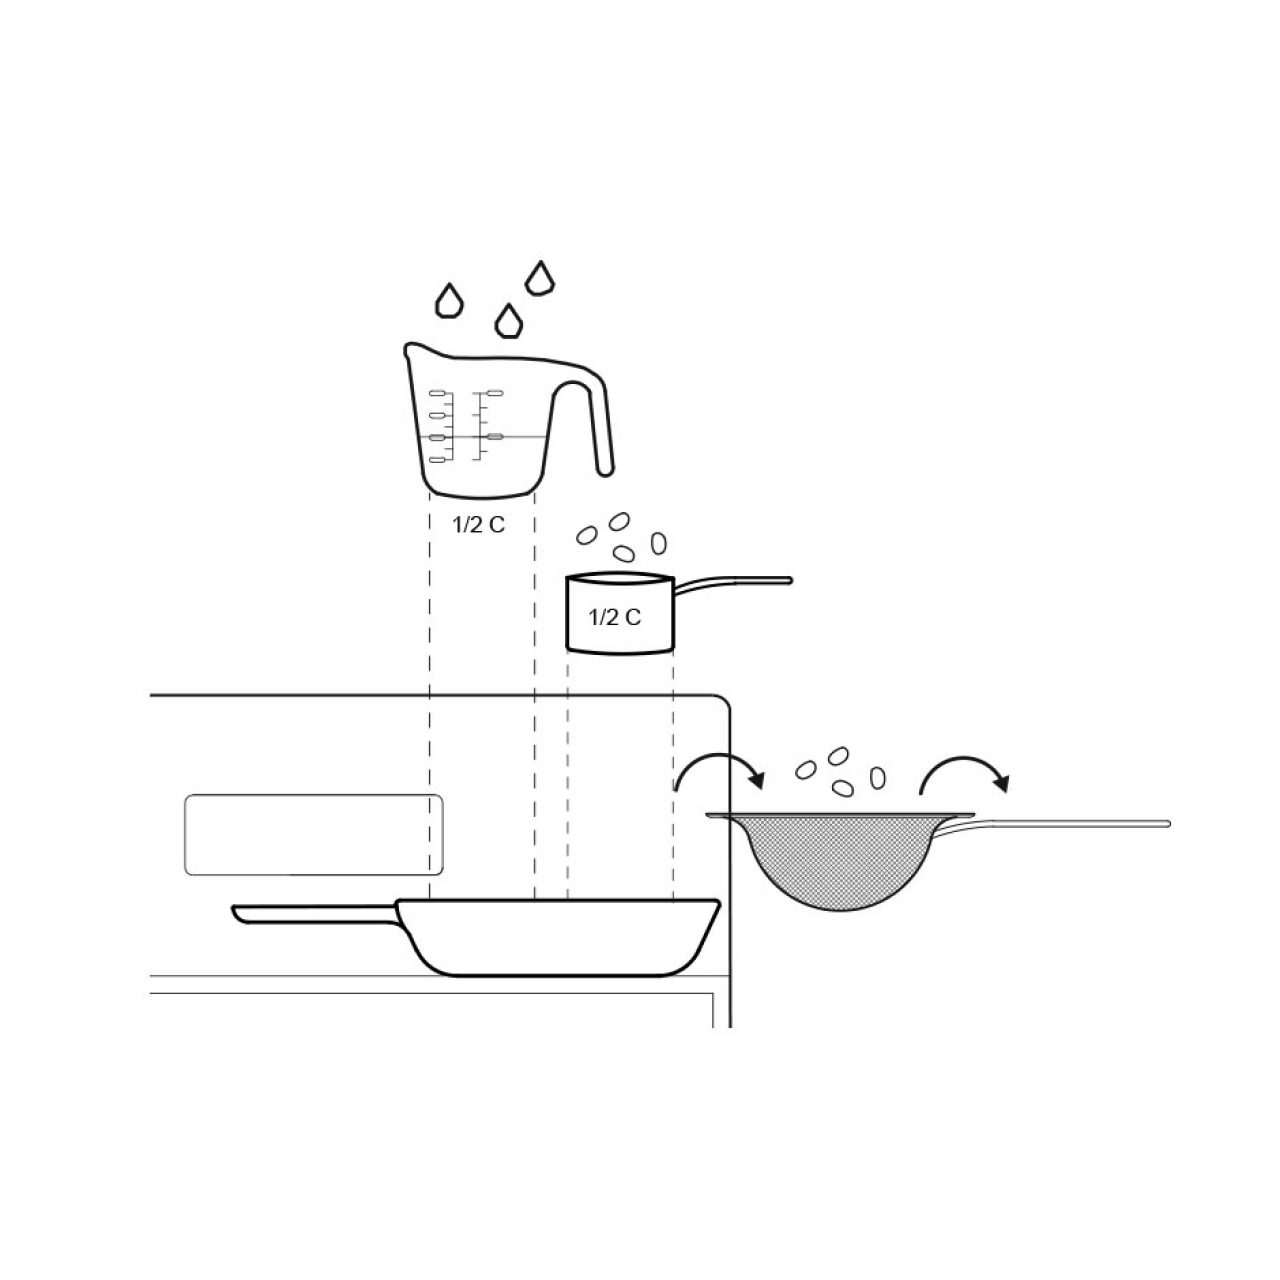
Boil 1/2 C orange flavored or regular dried cranberries in pan filled with 1/2 C water. Drain.

Step 2.

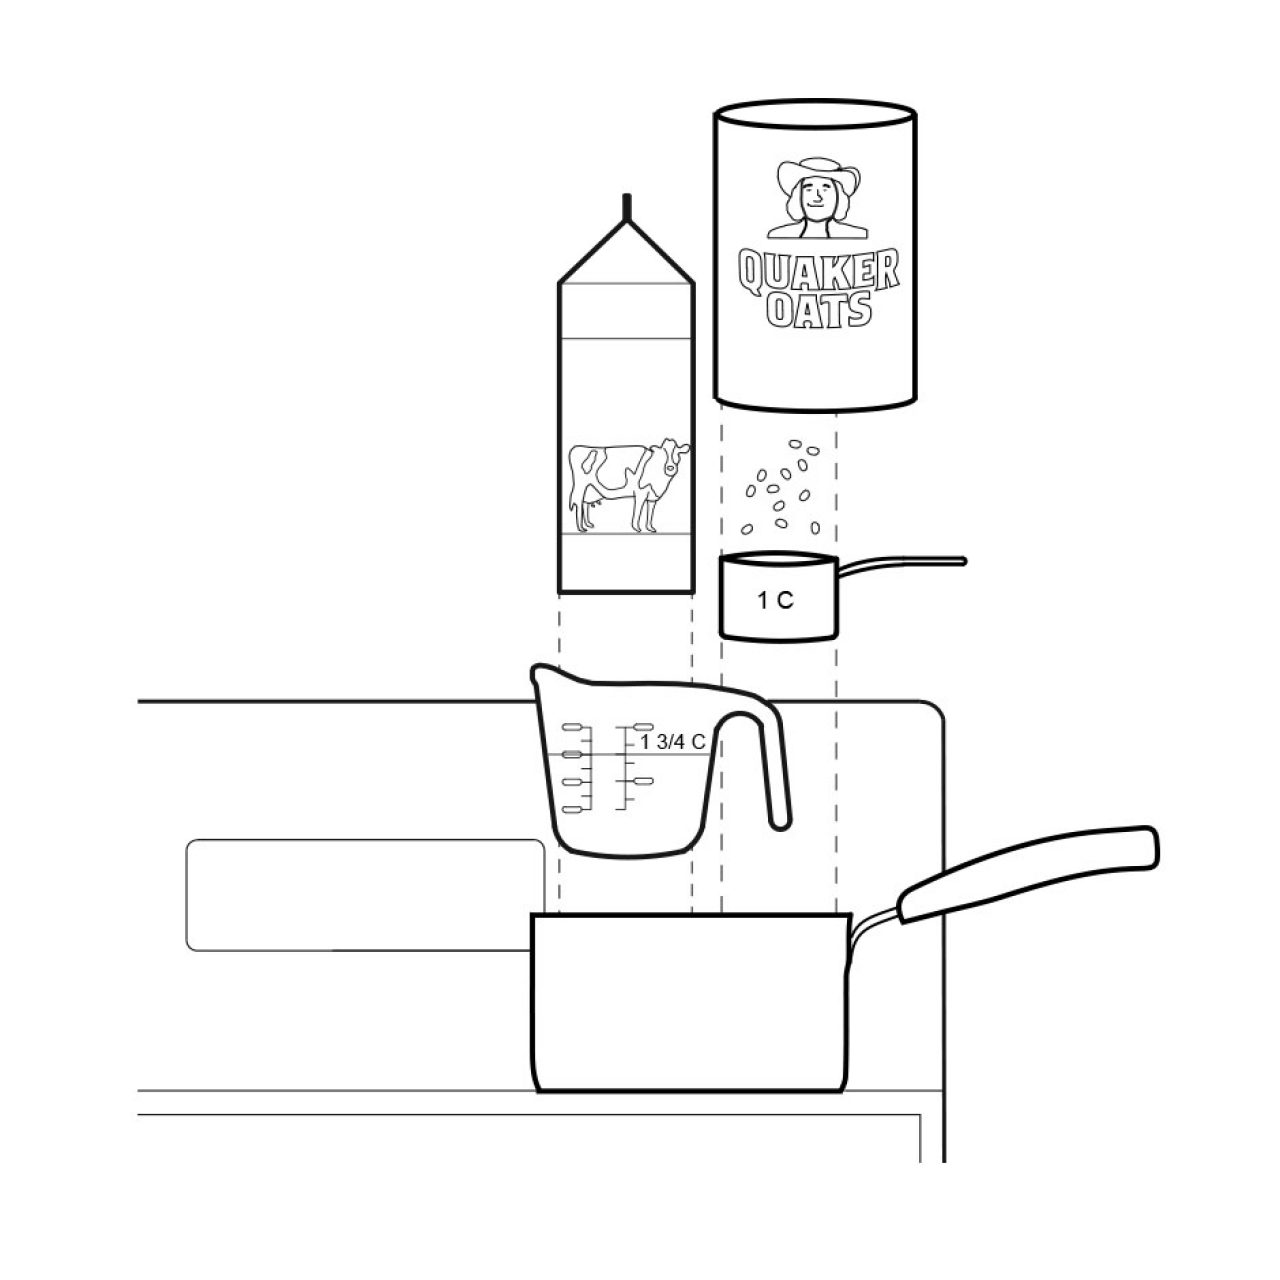
Mix in 1 C milk (or substitute with milk alternatives like soymilk, almond milk, or oatmilk). Then slowly stir in 1 C desired oatmeal into pot.

Step 3.

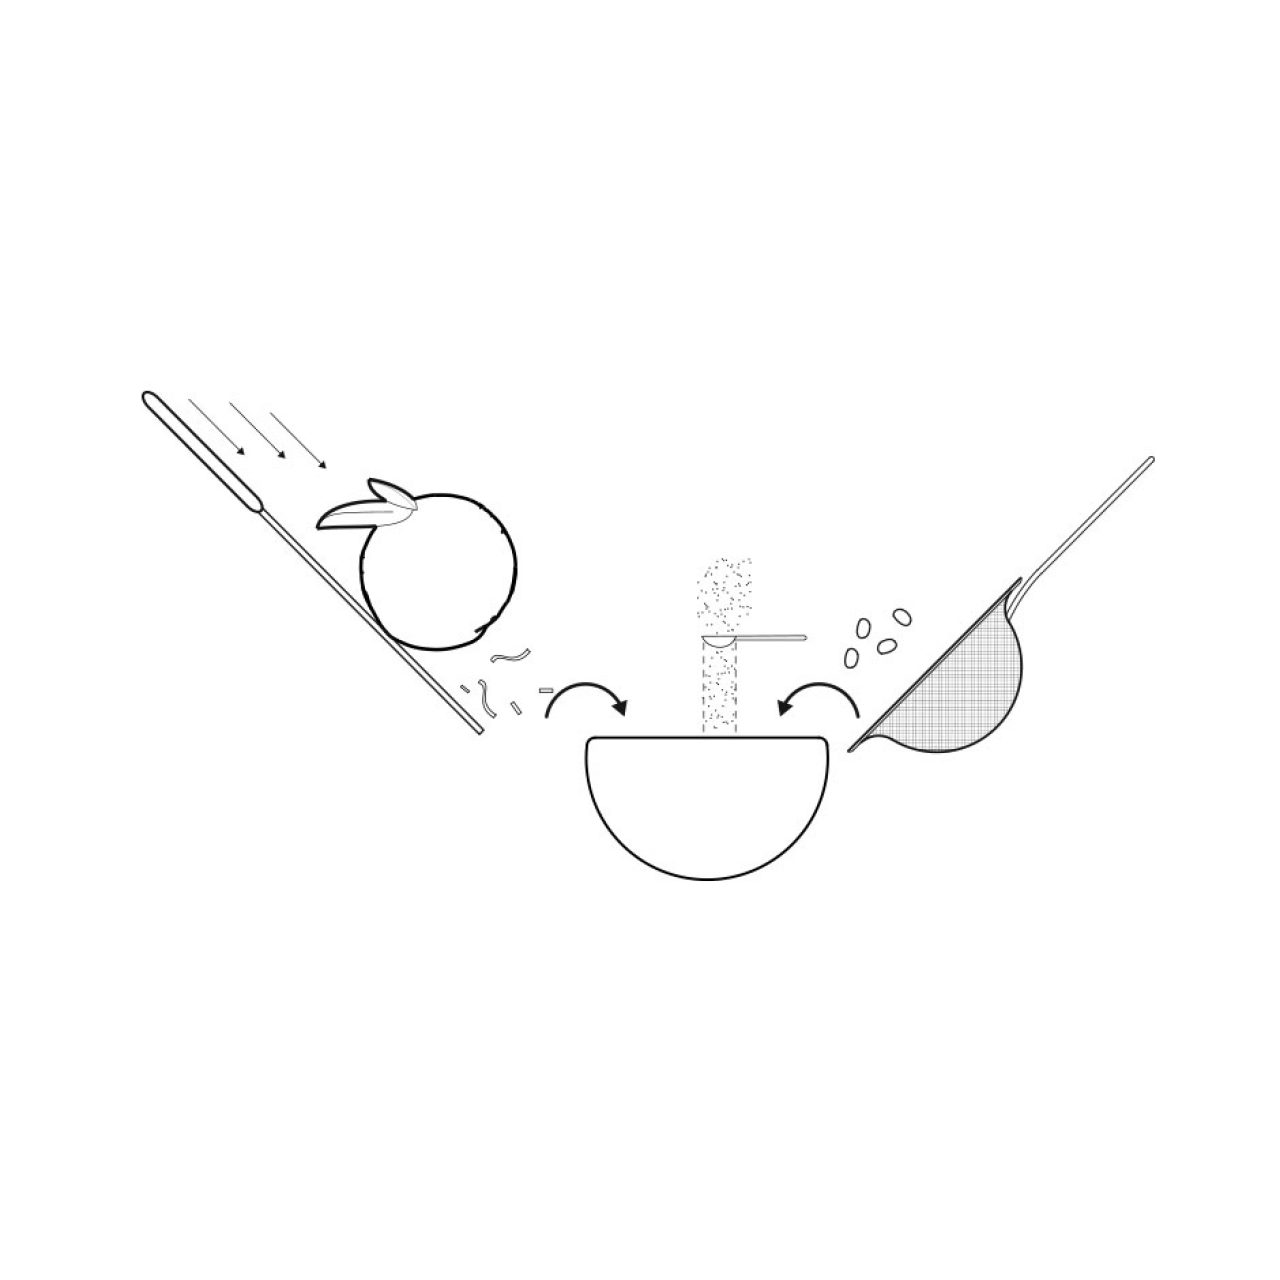
Zest oranges or finely chop orange peels. Stir in about 1 tbsp orange peels, 1 tbsp dried/cooked cranberries, and/or 1 tbsp chia seeds. Serve immediately.

Step 4.

* Chef’s note: Quick oats can be substituted with old fashioned oatmeal and milk can be substituted with other milk substitutes. Add more for thinner texture, if preferred.

Yuzu Blueberry Biscotti

If you haven’t heard, I’ve been busy prepping the Chef Charette for my pecha kucha presentation at USC NEXT WEDNESDAY. A pecha kucha presentation is a format created by Japanese architects (who designed the infamous Tsutaya bookstore that I’d love spending time at) to keep presenters straight to the point and presentations flowing so the audience doesn’t get bored….(ingenious, right?)  and requires everyone to present at 20 seconds for each slide.

But jeez, my presentation has been a REAL  pain in the butt…. because all my vector drawings break  and illustrator mis-converted all my lines… so some disappeared or smudged into each other (kill me-as if I haven’t spent enough time on my drawings) and I’m worried about my intricate lines being blurred on the GIANT screen and talking too much that the slide changes and I don’t finish storytelling. I think I’ve spent over 2 hours for days on this presentation for 5 minutes of attention while everyone’s doing dandy stuff like having a lively fun life (without Illustrator/Indesign crashing on them) I’m so relieved to get this finished and hope it pays off……. wish me luck, because presenting in front of a ton of people and being recoded for a video that’s uploaded on Youtube/possibly featured on some USC news article is really terrifying (good for my future? but still terrifying)… I deeply hated presenting at USC (literally right after charette/allnighters) so I’ve never really had positive experiences at USC presentations.  THANK GOD I had this biscotti to keep me preoccupied on something else for a few hours.

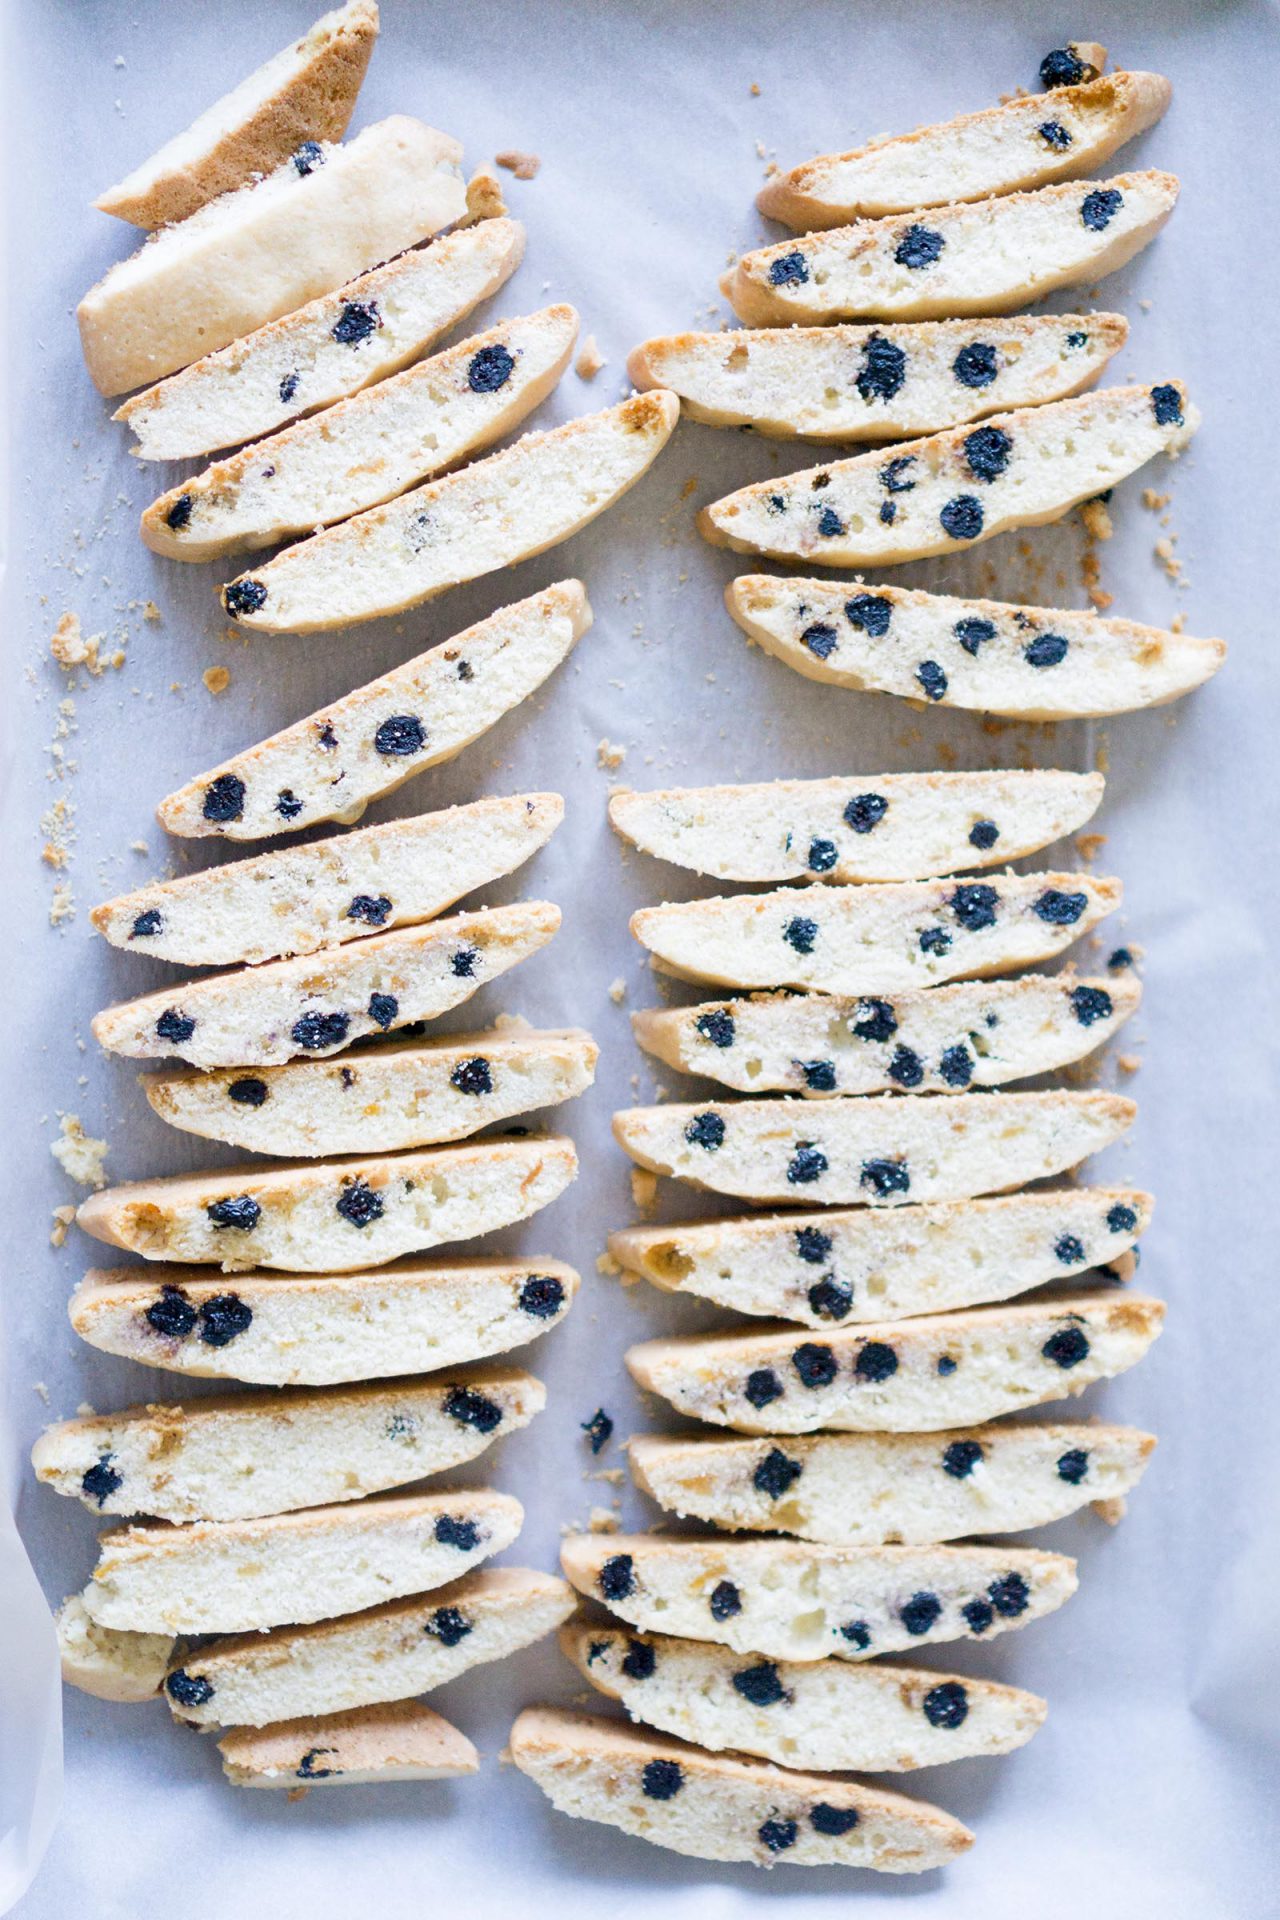
Biscotti in Italian means “twice baked cookie” because you form this sticky dough into logs, bake them once, slice them into diagonals, flip them over, and bake them again at a lower temperature. I’ve been baking cranberry pistachio biscotti since I was in high school as Christmas cookies for my friends, but decided to try something different by using zingy citrusy Yuzu that I brought back from Japan. And dried blueberries. DRIED. Don’t use fresh blueberries or you’ll repeat my disaster of having sloppy biscotti because of how much juice comes out of fresh blueberries. (imagine a slimy monster on a baking sheet, literally with blueberries as eyes. I’m really embarrassed my Japanese friend baked with me and wasted time/experience such a disaster.)

Ingredients

Preparation Time
25 minutes
Cooking Time
35 minutes, then 10 minutes
Ready In
About 1 hour and 15 minutes
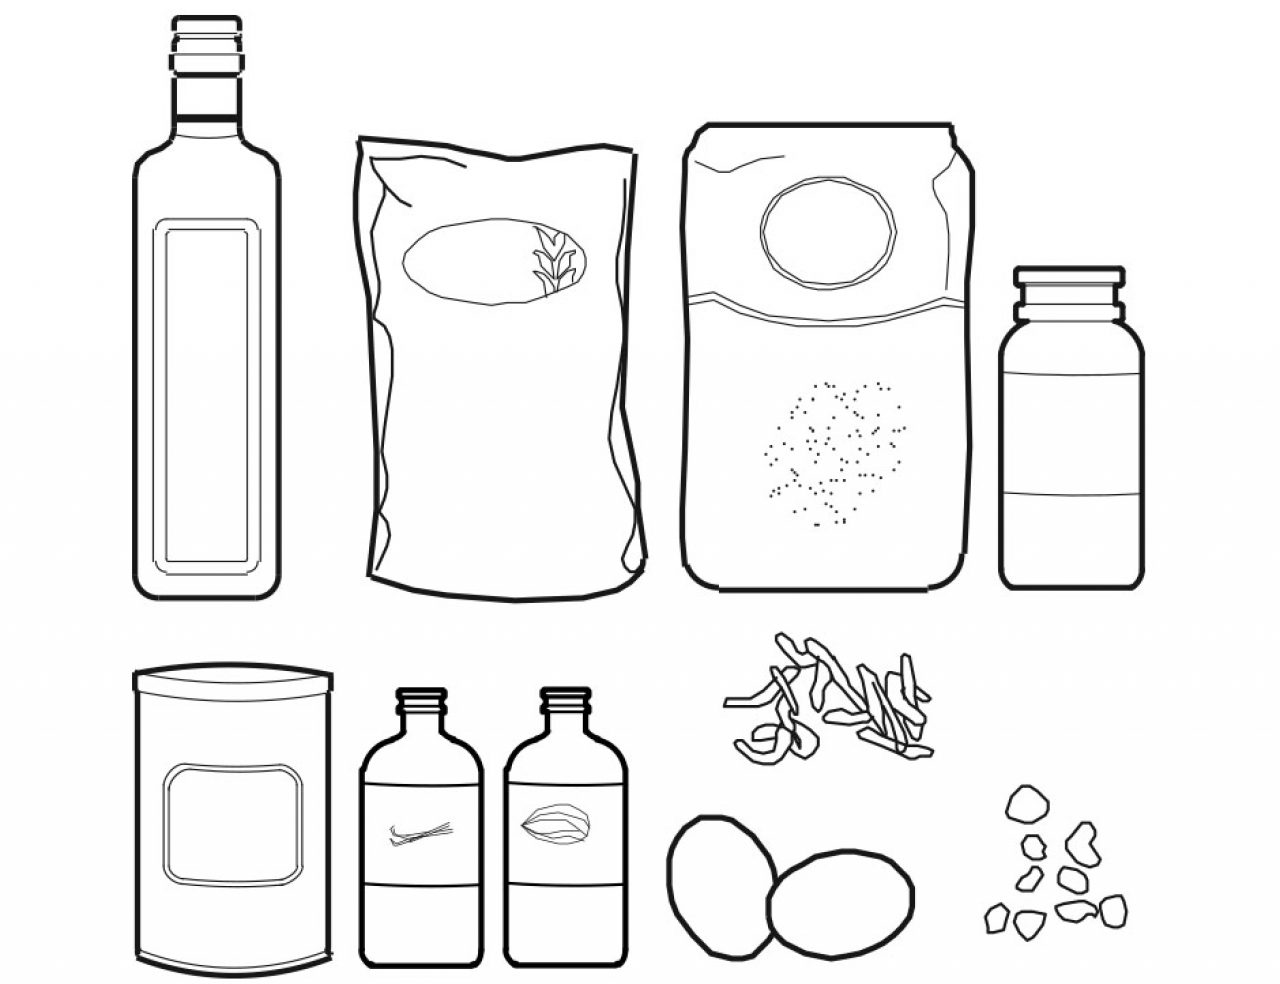
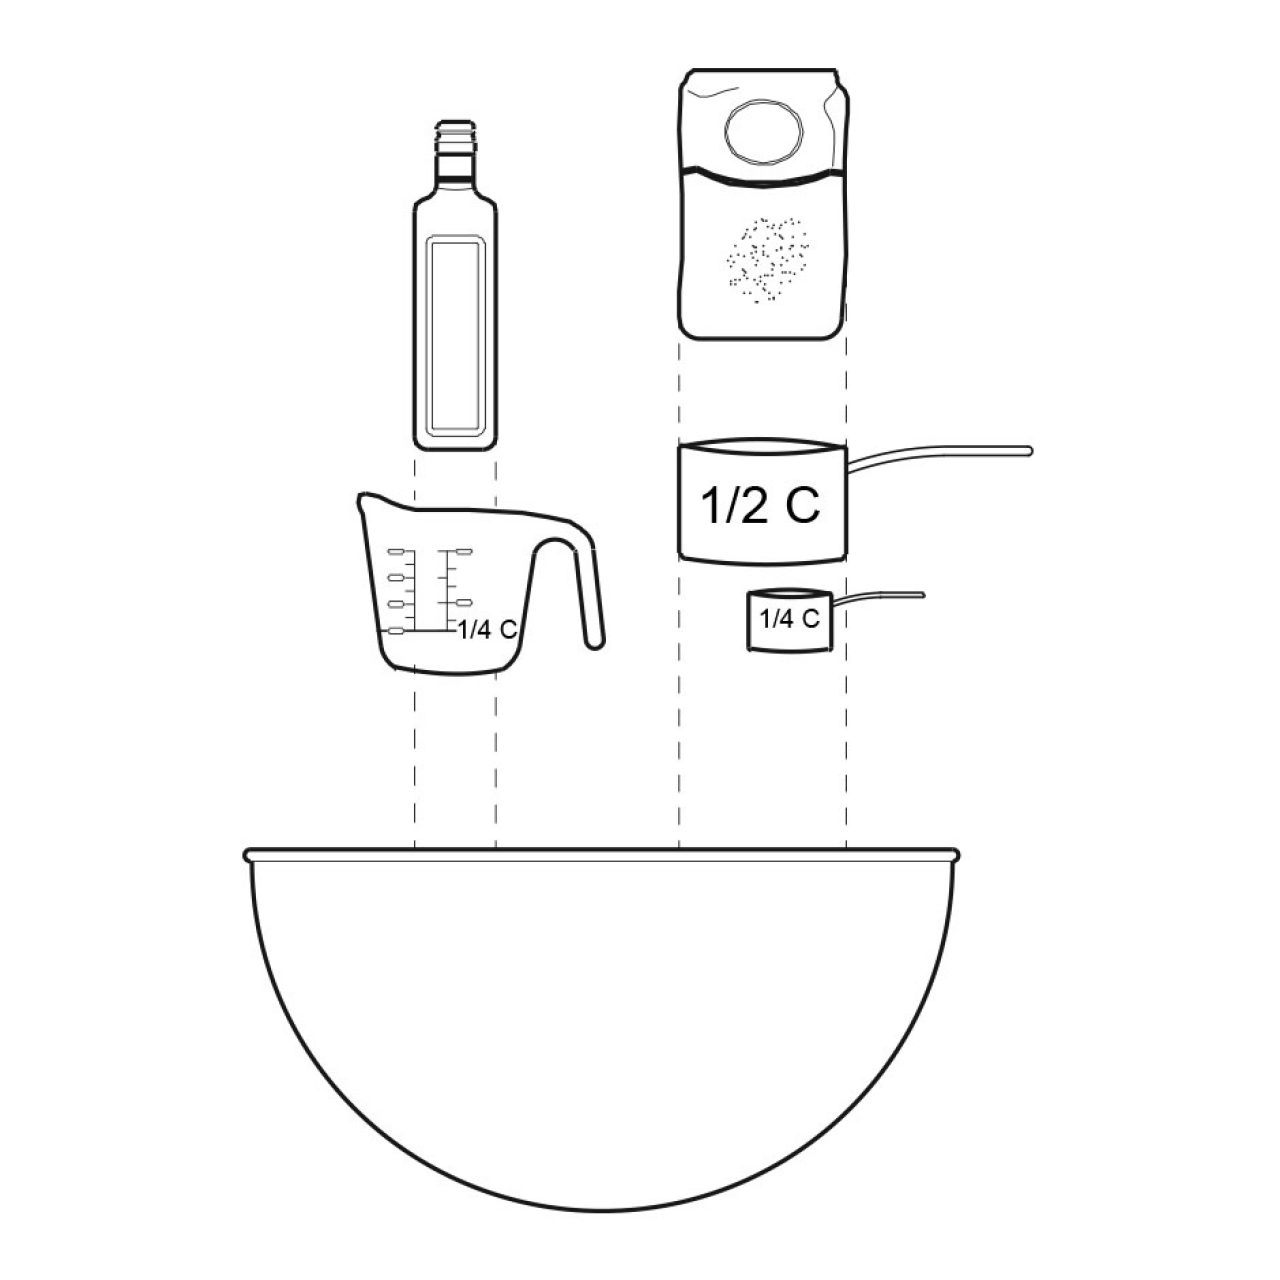
  • 1/4 cup olive oil
  • 3/4 cup sugar
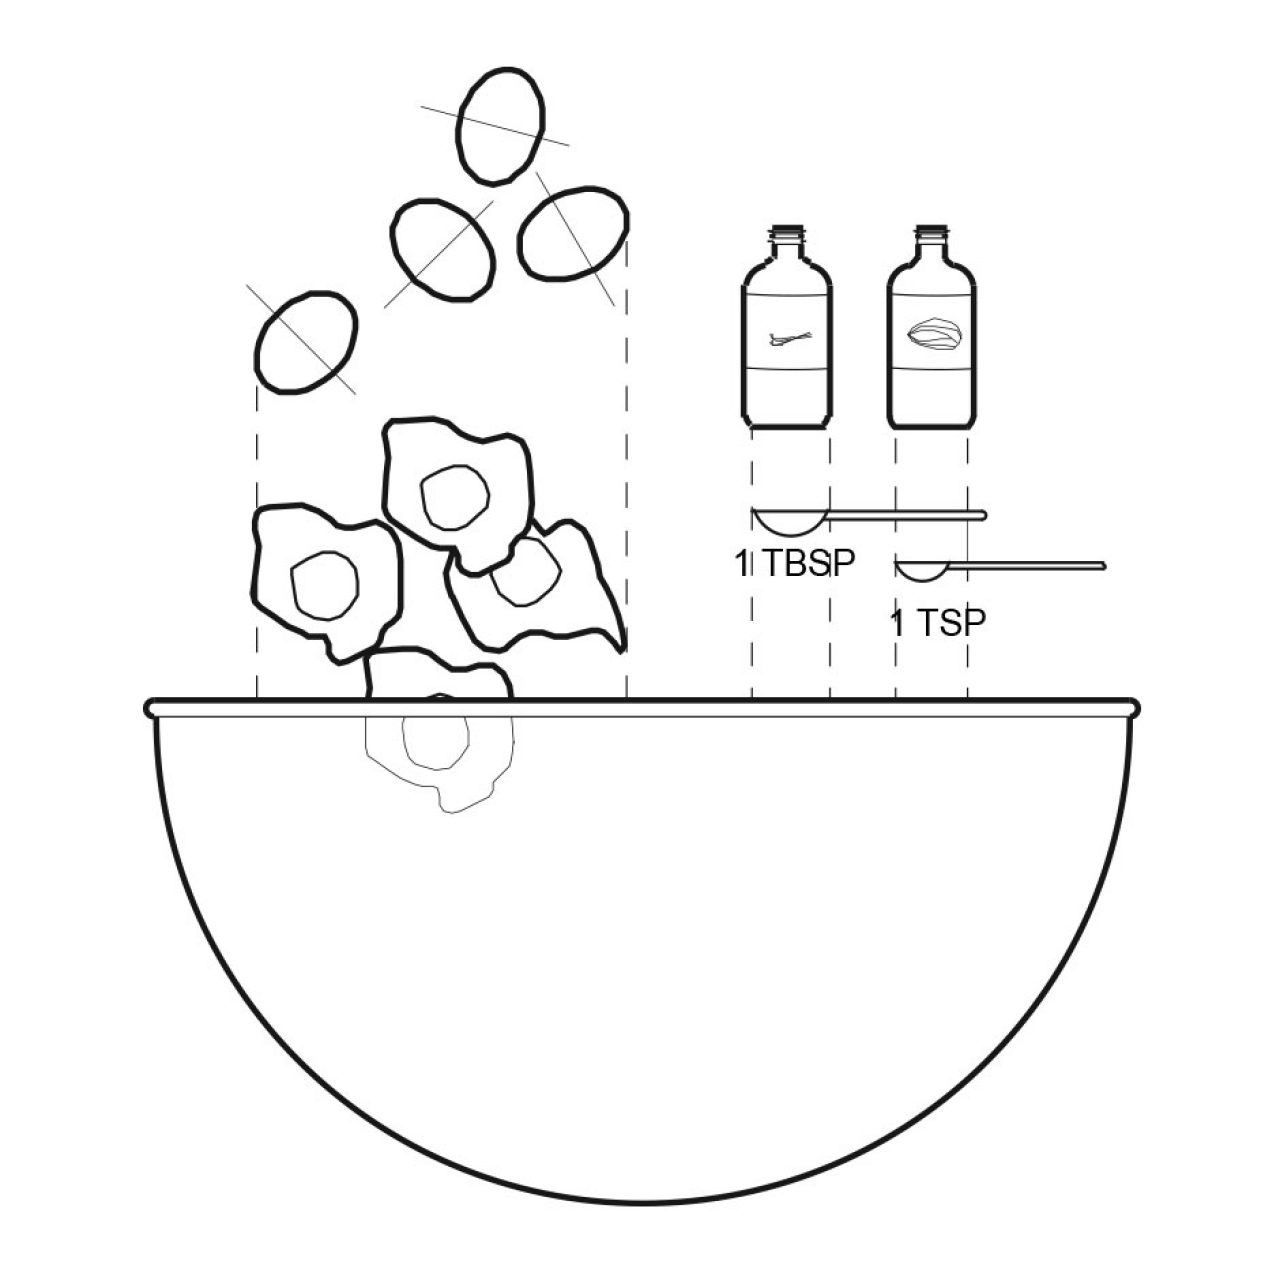
  • 1 tbsp vanilla
  • 1 tsp almond extract
  • 2 eggs
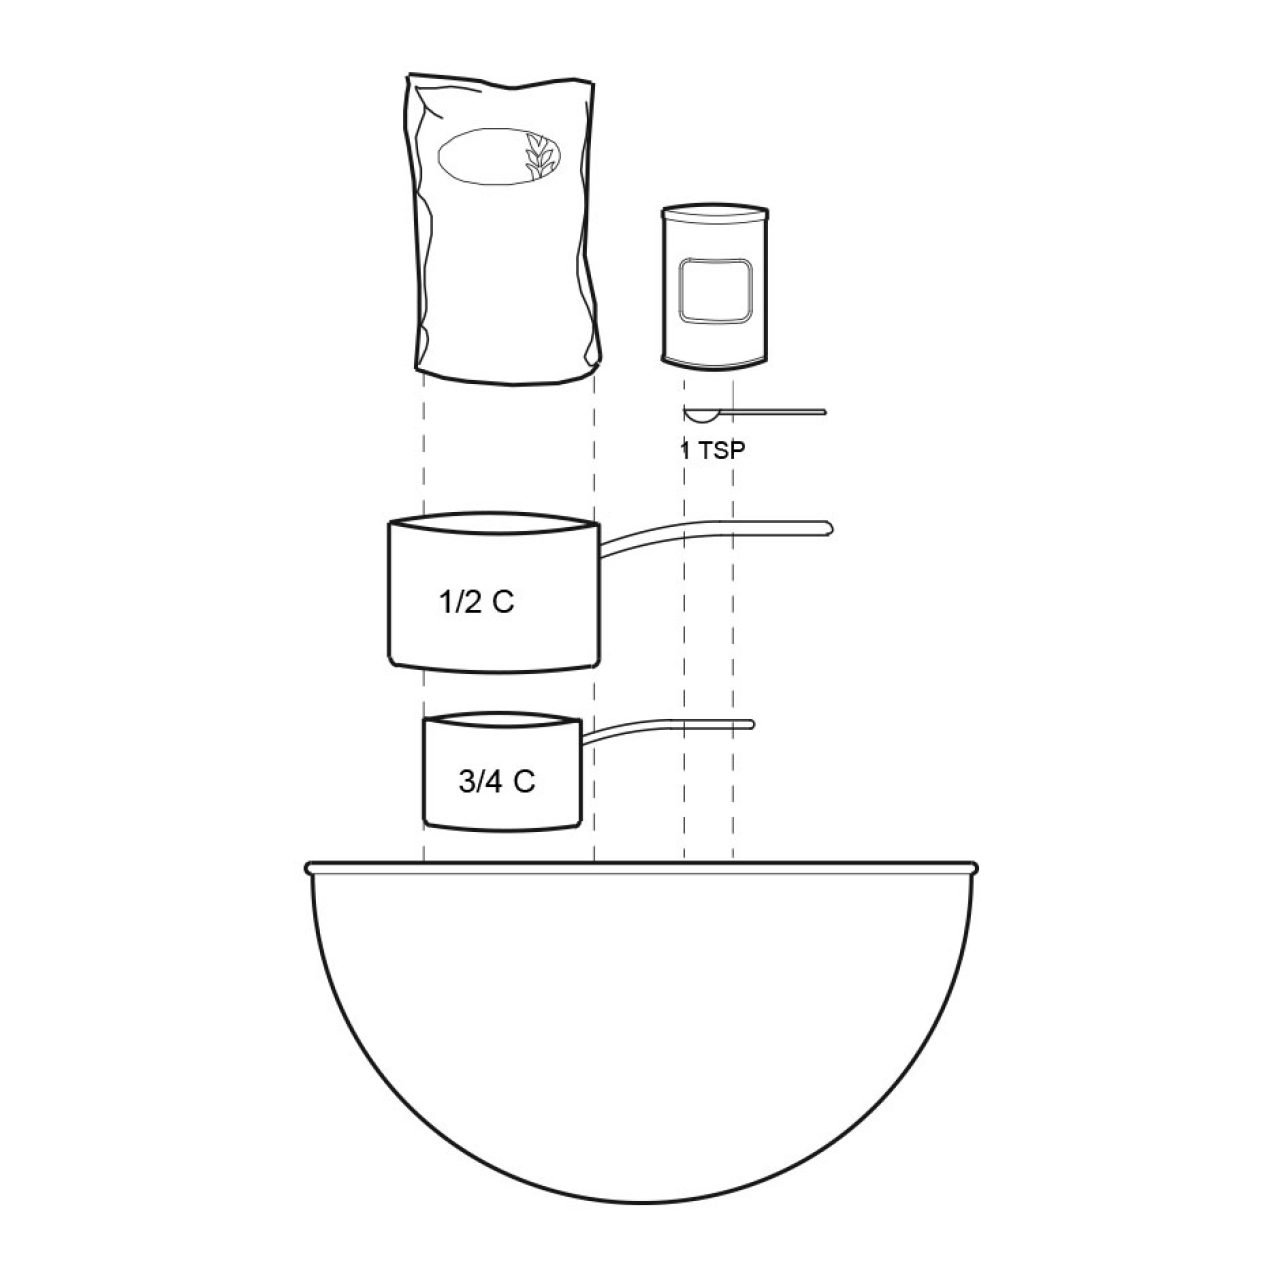
  • 1 3/4 cup all purpose flour
  • 1/4 tsp salt
  • 1 tsp baking powder
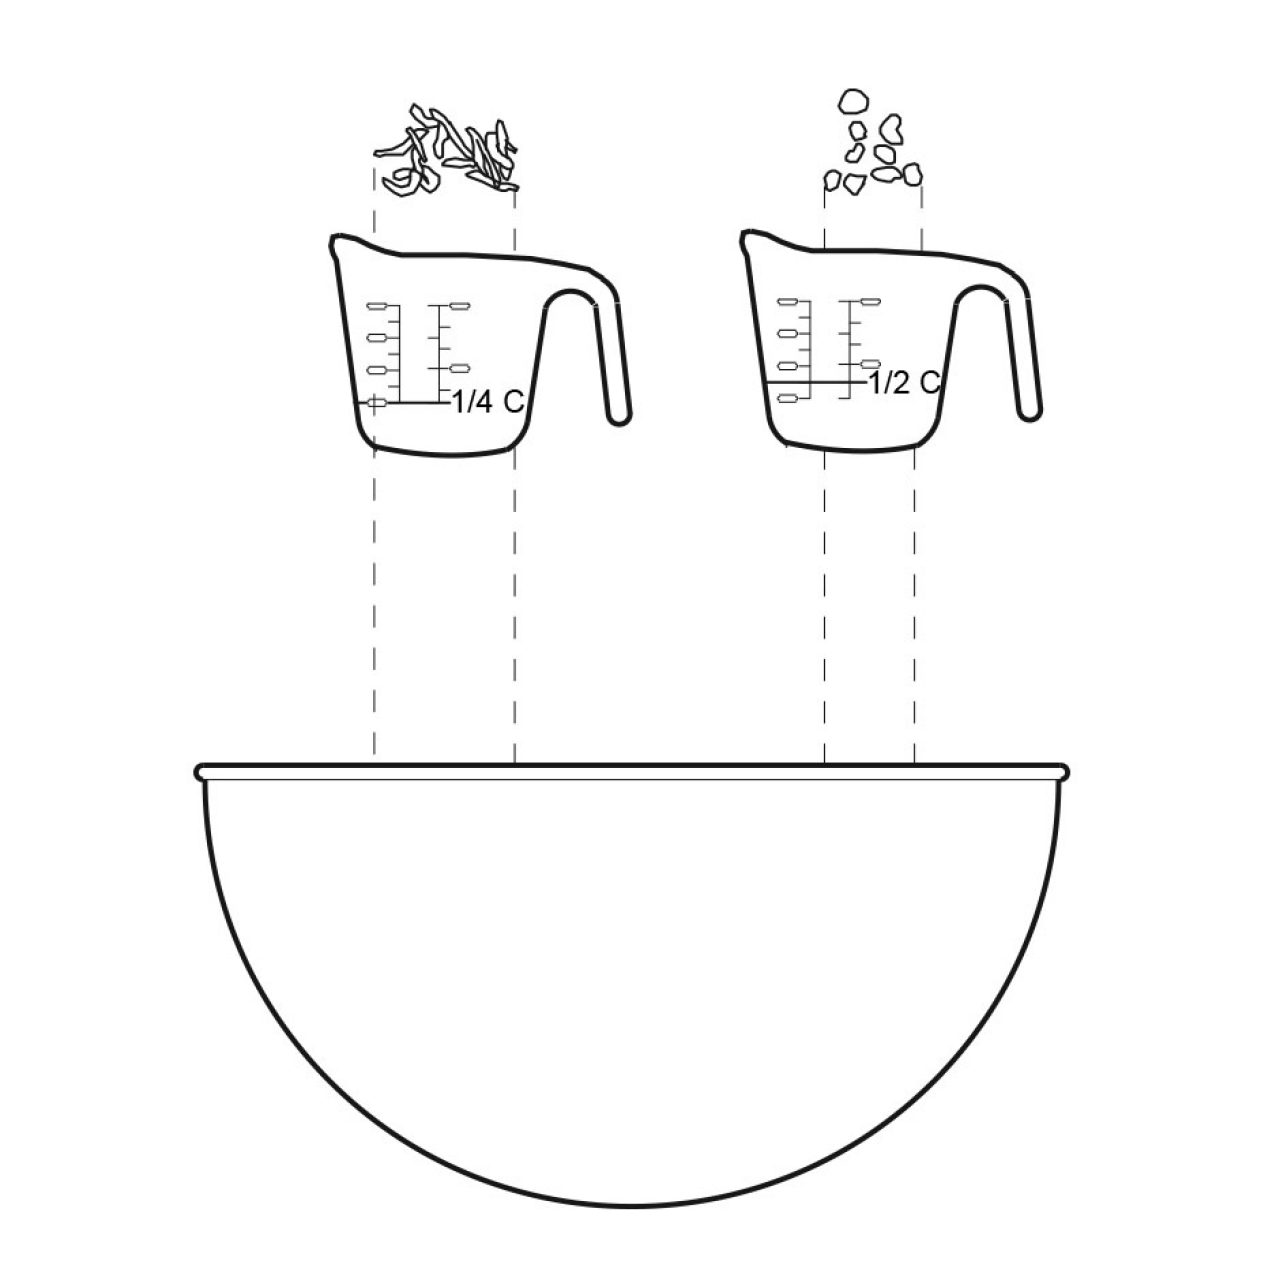
  • 1/4 cup dried yuzu peels (difficult to find but you can buy them online)
  • 1/2 cup dried blueberries (I boil these and drain them so they come out plumper)

Directions

Step 1.

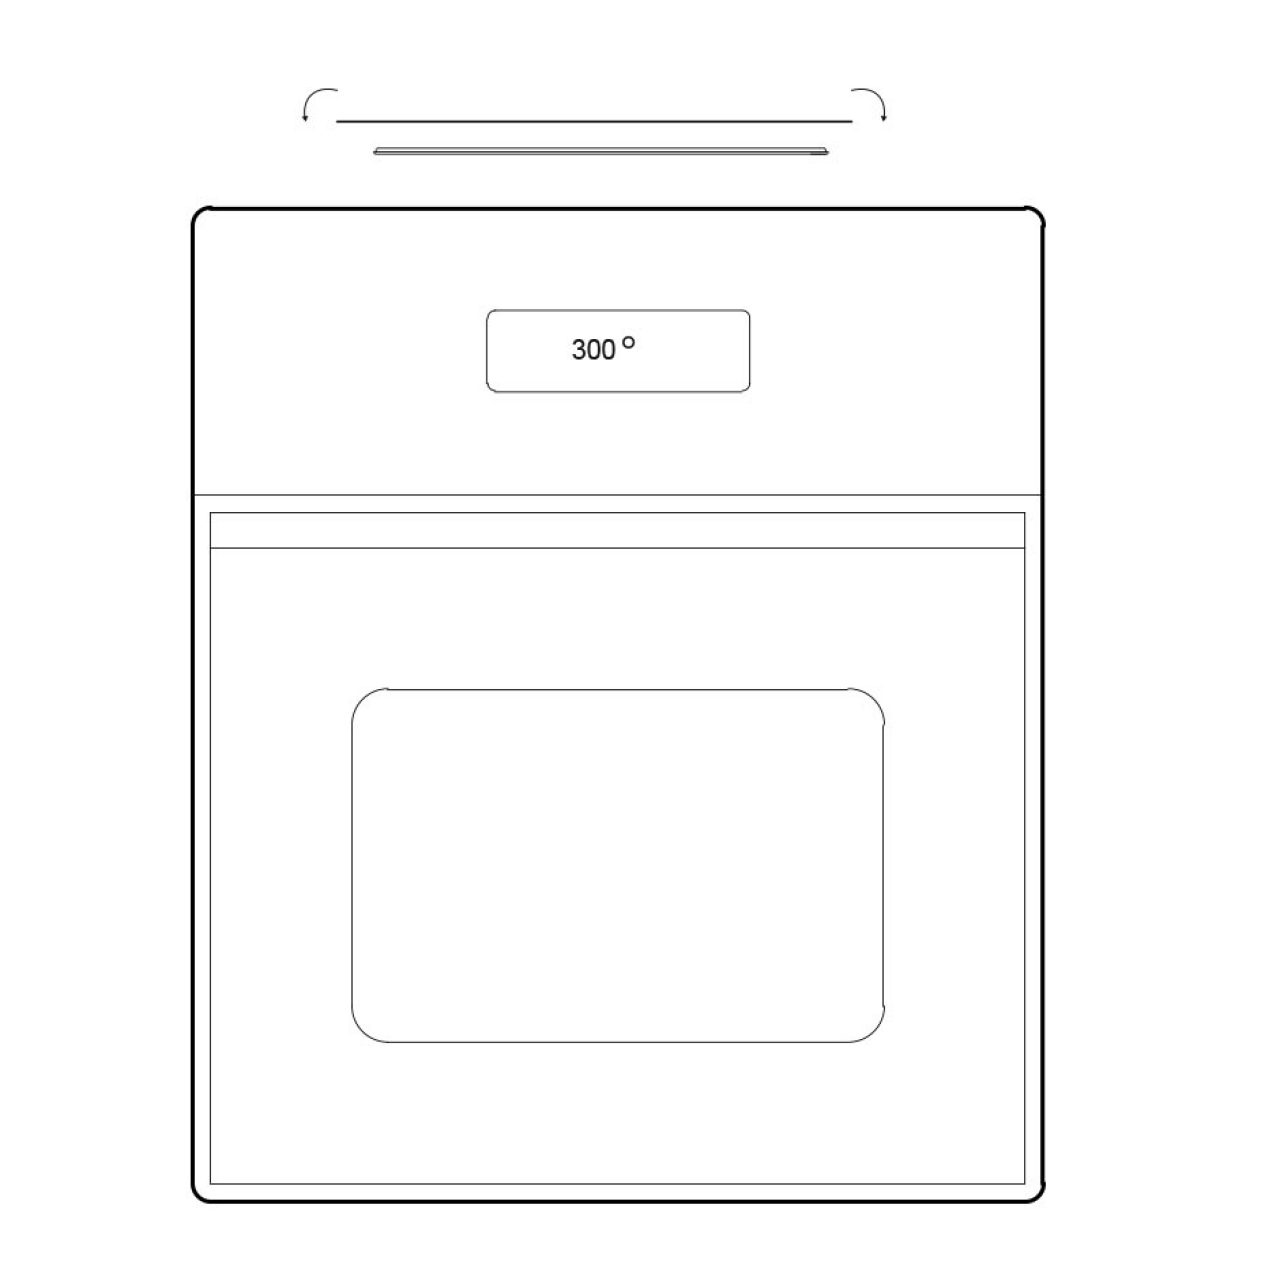
Preheat the oven to 300 F and cover a baking sheet with parchment paper.

Step 2.

In a large bowl, mix oil with sugar until well blended.

Step 3.

Mix in the vanilla and almond, then beat in the eggs.

Step 4.

Combine the flour, salt, baking powder, and gradually stir it into the egg mixture.

Step 5.

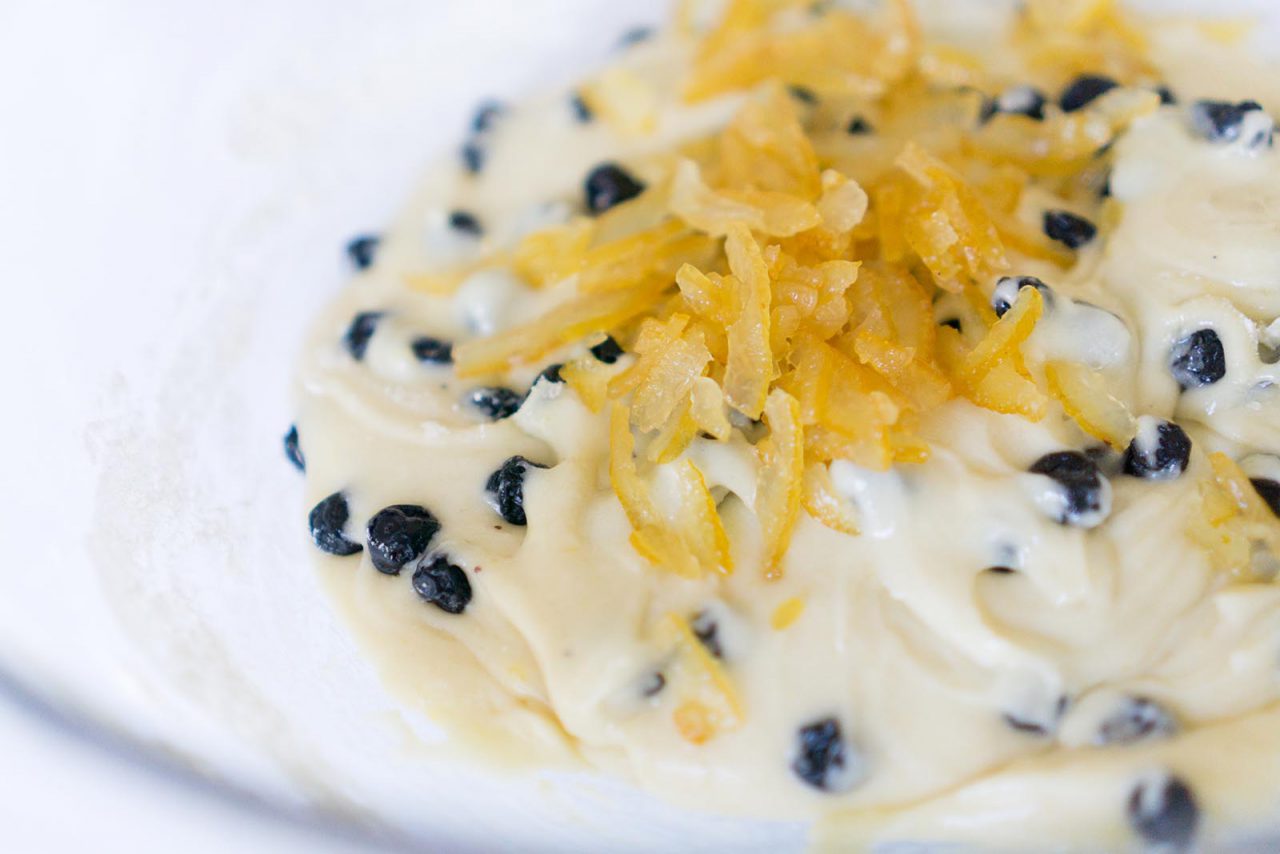
Mix in the yuzu peels and dried blueberries.

Step 6.

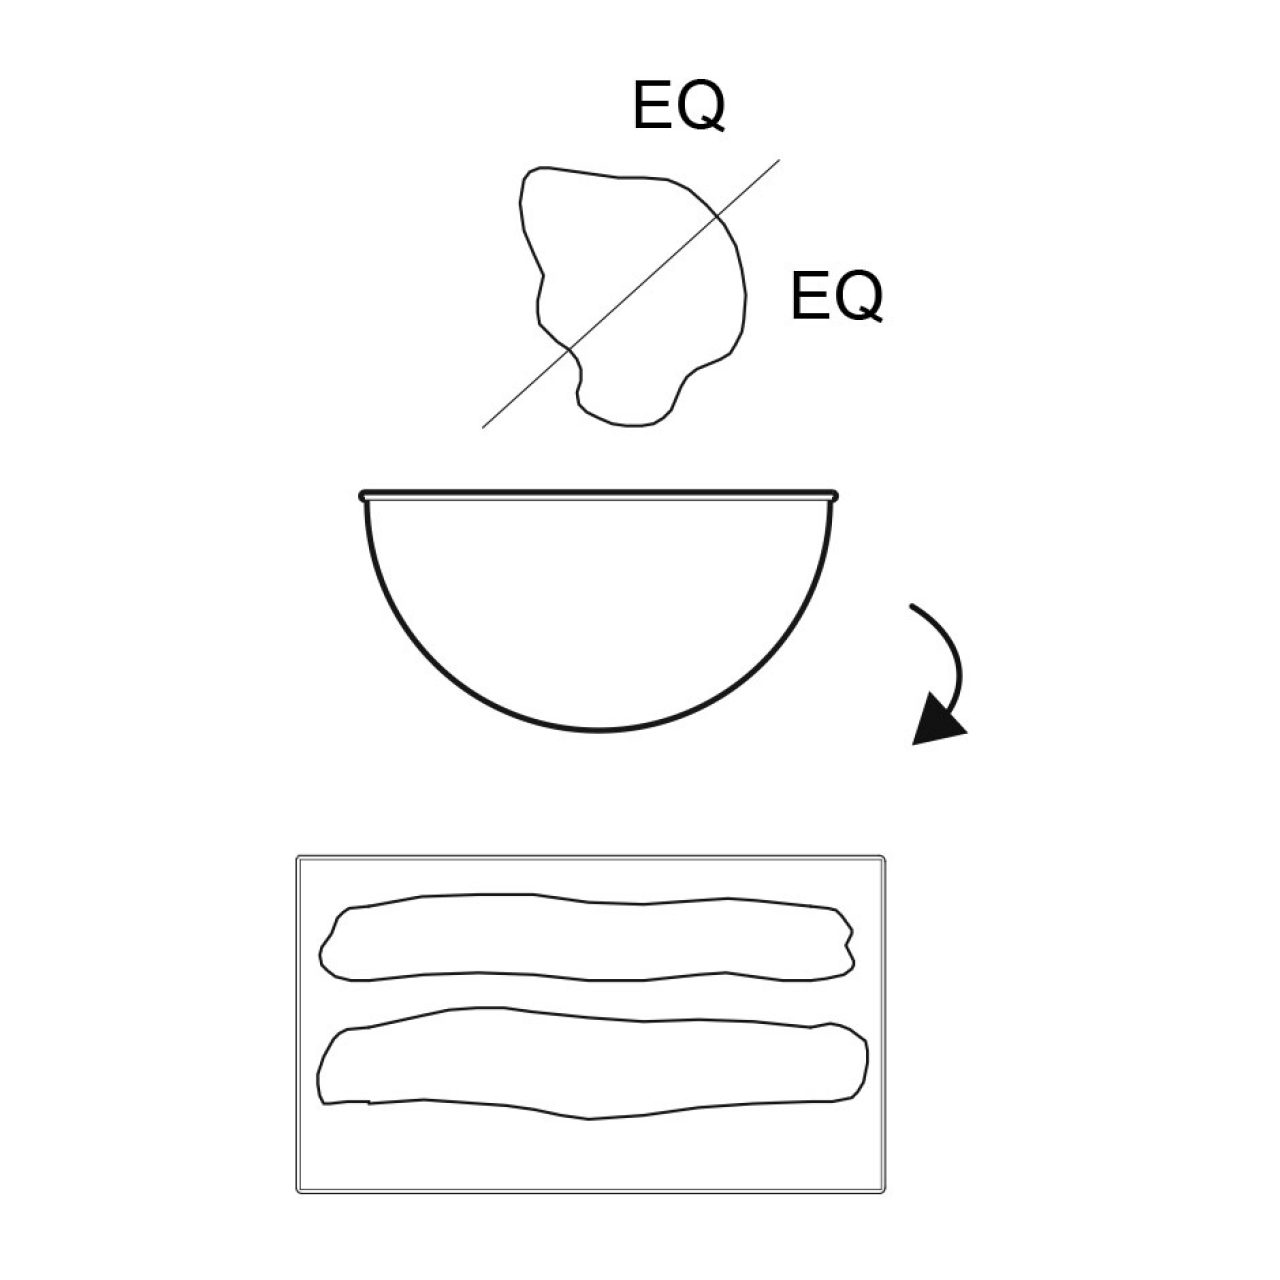
Divide the dough and form two logs on a baking sheet lined with parchment paper.

Step 7.

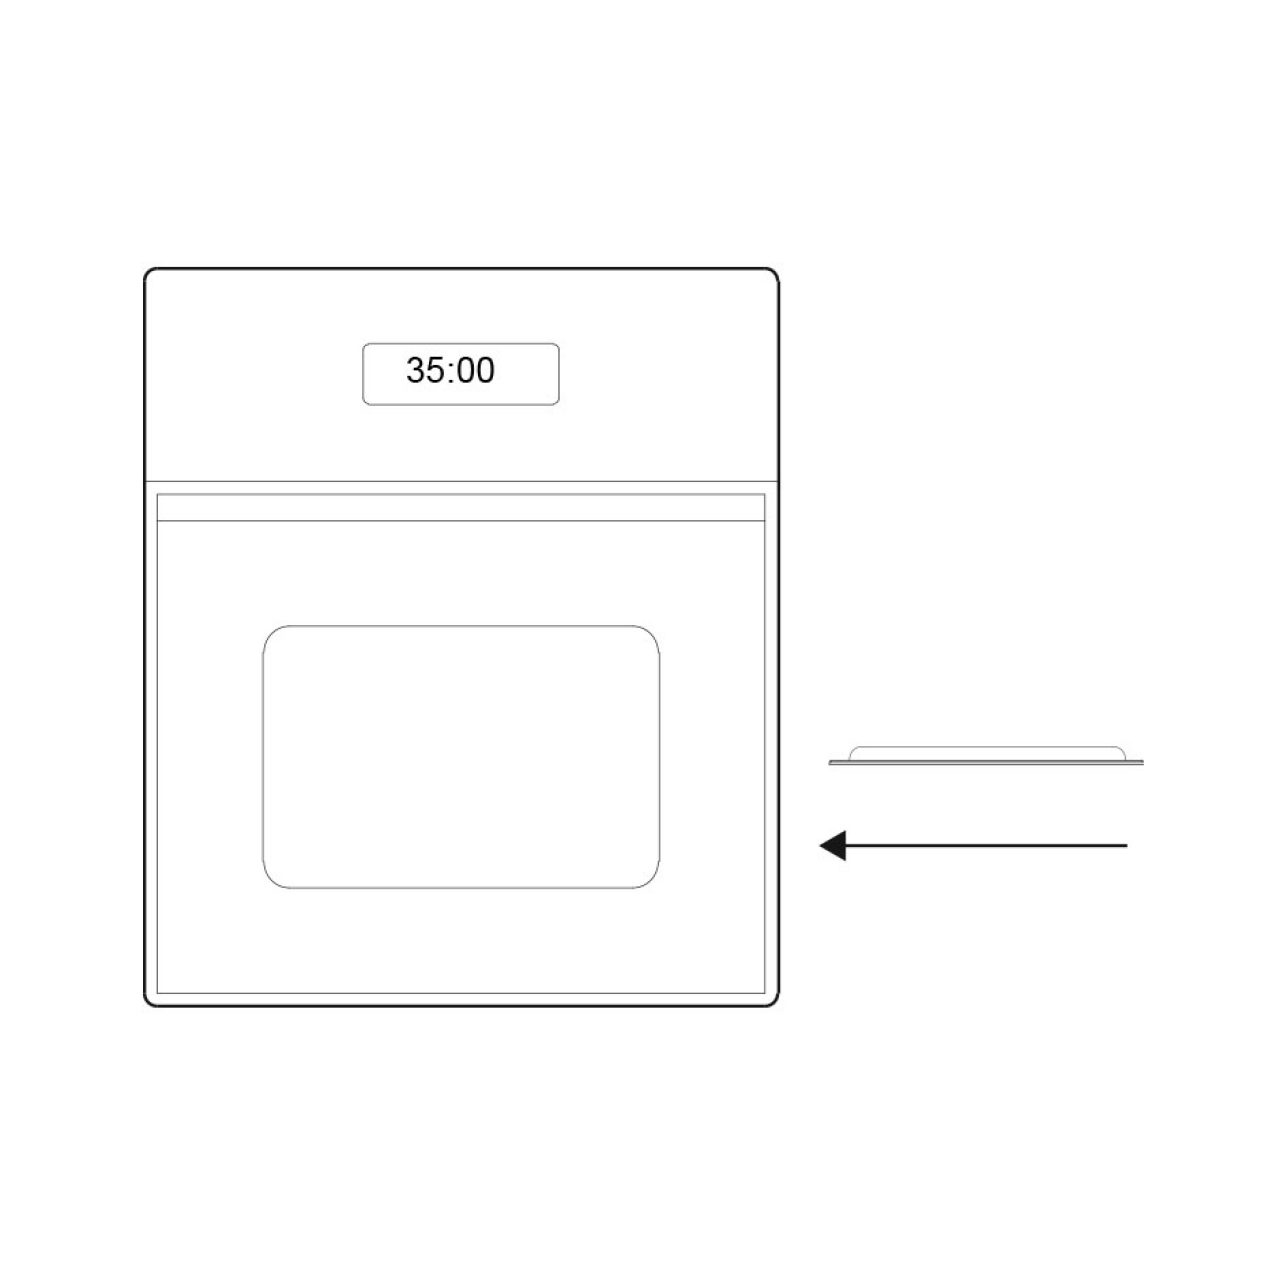
Bake for 35 minutes in the preheated oven or until the logs are solid and golden brown. Remove from the oven.

Step 8.

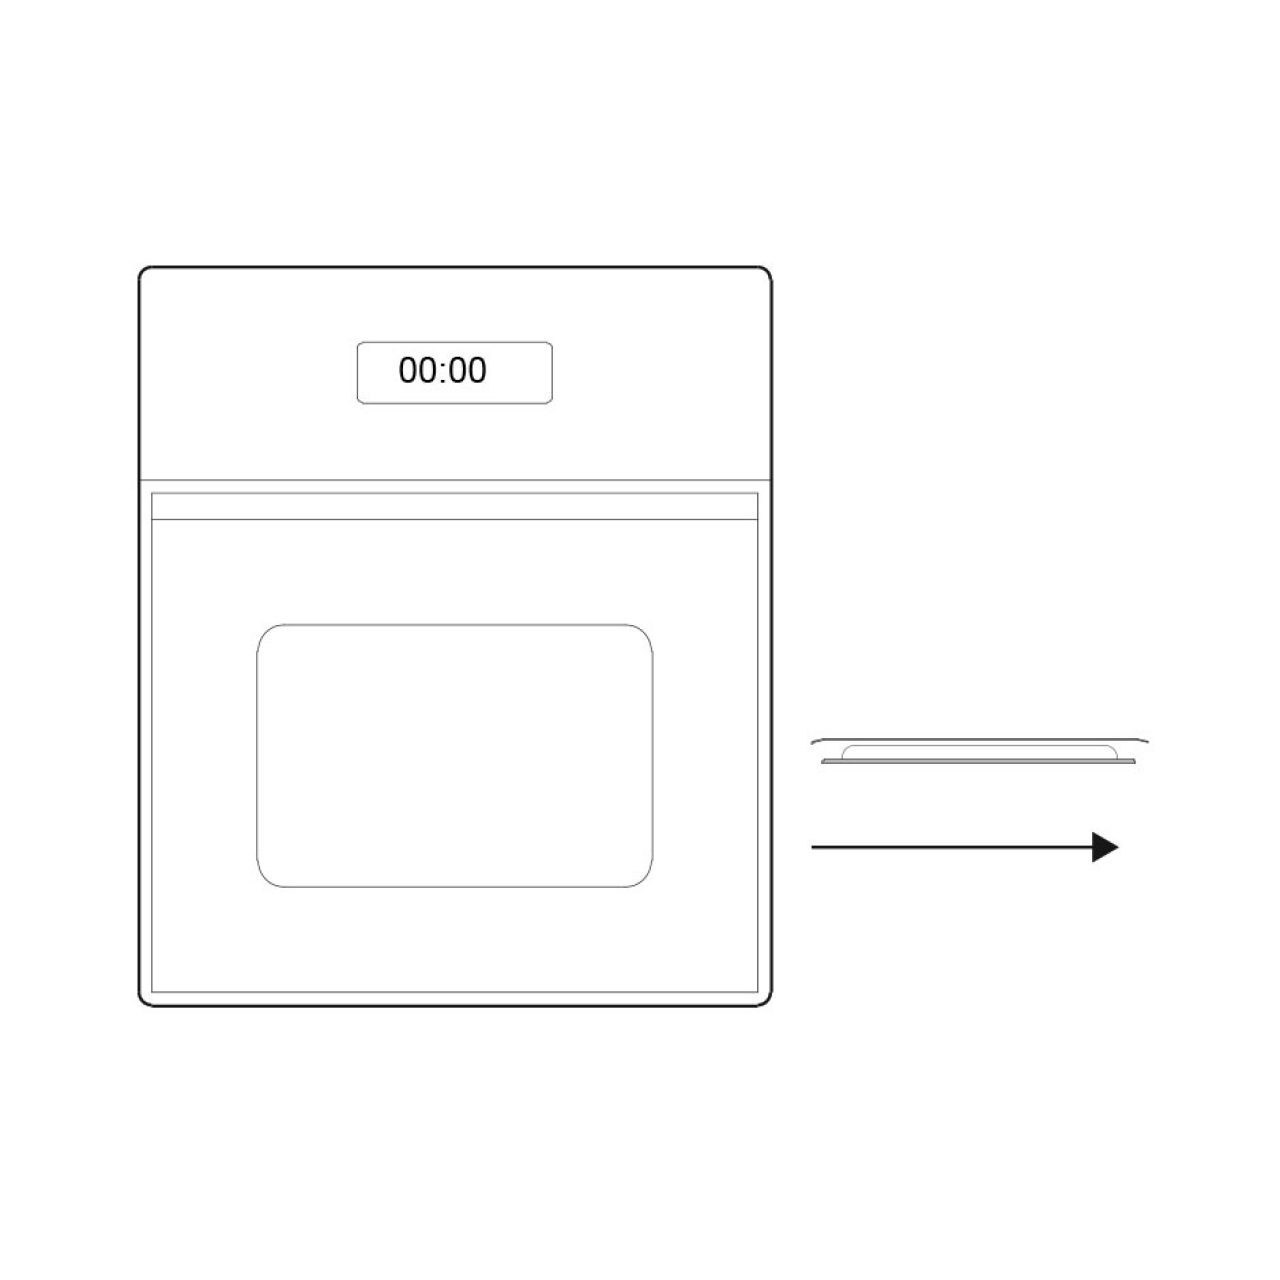
Cover the logs with a towel for 10 minutes to prevent them from cooking down too quickly and cracking. Reduce the oven temp to 275.

Step 9.

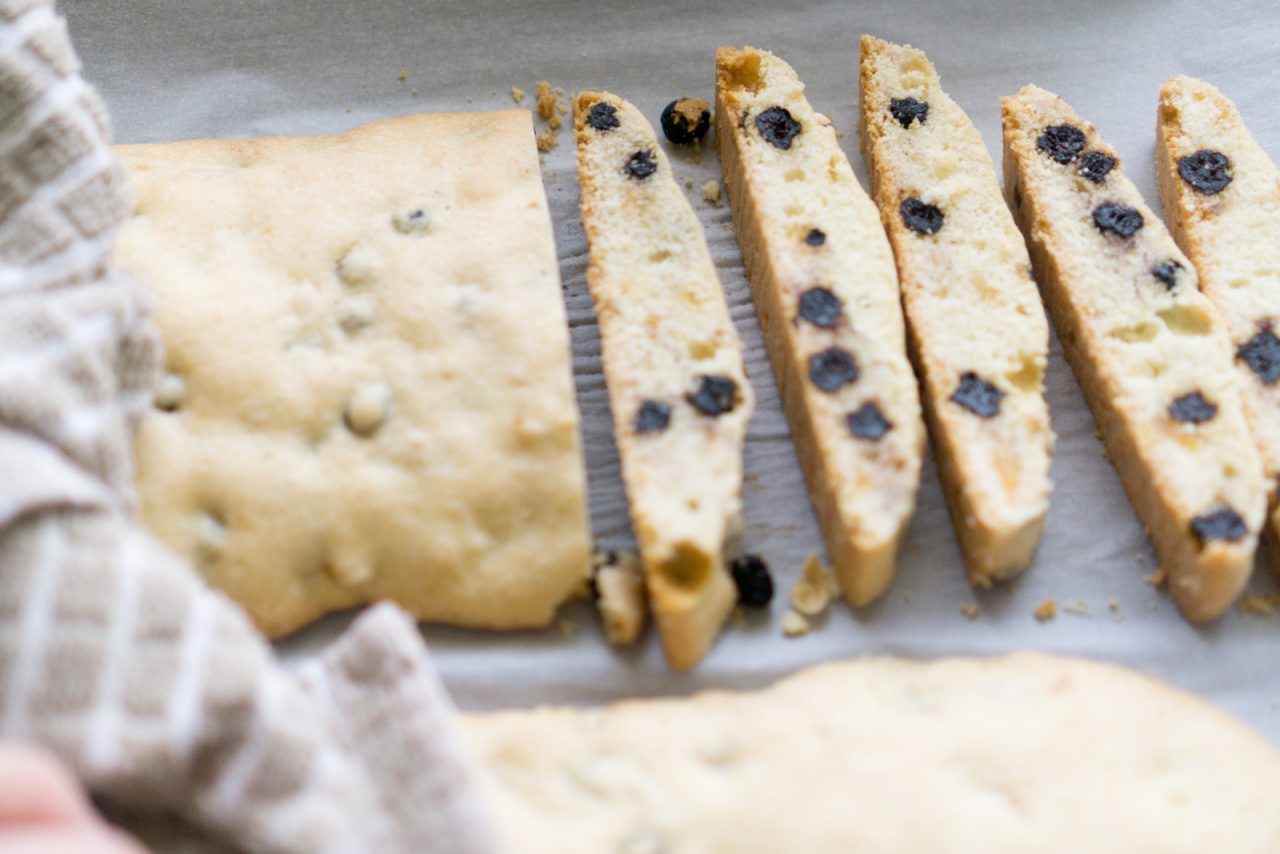
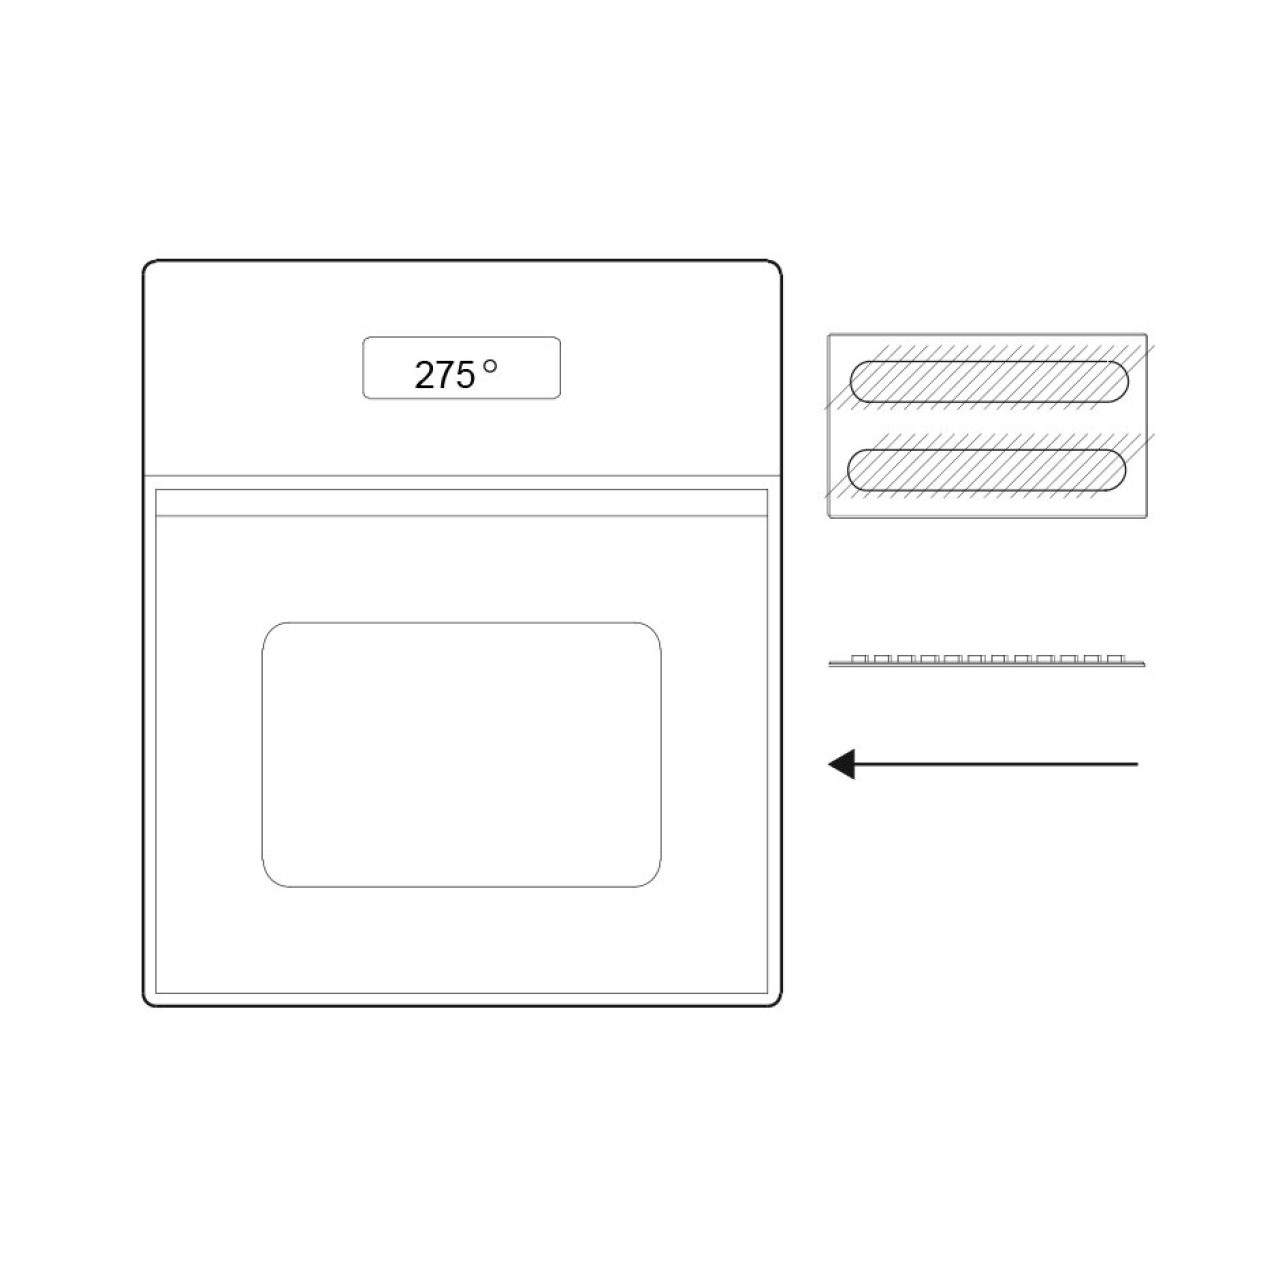
Cut the logs at a diagonal to about 3/4″ thicknesses. Lay them on their sides on the baking sheet and bake them back at 275 for 8-10 minutes.

Step 10.

Remove them, allow them to cool, and enjoy.

Shrimp and Pancetta Migas

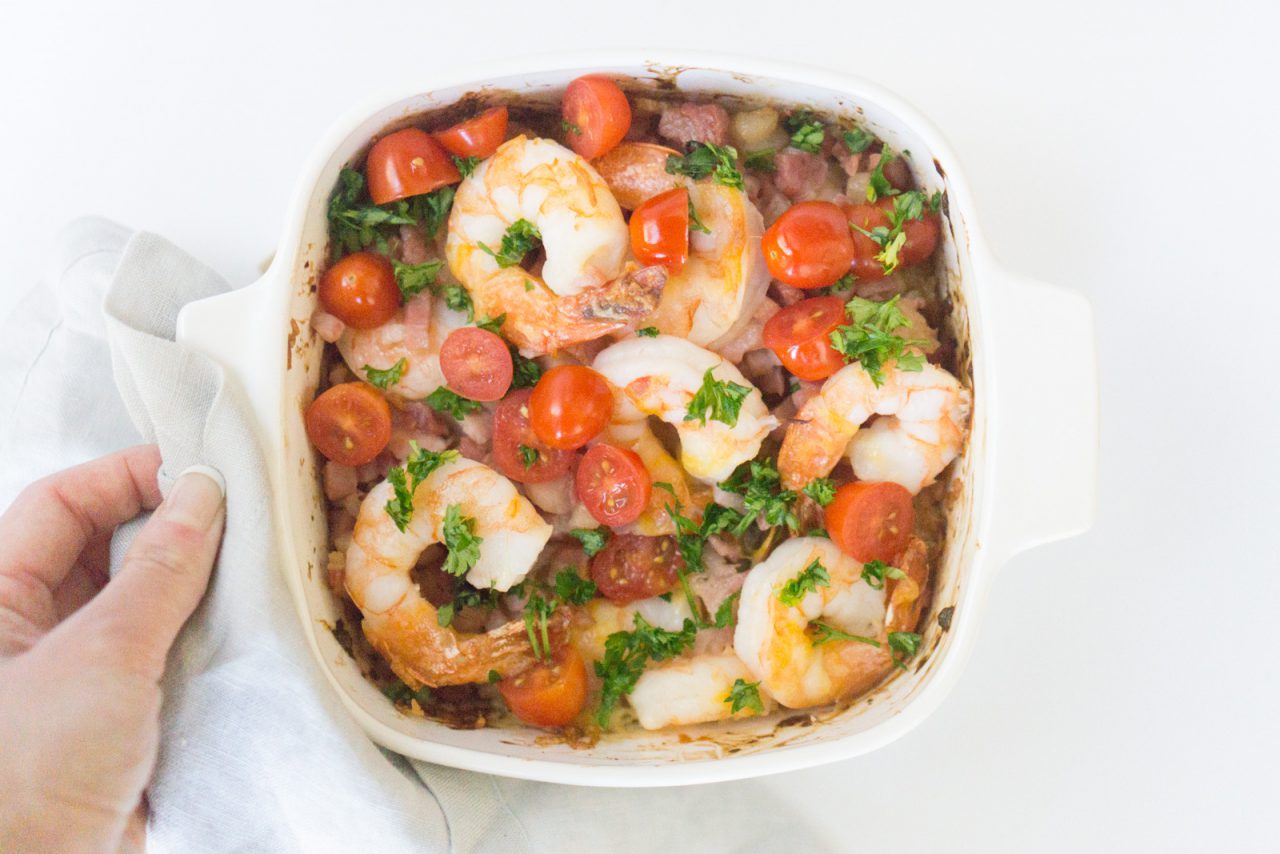
Phew, I can’t believe I’ve overcame my fear of cooking shrimp. I was always hesitant to work with raw meat in general, but today I did it!! I decided to bake a savory dish since I have so many sweet recipes, and I read about migas in my Japanese tapas book from Tsutaya. And wow, I didn’t realize shrimp was so easy to cook. Try to get it already deveined shrimp, so all you have to do is wash them and cook them!

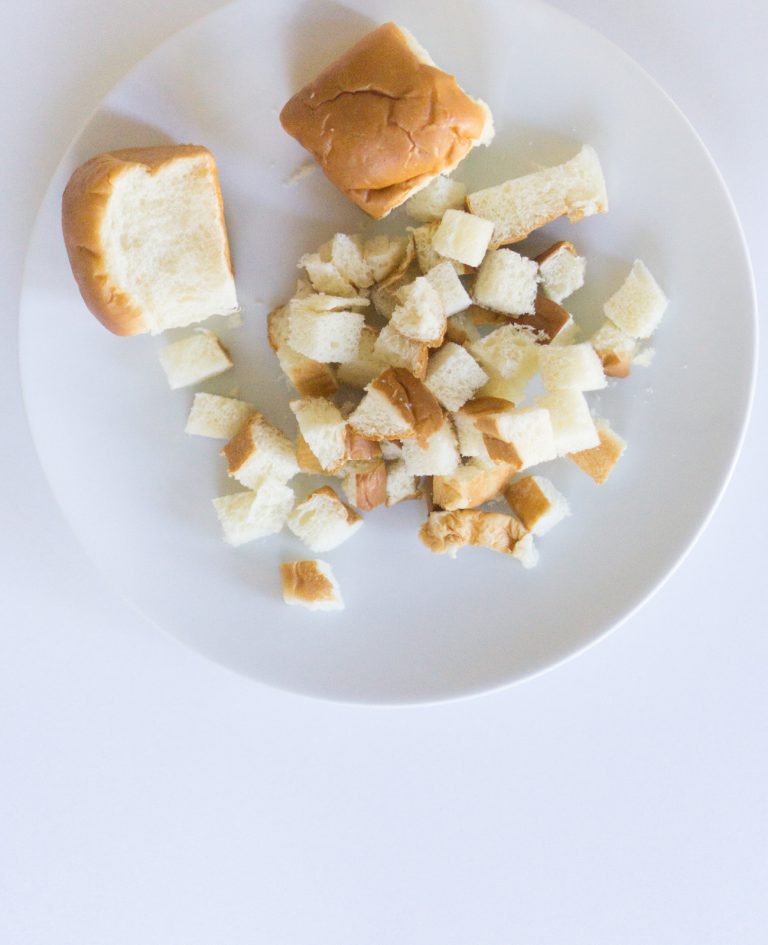
What’s Migas? “Migas” is the Spanish word for crumbs. and in Spain they typically use stale bread and other ingredients. In Texas, they use tortillas/corn chips and eggs. So I decided to incorporate all of this into my own version by using chopped up soft and sweet, Hawaiian rolls. You can also you bread rolls. My mom and I shared this for our brunch, and it was enough to fill us for several other lunches…. thanks friends for also trying my dish and giving me feedback!

Ingredients

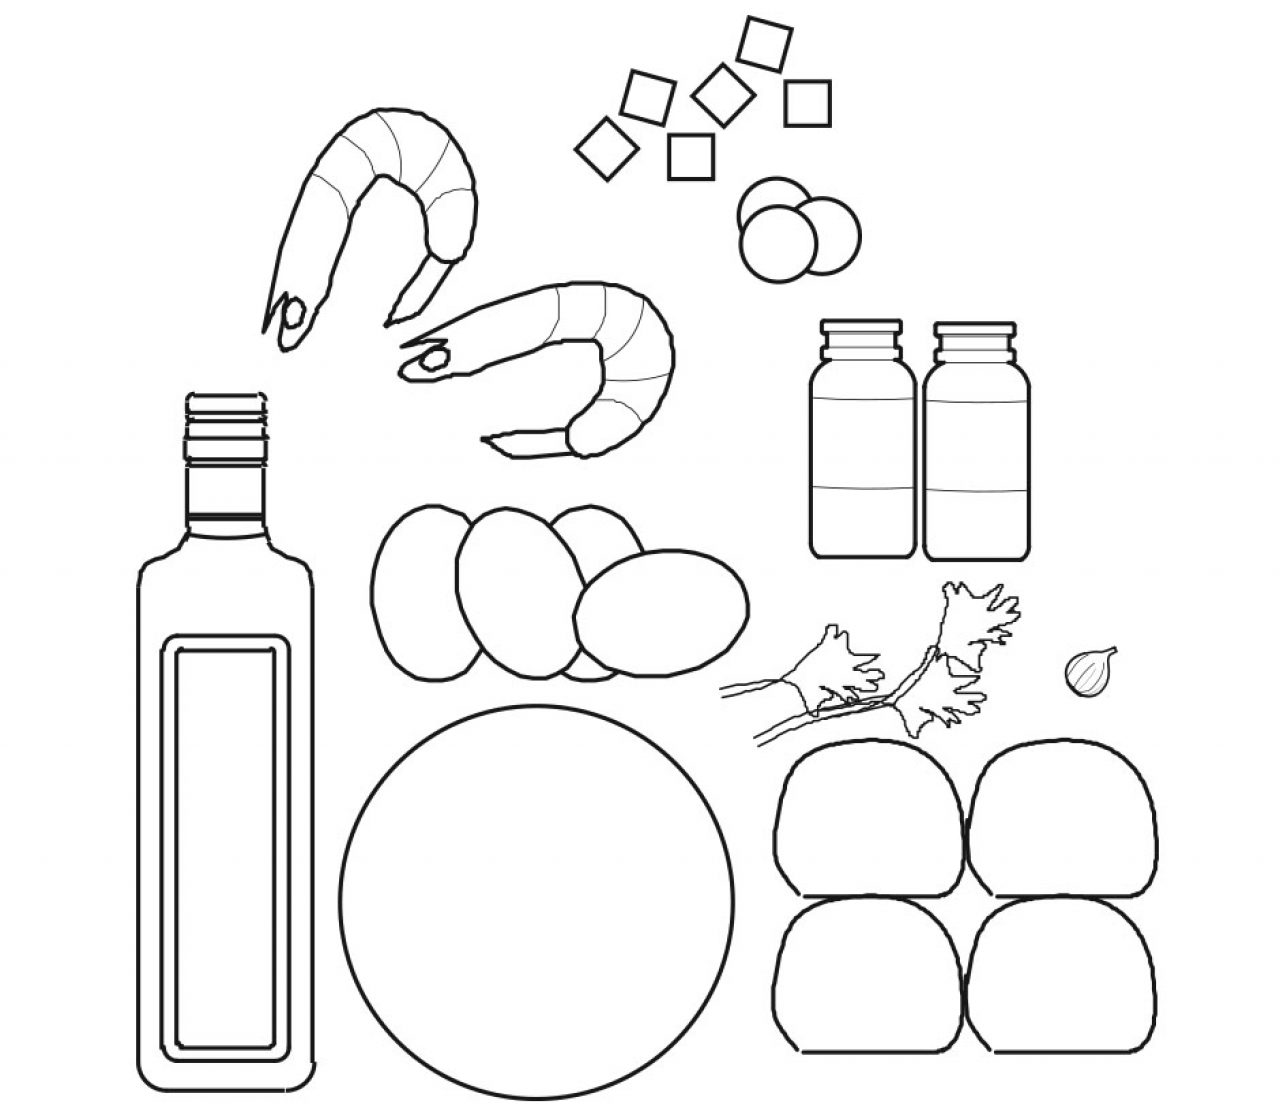
  • 3 cloves Garlic
  • 4 Eggs
  • 3 tbsp Oil
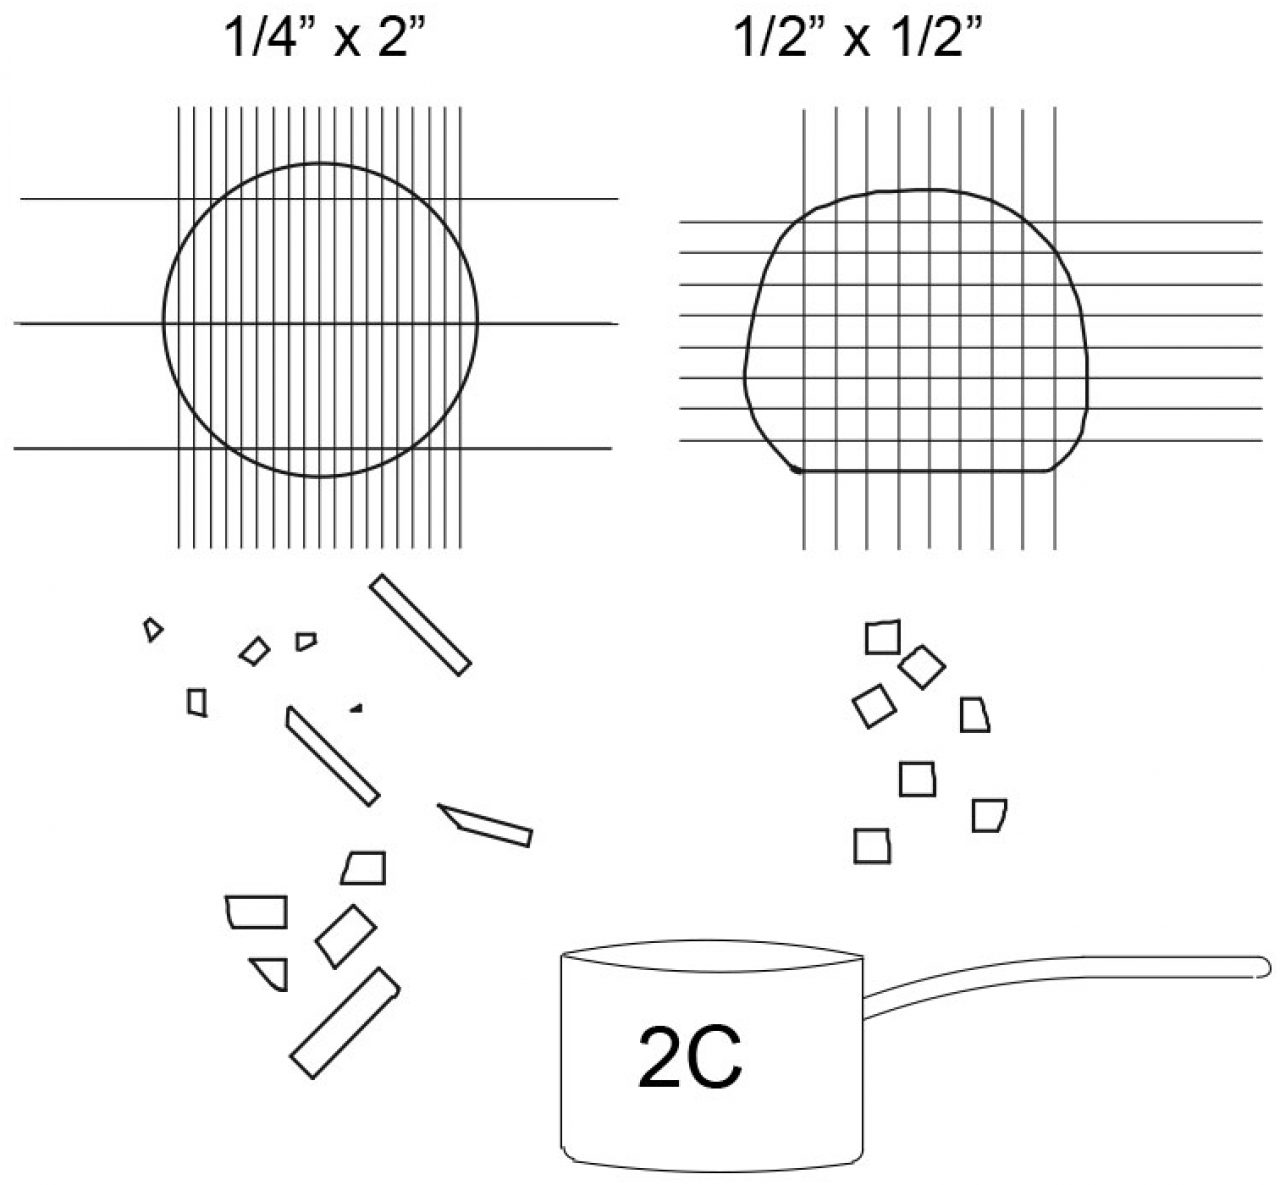
  • 2 cups Hawaiian rolls or dinner rolls, cubed at 1/2" x 1/2"
  • 2 Corn tortillas cut into 1/2" x 2" strips
  • 1/2 cup Shredded mexican cheese
  • 5 oz Chopped pancetta
  • 1/2 lb Shrimp, devined and rinsed
  • 1/4 cup Parsley, chopped
  • 1/2 cup Cherry tomatoes, chopped

Directions

Step 1.

Chop the dinner rolls into about 1/2″ cubes and slice the tortilla strips into about 4″ x 2″ strips.

Step 2.

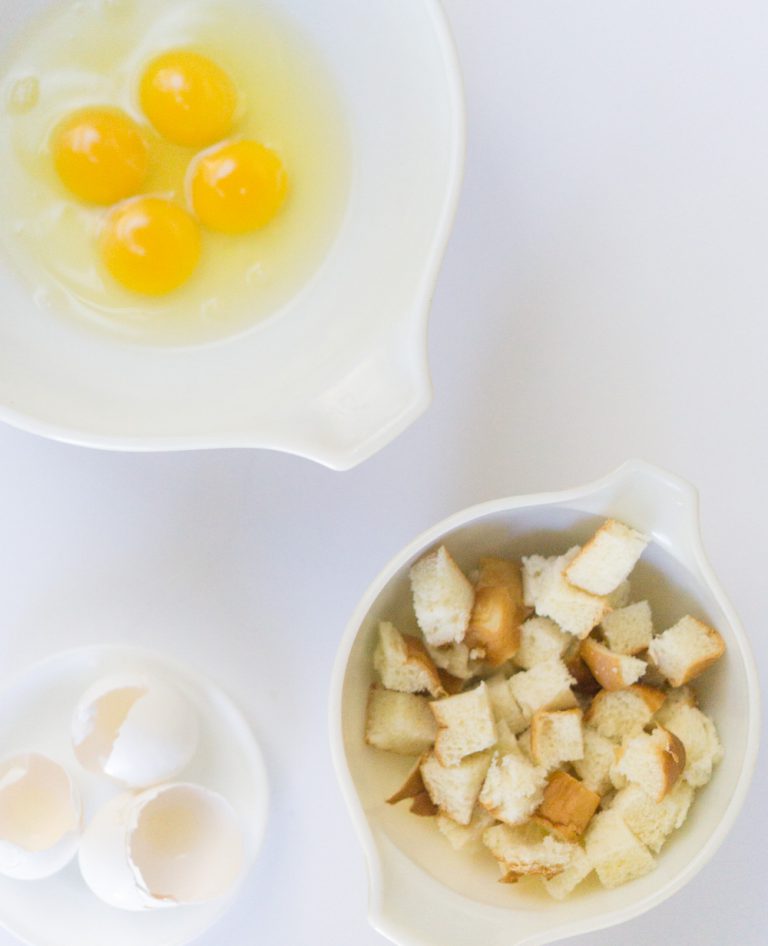
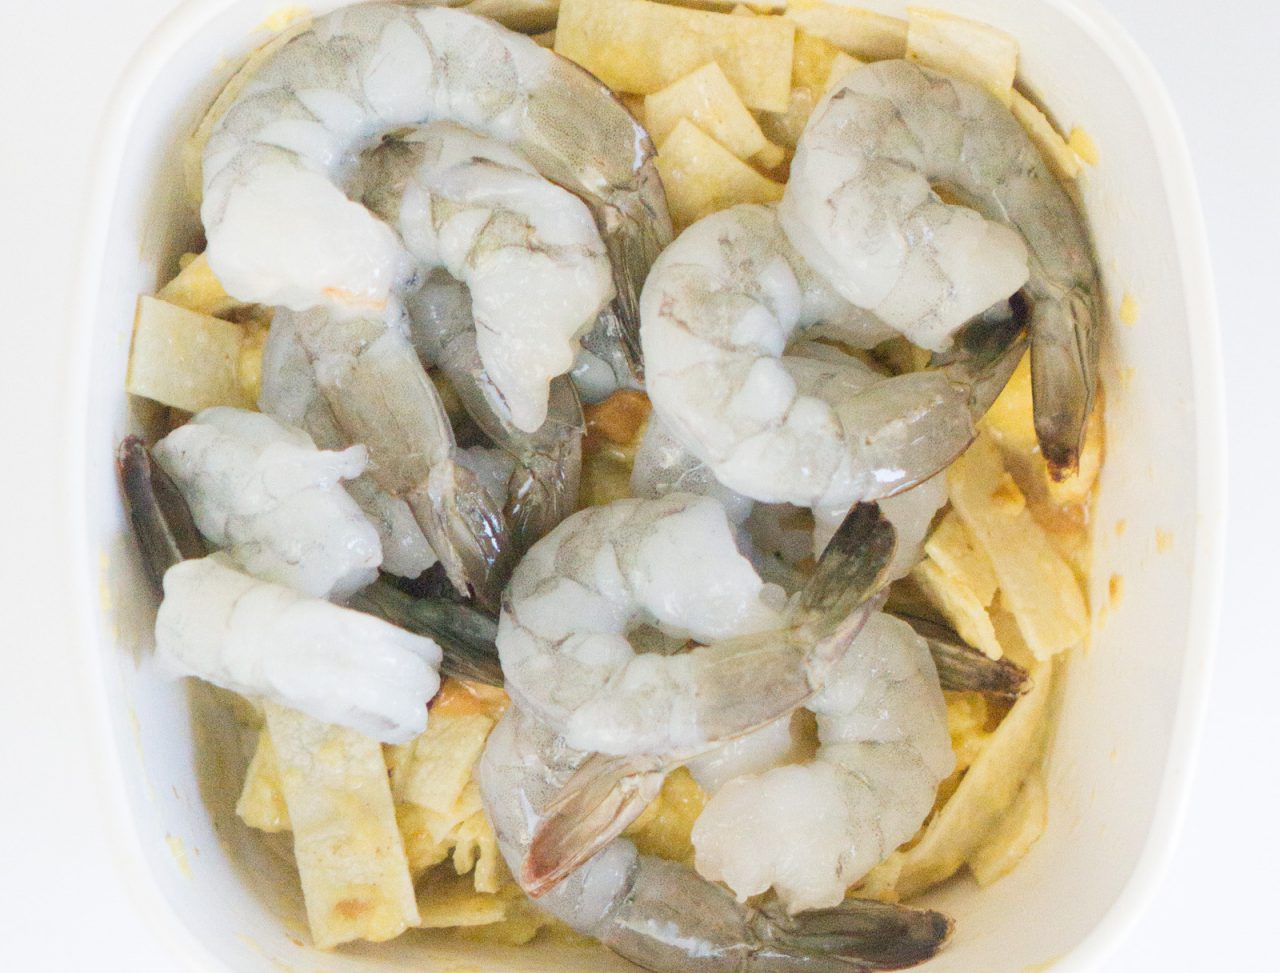
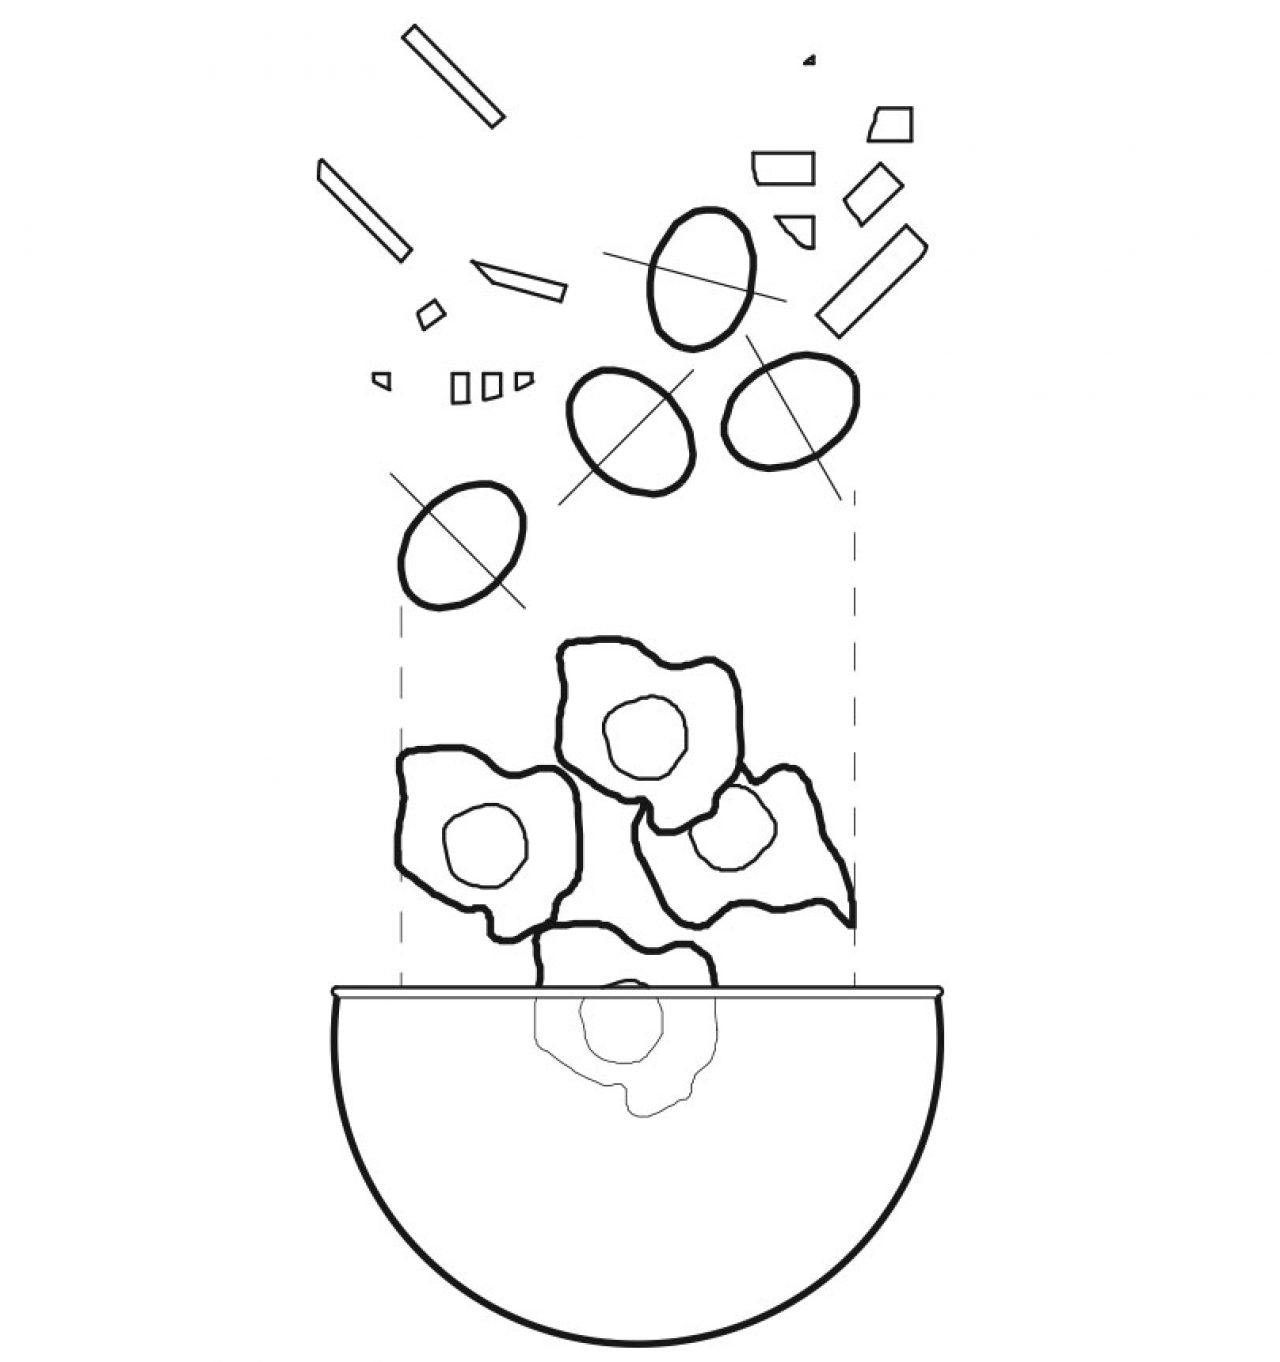
Beat 4 eggs in a large bowl and then soak the dinner rolls and tortilla strips. Add the minced garlic, some salt and pepper. Allow it to soak for at least 30 minutes.

Step 3.

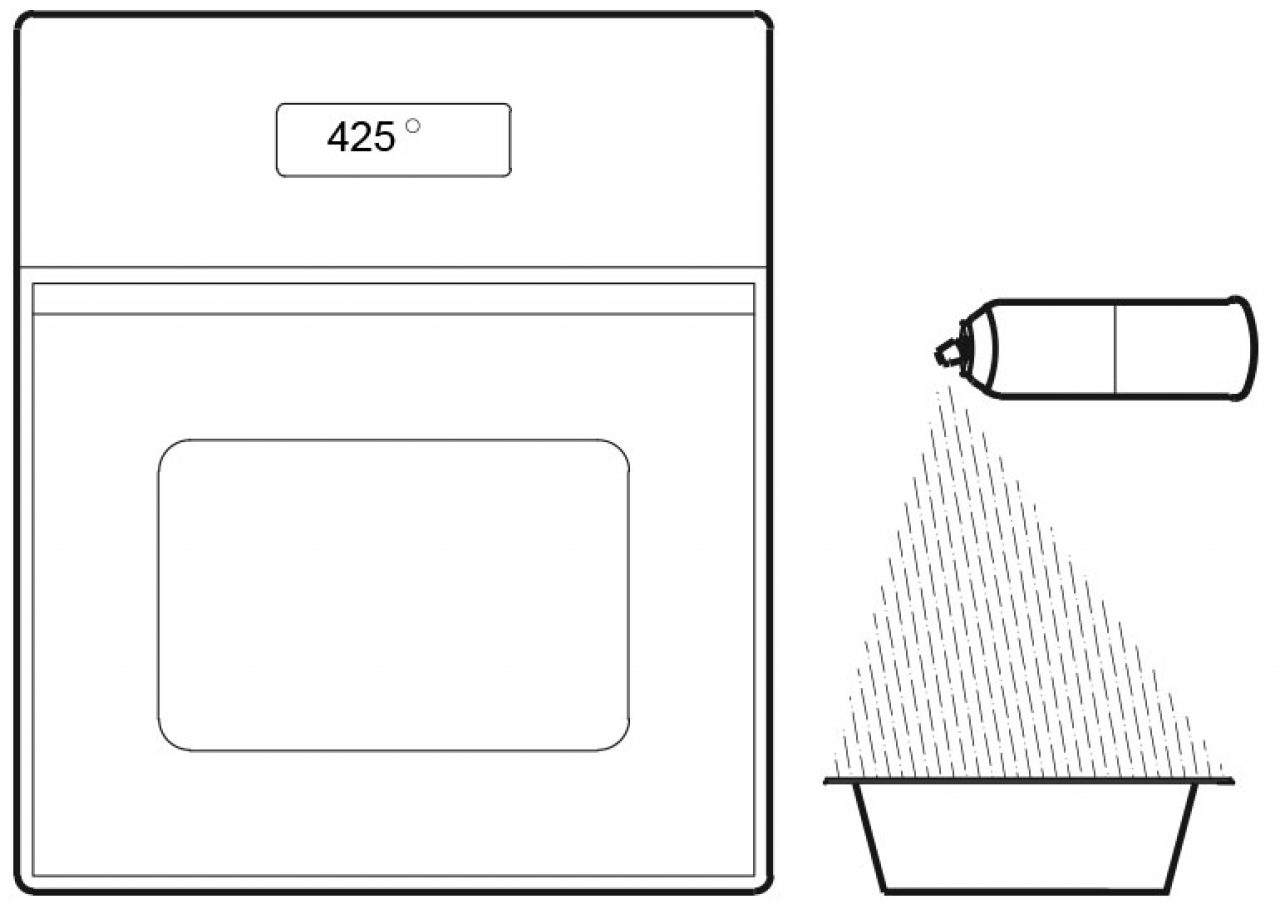
Preheat the oven to 425 and oil the bottom and sides of a 9″x9″ casserole dish.

Step 4.

Add the minced garlic, one tsp salt and one tsp pepper and stir to the mix.

Step 5.

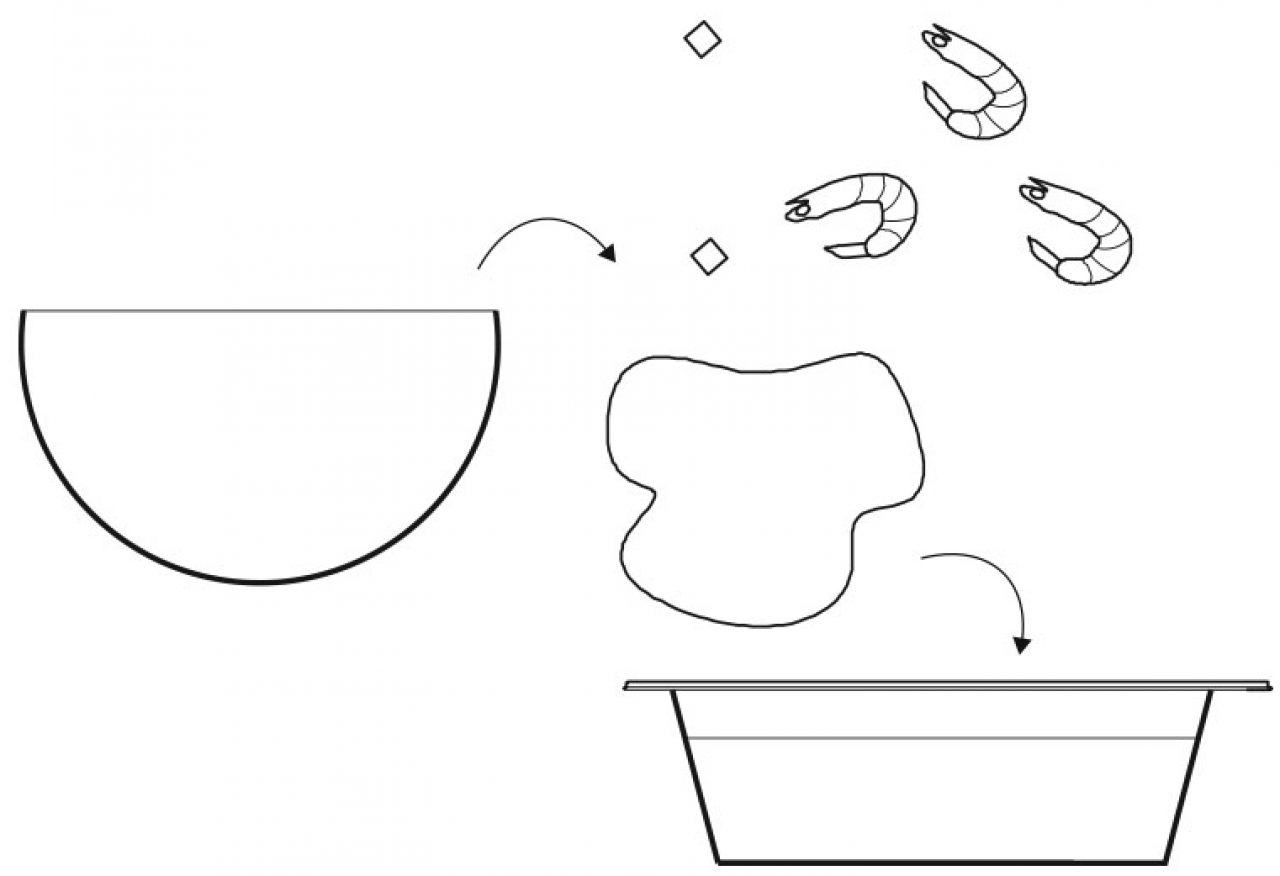
Fill a casserole dish, at least about 9×9″ with this egg and bread mixture and add pancetta and shrimp over evenly.

Step 6.

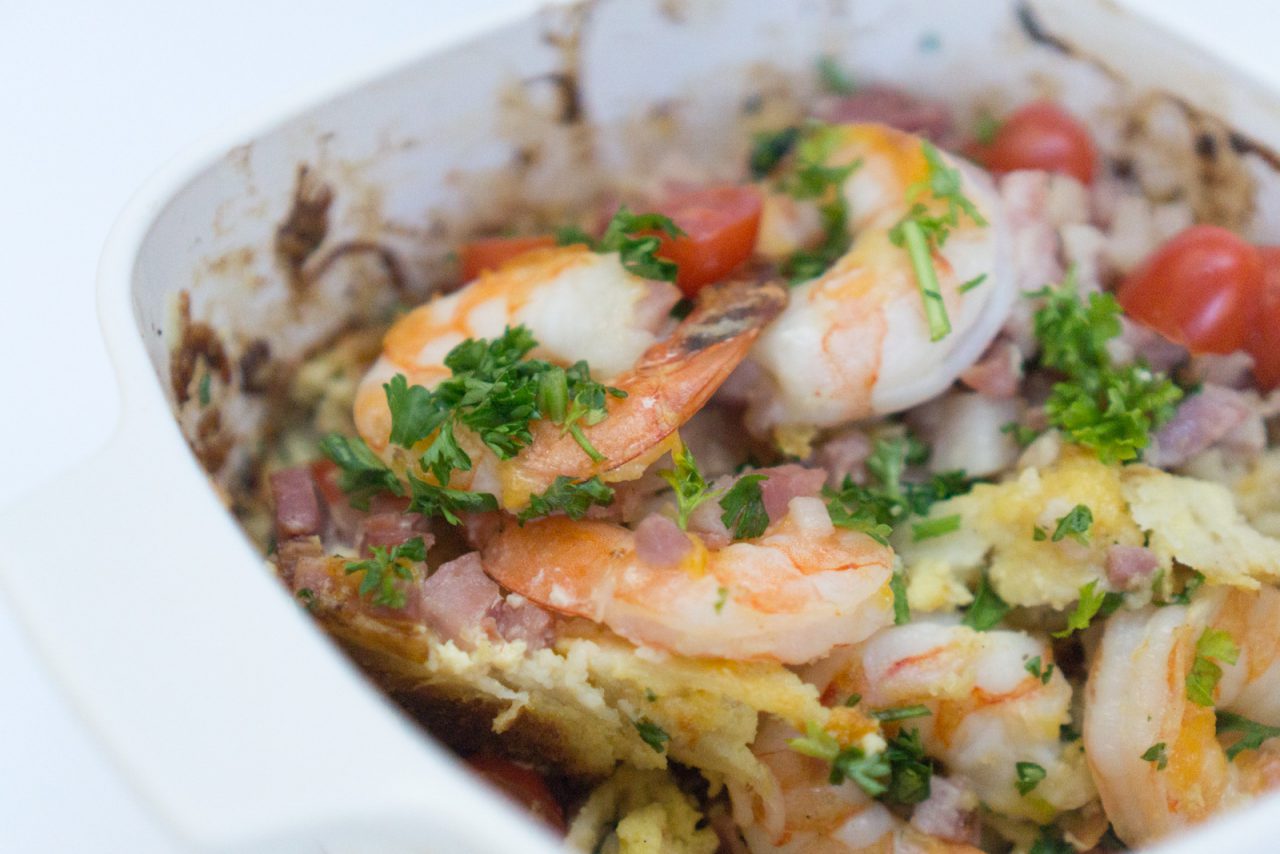
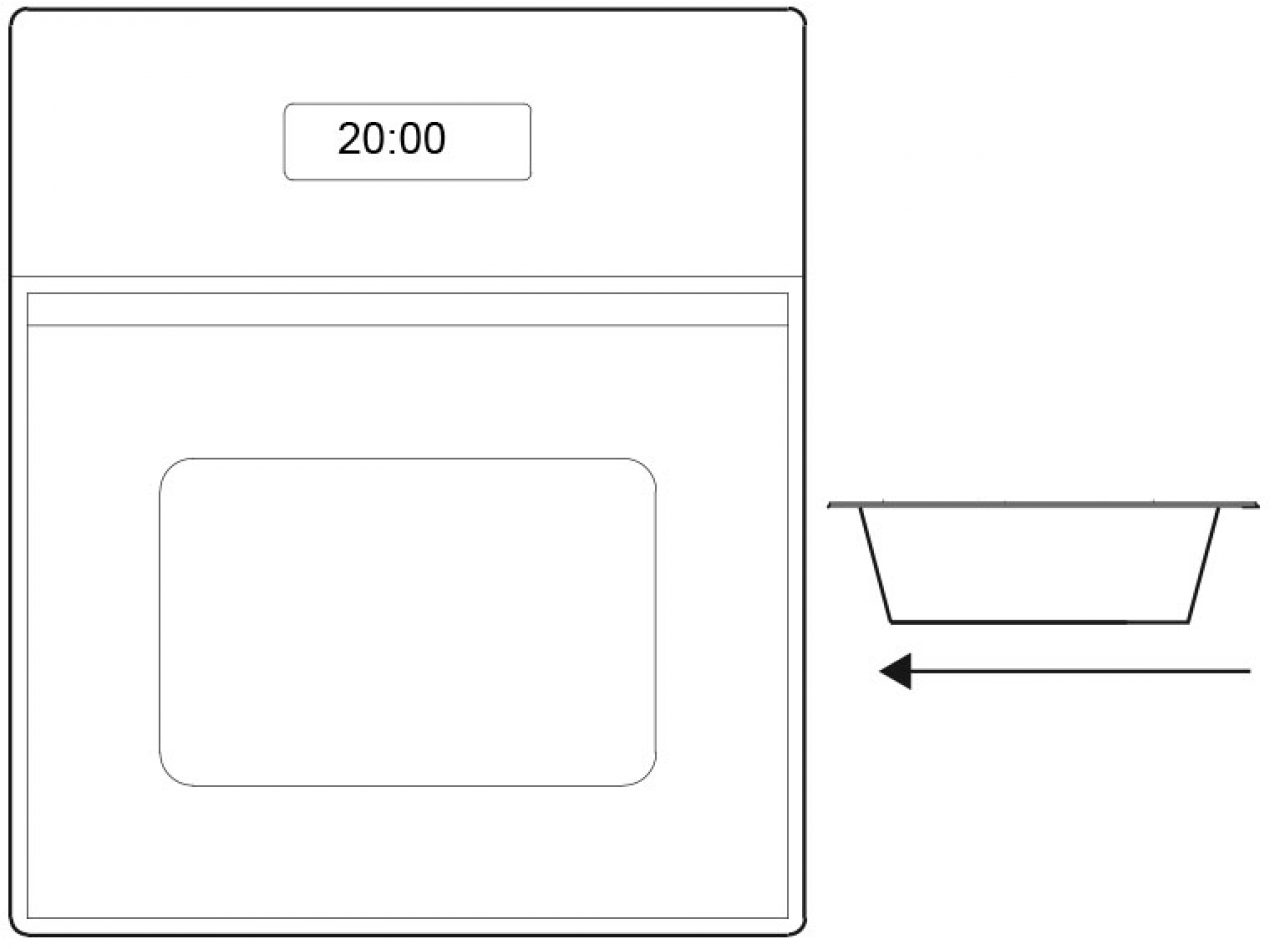
Bake in the oven for about 20 minutes or until the shrimp is completely pink.

Step 7.

Remove from the oven and add chopped tomatoes and sprigs of fresh parsley.

Egg Bacon Biscuit Bake

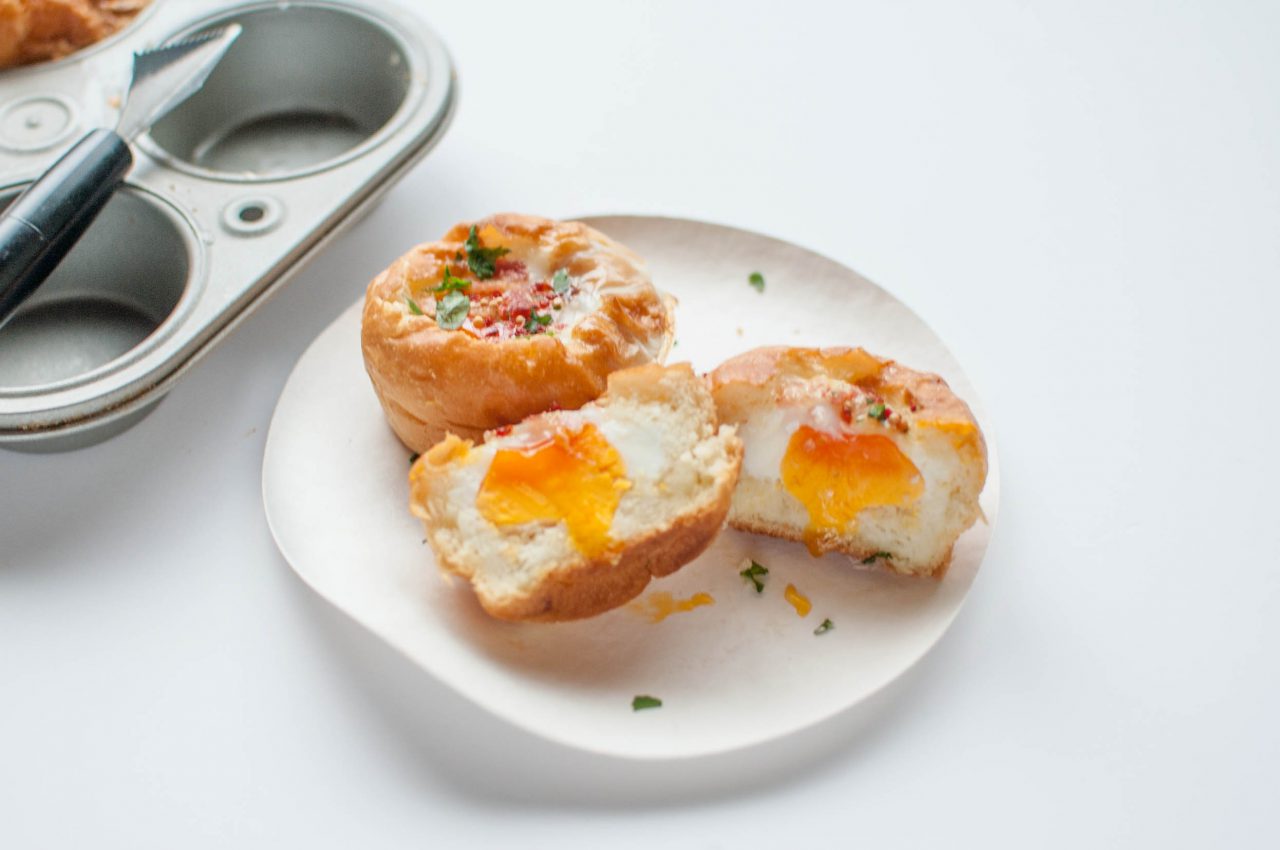
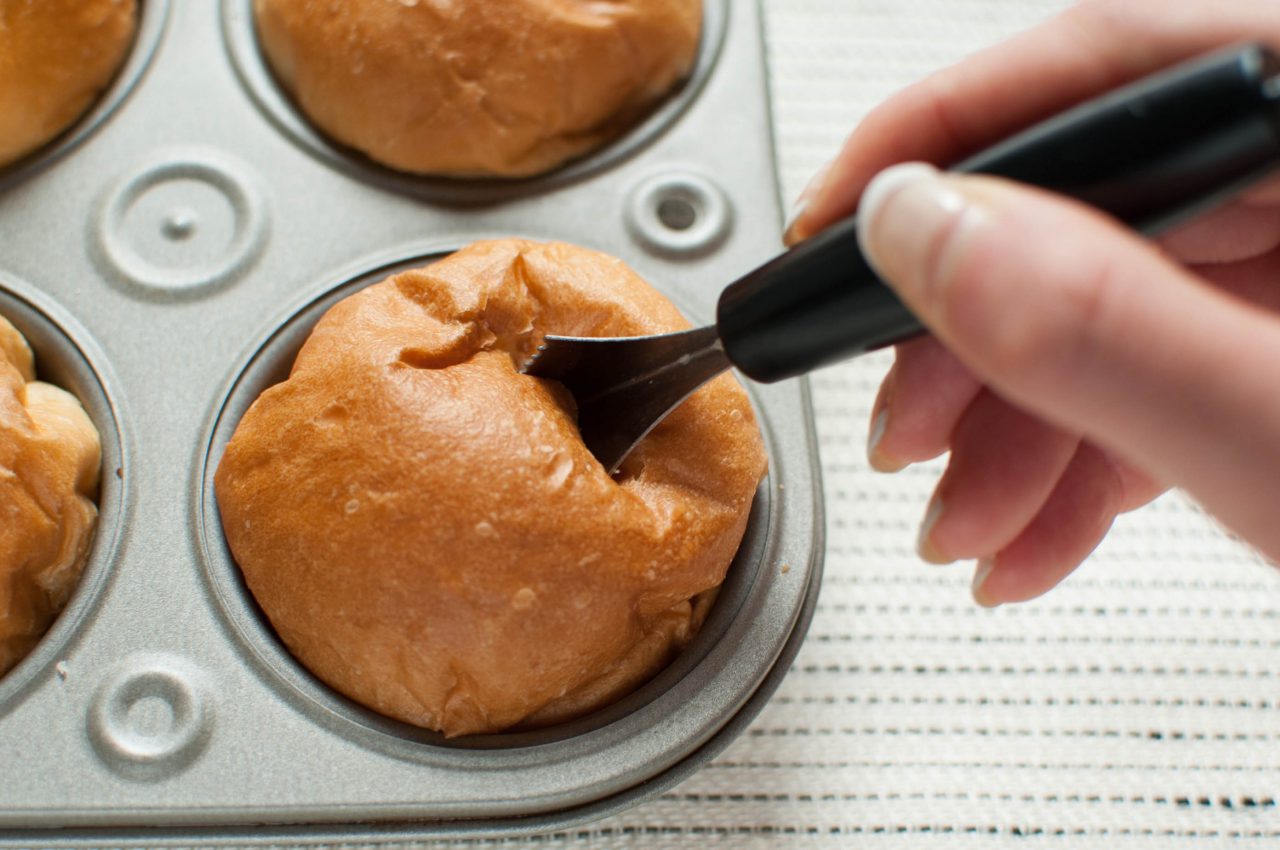
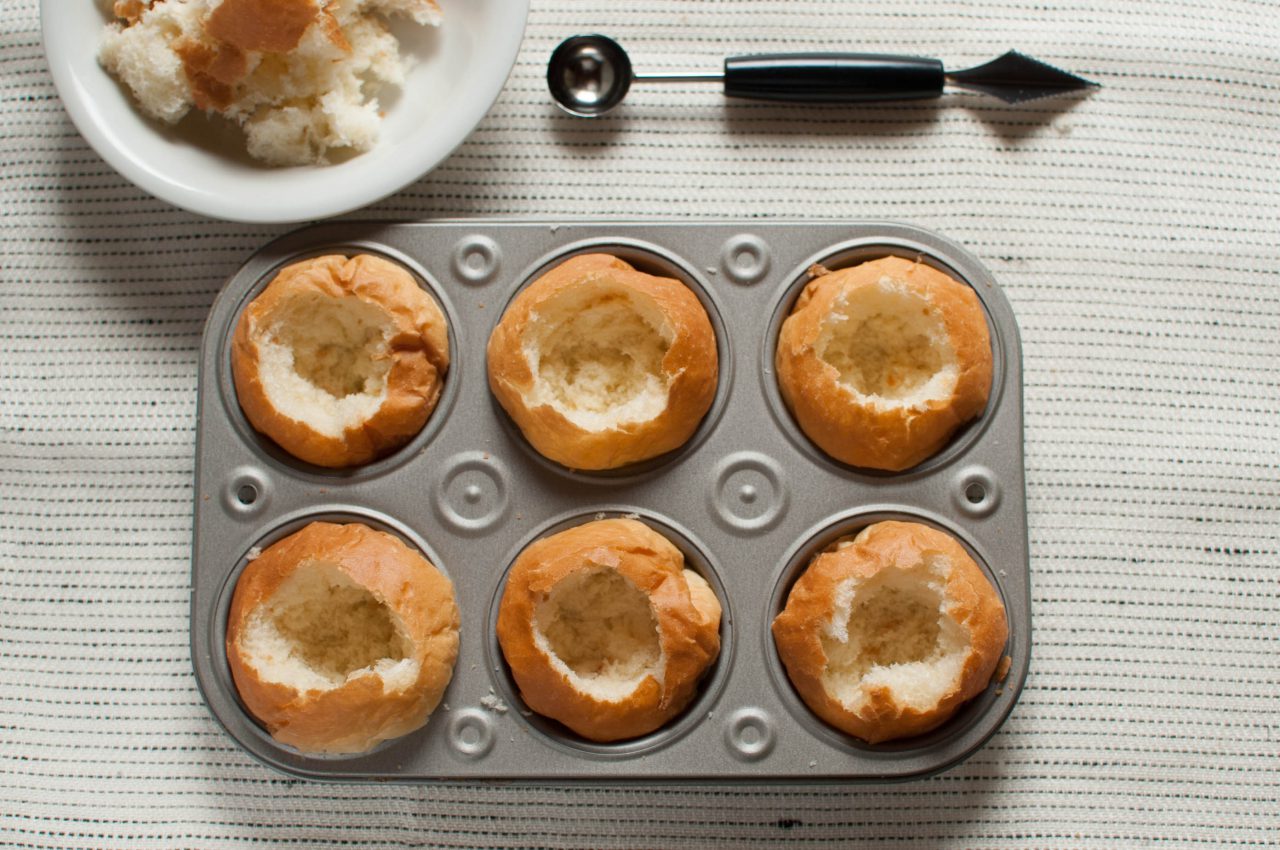
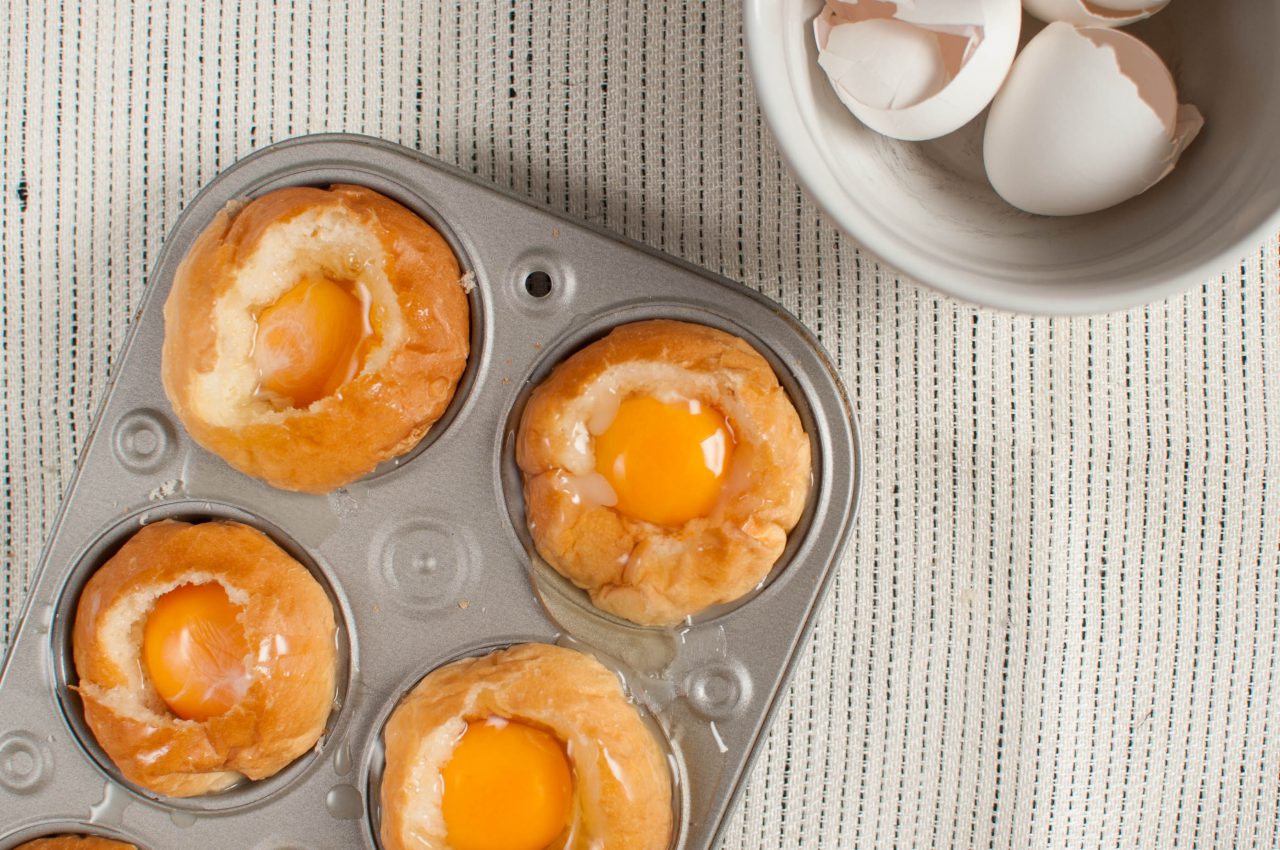
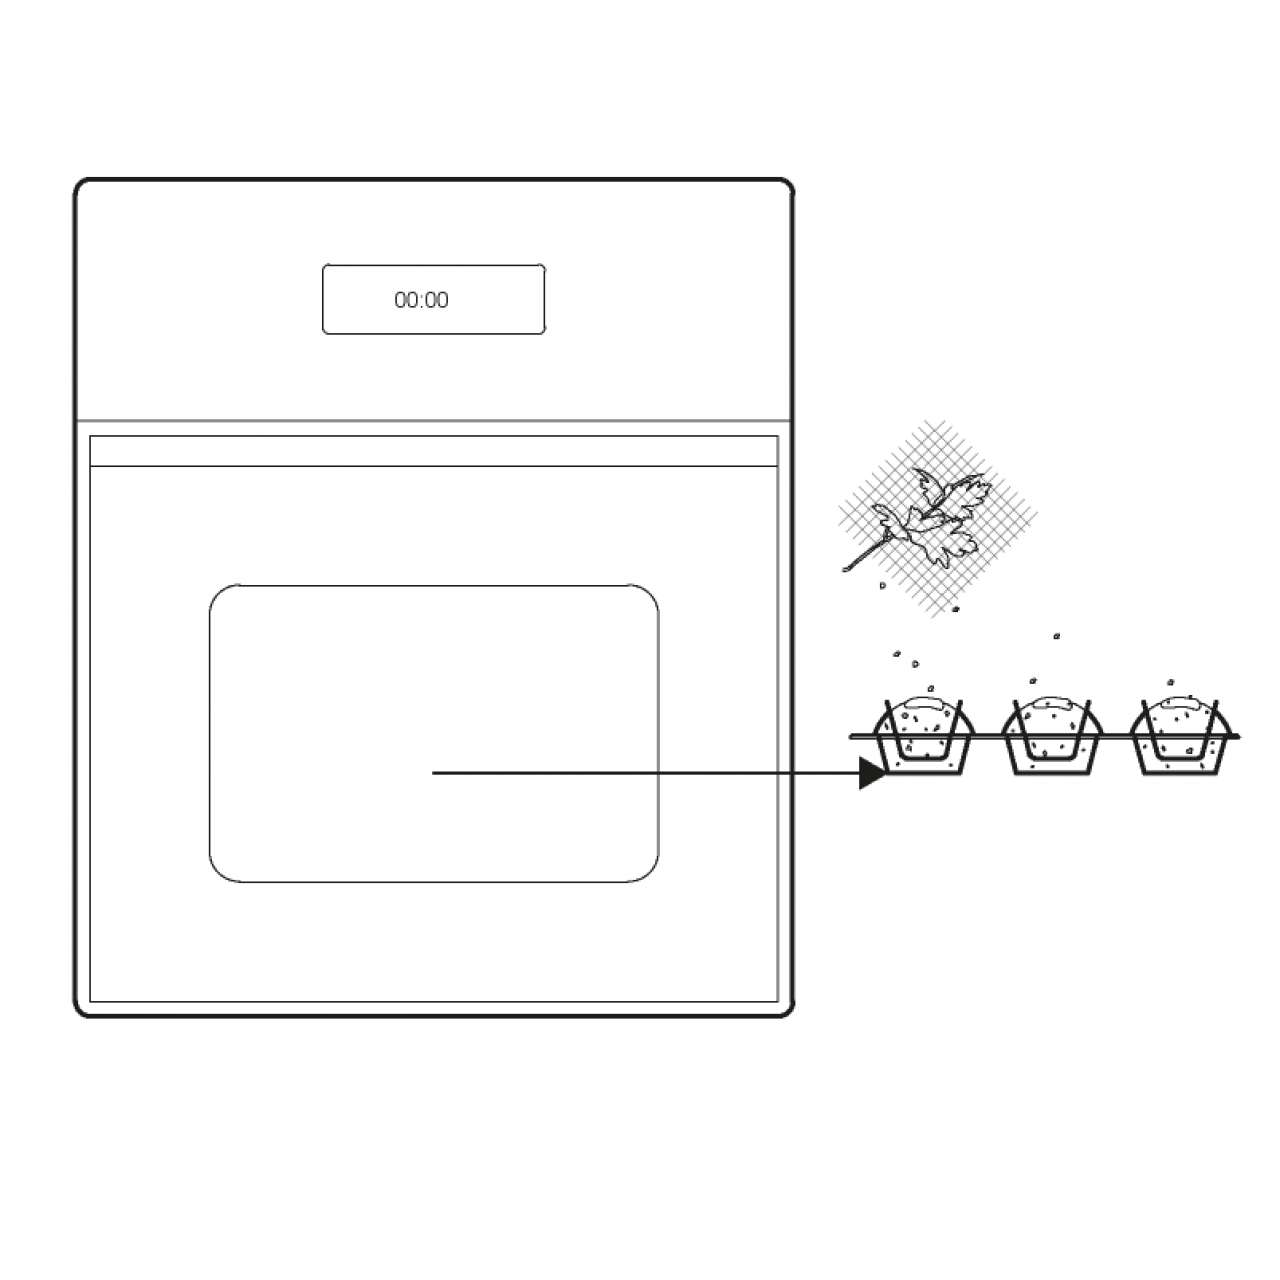
Once upon a Saturday morning, I woke up craving eggs, bacon, and carbs. Obviously nobody in Tokyo would serve me the continental breakfast I yearned to devour. But I was too cold, too sluggish to stand and cook the eggs and bacon on a pan, toast bread, and wash everything in more miserably cold water. So how did I resolve this issue? I grabbed 6 mochi bread rolls from my pantry and pressed them into each hole of my muffin pan. Using the cutter end of my melon baller, I aimed at the center of the roll, carved out a 1/4″ diameter hole off center, cracked open an egg to drop an egg yolk over the hole, topped it all off with bacon bits, brushed it with some melted. shiny butter, and baked everything in my oven at 190C (350F) while I huddled back into my bed for another glorifying 25 minutes (until the timer went off). Of course the only thing that got me out of bed was to dash some fresh parsley and eat these plump fellas.

Breakfast bliss at everyone’s fingertips.  And a week’s supply of on-the-go breakfast that can be easily reheated. Efficiency at it’s best. The end. Owari.

It’s that easy and simple, that magic of having everything you wanted at once, altogether in your mouth.  Clean eating. No fork, nor plate needed. Just look at that damn section cut and watch the yolk drip. Even my housemates tried to steal a few was soon as I left the kitchen.

Chef’s note: Save leftovers in the refrigerator and reheat them in the oven for delicious magic. Raise it up another level by topping it off with cheese!

Side note: I’d also like to confirm the tragic news of having to put down my noble NikonD3100 in Los Angeles after about 8 years of companionship, yet I will continue to live on by shooting my adventures with its hefty, brother in law – NikonD700, starting with our first shots together with this recipe!

Ingredients

  • 6 Round bread rolls or mochi bread rolls
  • 1 tbsp Butter, melted
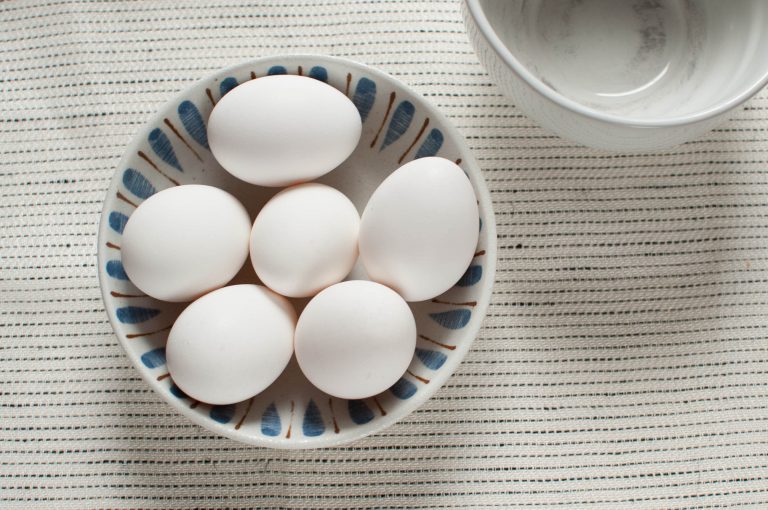
  • 6 Med/large eggs (see chef’s note)
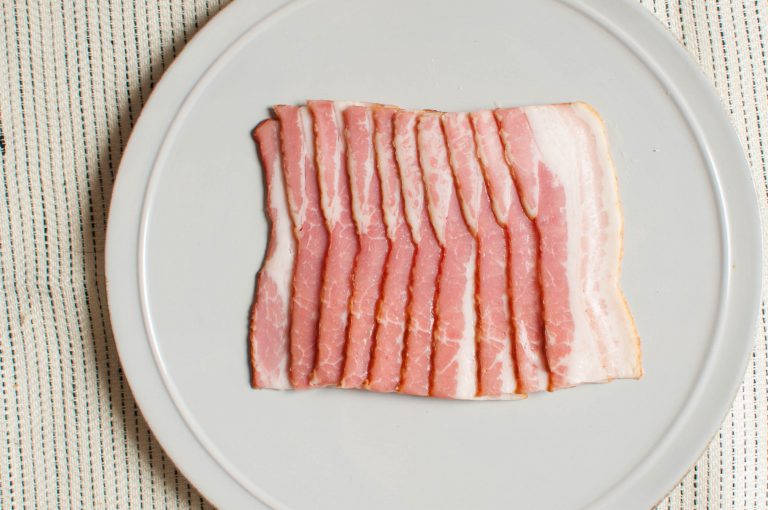
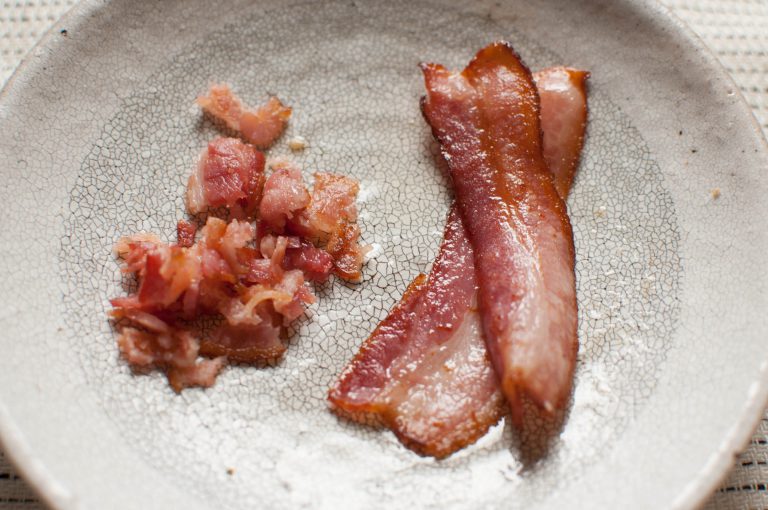
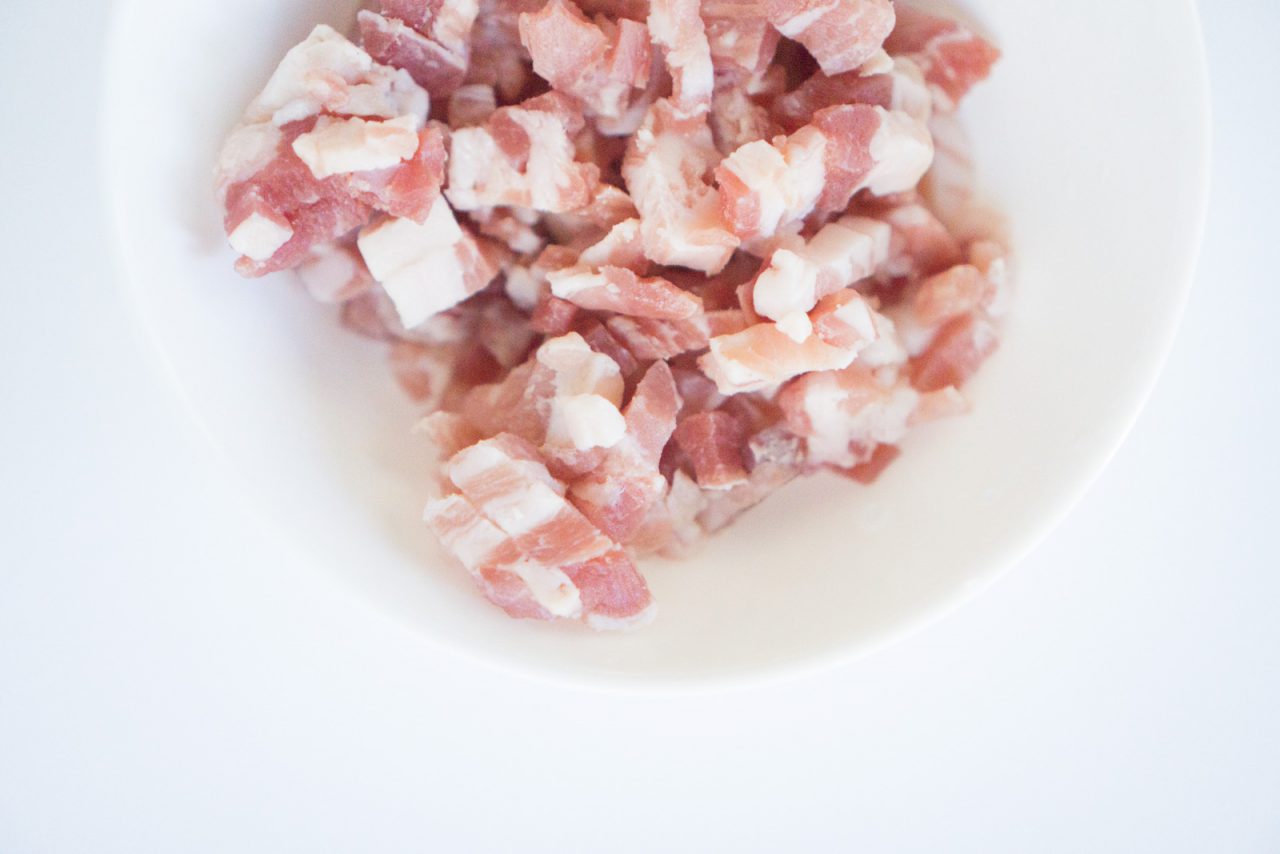
  • 2 Slices cooked bacon, or dried bacon bits
  • Salt (or spicy salt)
  • Paprika
  • Fresh parsley leaves, chopped for garnishing

Directions

Step 1.

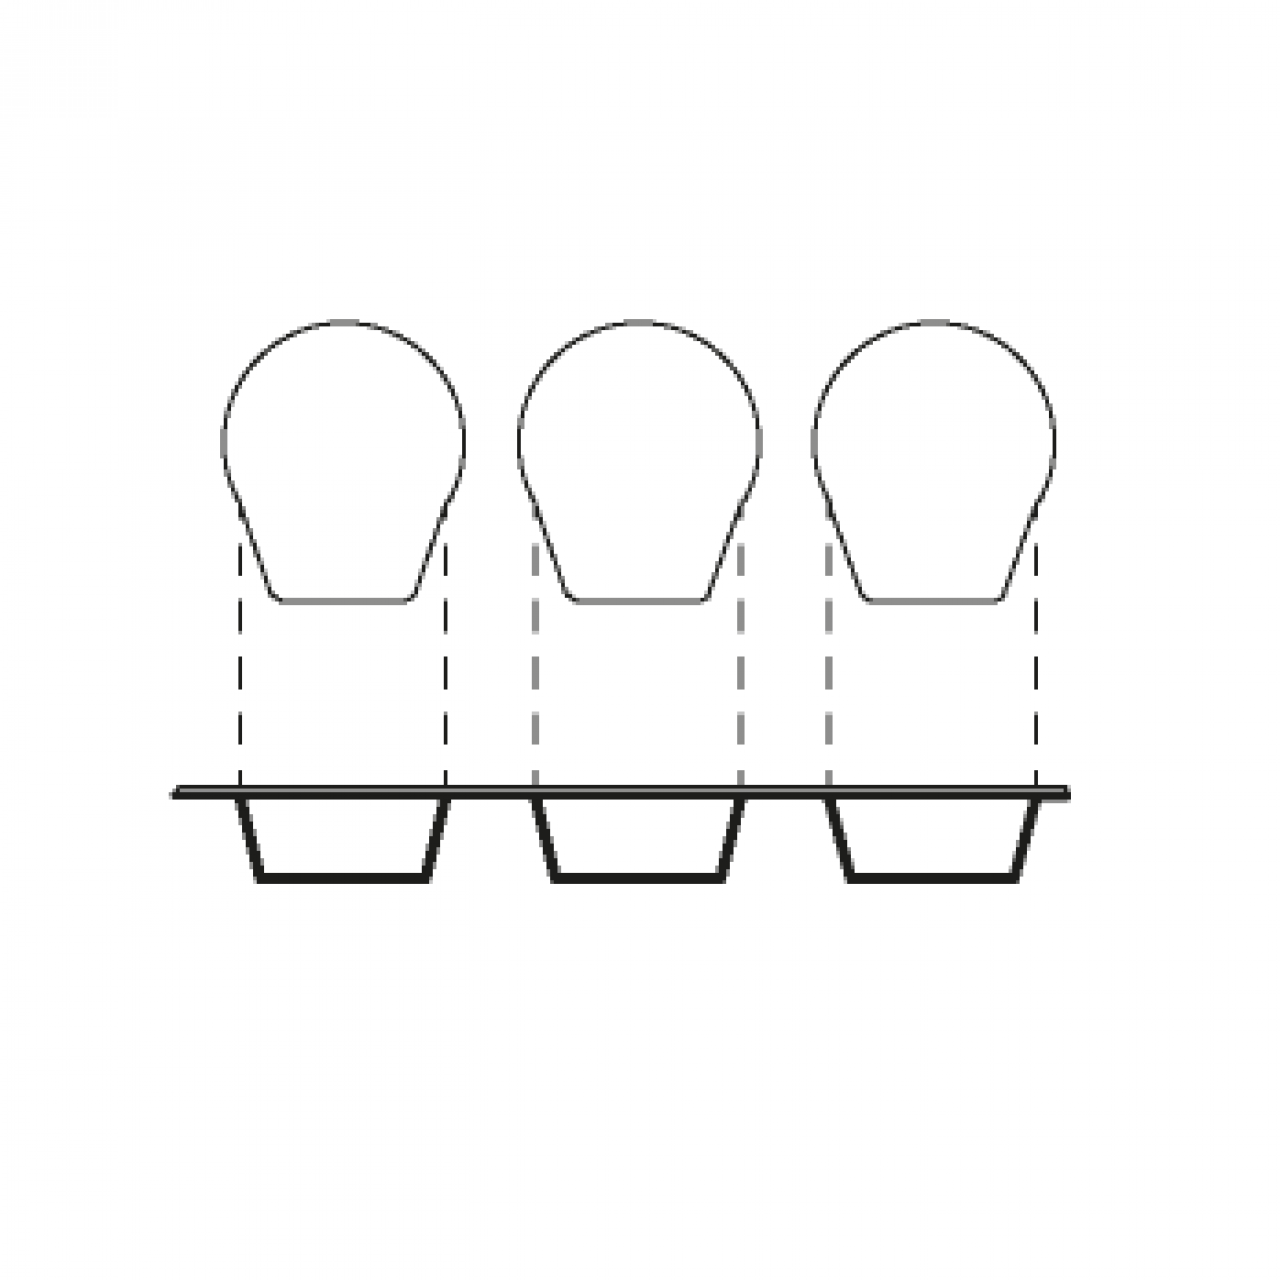
Press in bread roll into one muffin tin cup. Preheat oven to 375.

Step 2.

Using the sharp edge of the melon baller (or a small knife), carve out a hole 1/4 in diameter, off center, from the centers of each bread.

Step 3.

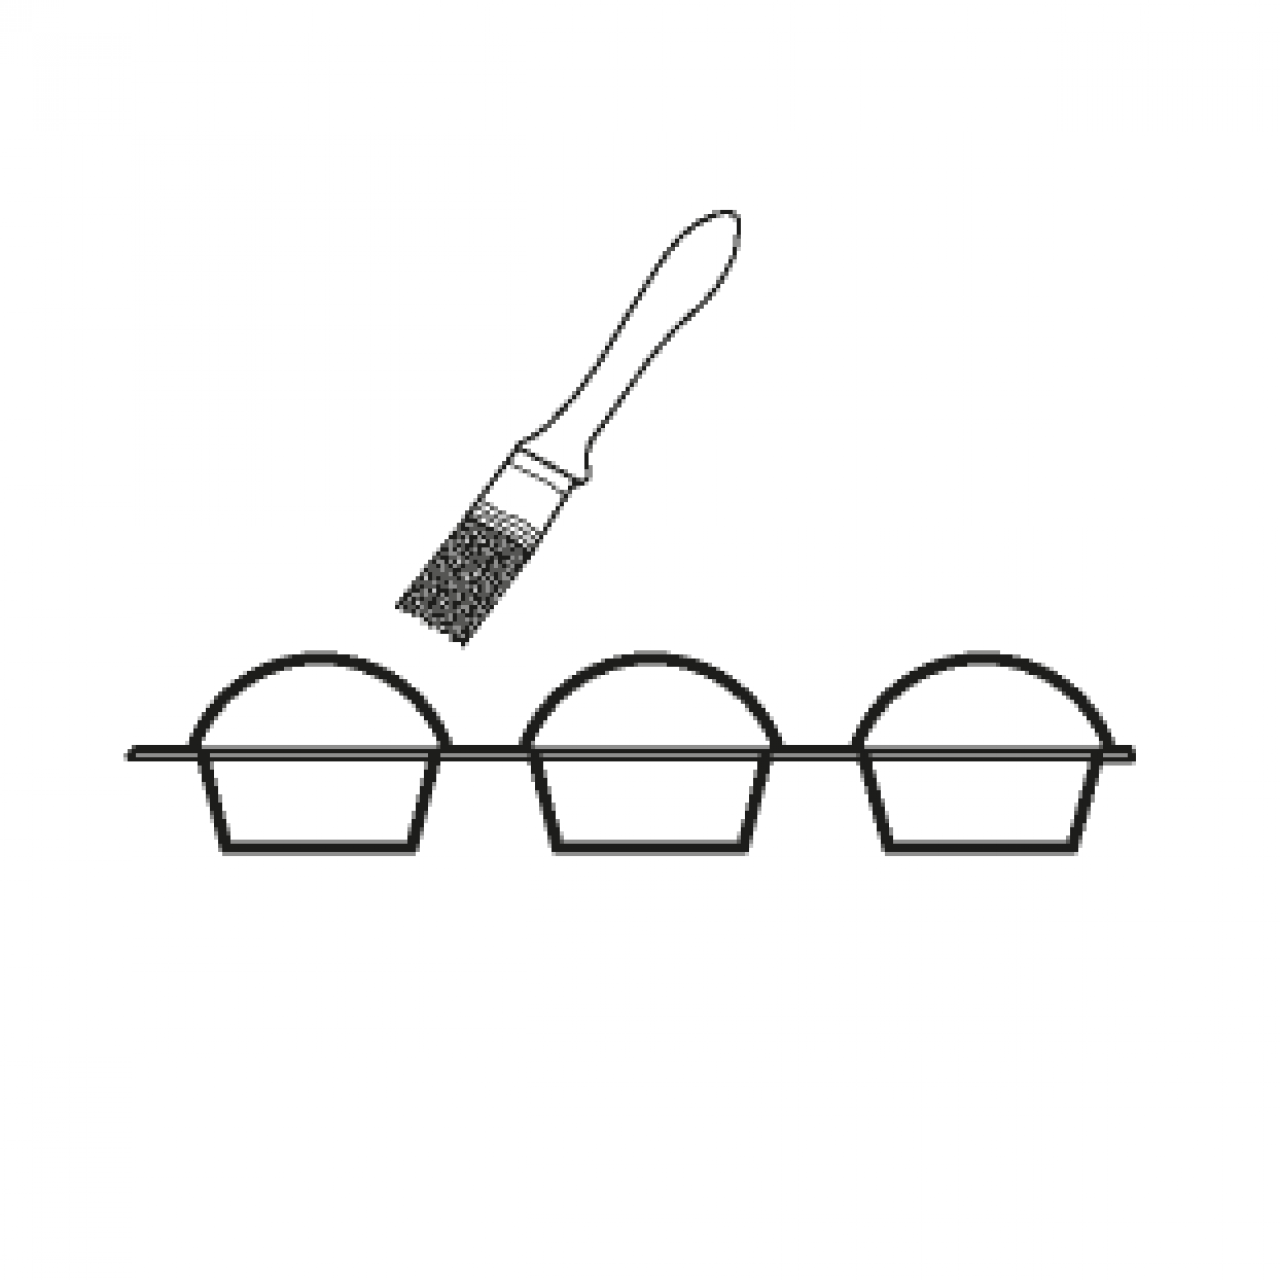
Brush each bread roll with butter.

Step 4.

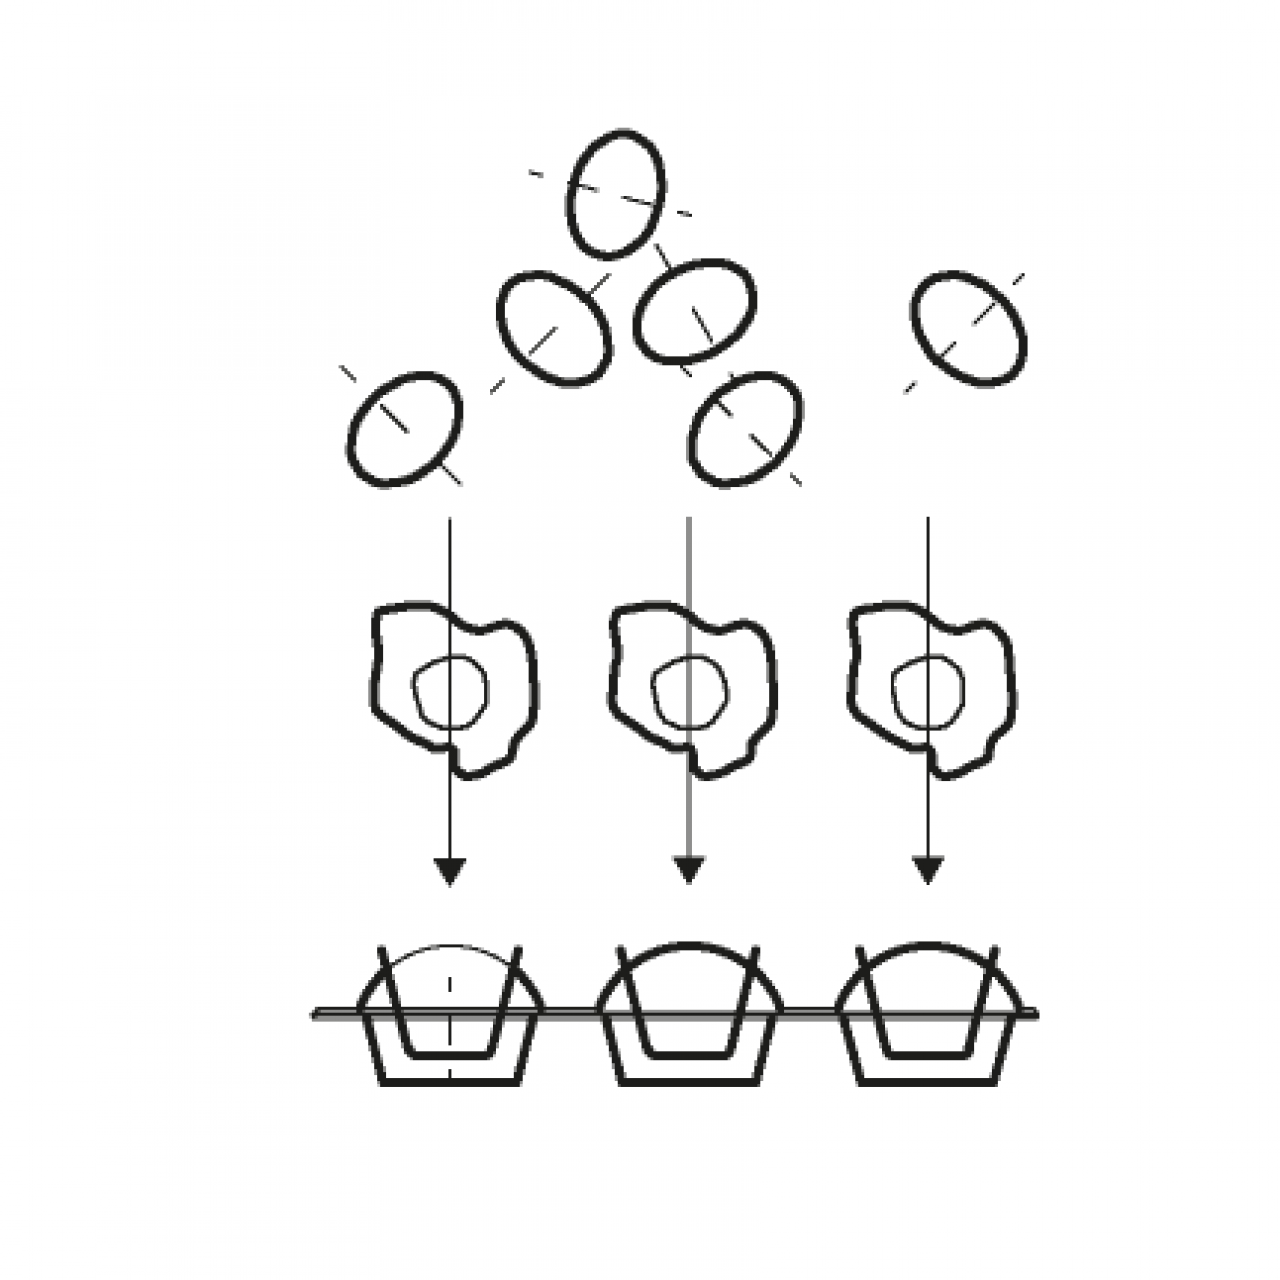
Crack each egg open directly over the center hole so that the yolk falls into place.

Step 5.

Sprinkle desired amount of salt and whatever spices. (I used spicy salt that contains dried paprika).

Step 6.

Cook 2 slices of bacon on a pan till both sides are browned. (skip if using dried bacon bits).

Step 7.

Chop the bacon into small pieces and sprinkle over the egg.

Step 8.

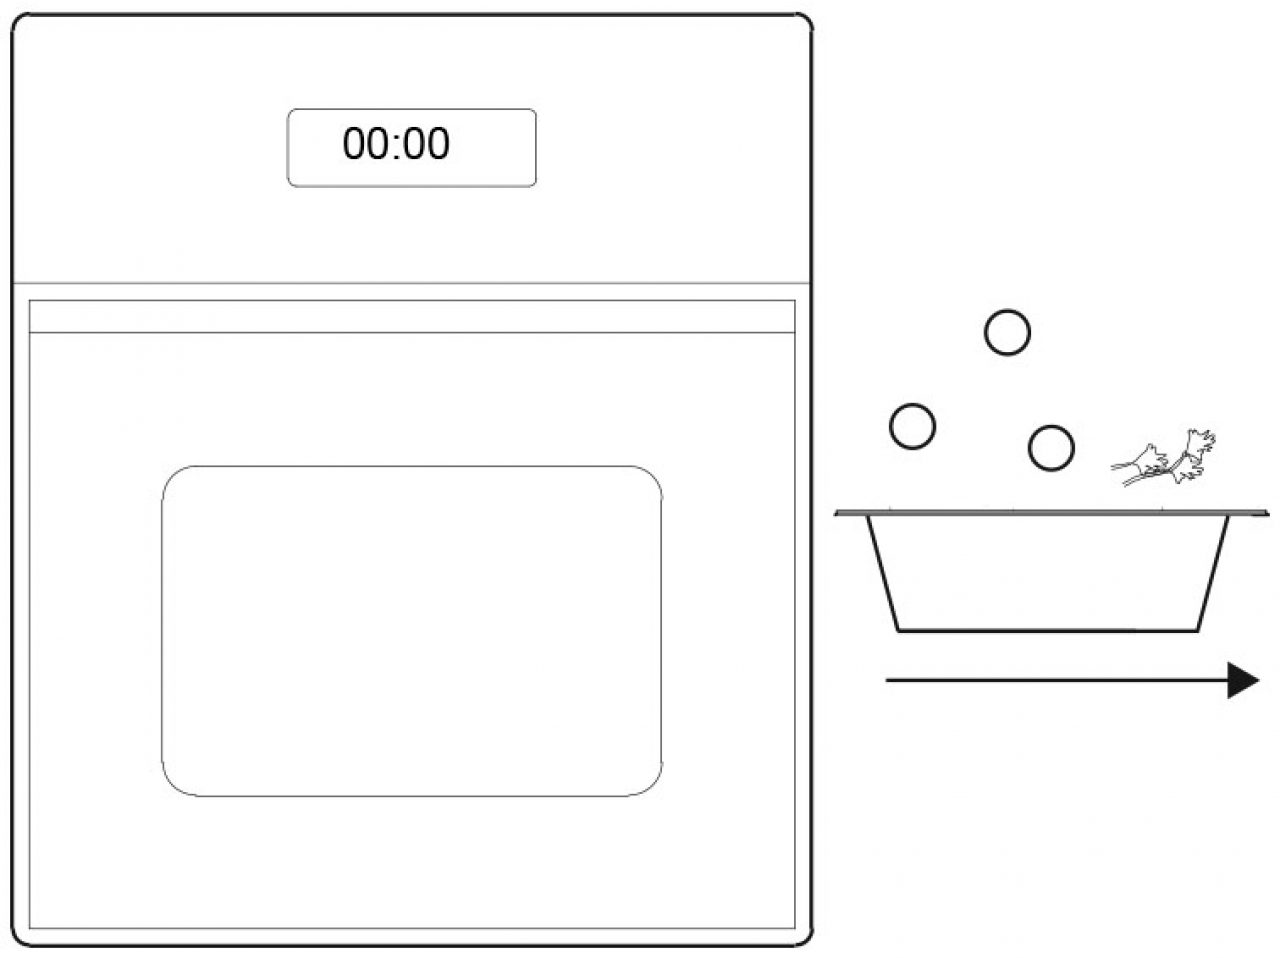
Bake the stuffed bread rolls in preheated oven for 25 minutes.

Step 9.

Remove from oven, garnish with fresh, chopped parsley and enjoy!