Pear Basil Tarts


Hey ladies and fellaaass, after being a bit dormant, I’m baaaaccckk! Since some of you freaked out over why my blog was missing for a week, I’d like to explain the few traumatic things that happened to me over these past few weeks.
- My blog got completely shut down because I carelessly forgot to update my billing and contact information after I’ve moved to America. Thus, I missed a few major deadline notices and had to pay hundreds of dollars to restore a backup. (A big lesson to everyone to read all emails and keep track of major dates).
- I lost about 80% of my backup files for all my recipes on my computer. (A big lesson to everyone to frequently save and back up all files)
But hey, at least 3 other fascinating things happened:
- After long phone calls with my hosting provider (after paying that lump of Benjamins) + Benson Ho’s genius work from Tokyo, my blog has been recovered with all my backups and recipes!
- The ChefCharette turned one year old!! Woooohoooo!!!!!
- Popcultivate chef Chris contacted me asking me to batch up a new dessert recipe for his next dinner, which pushed me to produce this recipe: Pear Basil Tarts! You can buy tickets for a 4-course fine dining dinner, which features my dessert as a finale, here! Since I’ve been a bit obsessed with preparing mini tarts for guests and my stellar architects that I’ve been working with, I decided to celebrate the flavors of fall by fusing juicy slices of these beautiful barlett pears with some thick honey and dashes cinnamon and turbinado sugar. These Pear Basil Tarts also have one secret ingredient: olive oil, which fuses too wonderfully with honey. (Thanks Tony for sending me the Acaccia honey from Paris!).


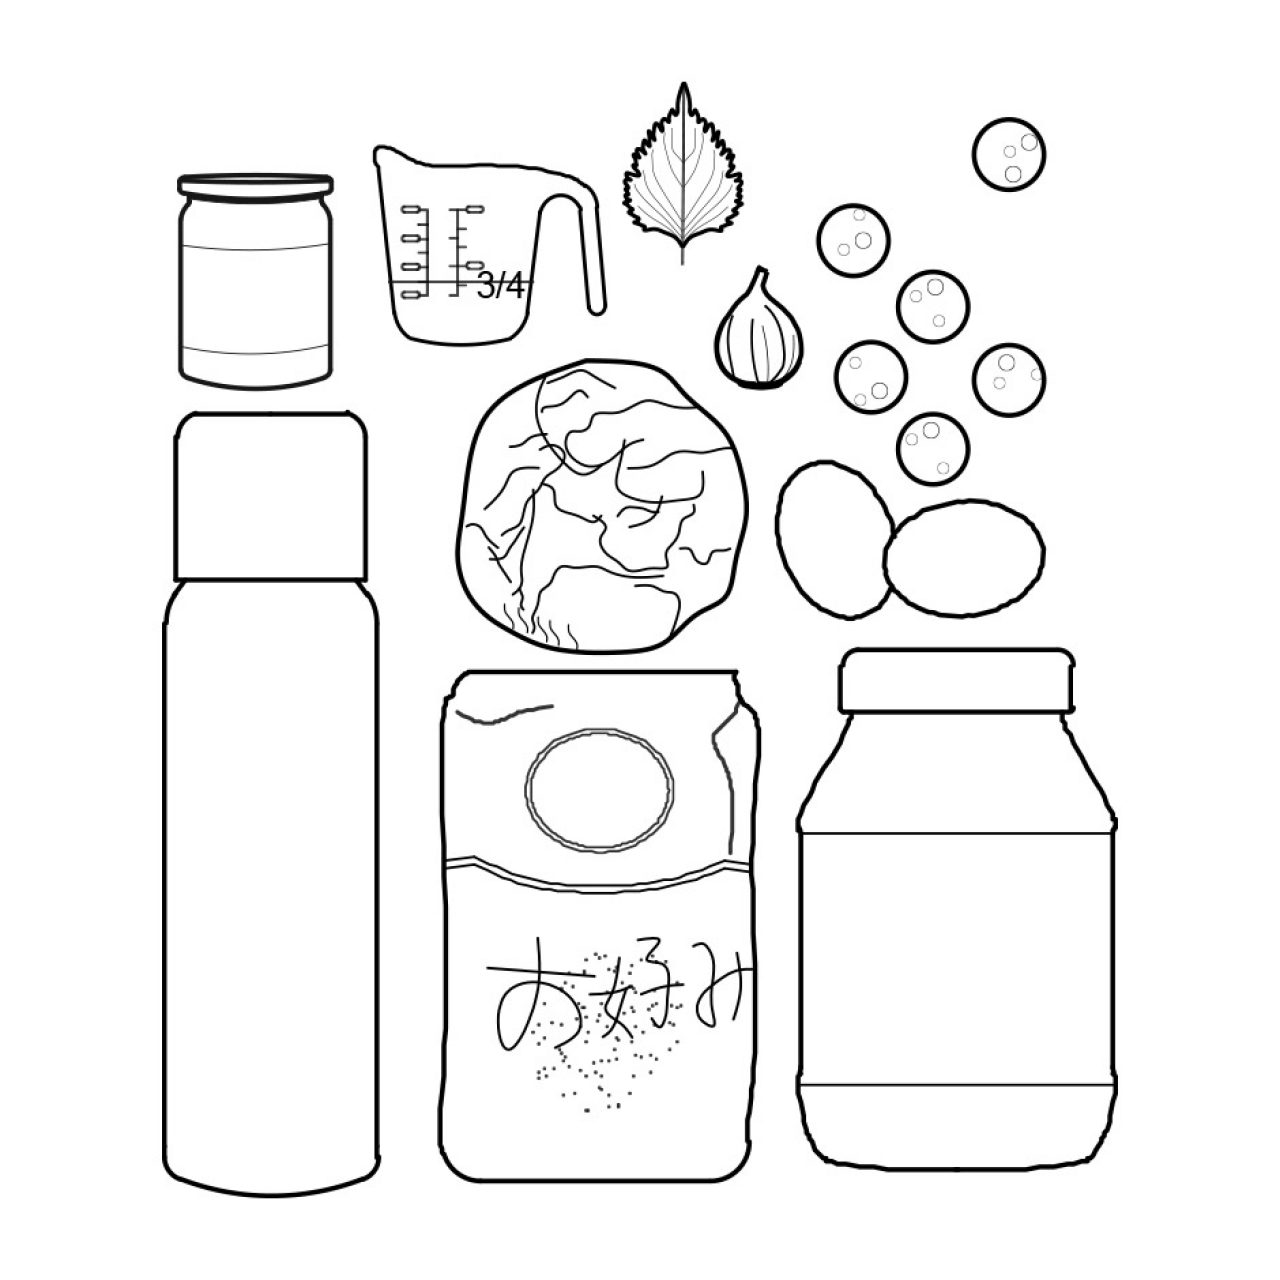
Ingredients
- 1 pack of frozen puff pastry squares
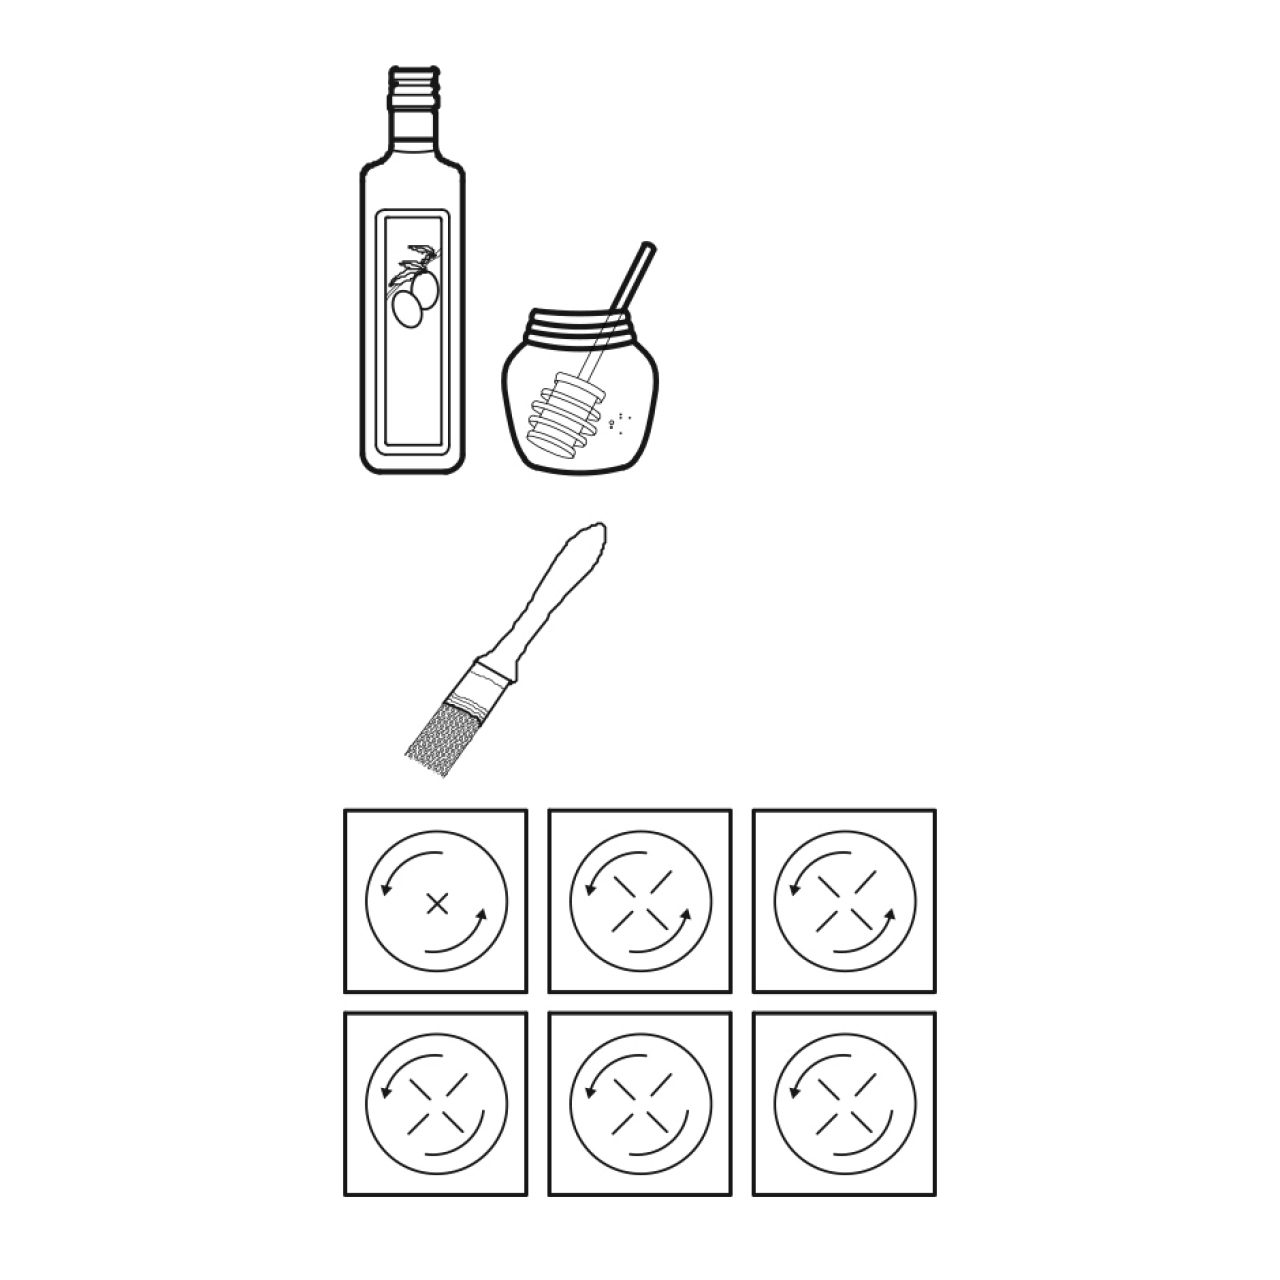
- olive oil
- honey, plus more for drizzling
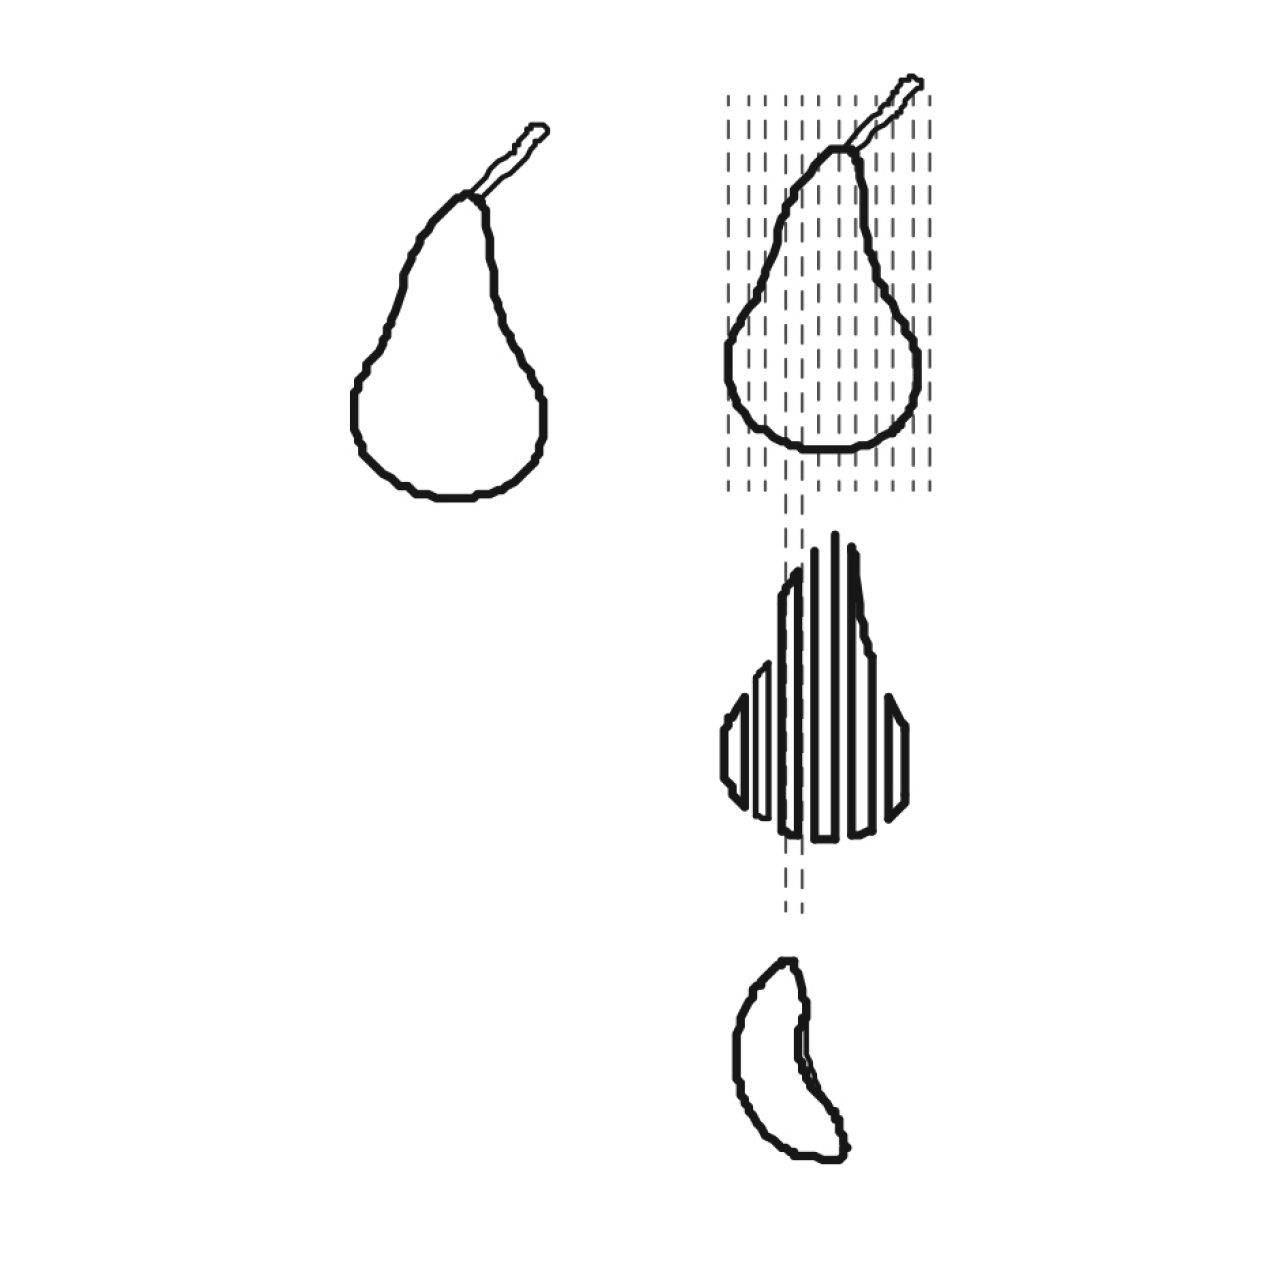
- 2 Barlett pears
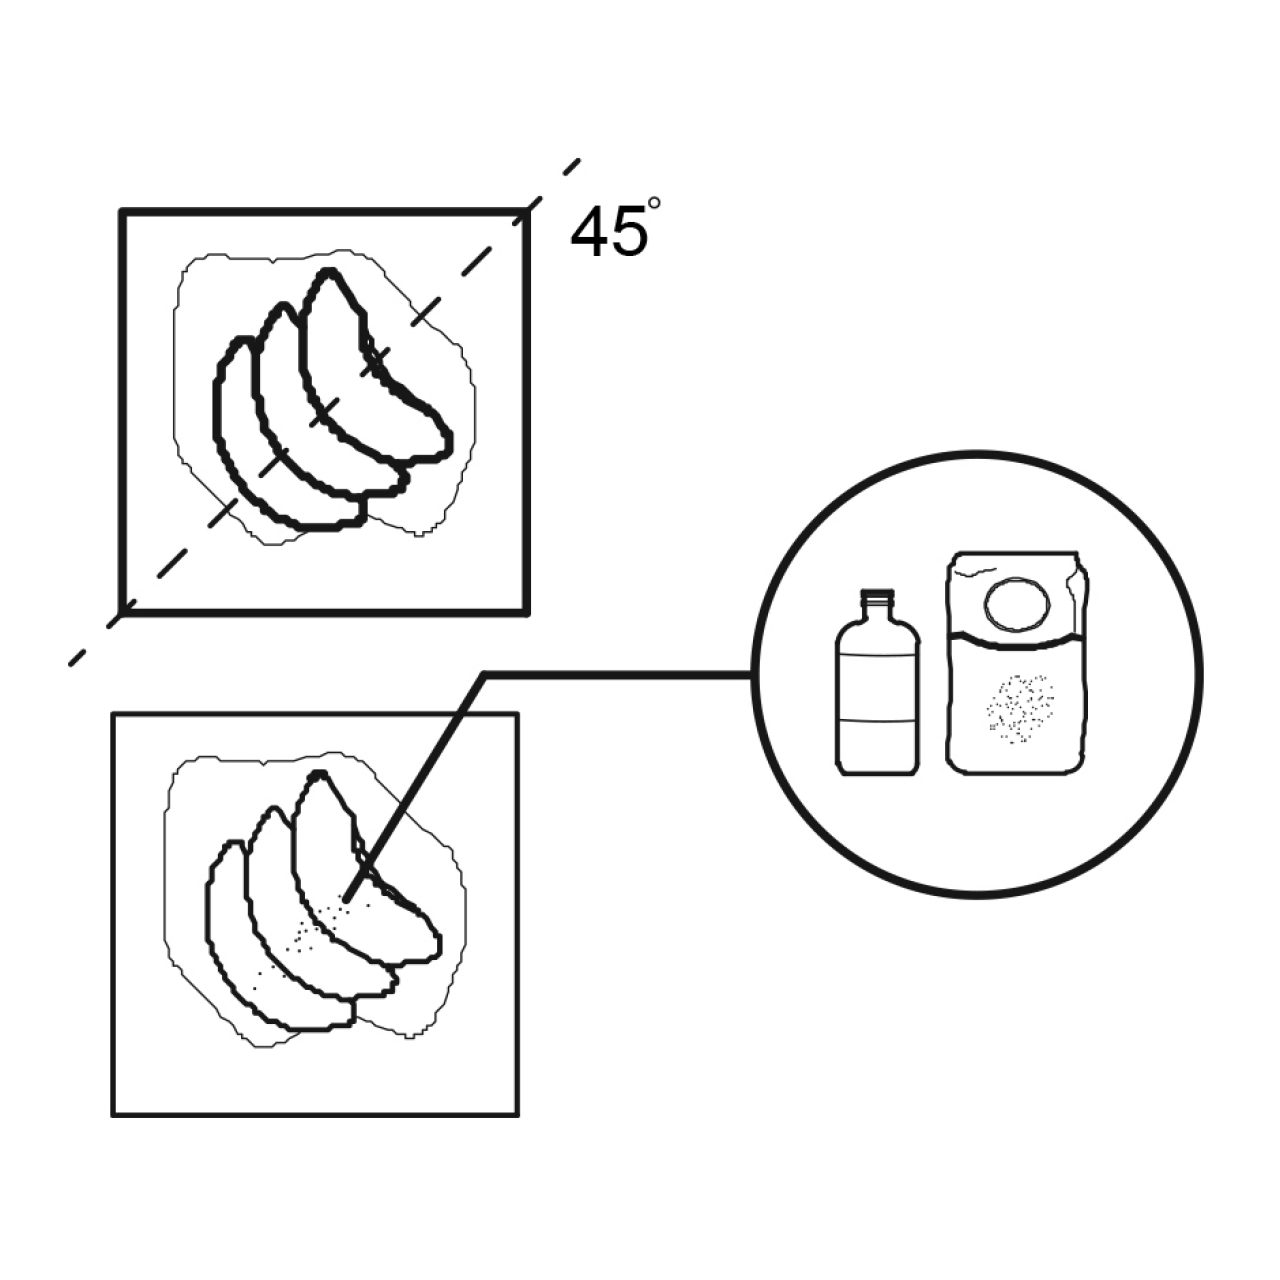
- Cinnamon
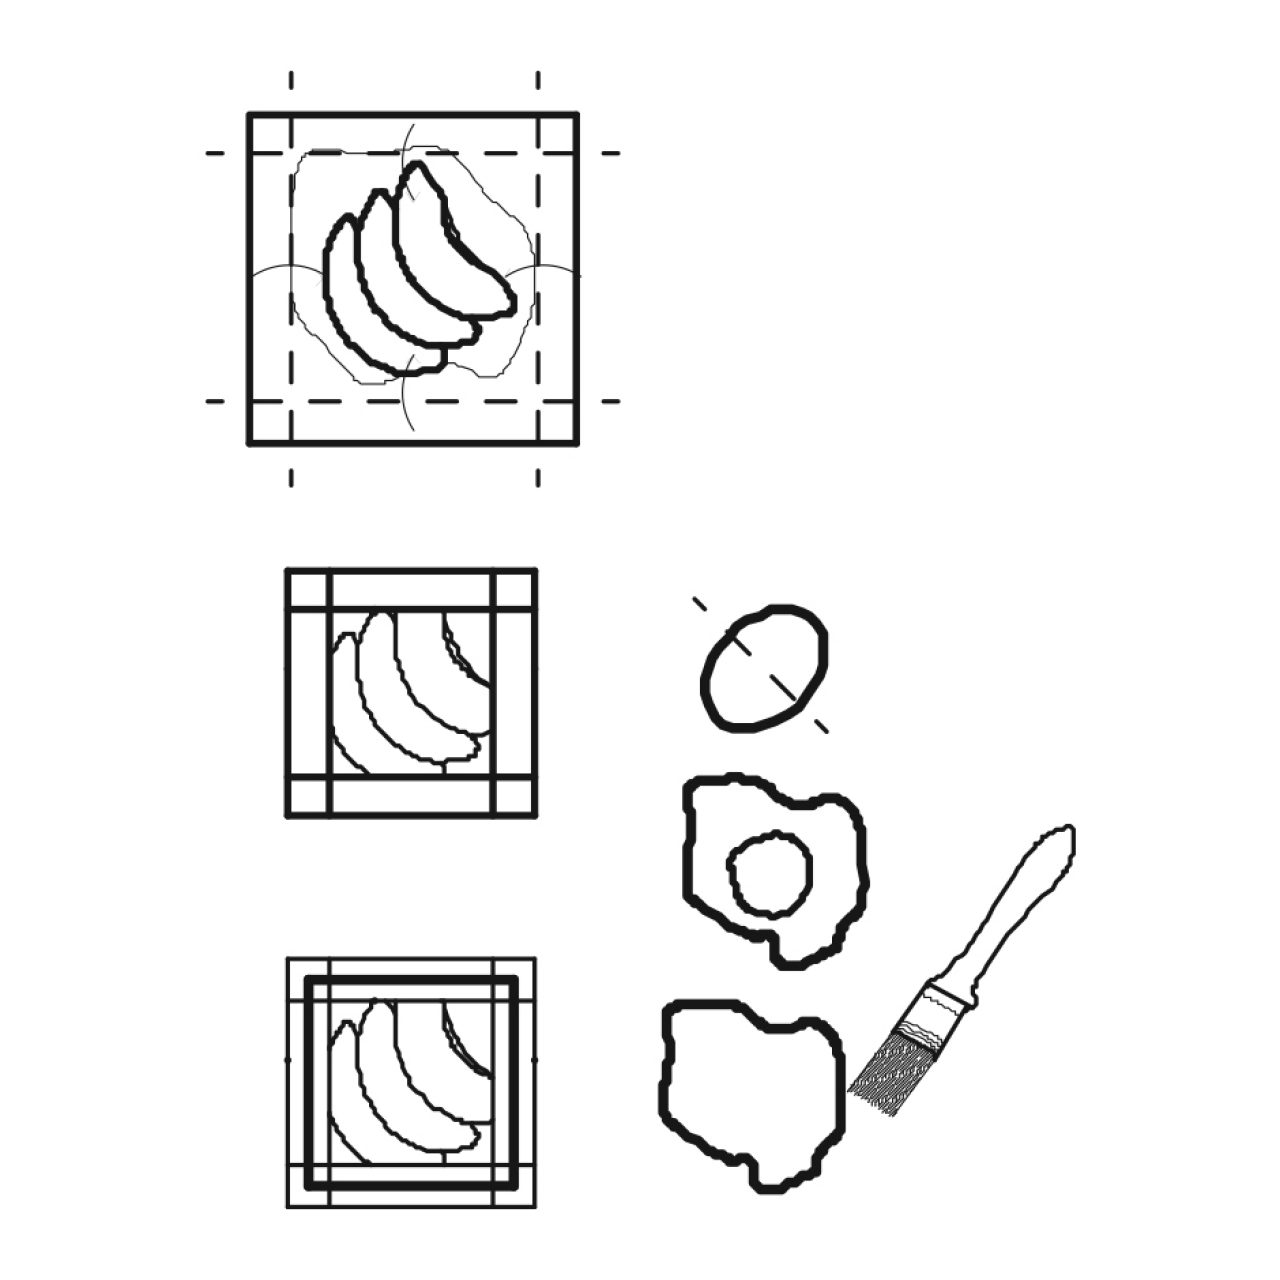
- 1 egg white
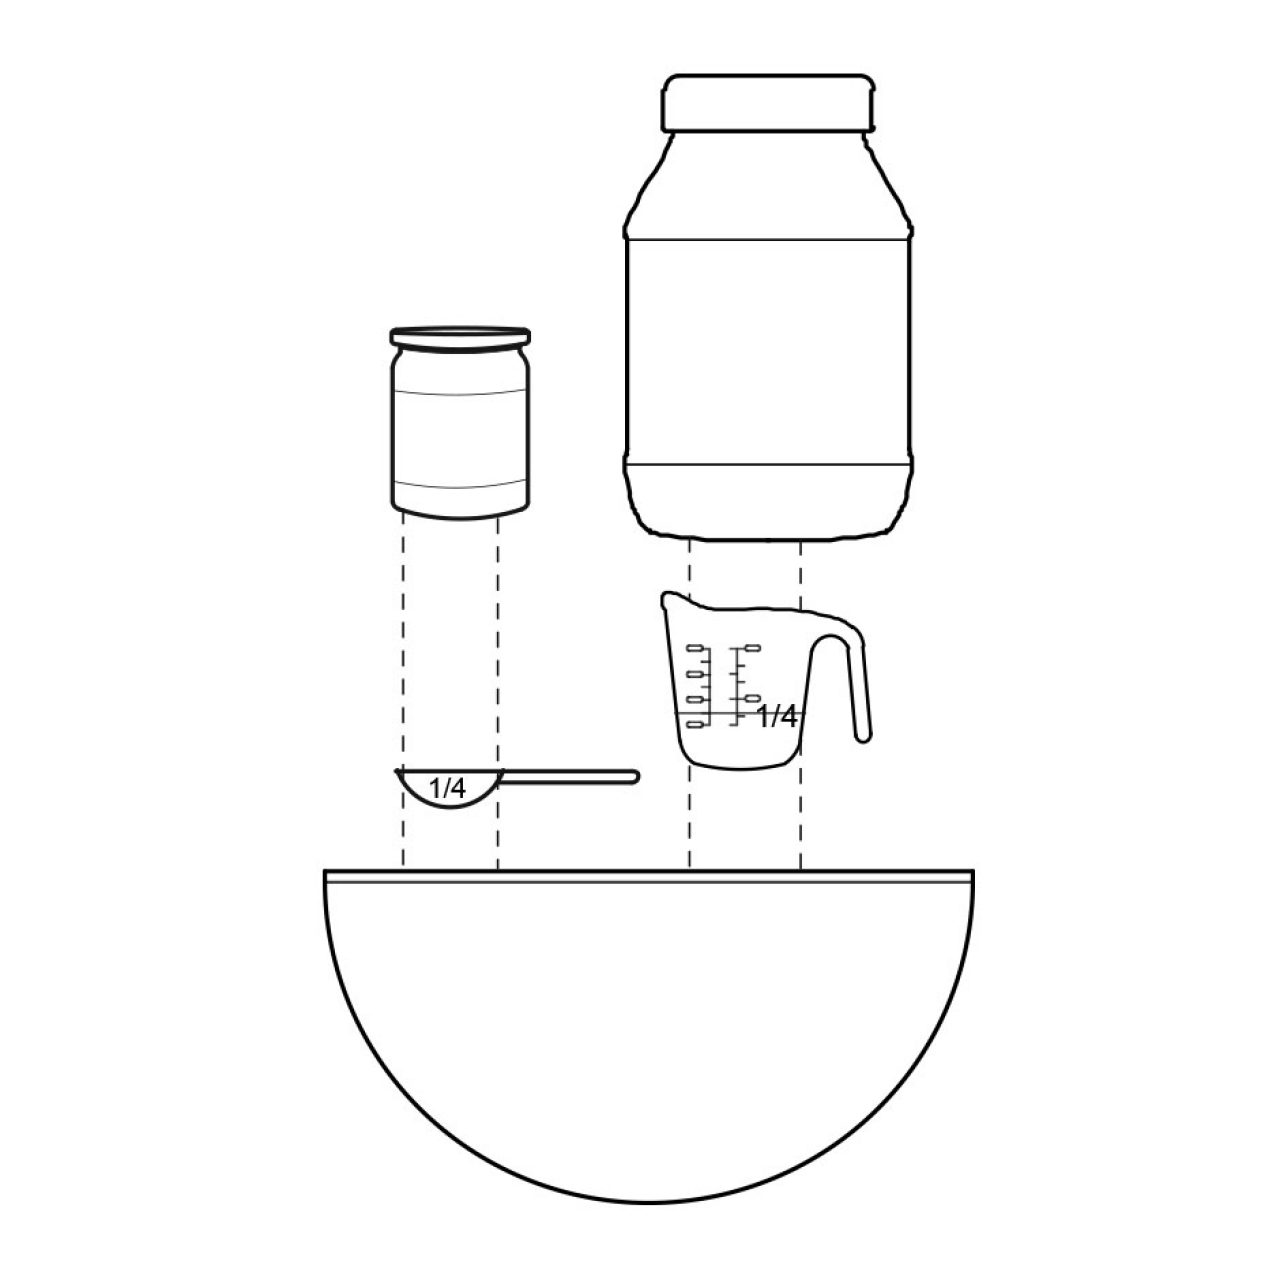
- 1/4 Cup turbinado sugar
- 1 small batch of fresh basil

Directions
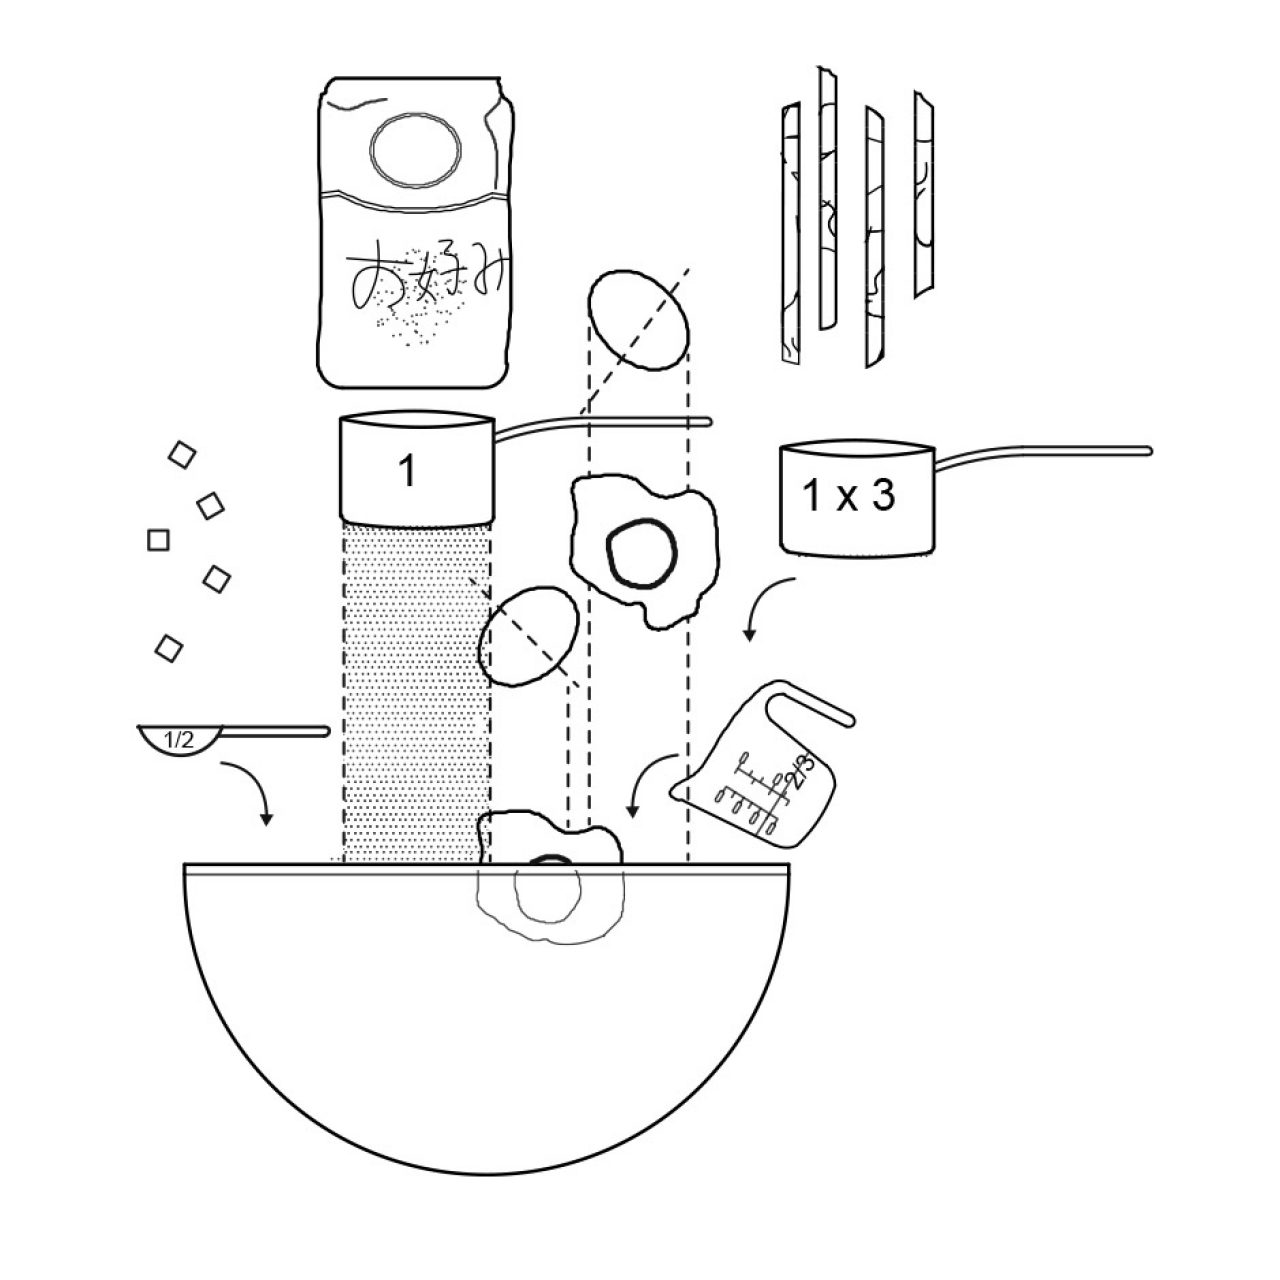
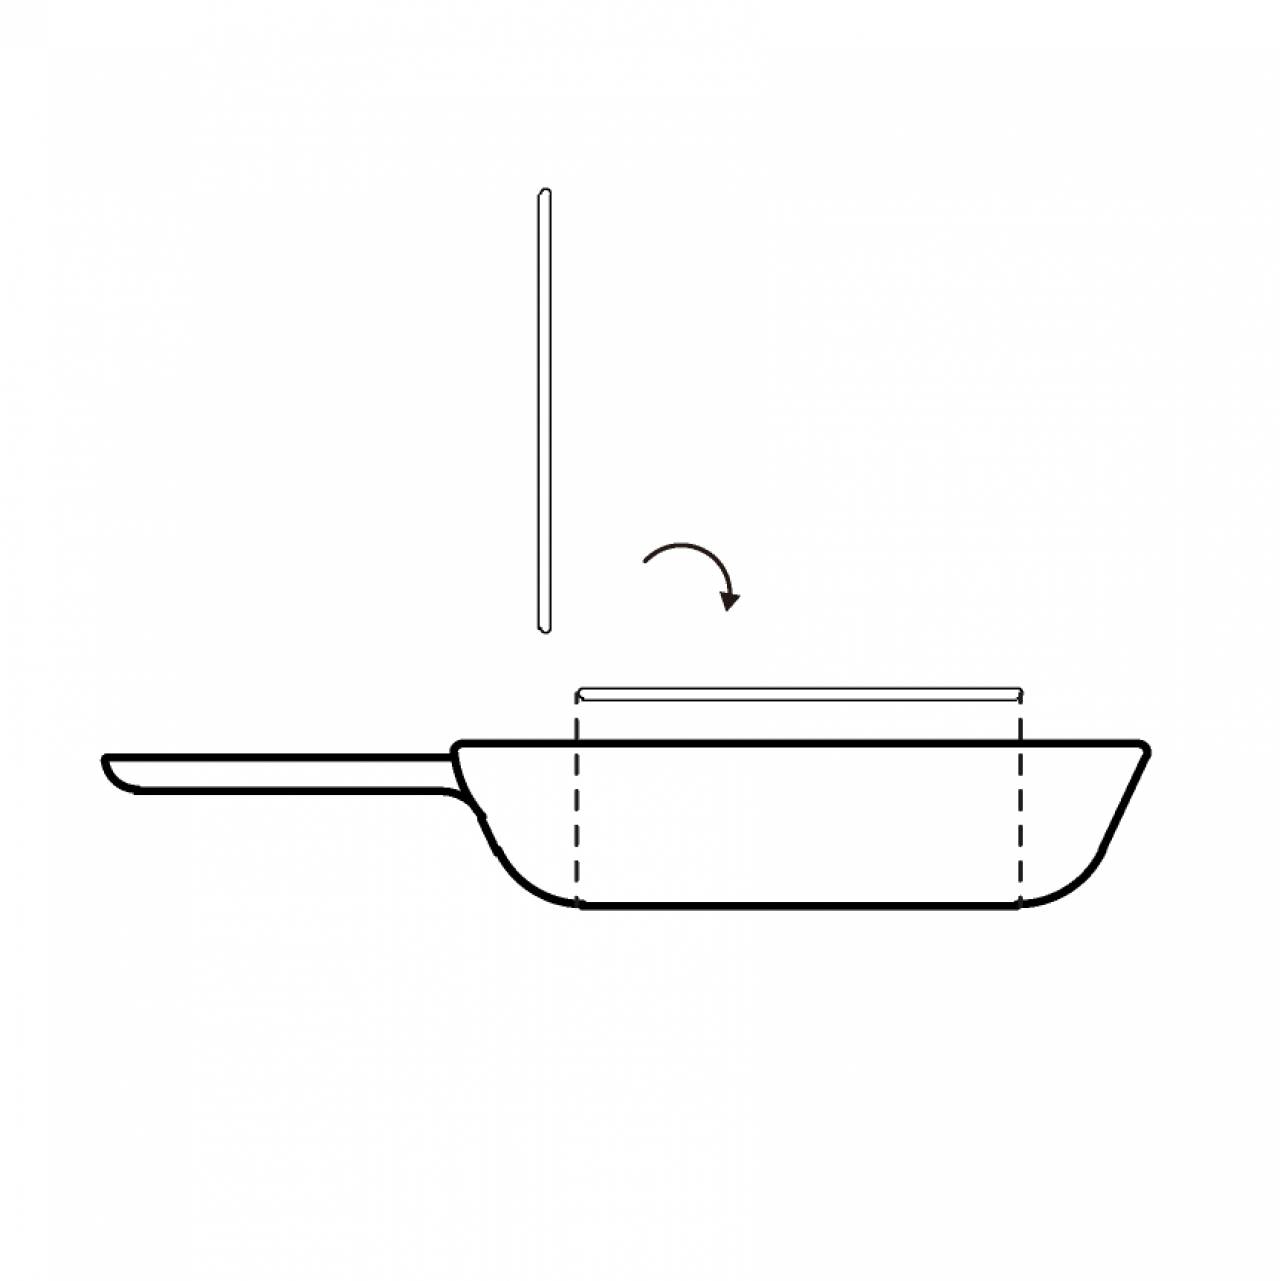
Defrost the puff pastry for about 20 minutes and set about 1″ apart on baking sheet lined with parchment paper. Preheat the oven to 400 F

Brush the center of the puff pastry squares with olive oil and honey.
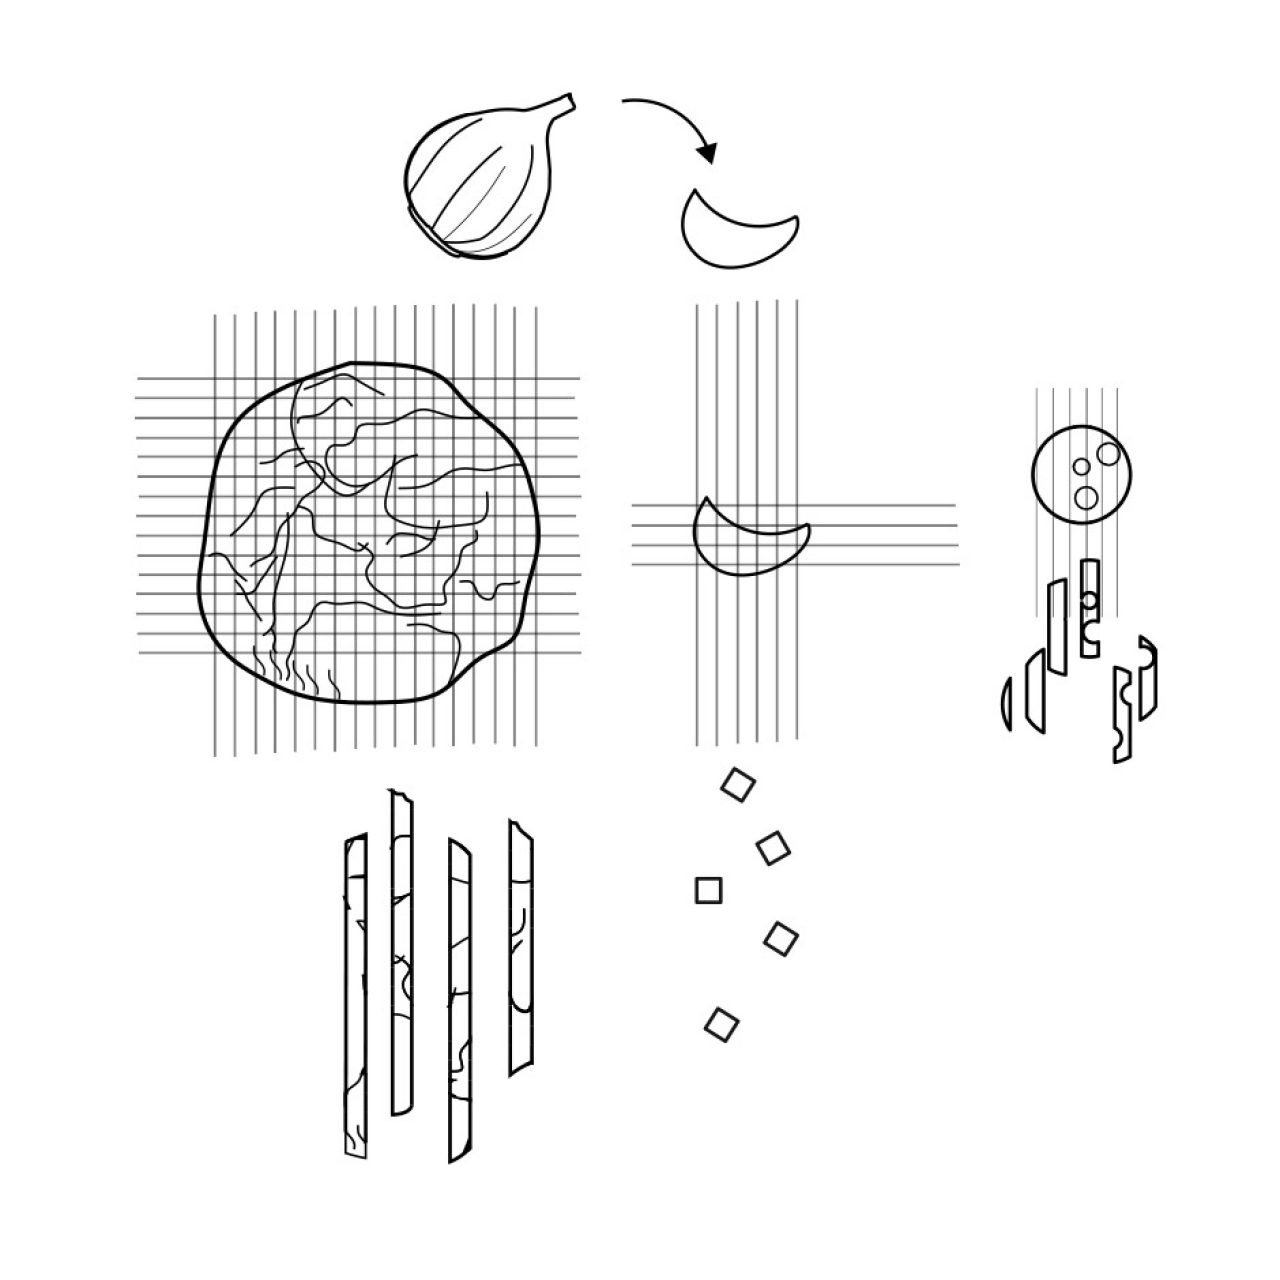
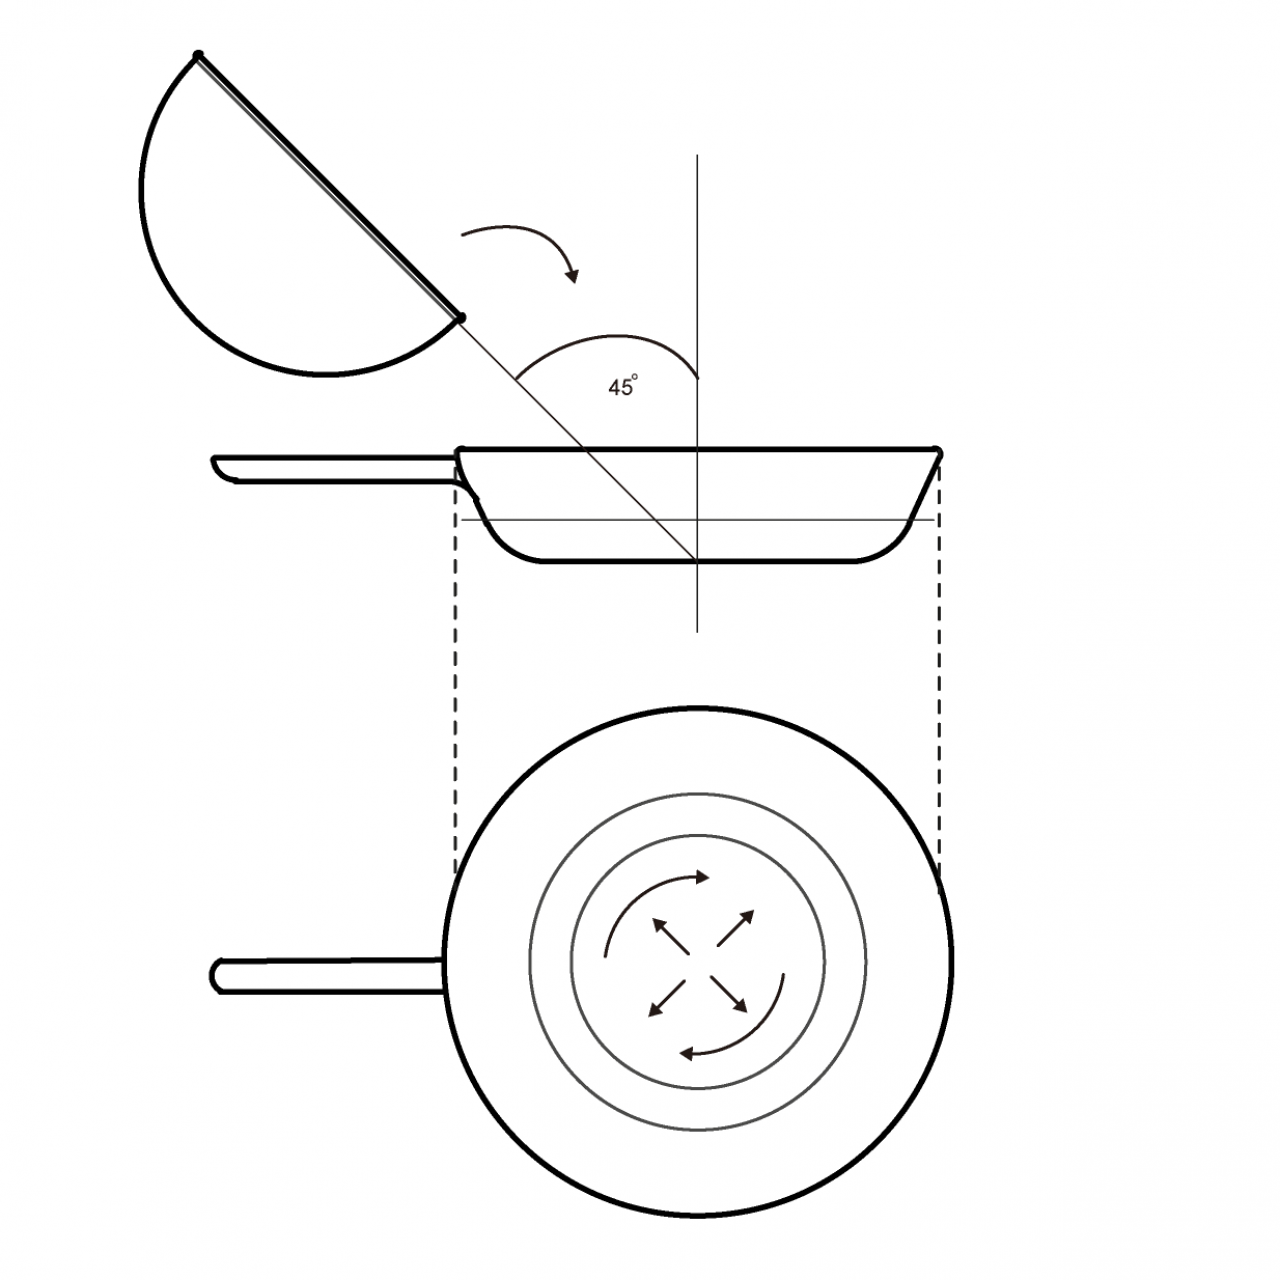
Slice the pears into 1/4″ slices.
Arrange about 3 thin slices of pears along the center of each pie tart, diagonally. Sprinkle desired amount of cinnamon and turbinado sugar over the pears.
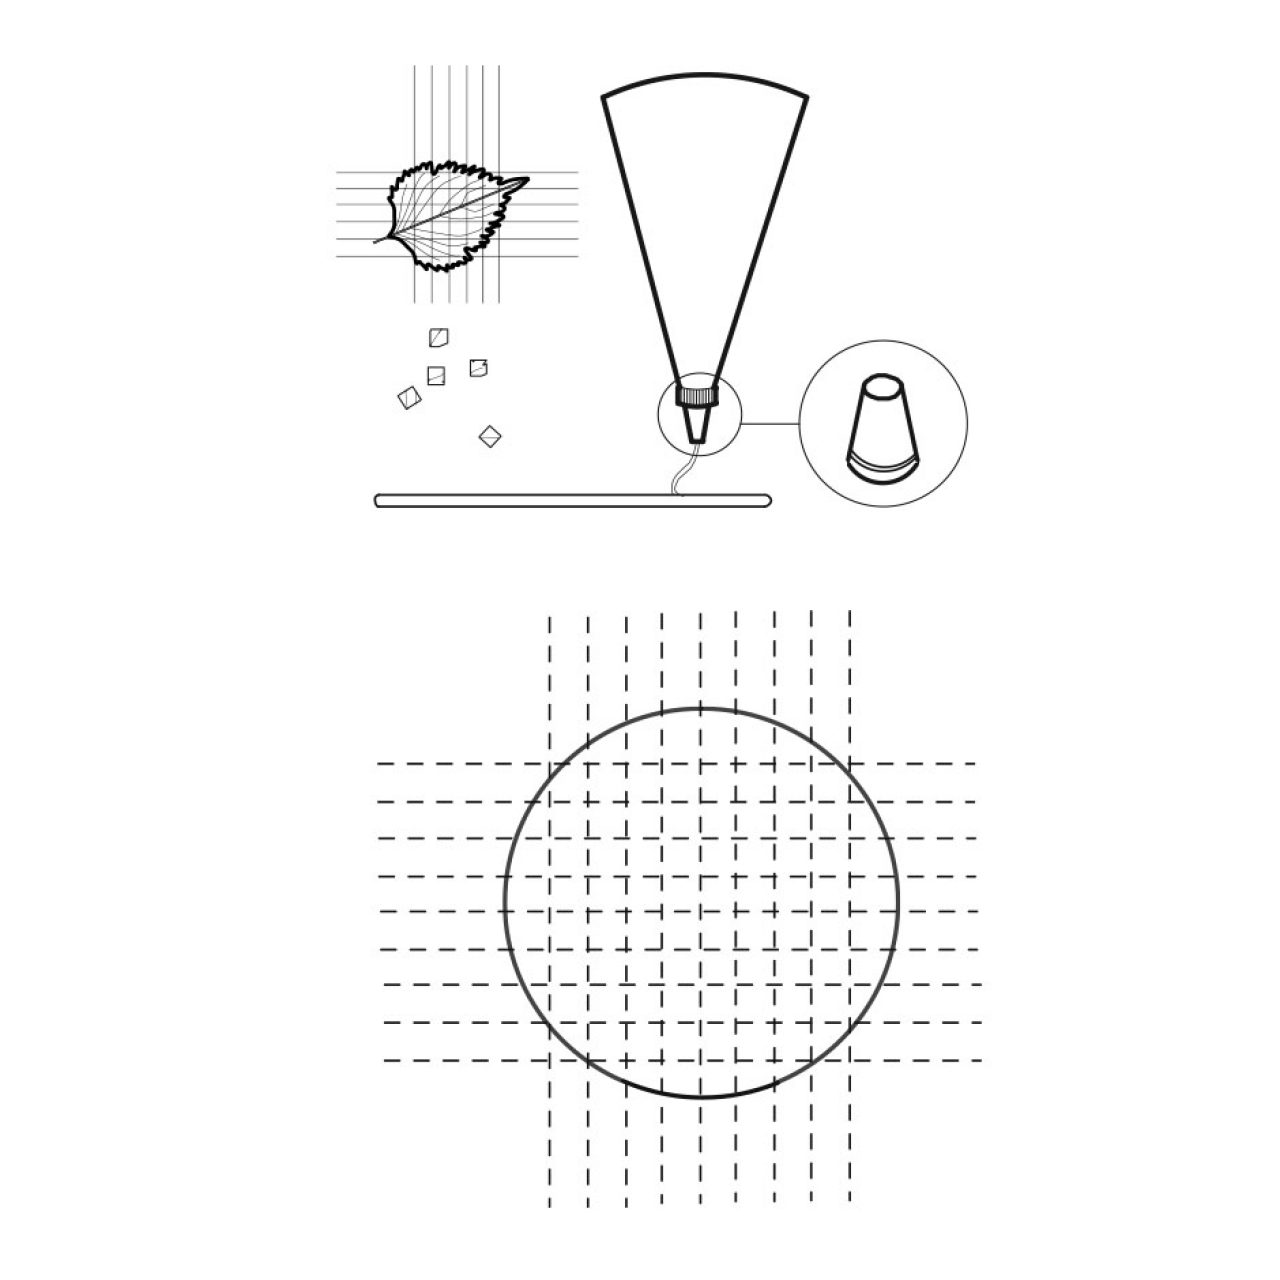
Brush the edges of the tart crusts with the egg white. Fold over into pleats and brush egg white over the edges of the tart crusts. Sprinkle desired amount of turbinado sugar.
Bake in preheated oven for 12-15 minutes, or until pastry is golden brown.
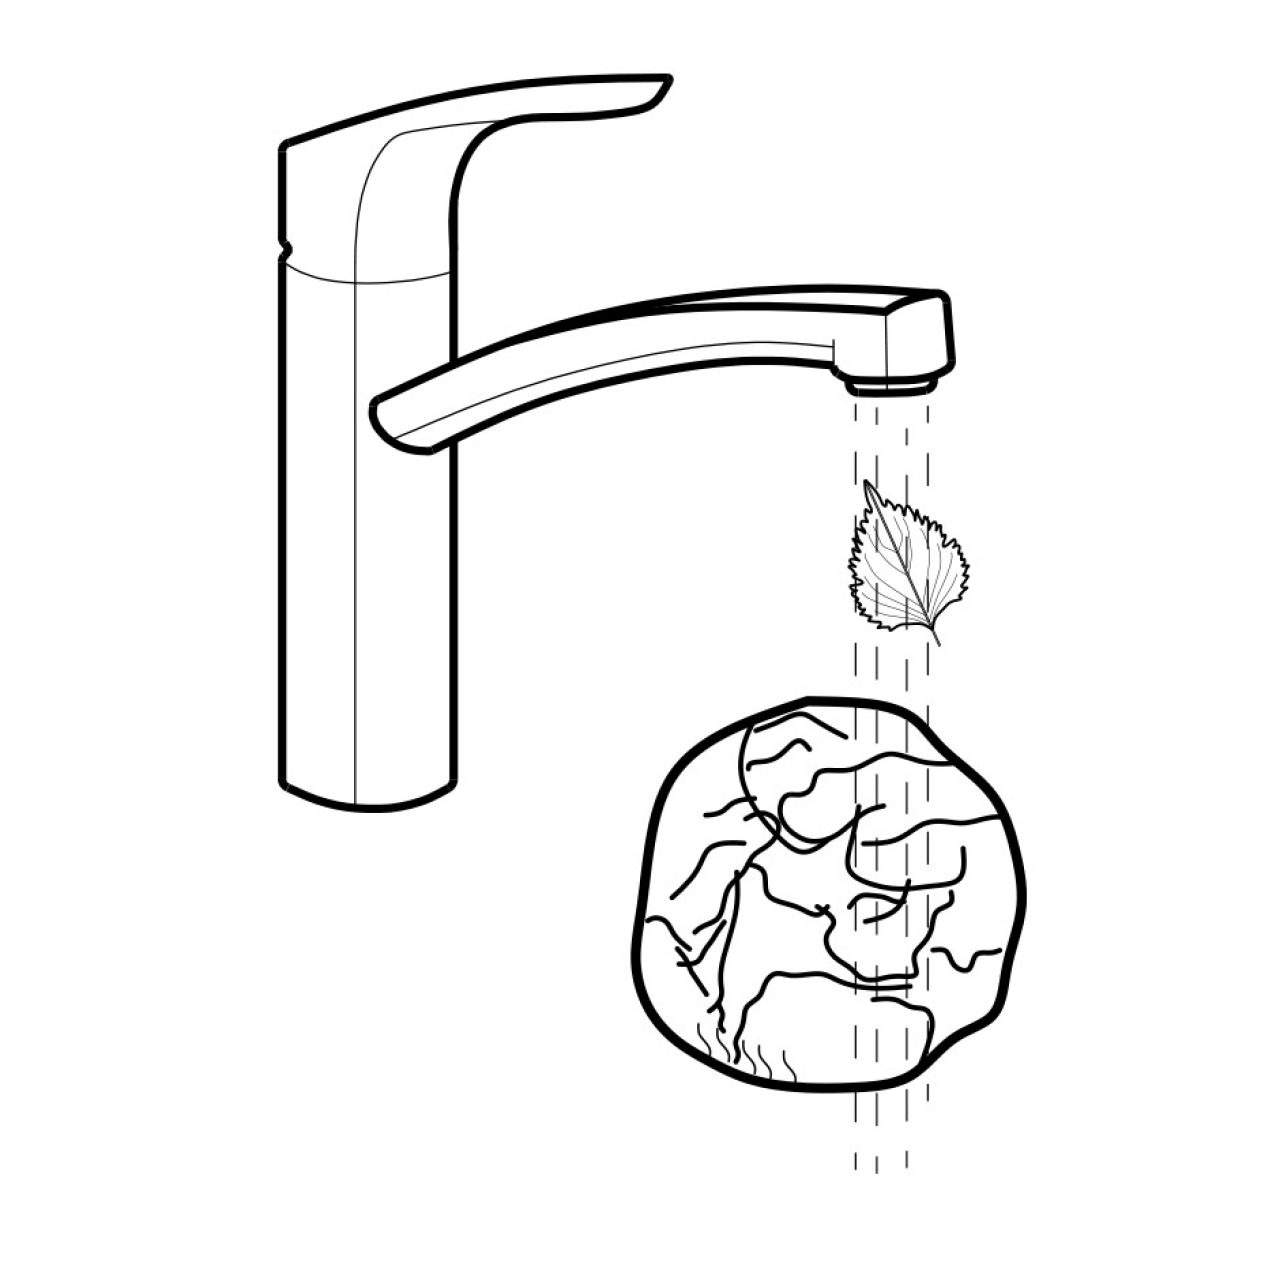
Carefully remove the baking sheet from the oven. Drizzle with more honey and sprinkle a few sprigs of fresh basil. Serve immediately!