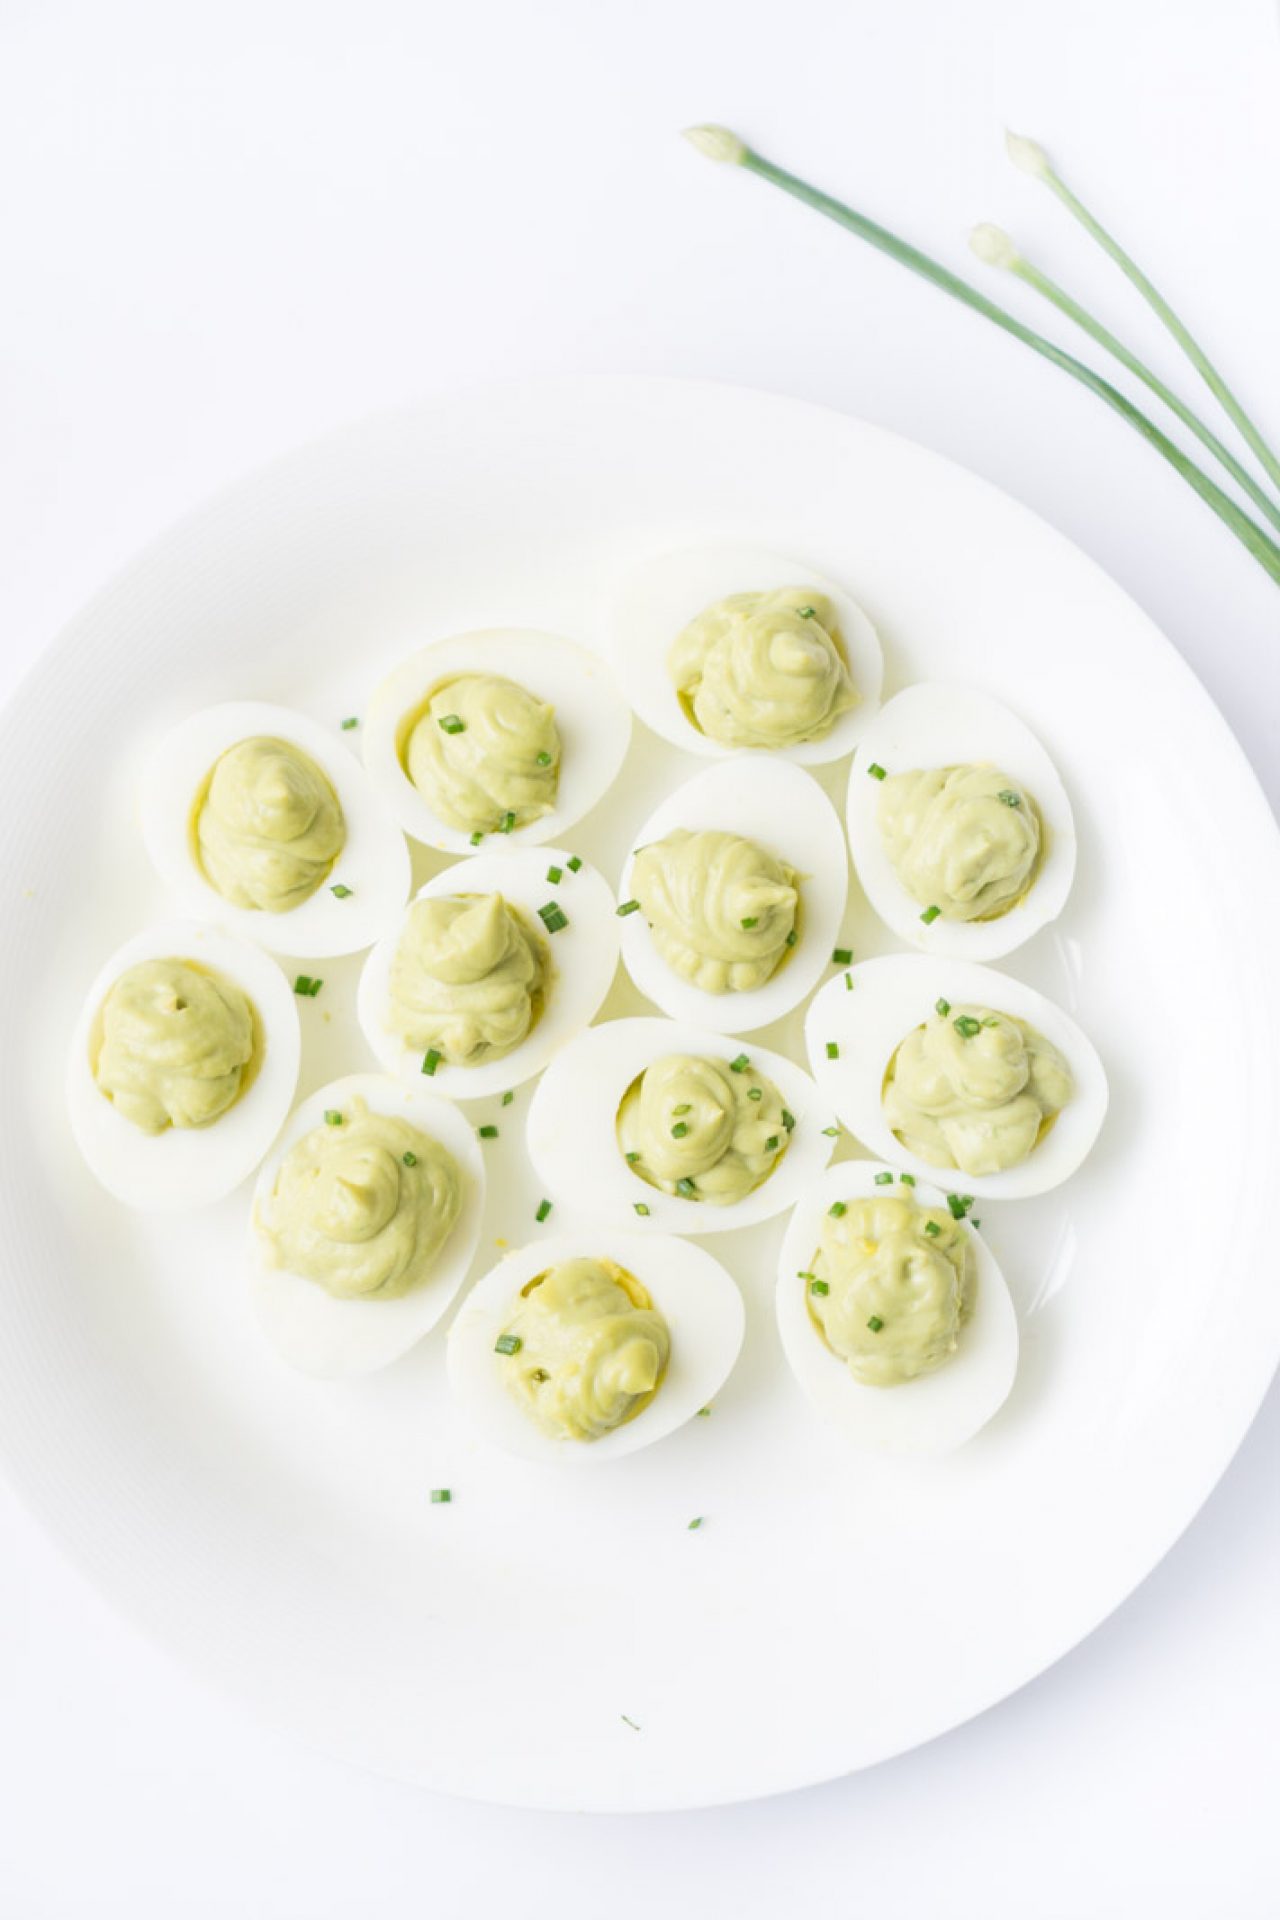
Wasabi Deviled Eggs

Guys, sorry for being dormant for a while. But let me tell you all what’s been demanding my 90% attention. So far, I’ve made it 1/4 way through this “UX Design Immersive” (AKA UXDI / UX bootcamp program) at NYCDA and lived 2 weeks in my first apt with an S.O. for the first time. Although O and I argued about ridiculous things we’d never thought of – like which clothes hangers to get, our biggest problem is me tending to take up 90% of the bed. I’m happy to say that the blessing of living with O overshadows the issues of unemployment and having a slanted floor (yes, it’s been weird cooking and seeing my egg yolks slip towards me).

O’s been incredibly supportive around the home especially when I’m at this crazy UX bootcamp. I don’t know about you guys, but it’s been sweet to see conventional gender roles switch, like when he helps prepare my breakfasts/lunches while I try to rest or sleep a little longer, and to come back to a cleaner home. More on deviled eggs though…

On the flip side, trying to toughen up from the stupid amount of cat allergies I’m having (@#$@#$ the chances of picking an apt with a previous cat!) and working weekends at Bluestone Lane with all sorts of angry customers. Generally, I’ve been juggling an innumerable amount of ups and downs.

Anyway, this creamy wasabi-deviled egg can reflect my past few weeks: hot, spicy, refreshing, and creamy? nah, but it’s been comforting. It was quite the happy plate for both of us; not sure how long it took O, but I woke up from a nap in his arms to realize the plate was empty; he basically ate 90% of these eggs and didn’t have any stomach problems.  That’s what I call… a complete and happy recipe.

Wasabi Deviled Eggs

Ingredients

Preparation Time
15 min
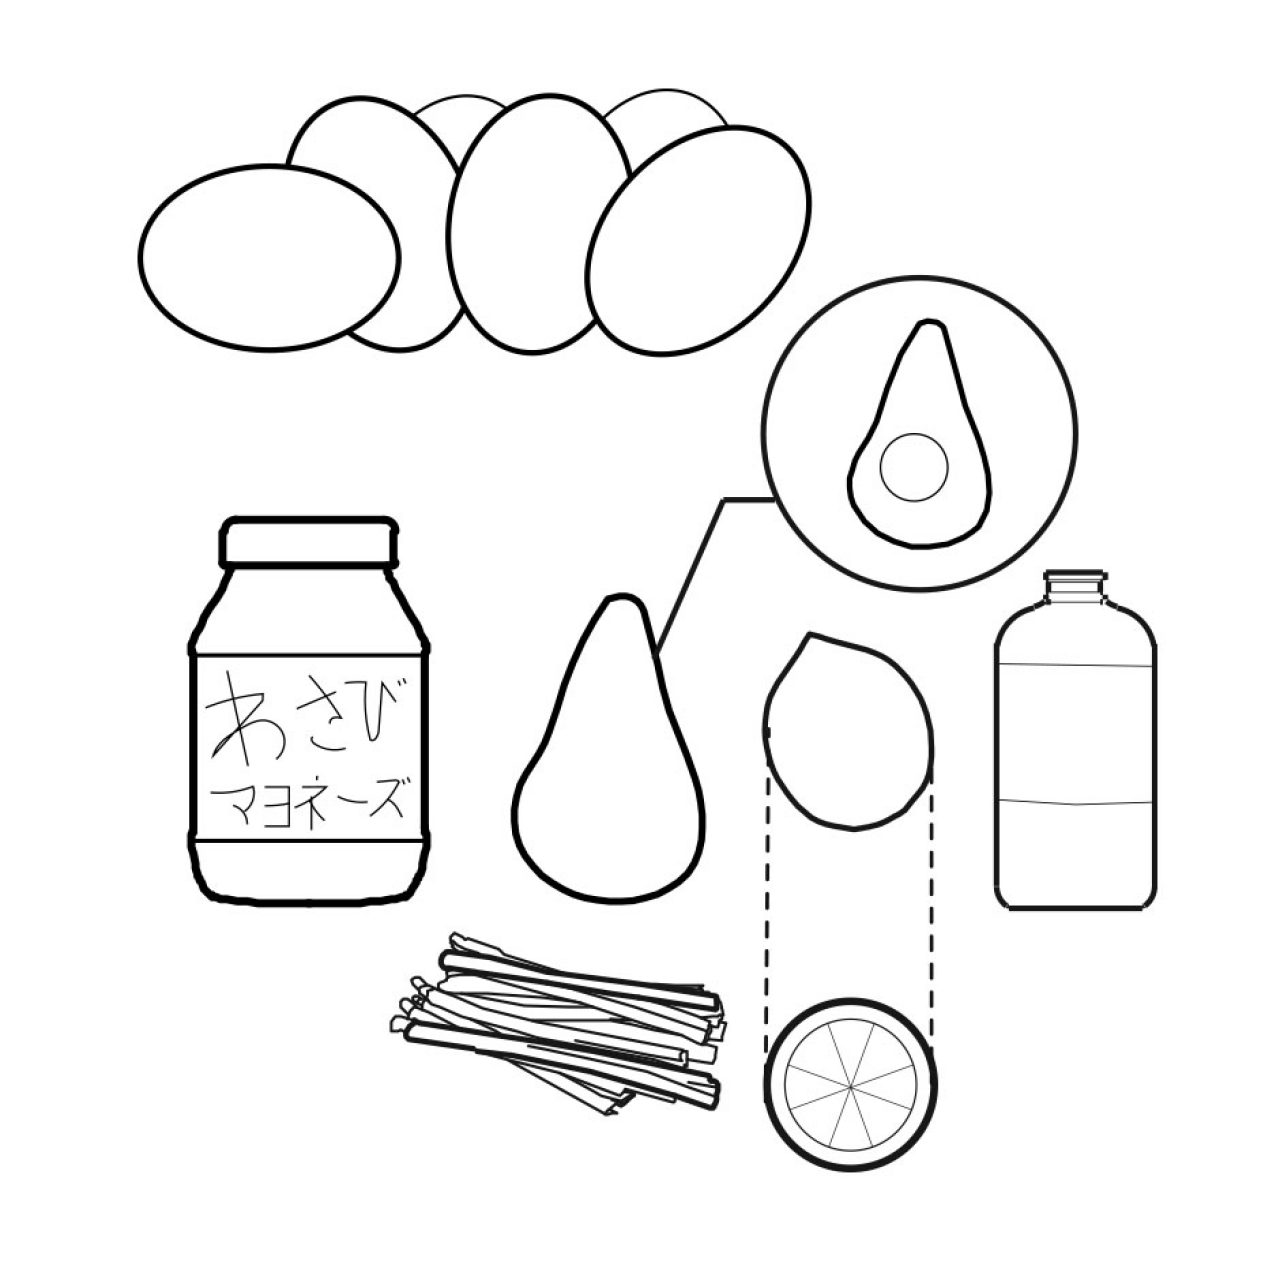
  • 6 eggs
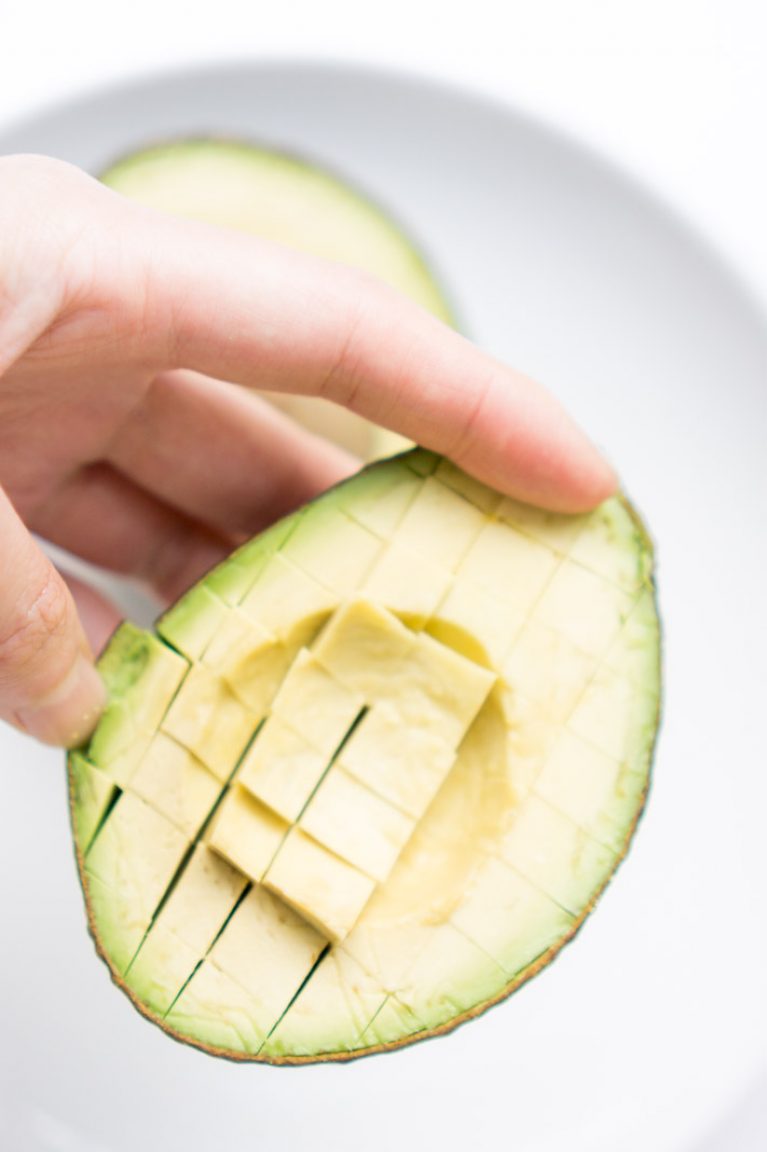
  • 1 Avocado
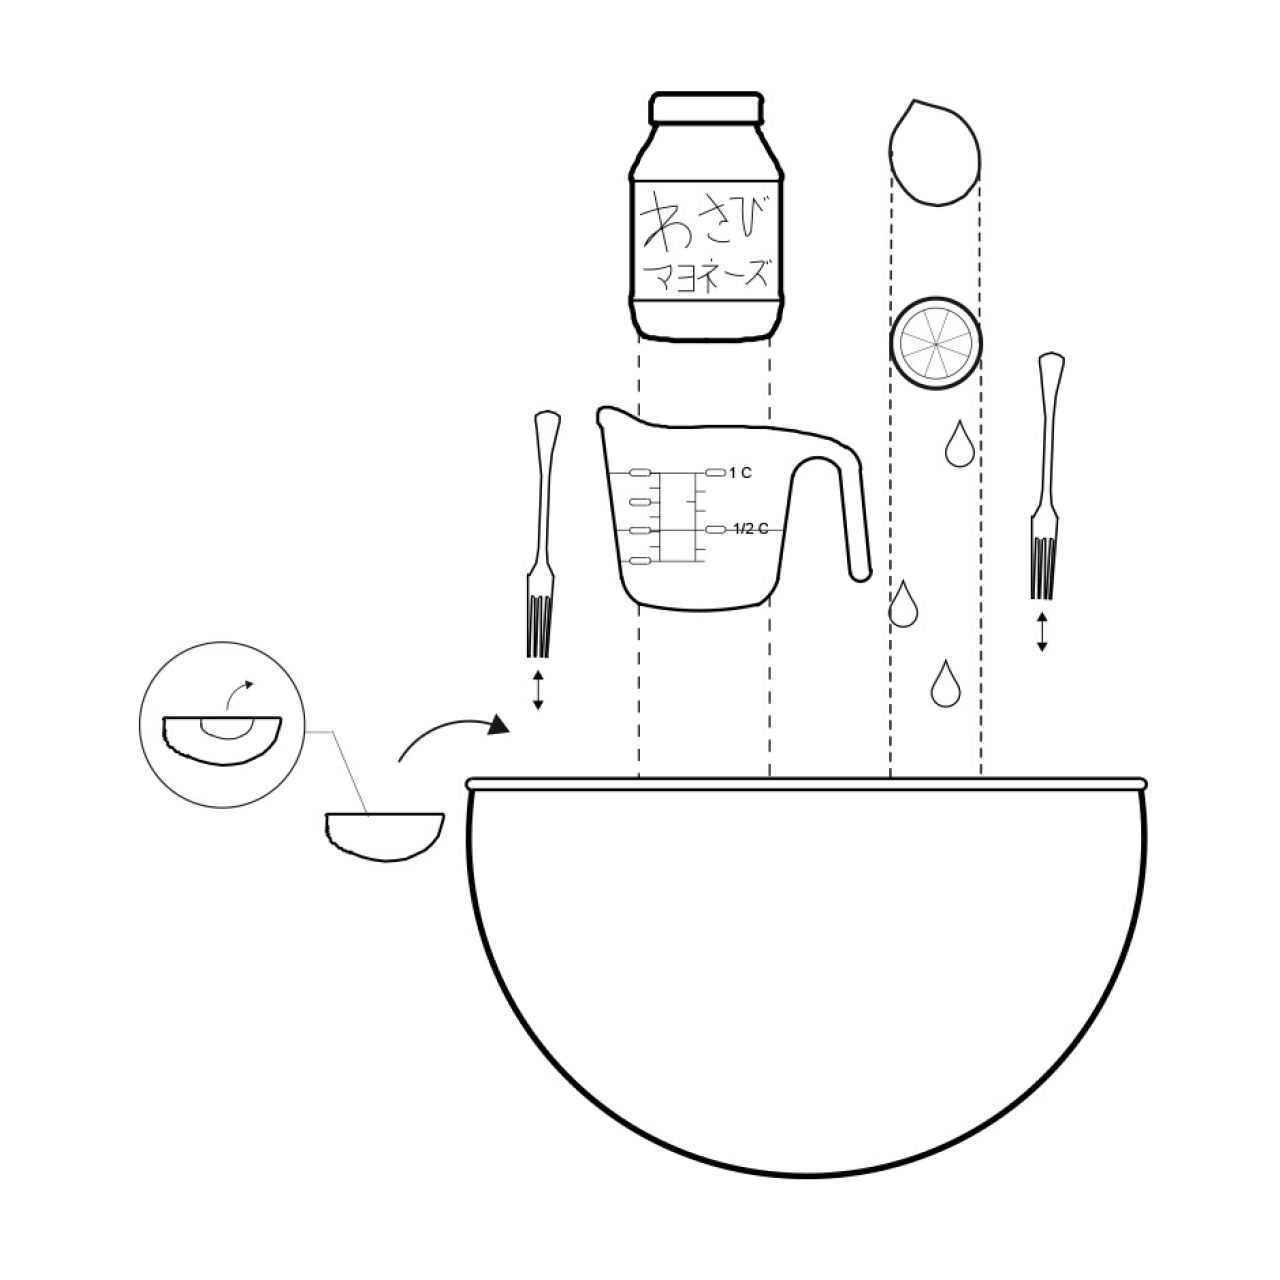
  • 1/2 C wasabi mayo
  • 1 lemon
  • 1/2 tsp salt
  • 1 bunch chives, chopped (for garnish)

Directions

Step 1.

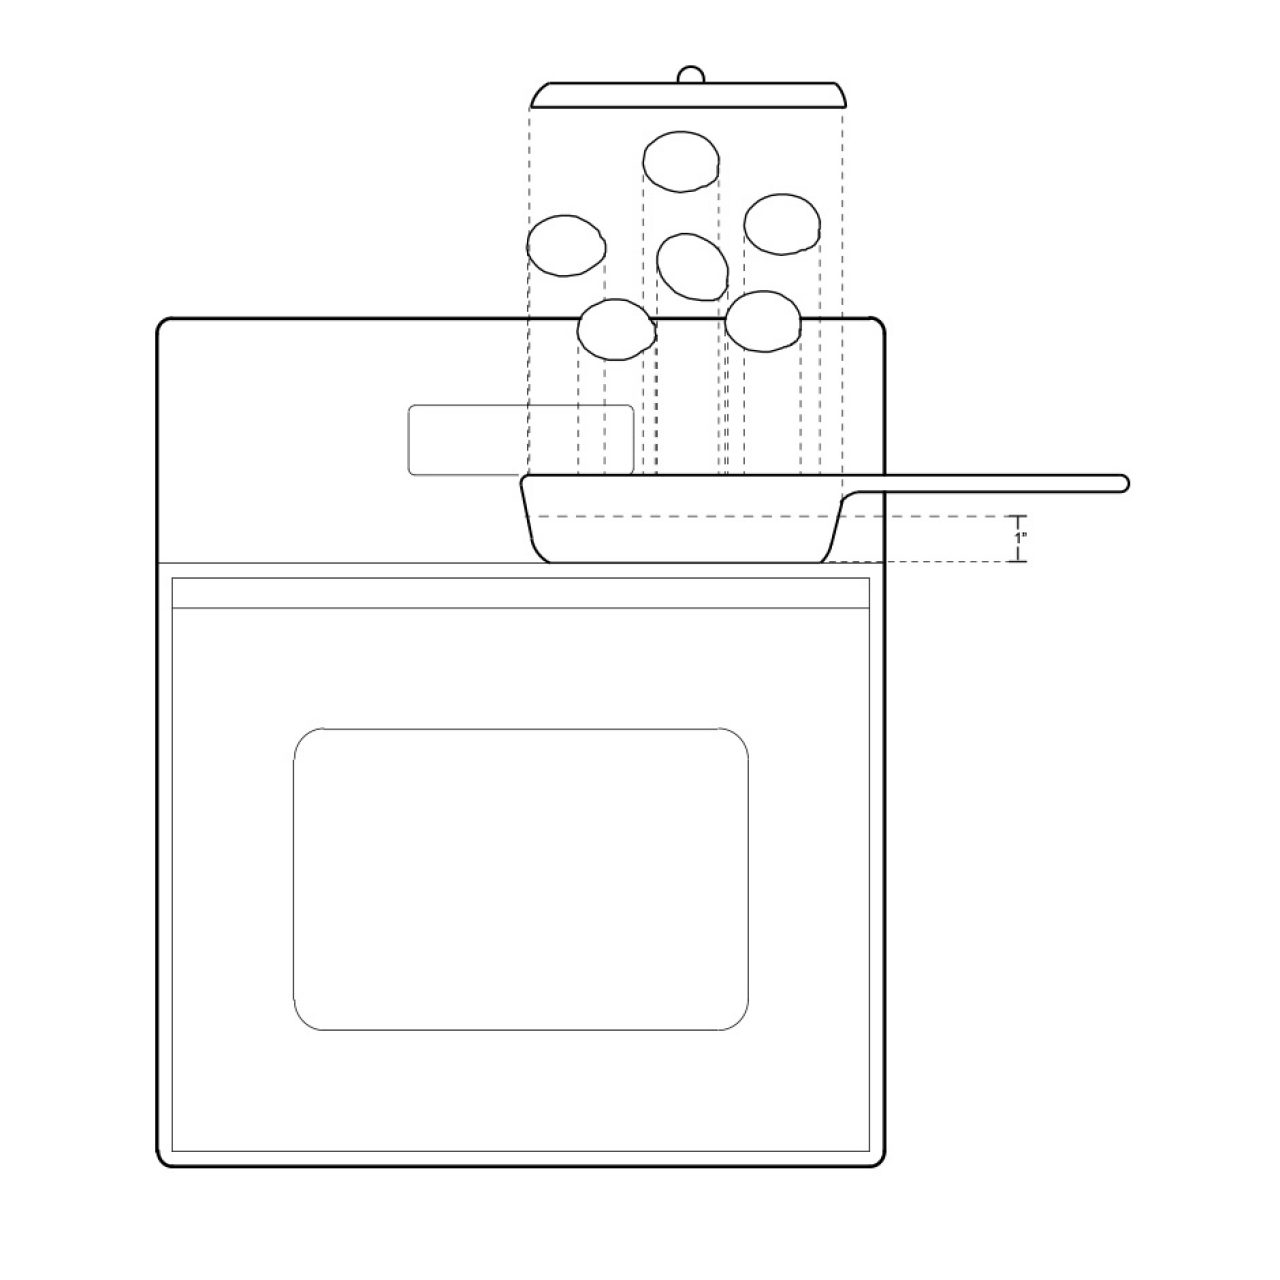
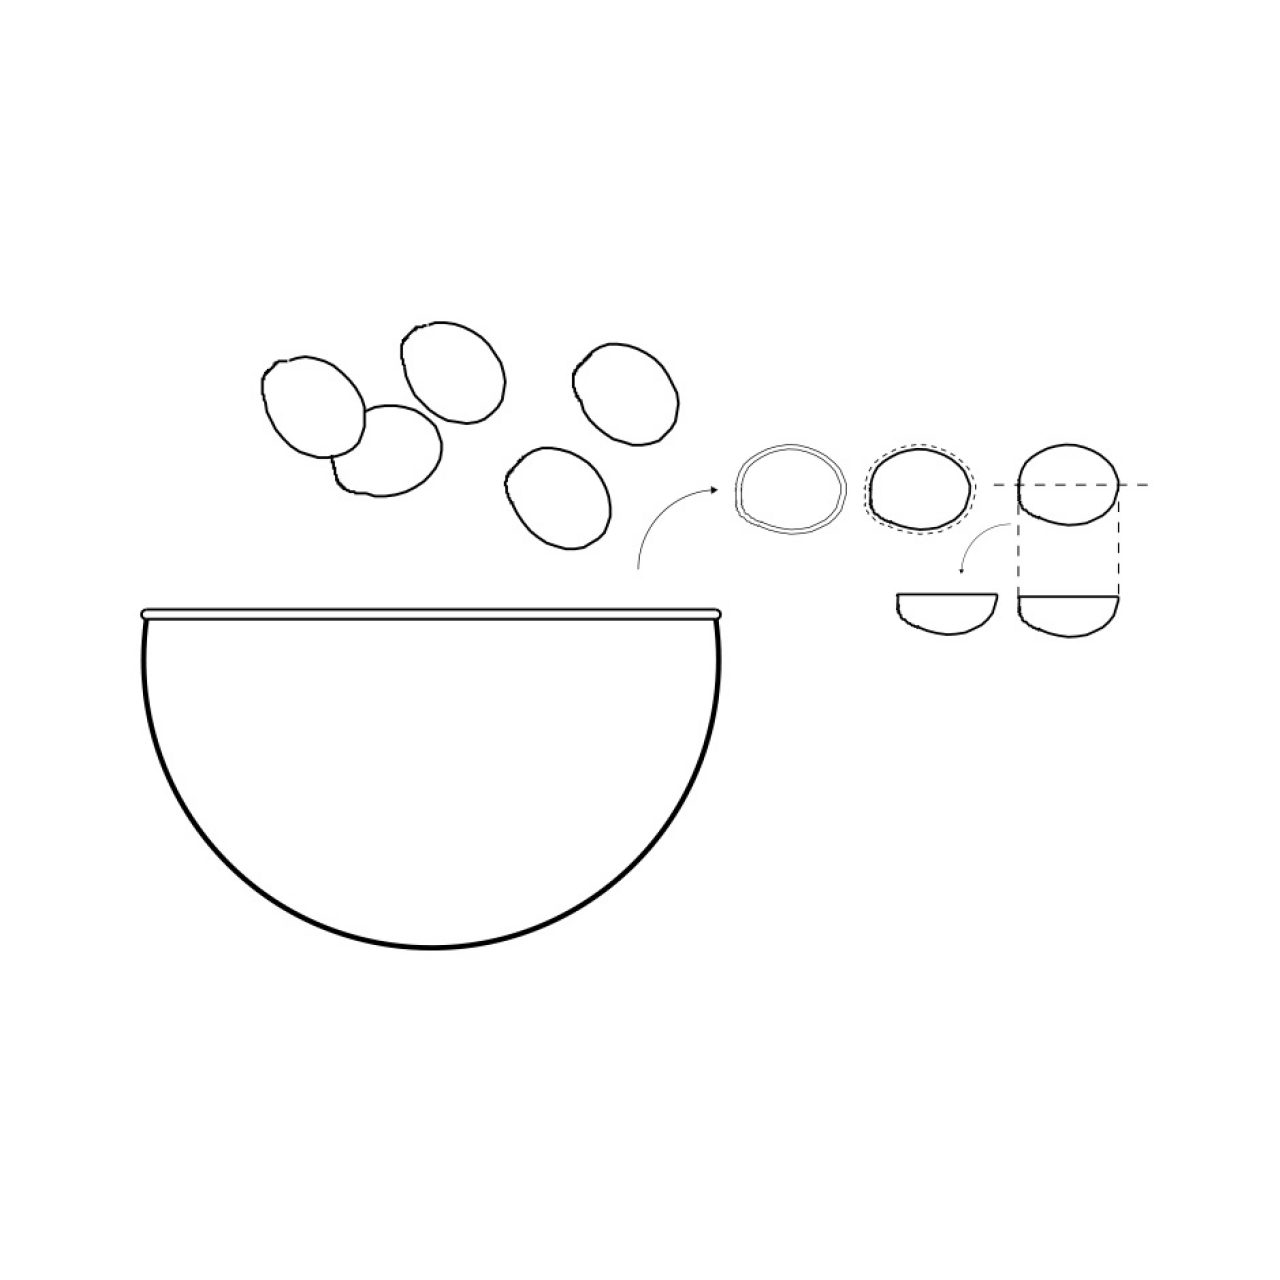
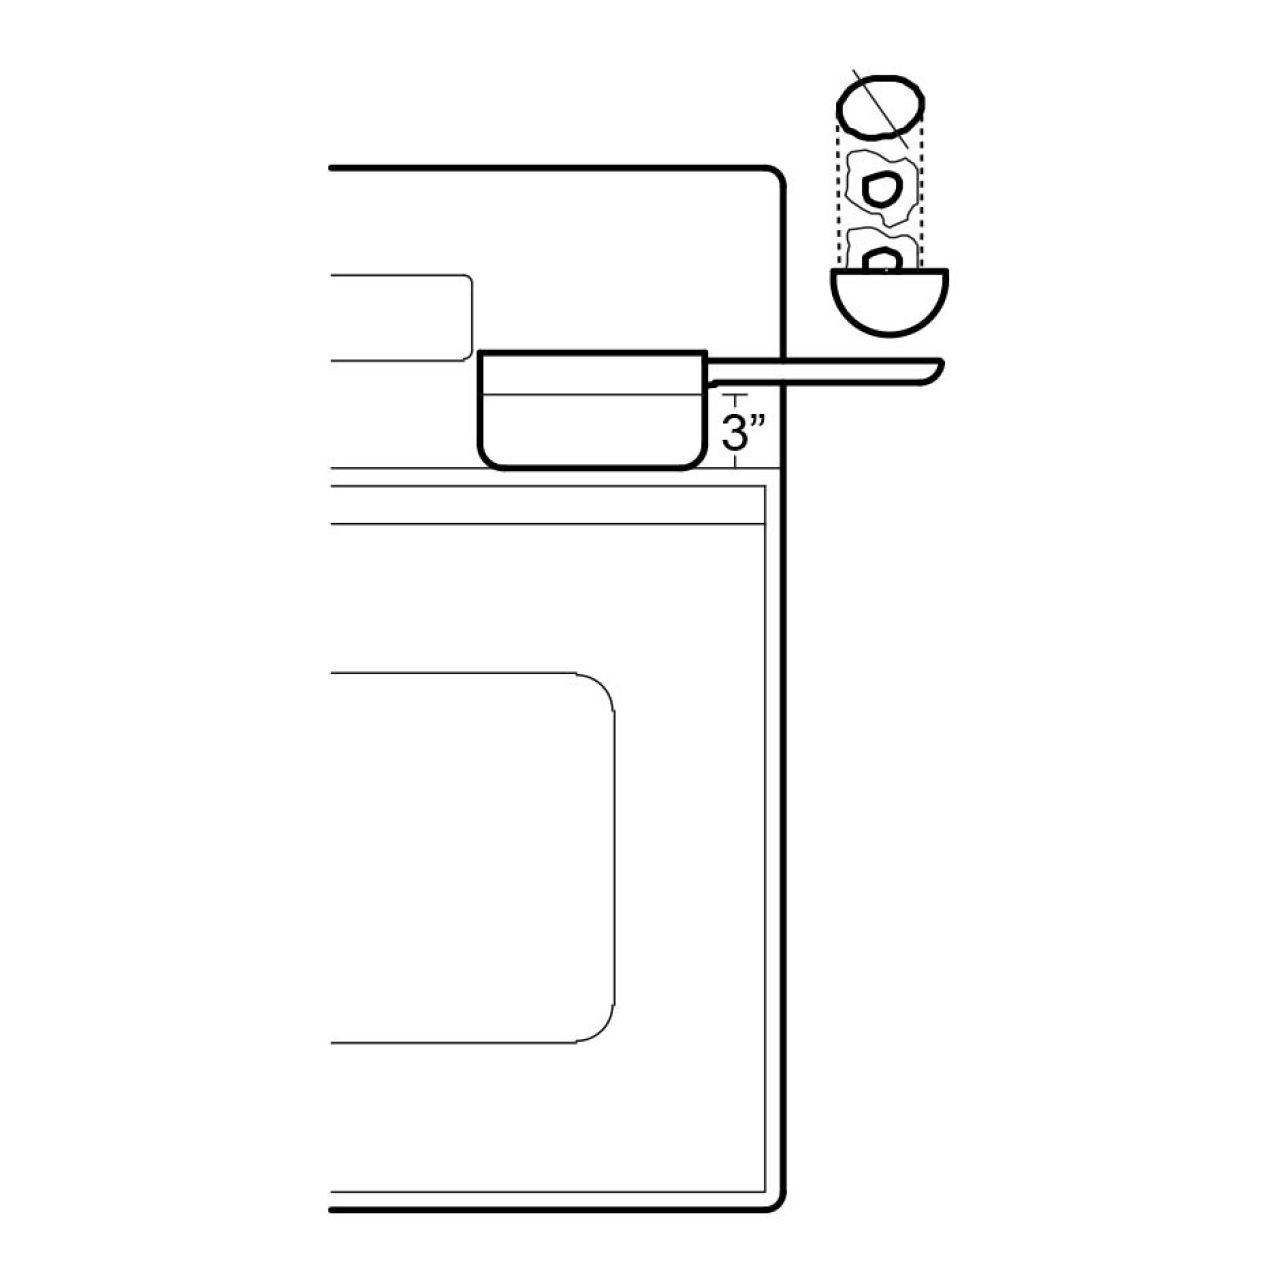
Place 6 eggs in a medium saucepan. Add enough cold water to cover eggs by about 1 inch. Bring to a boil and cover.

Step 2.

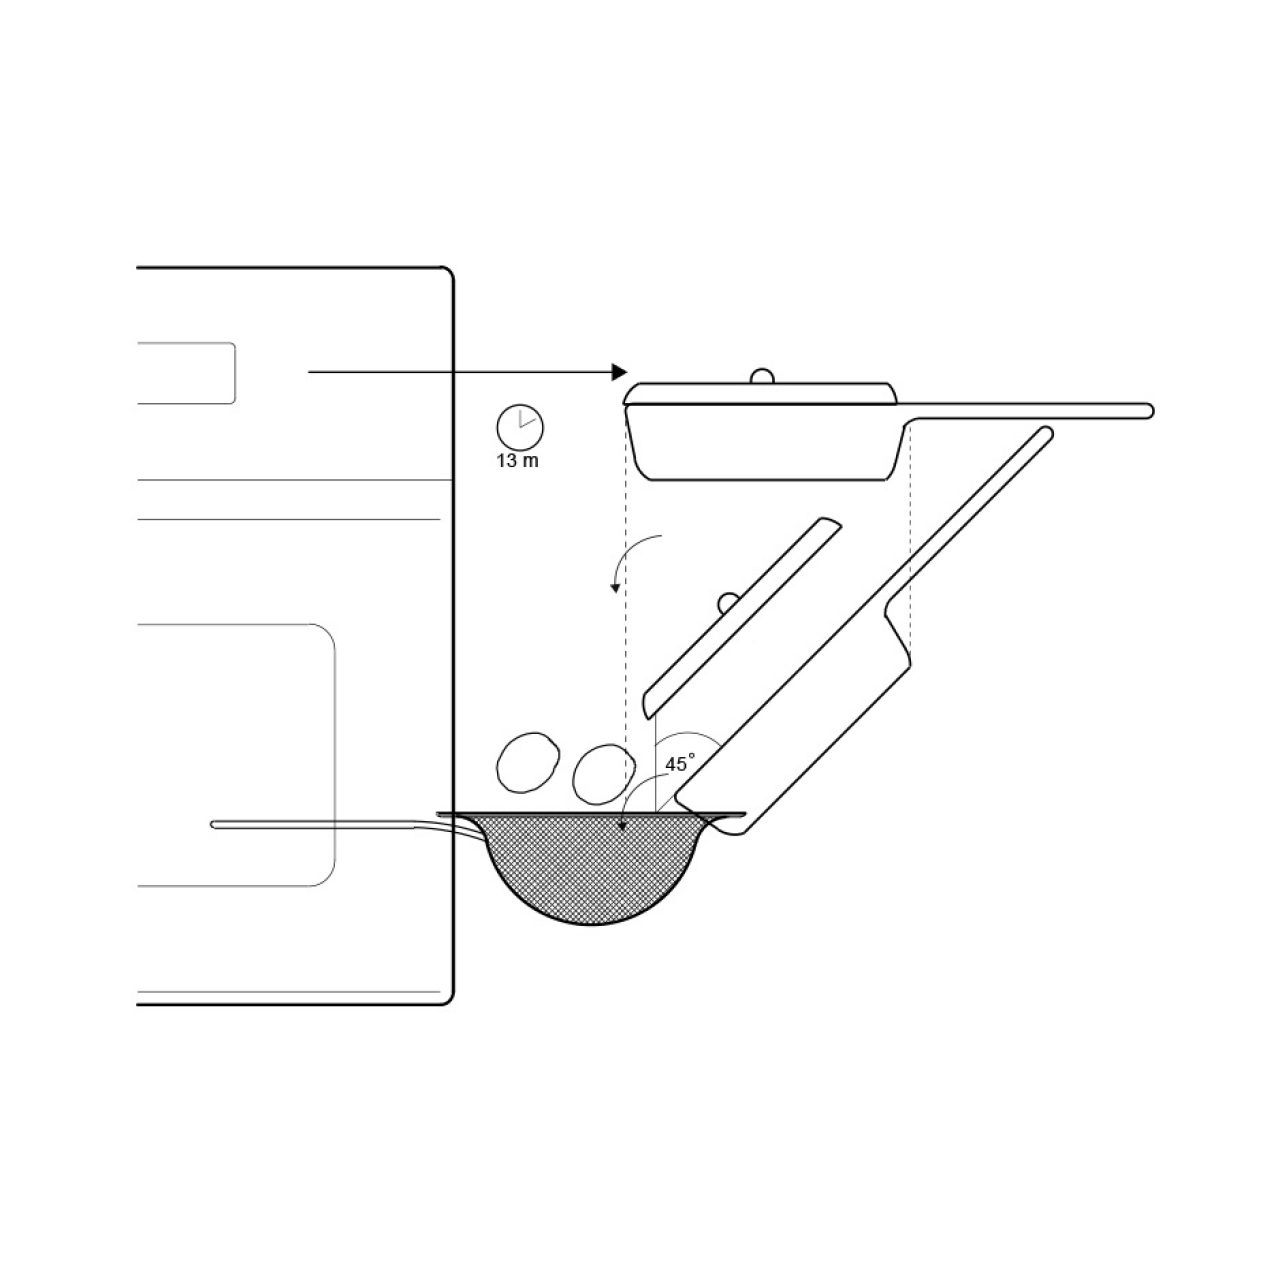
Remove the pan from the heat. Let stand 13 minutes and drain.

Step 3.

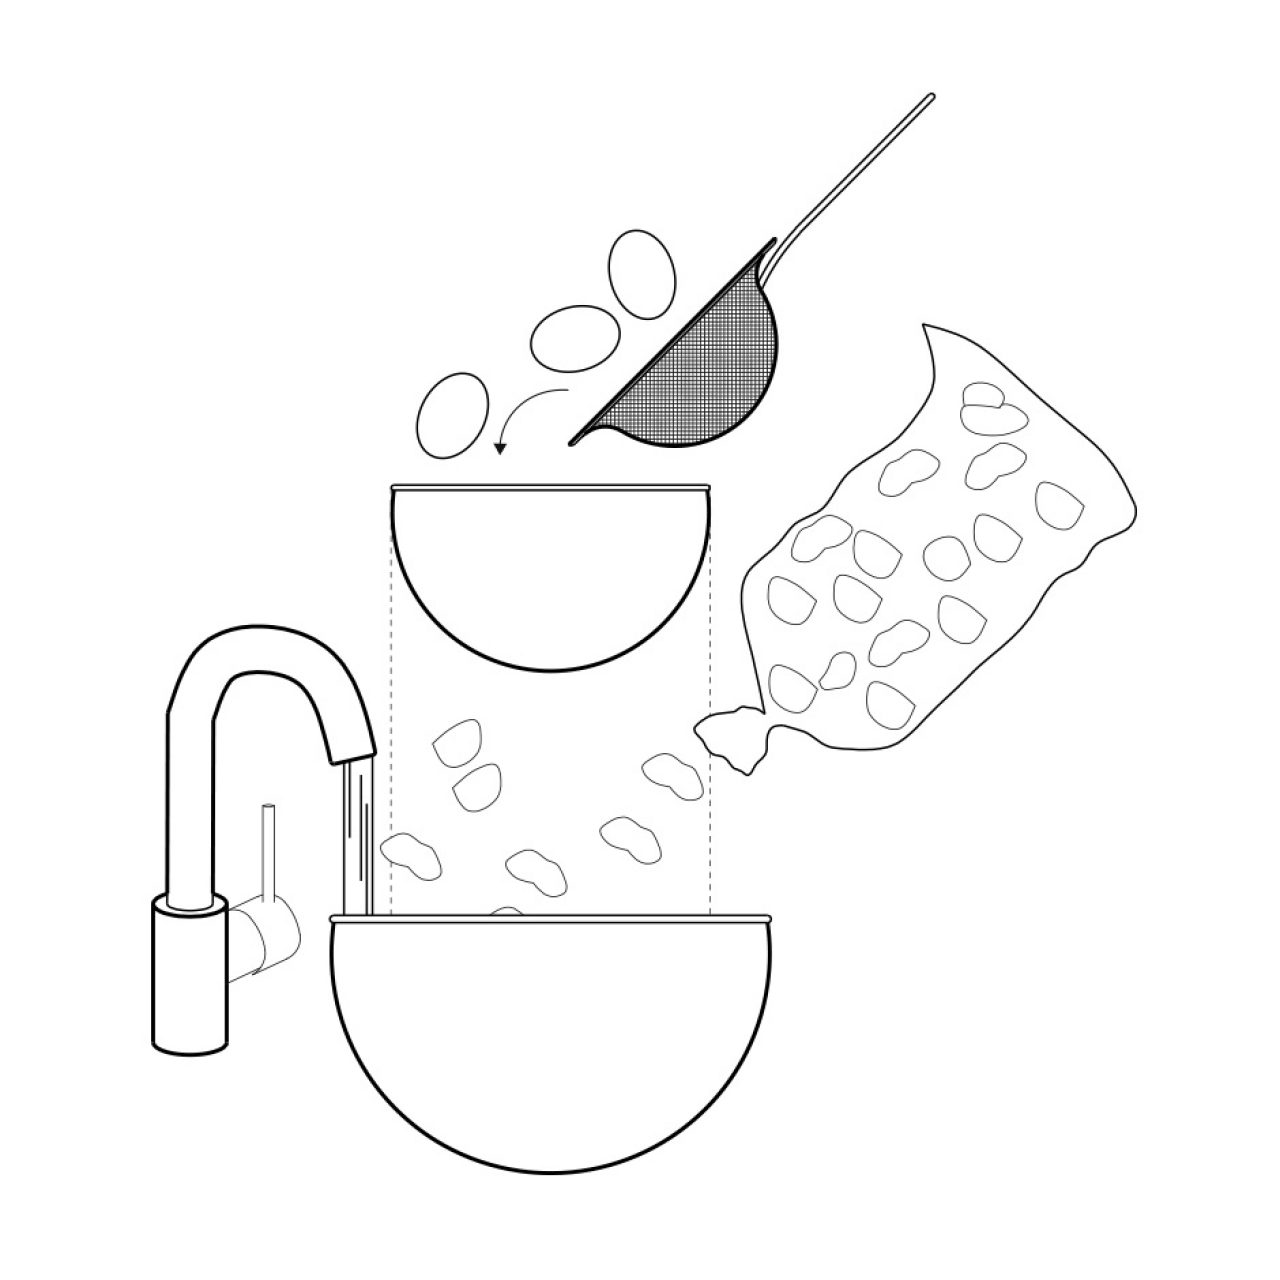
Transfer eggs  to ice-water bath until cold.

Step 4.

Peel eggs, and halve lengthwise.

Step 5.

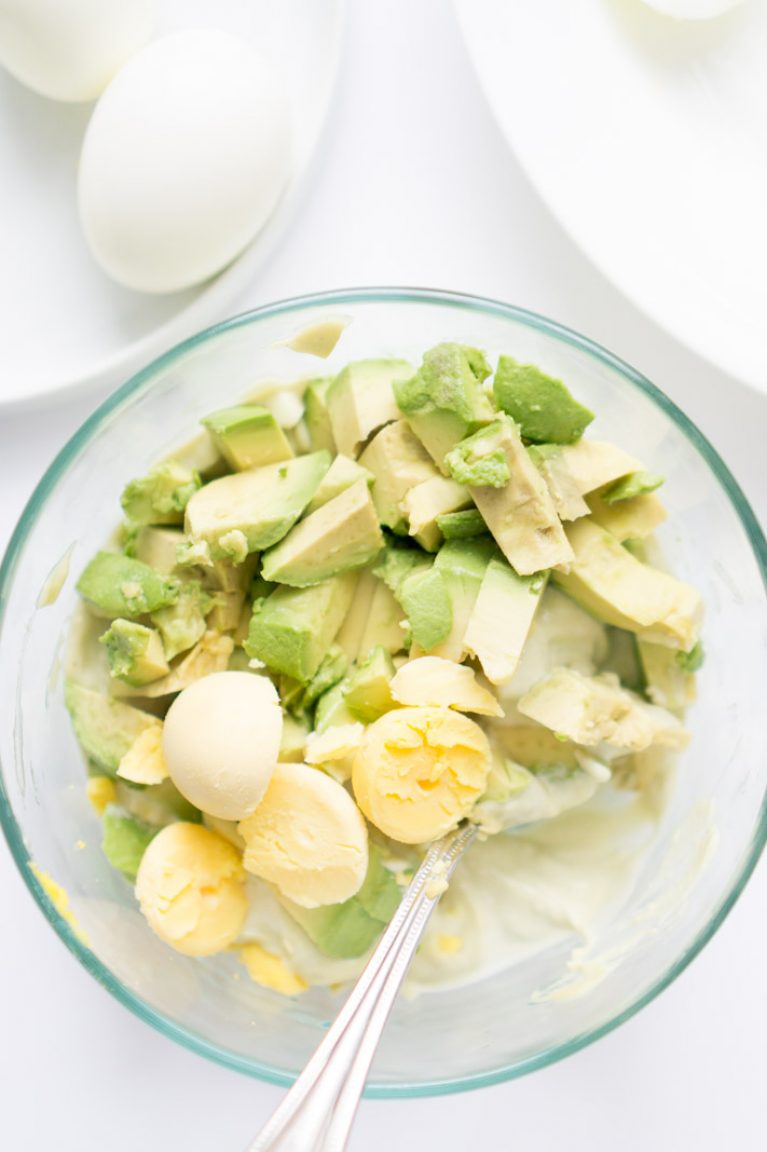
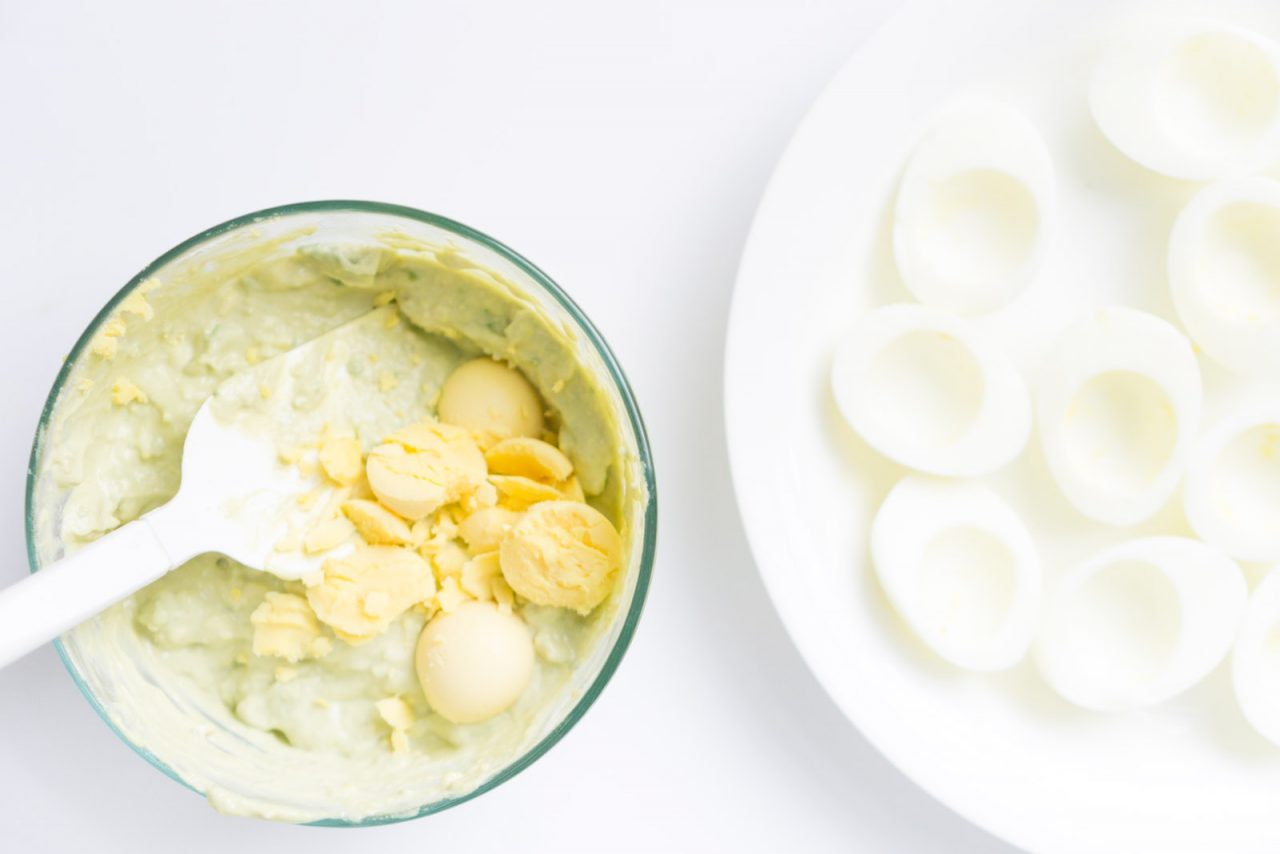
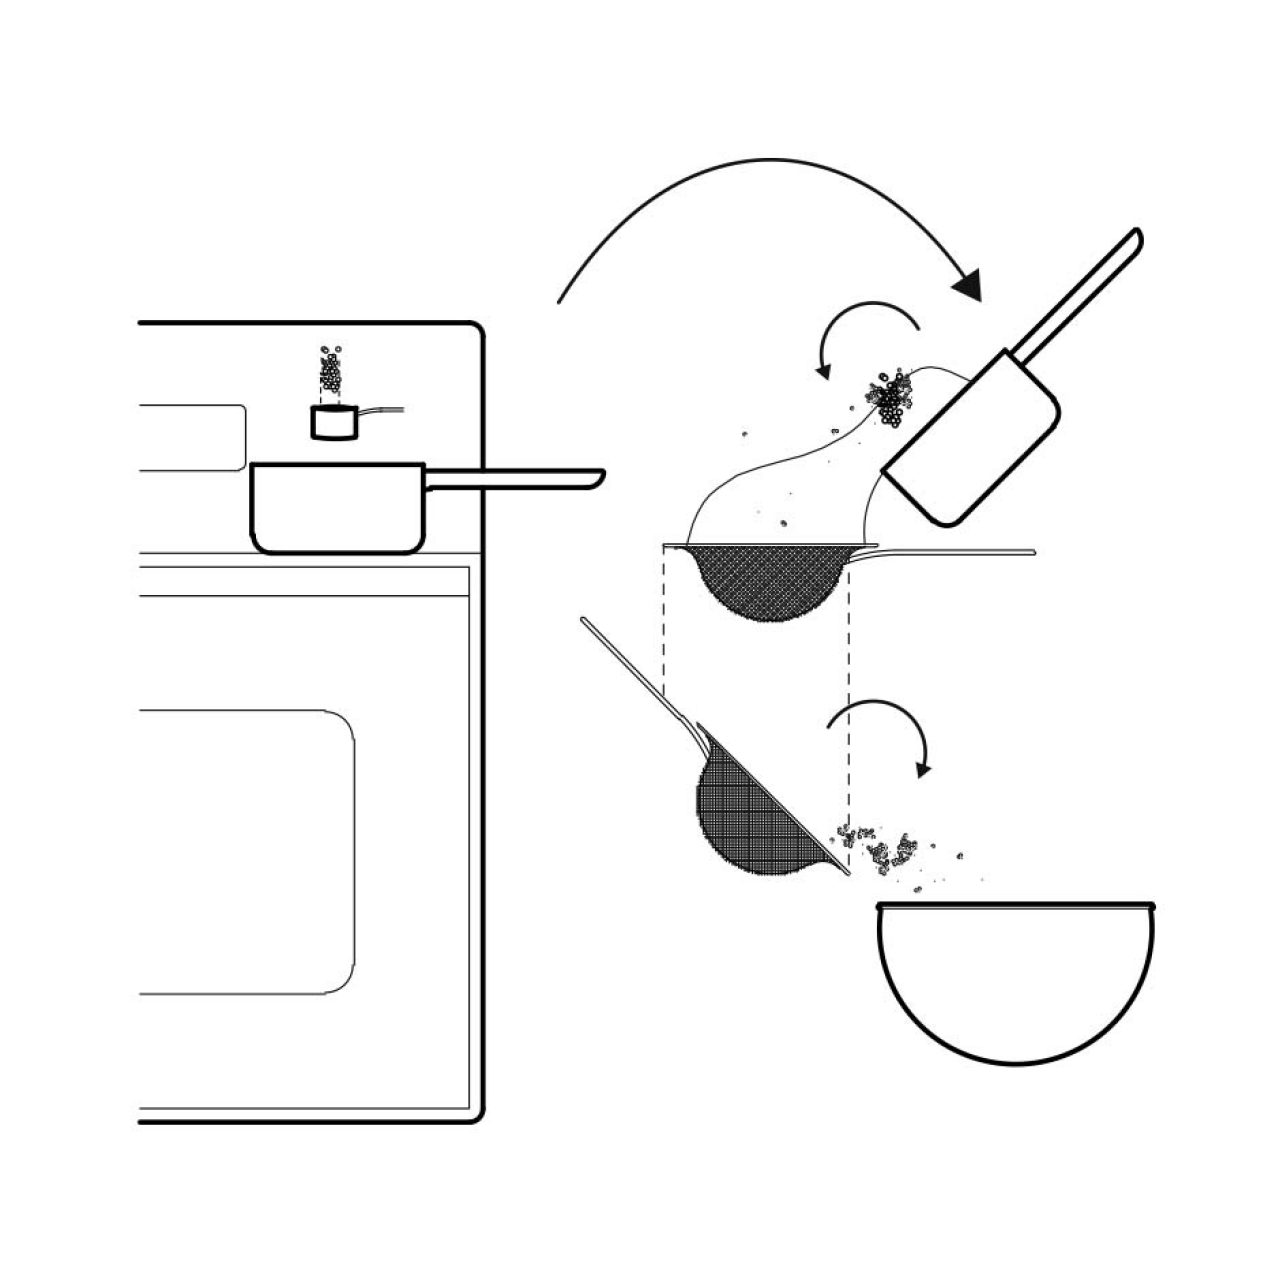
Transfer yolks to a medium bowl, and mash with a fork until smooth. Stir in wasabi mayonnaise, wasabi and lemon juice.. Season with salt.

Step 6.

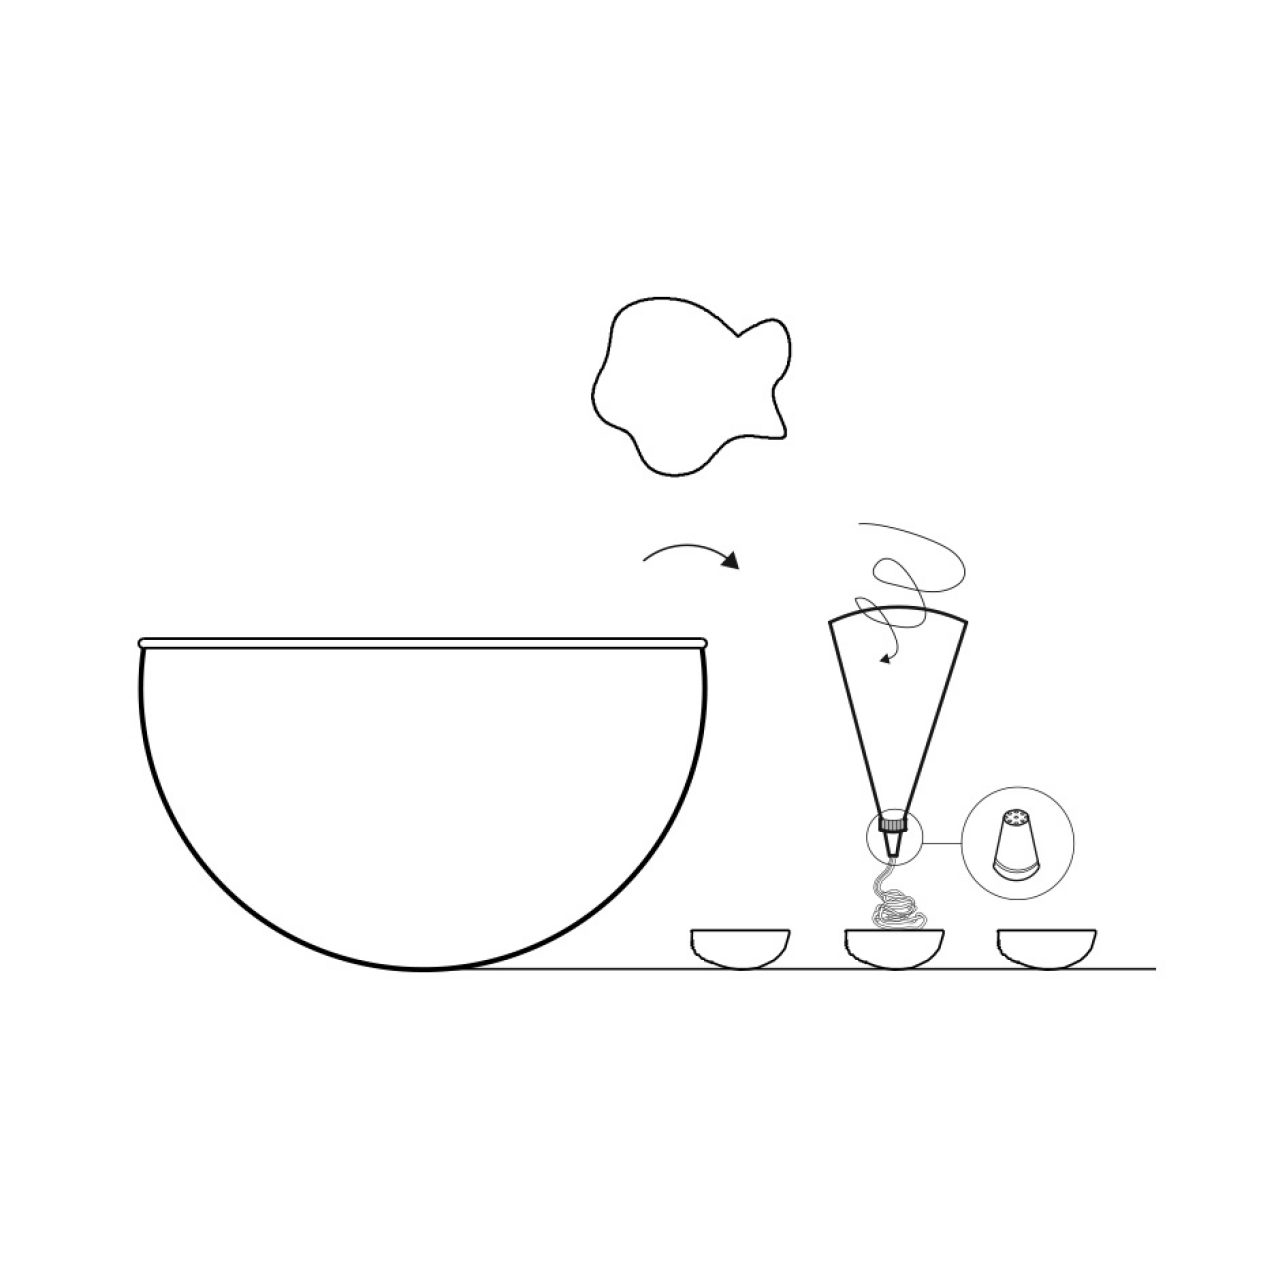
Pipe or spoon filling into whites. Garnish with chopped chives.

Chicken Shiso Cordon Bleu

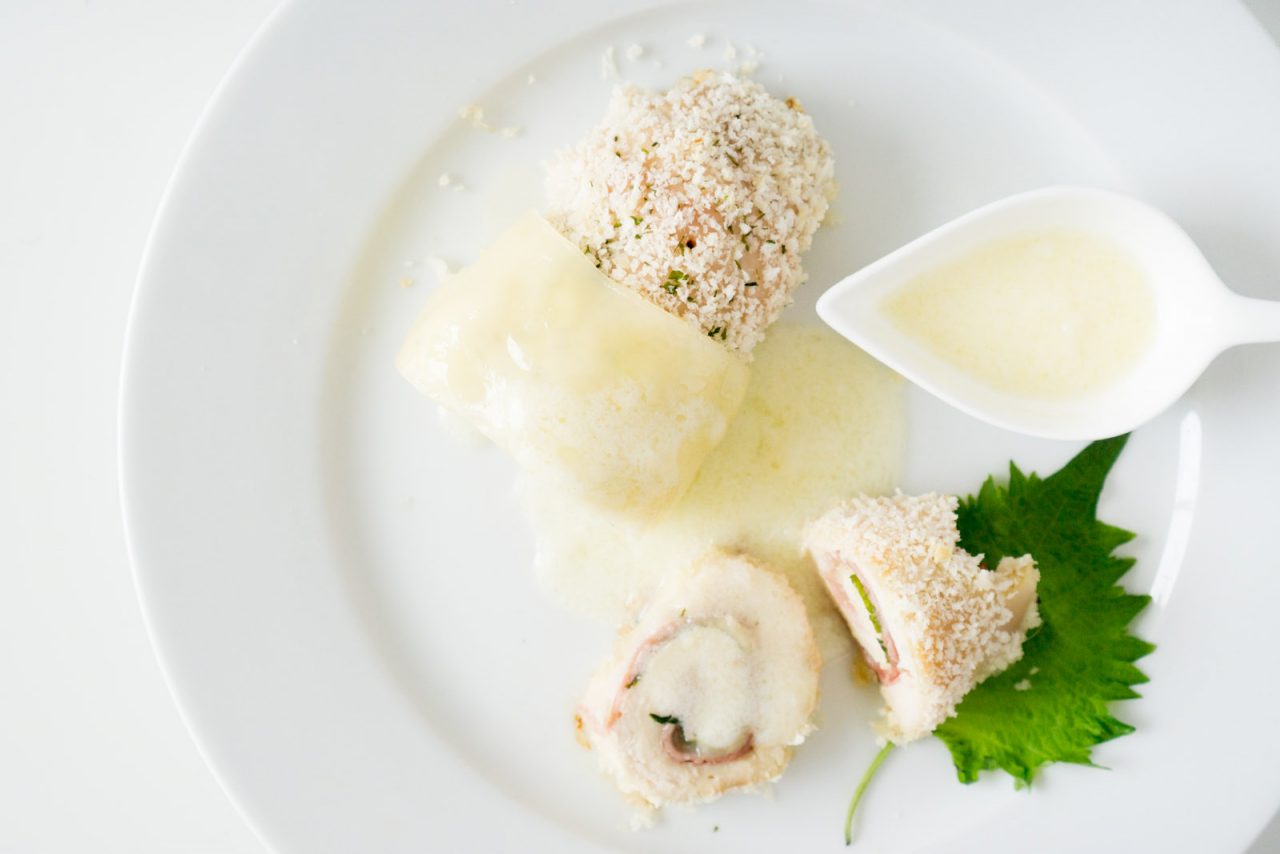
GUYS. sorry for the long delay in this recipe. So much drama has happened, really. I officially moved into my archschool/studiomate’s home, am trying to launch a crowdfunding campaign and experiment with several cool recipes, but got sick and am experimenting several bloody woman problems after my slight surgery and pounded with various charettes. I finished my FIRST construction set after my partner has left to China  and really, still am very awful at drawing architectural details and am dying a bit inside from frustration. Plus, I’m kind of having a career crisis; I have a hate/love relationship with architecture,  but please don’t ask me about it, because I don’t want to panic about my career and place in society  even more. So let’s just talk about this juicy chicken cordon bleu with shiso covered in a flaky panko crust, shall we?

I know, I know. this is ANOTHER chicken shiso recipe. But I love this Chicken Cordon Bleu with shiso for a variety of reasons.

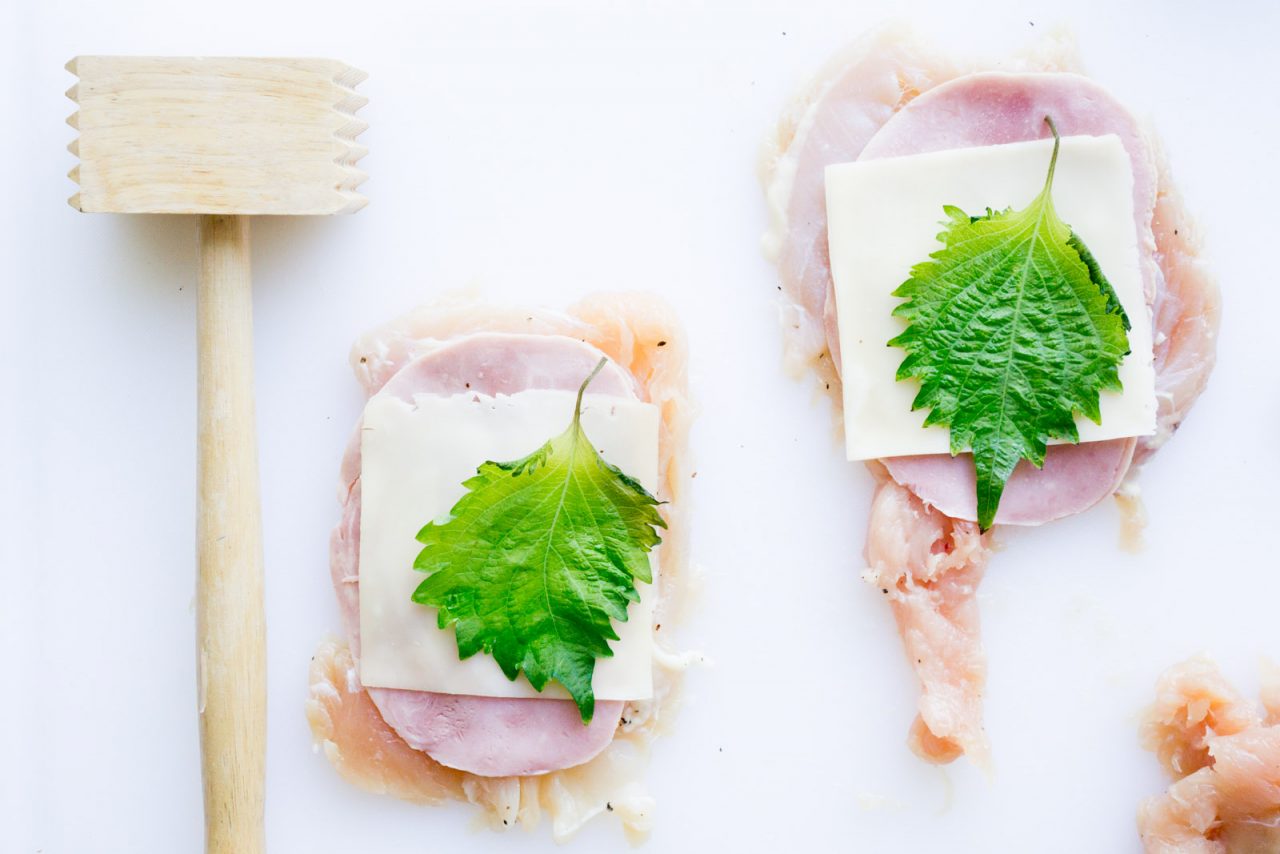
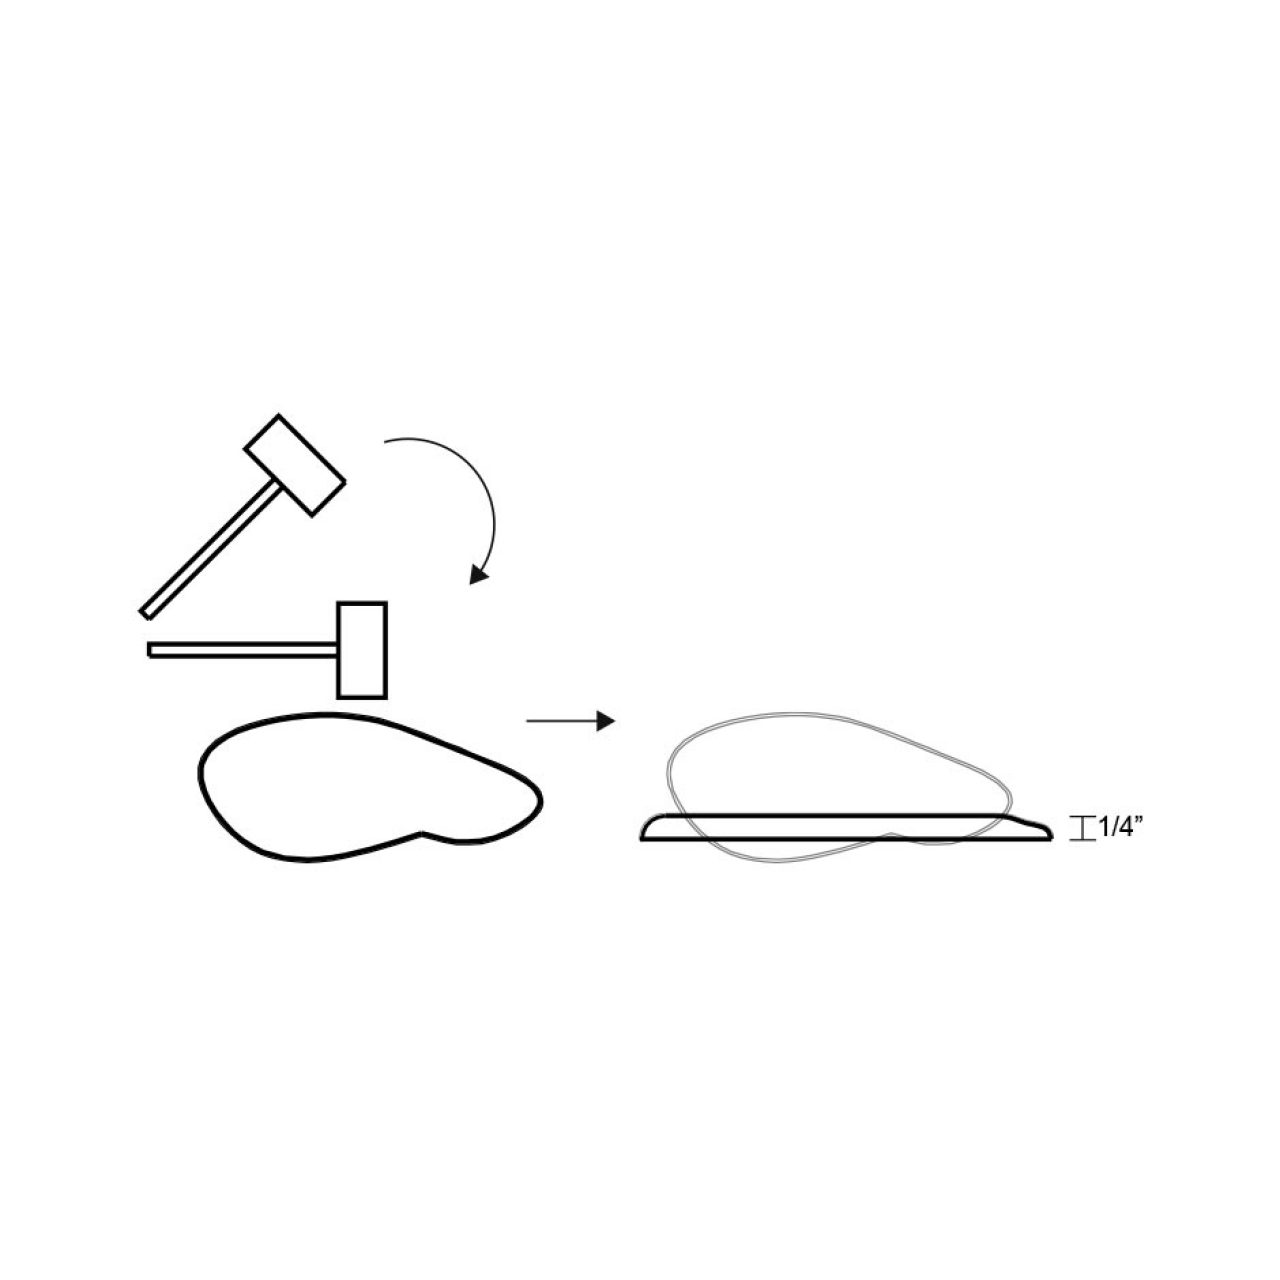
  1. I’ve been stressed out and loved) pounding all my anger/problems to flatten my chicken breasts- yes, feel free to let out all your anger in that meat mallet
  2.   It’s a simple dish that can impress several people
  3.  I love meat rolled up in meat rolled up in panko crumbs and smothered in a creamy sauce of your choice… so… enjoy! 😉

So… enjoy! P.S… like my Morton Salt girl I CAD-ed? Yep. Still experimenting in ways I could make salt somehow more obvious for ya’ll. Anyway, I’m off to get some zzZ’s to fight off all the bacteria that has been attacking me.


Ingredients

Preparation Time
1 1/2 hrs
Cooking Time
35 min.
Serving Size
4
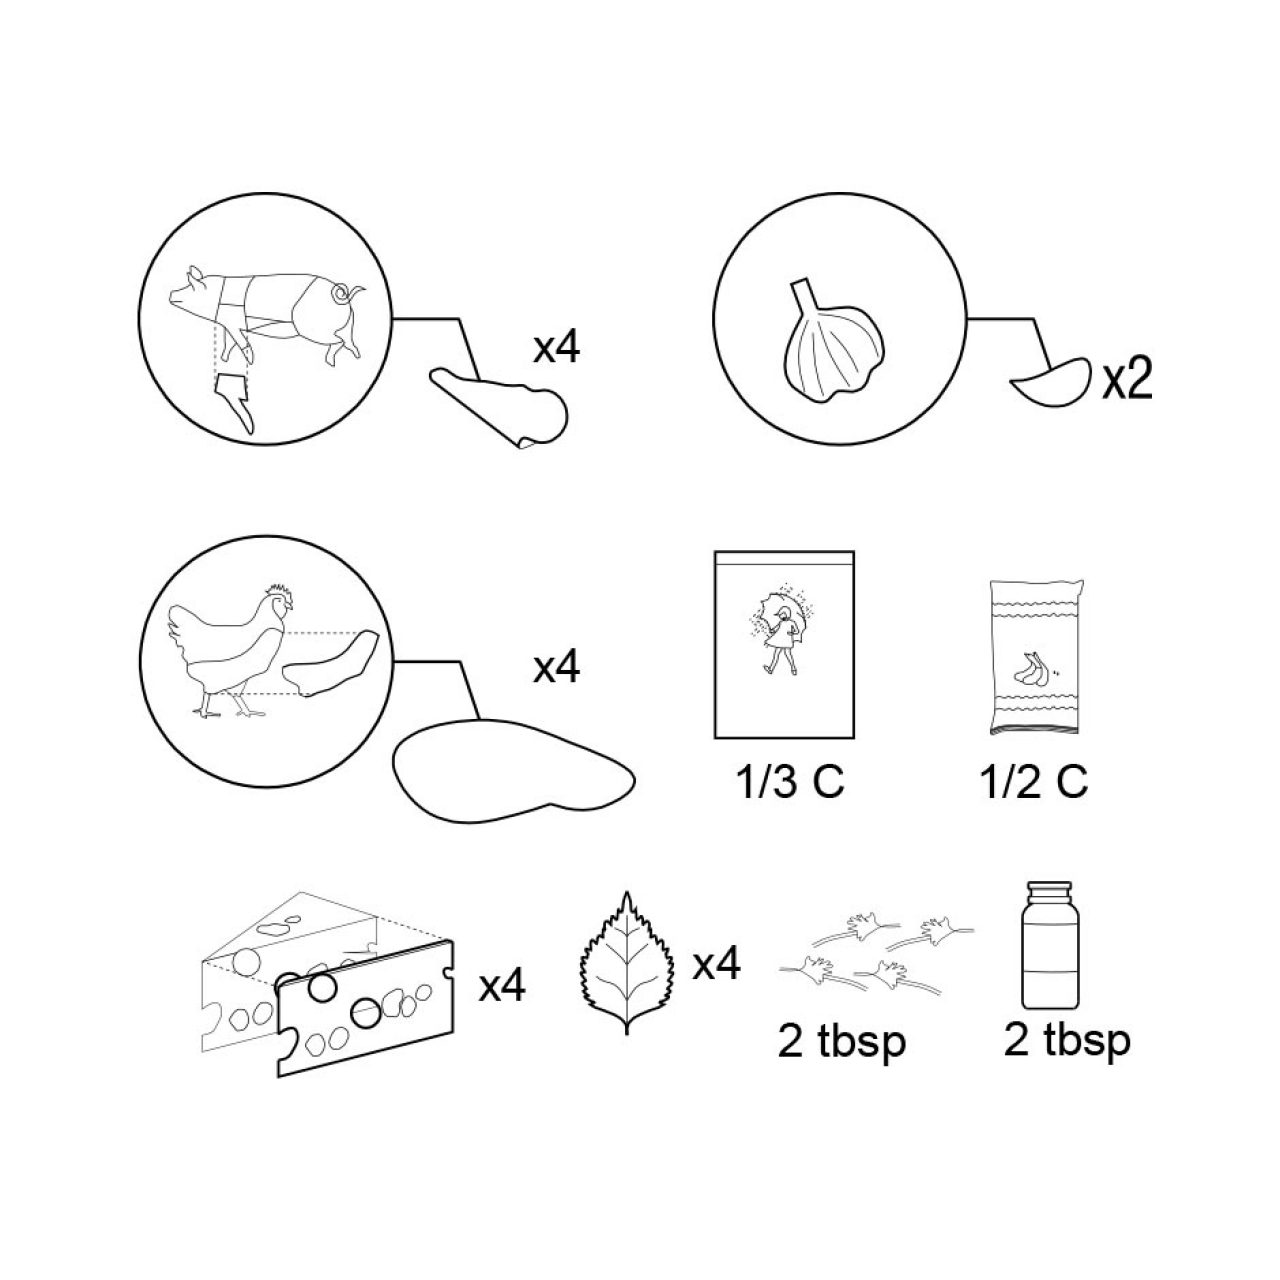
  • 2 C water
  • 2 tbsp dried herbs
  • 1/4 C salt
  • 4 skinless, boneless chicken breast halves
  • 1/4 tsp 1/4 tsp sea salt
  • 1/8 tsp black pepper
  • 6 slices swiss cheese
  • 4 slices cooked ham
  • 4 shiso
  • 1/2 C panko

Special Equipment

Directions

Step 1.

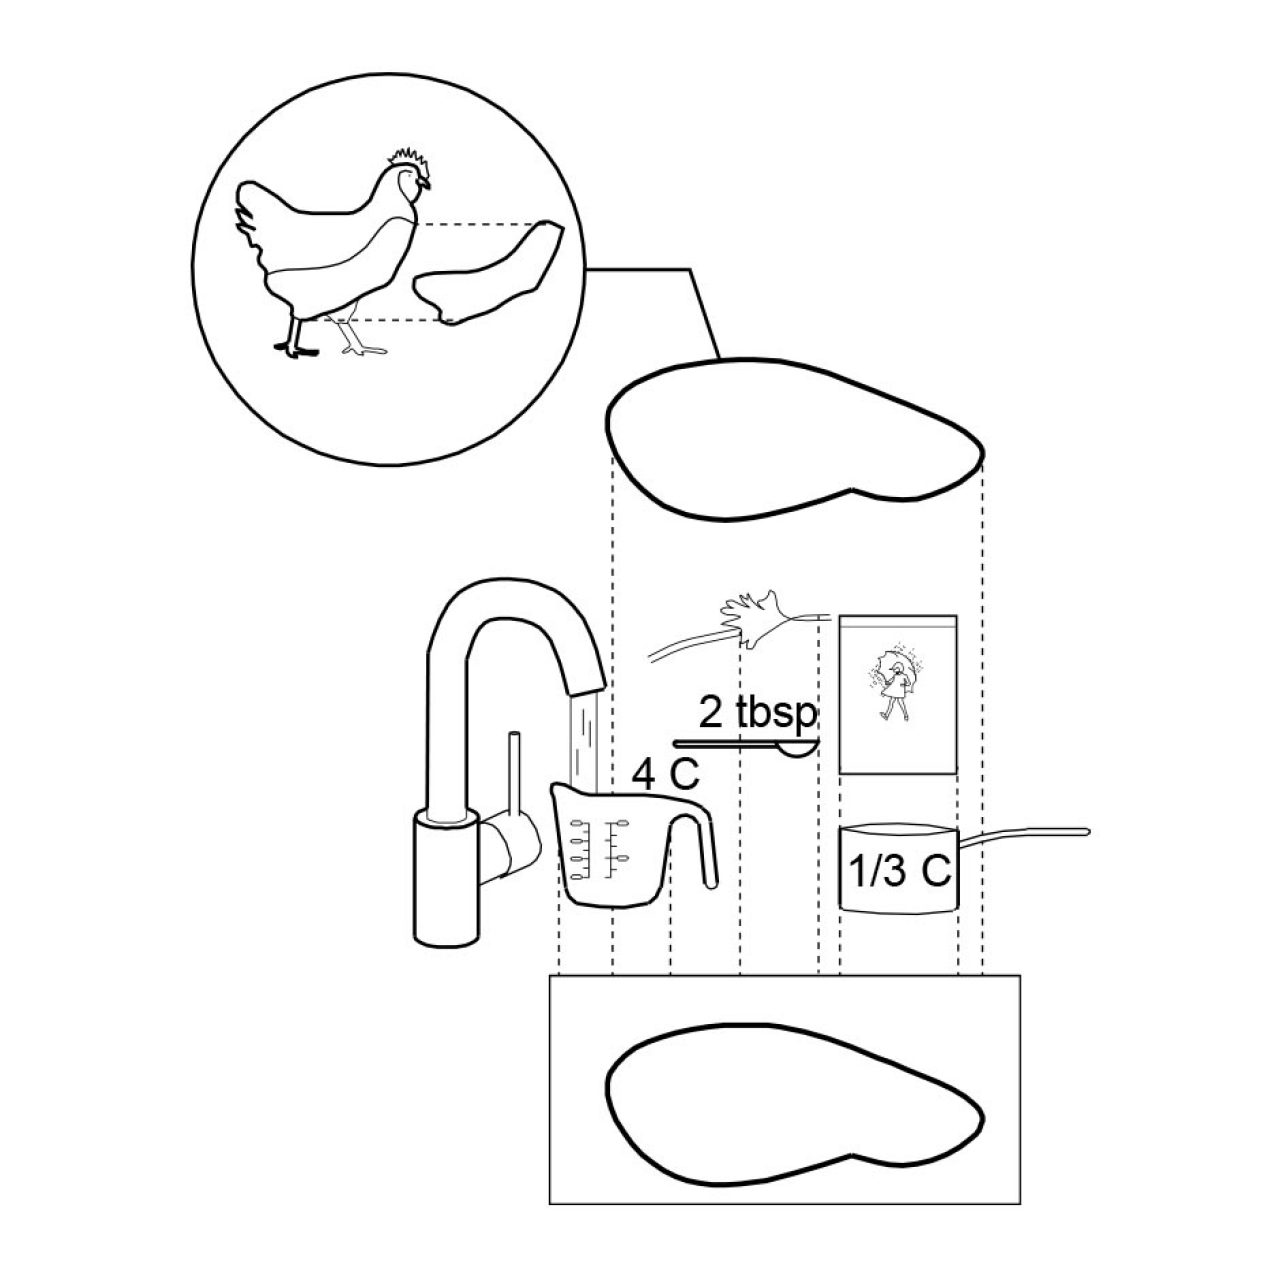
Prepare to brine the chicken by mixing 1/3 C kosher salt with 2 C water and desired herbs.

Step 2.

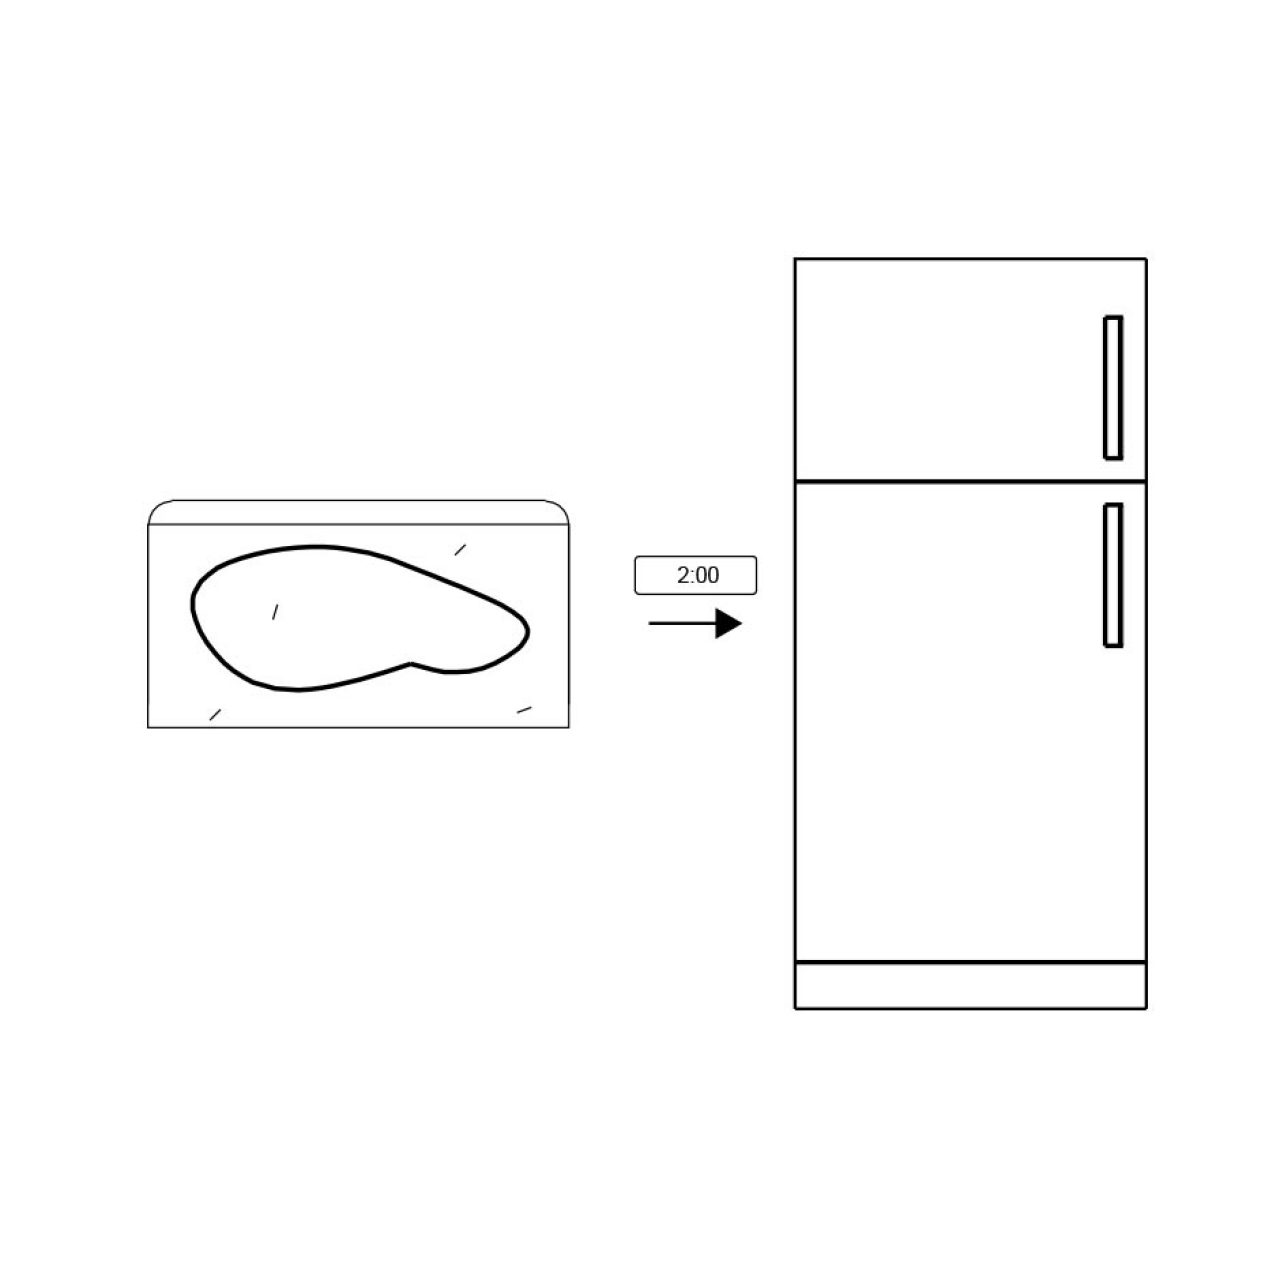
Bring the chicken into the refrigerator and refrigerate for at least 2 hours.

Step 3.

Wrap the chicken breasts with saran wrap and using a mallet,  pound each chicken breast to 1/4 inch thickness.

Step 4.

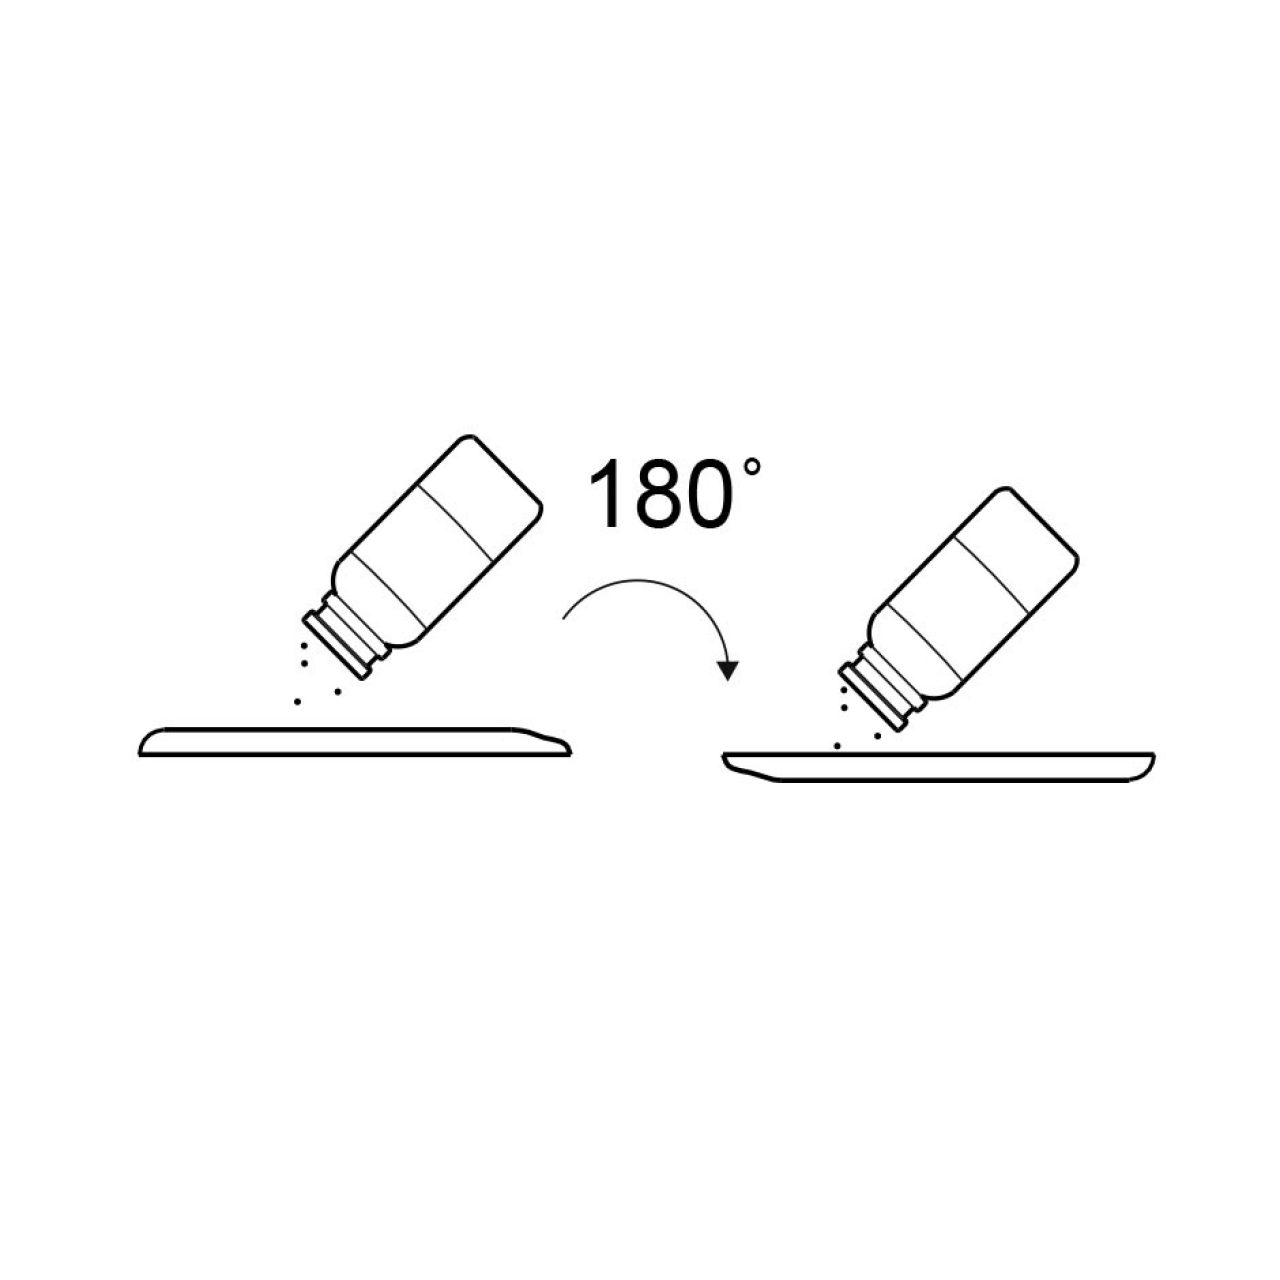
Sprinkle each piece of chicken on both sides with desired amount of salt and pepper.

Step 5.

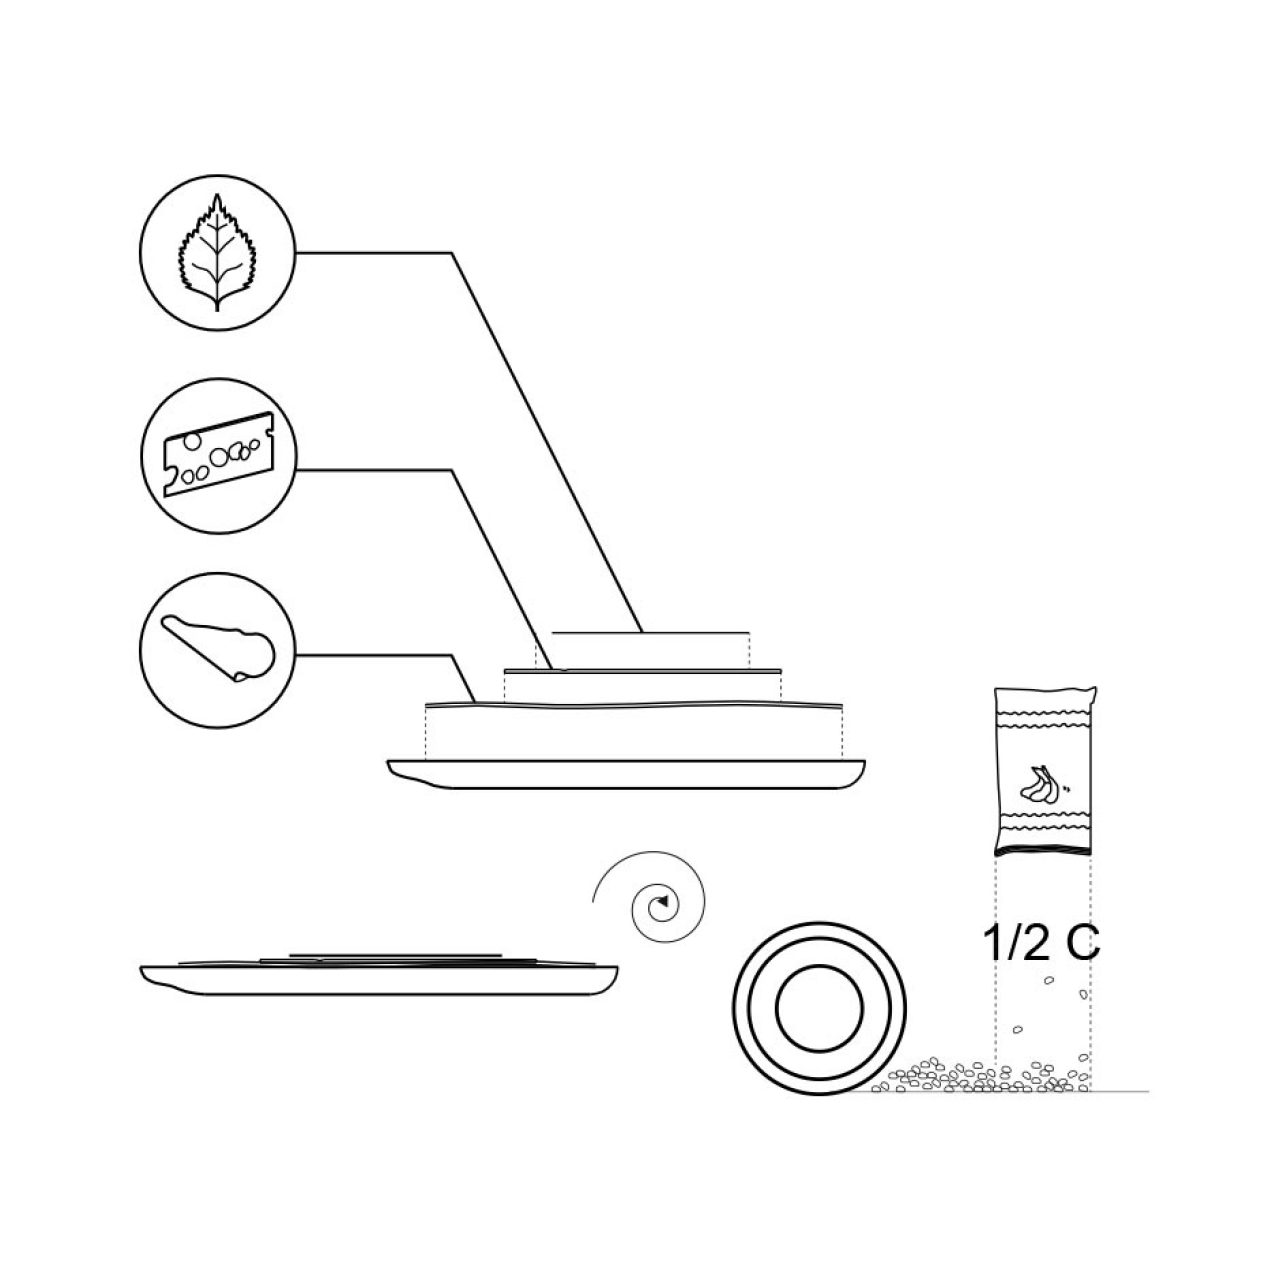
Place 1 cheese slice and 1 ham slice on top of each breast. Roll up each breast, and secure with a toothpick. Place in baking dish, and sprinkle chicken evenly with bread crumbs.

Step 6.

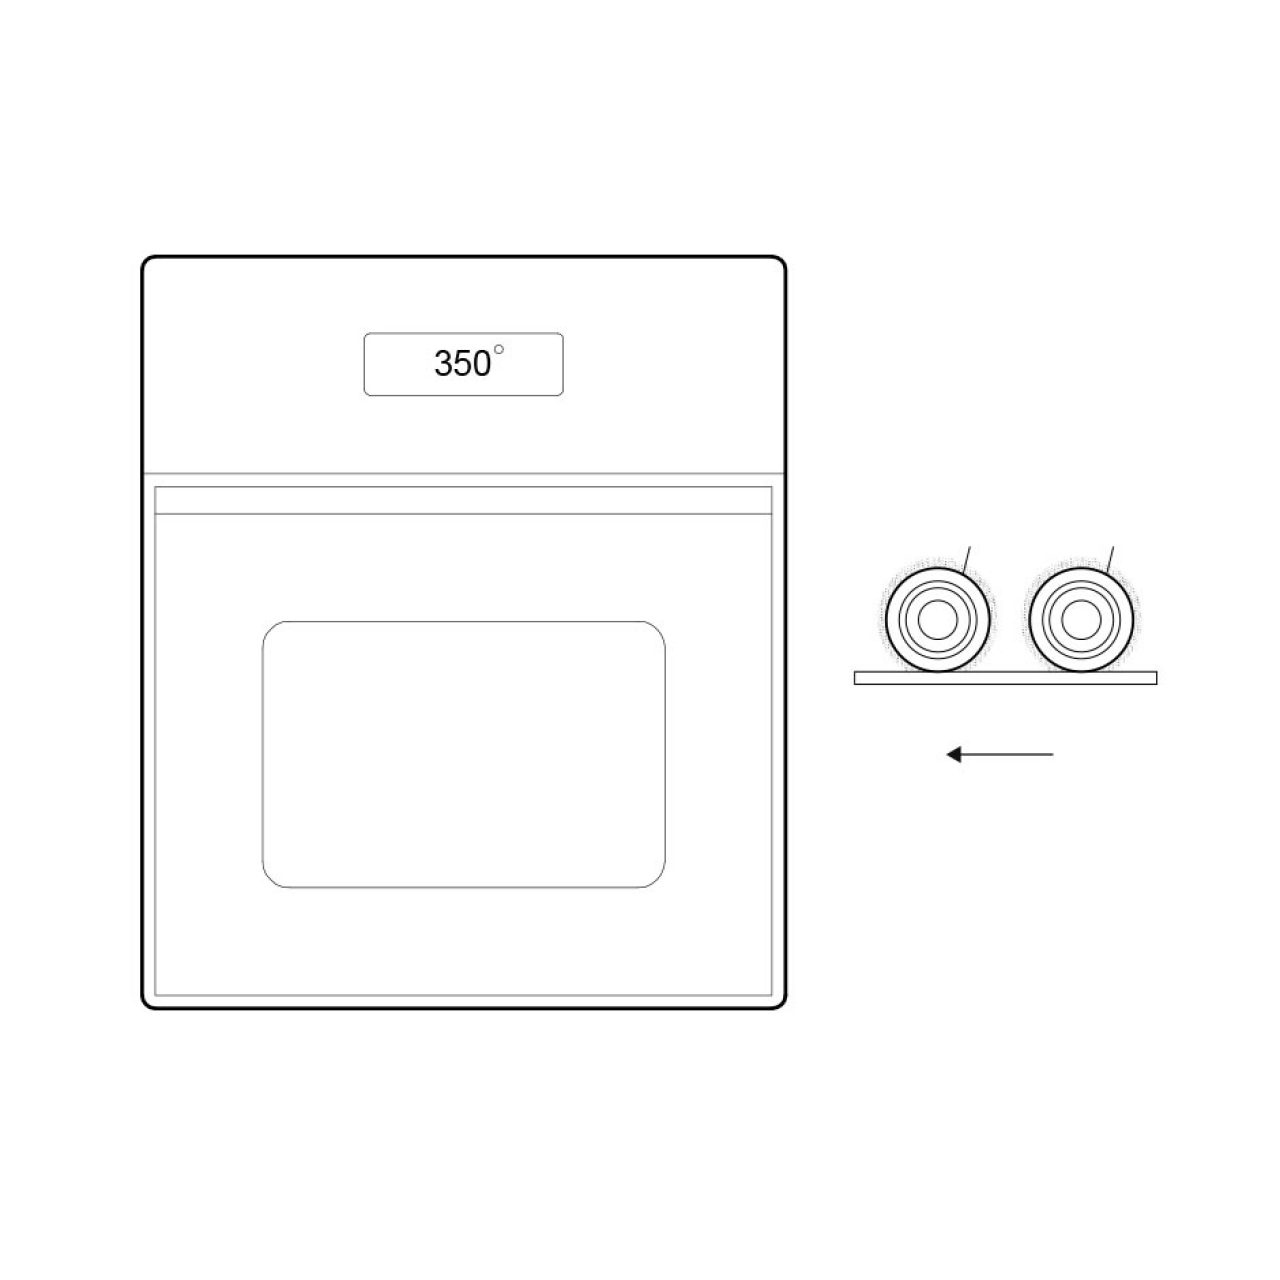
Bake for 30 to 35 minutes, or until chicken is no longer pink. Remove from oven, and place 1/2 cheese slice on top of each breast. Return to oven for 3 to 5 minutes, or until cheese has melted. Remove toothpicks, and serve immediately.

Edamame Salad with Poached Eggs

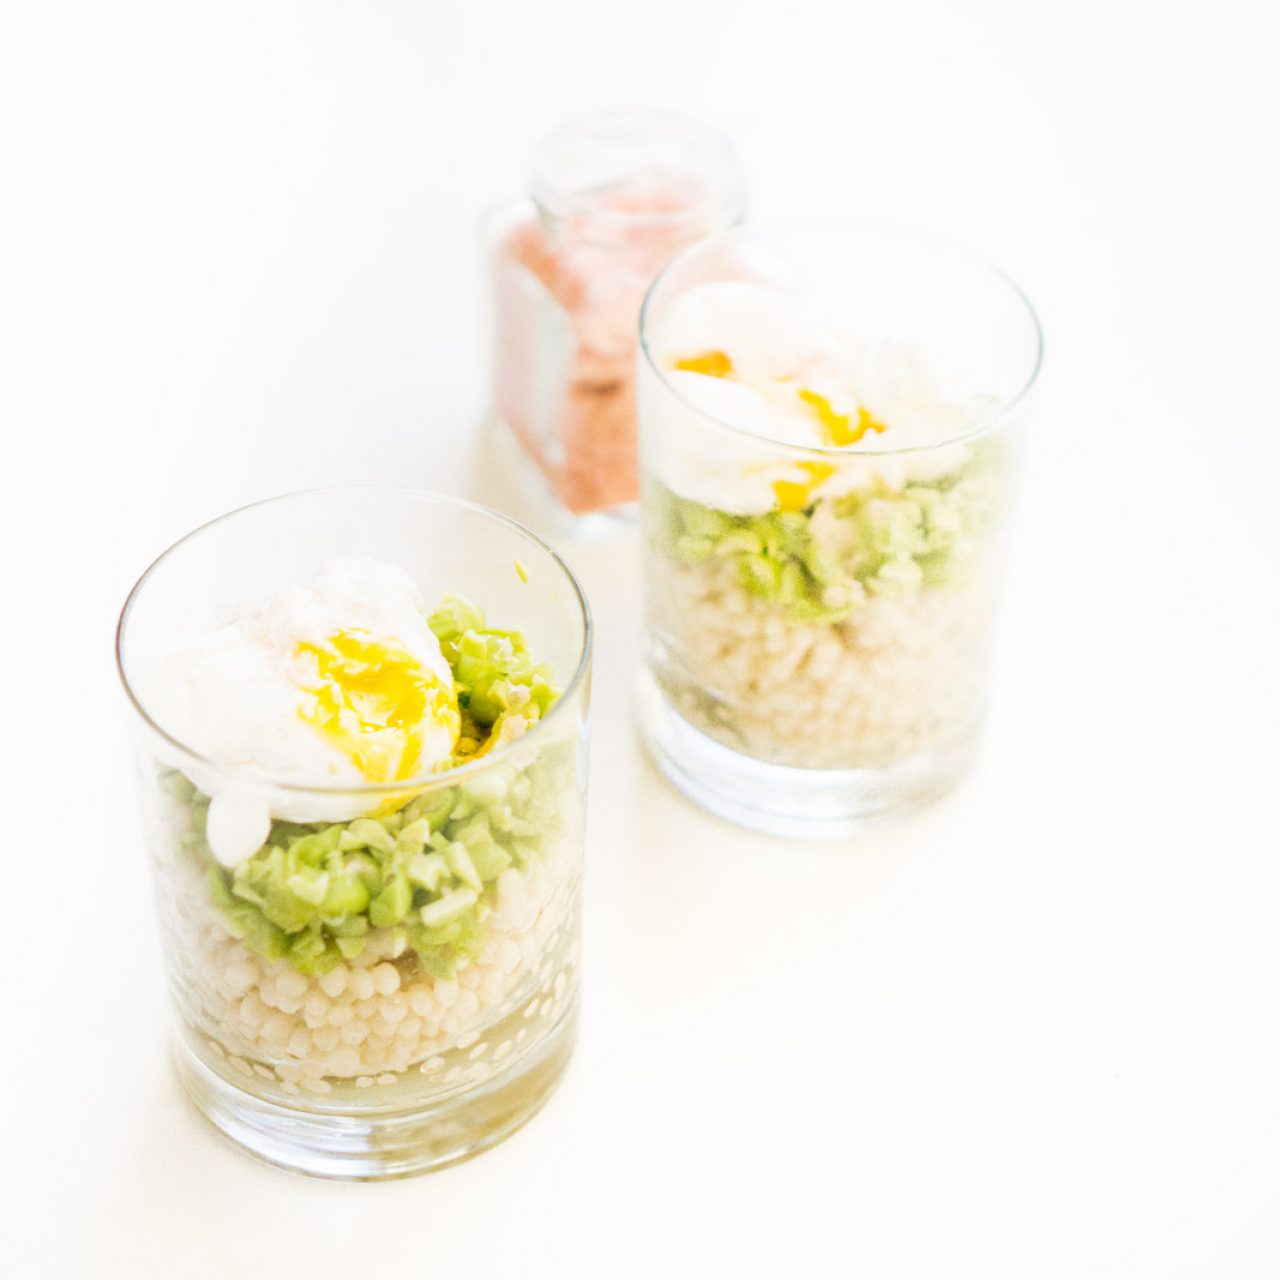
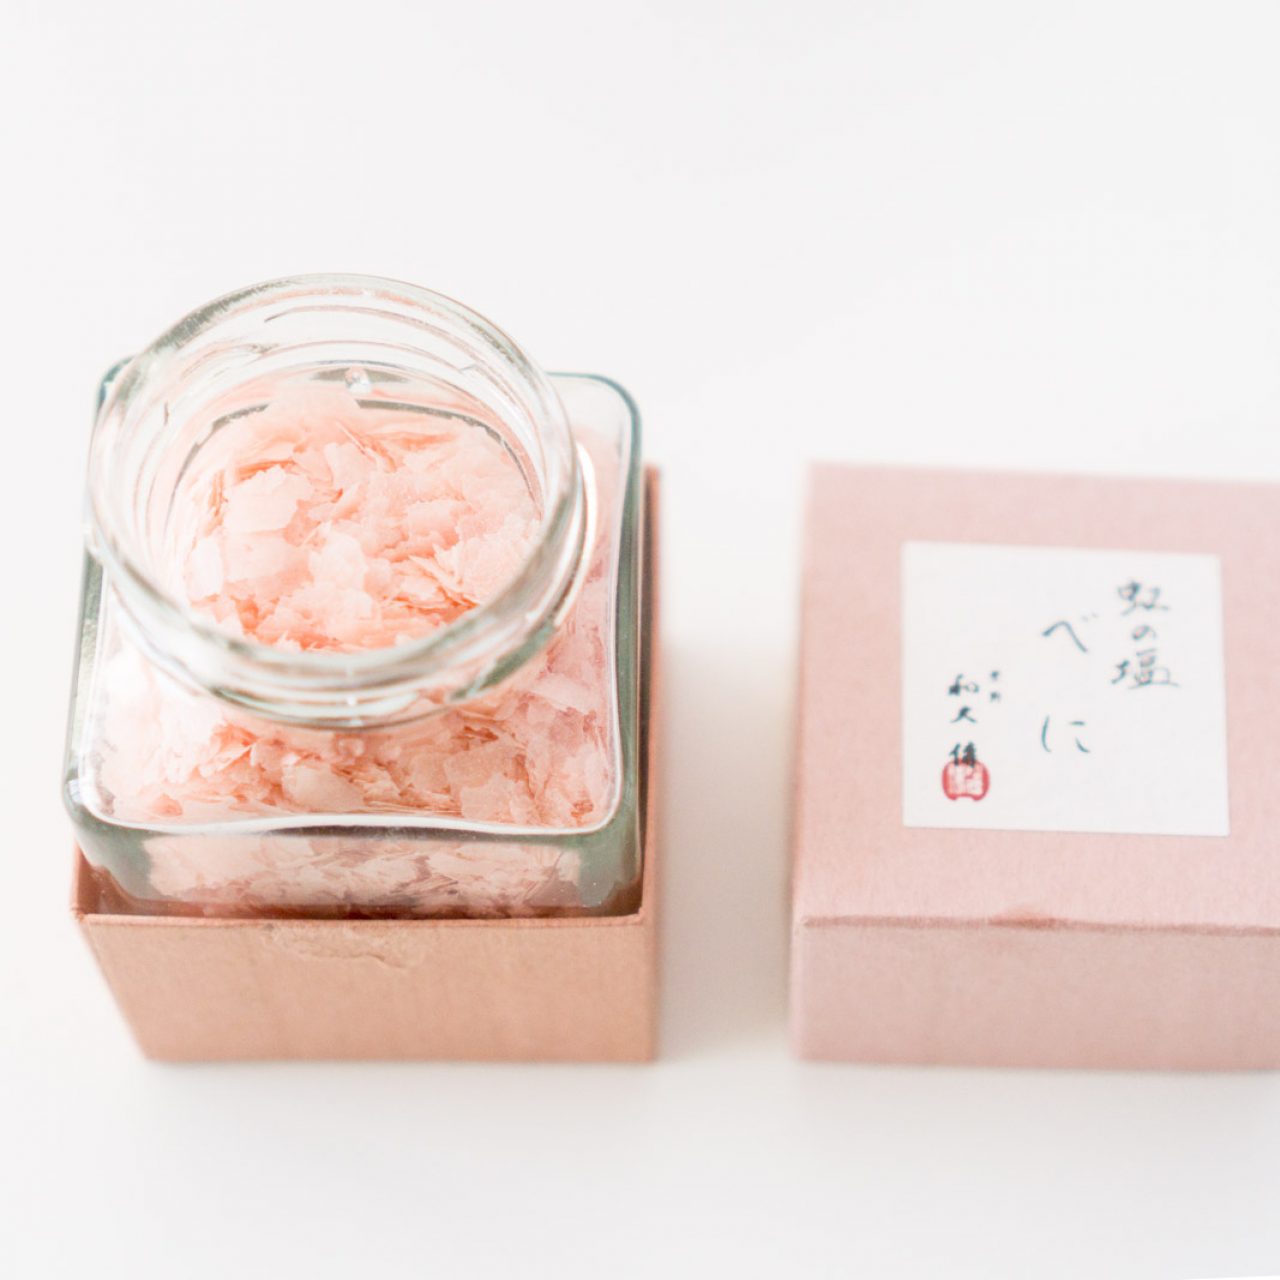
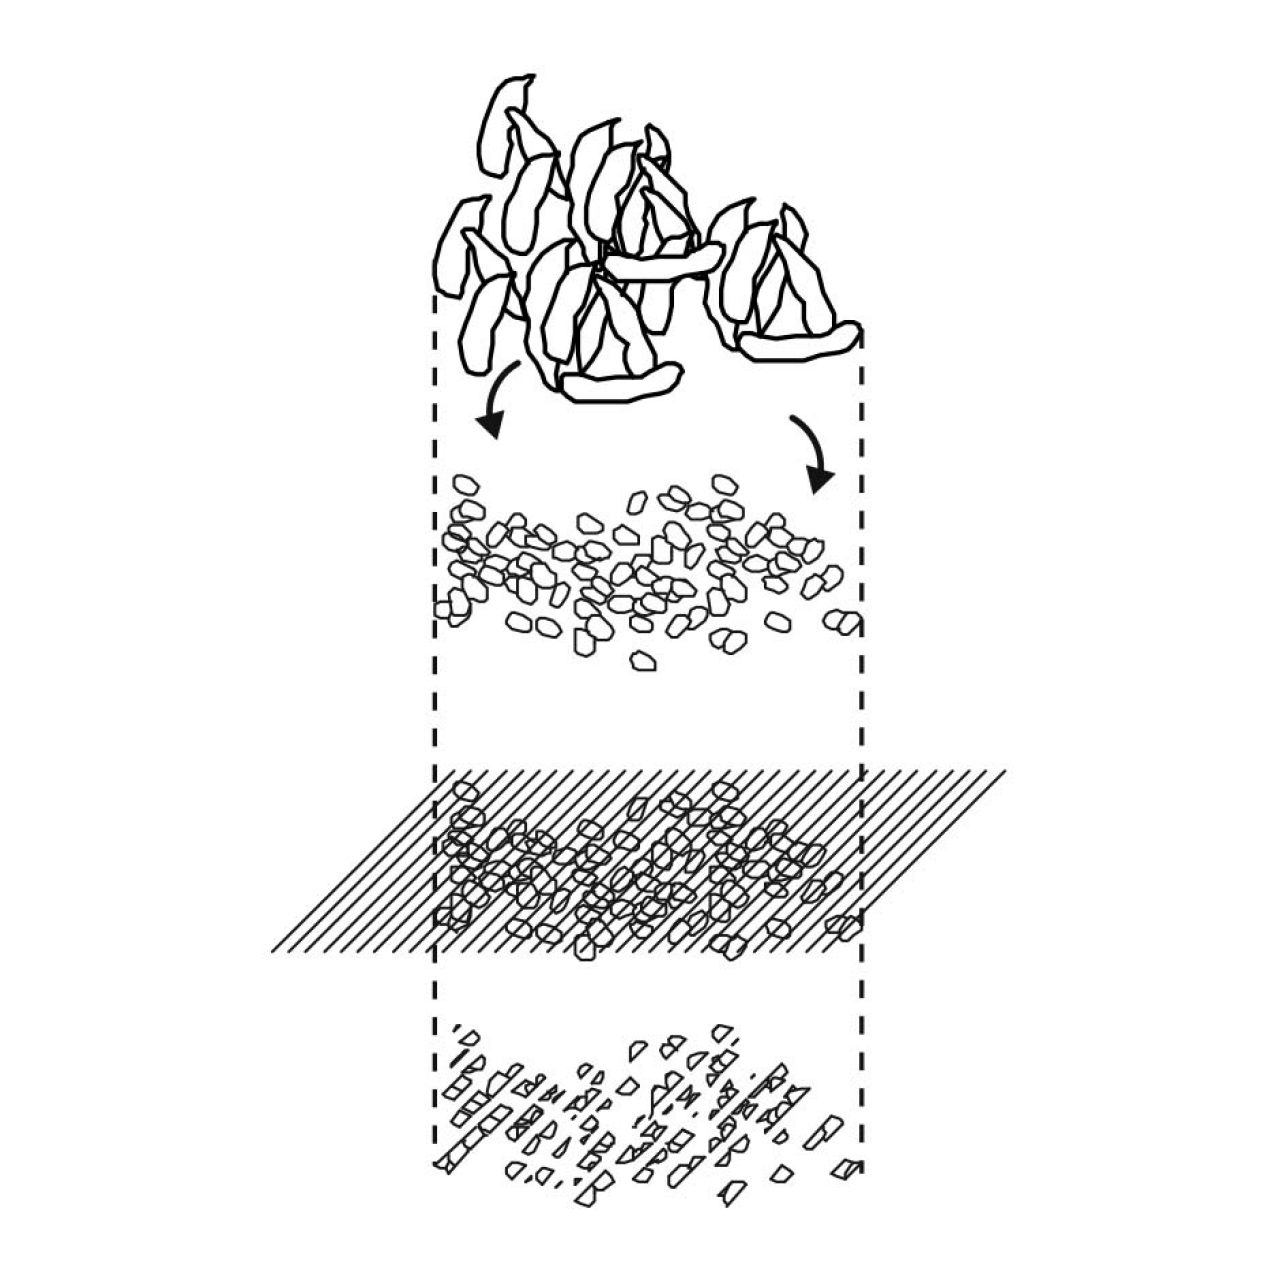
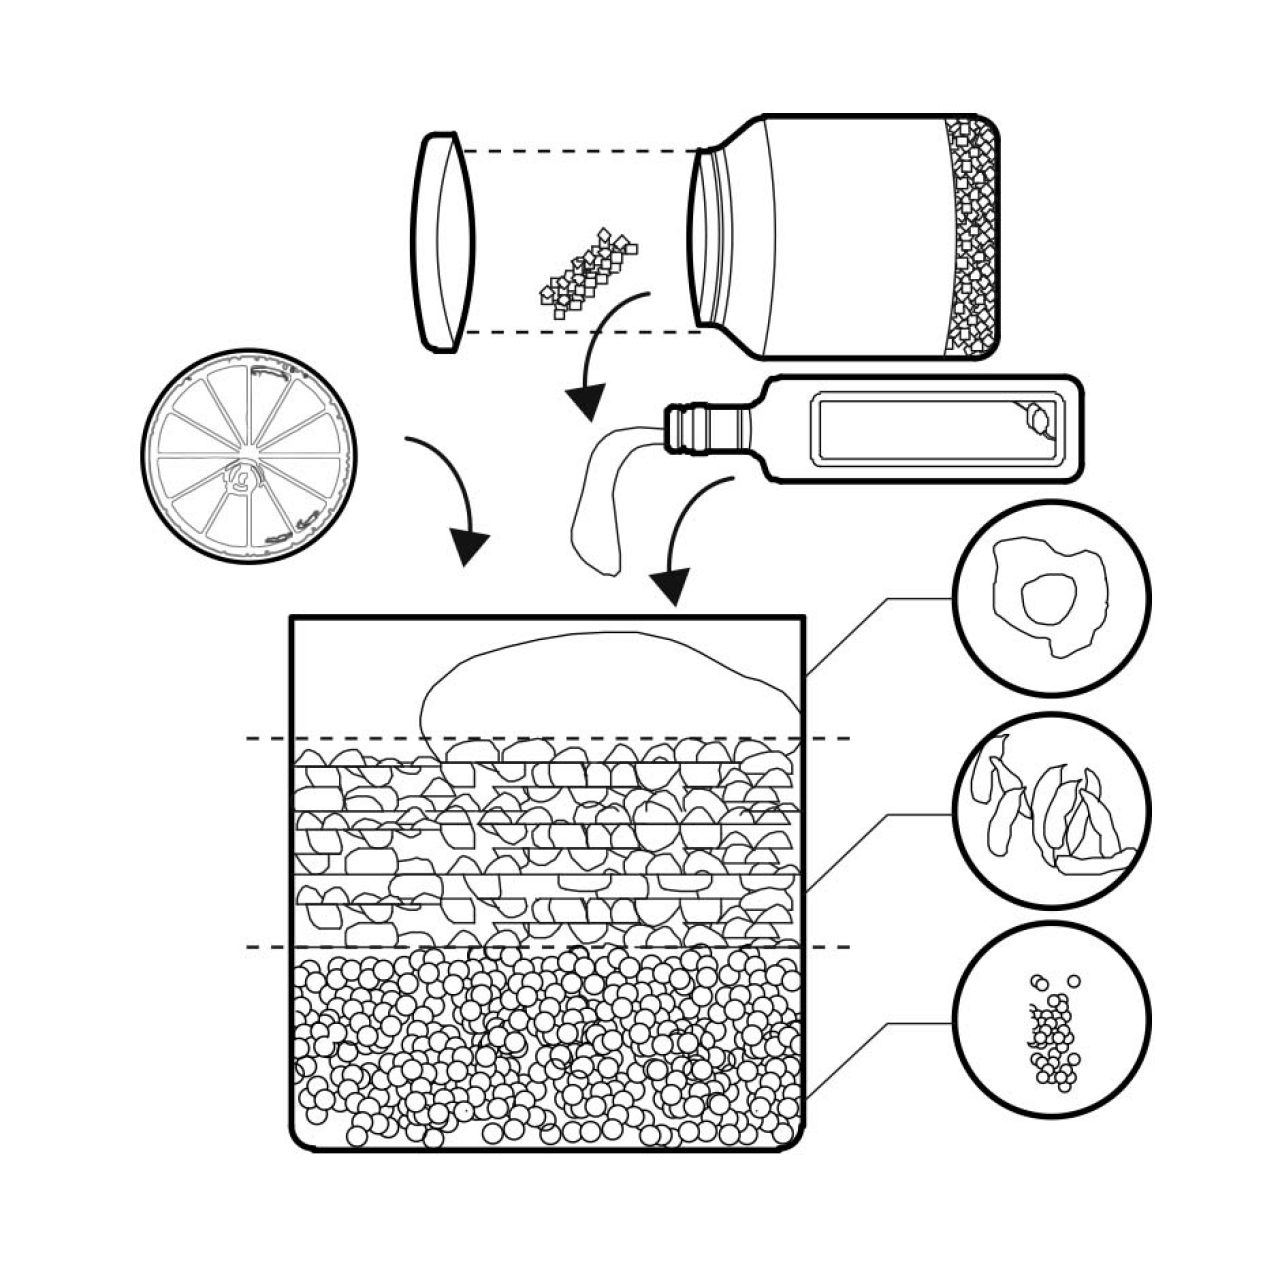
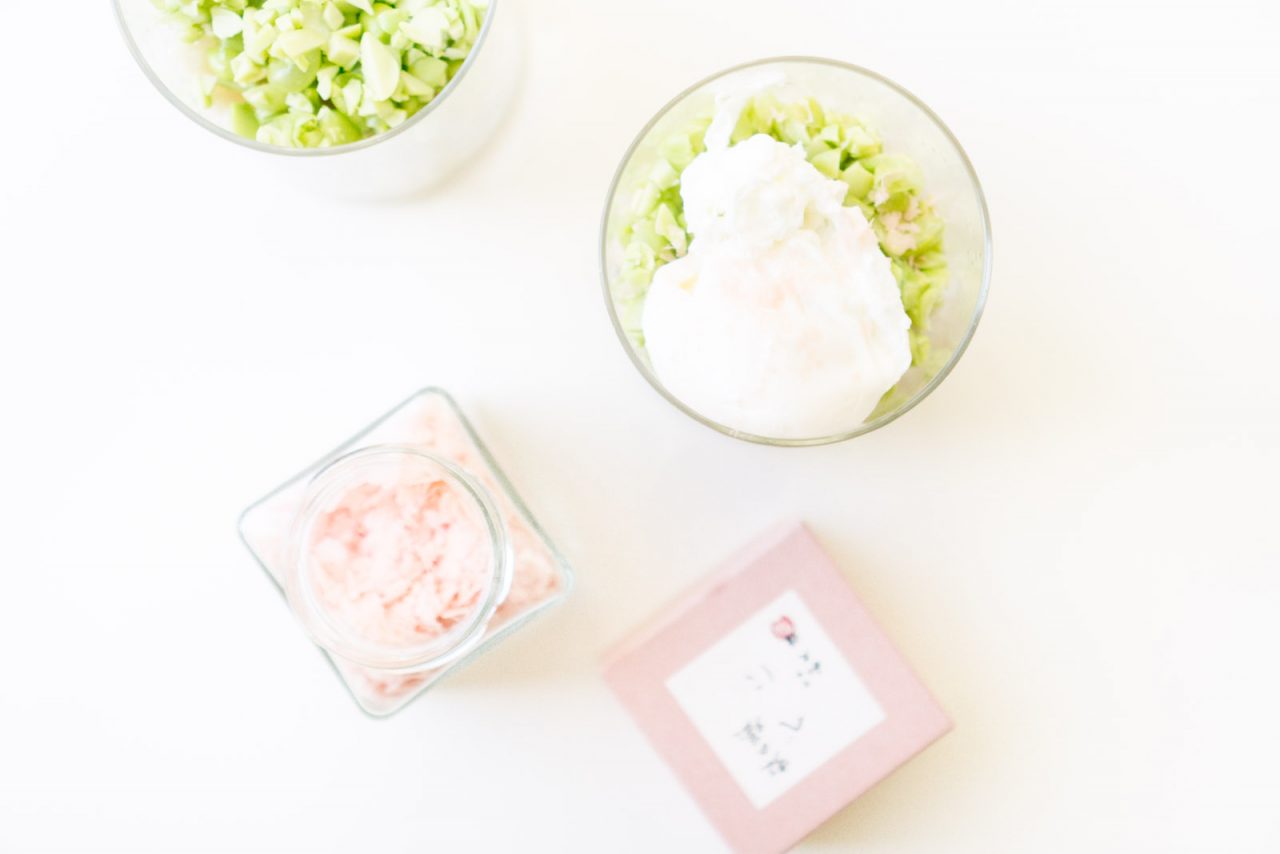
Majima-san, one of my best friends from Tokyo who I worked with in Itoya, gave me some beautiful pink sea salts she picked up from Kyoto and gave it to me just before I had to fly back from Tokyo to LA.. so to use it, and to conquer my fears of poaching an egg, I decided to make a stacked edamame salad: The foundation: israeli couscous, base layer: chopped up edamame, second: poached egg, all drizzled with a fusion of olive oil and freshly squeezed lemon juice, and sprinkled with pink sea salts…The built creation? Edamame Salad with Poached Egg and pink sea salts.

For the past few years, wall sections gave me an overwhelming amount of  anxiety in architecture and poaching eggs gave me tummy anxiety in the kitchen… I literally threw up (a little blob) in my office’s sink from the first wall section I had to conquer at work a few months ago… but thankfully nobody saw that and this week I was able to bust out enough sheets and tackle it by Monday with my team (thanks to the help of my boss who very patiently taught me by representing tape on paper as waterproofing walls), and I realized wall sections and details are actually more than lines, they’re interesting and kinda fun once you get the basics down.) I also attempted this salad recipe and got   BOTH eggs properly (Thanks to Youtube and Jordan my usc arch. colleague) I bought a dozen fresh new eggs in case it took me 12 to get 2 done right, and the first two ended up poaching perfectly.

Edamame Salad with Poached Egg

Ingredients

Preparation Time
10 minutes
Cooking Time
5 minutes
Serving Size
2
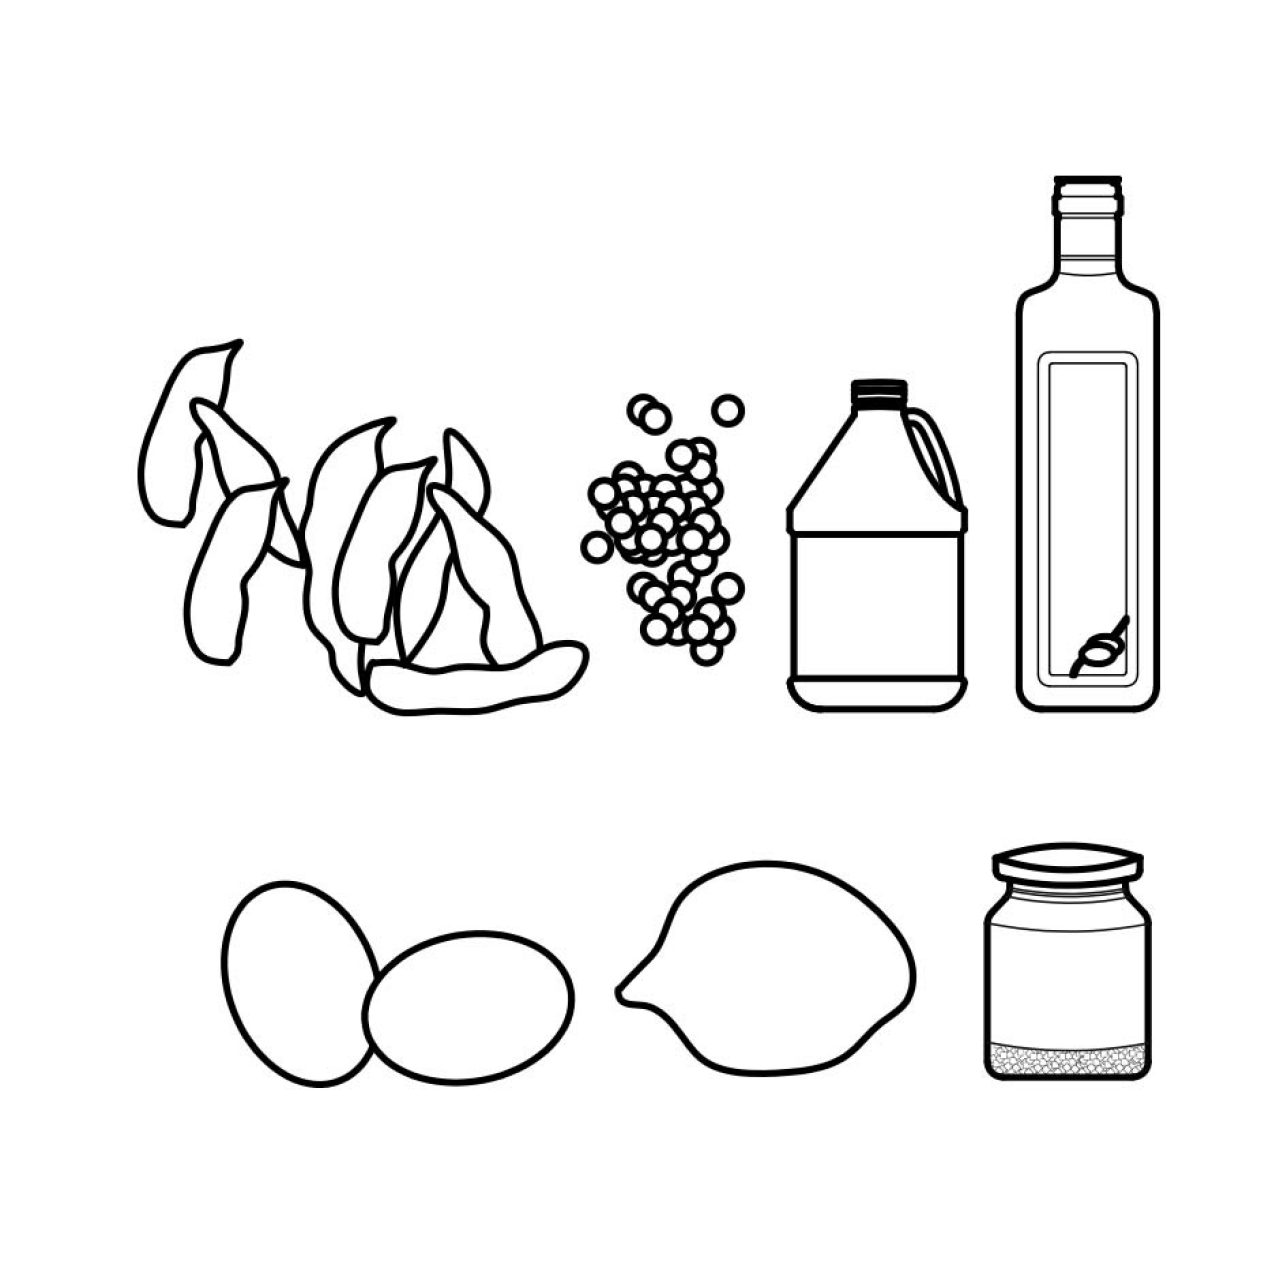
  • 1 lb. / 1 bag frozen edamame
  • 1/2 C israeli couscous
  • 2 tbsp vinegar
  • 1 tbsp olive oil
  • 2 eggs
  • lemon
  • pink sea salt flakes or sea salt to taste
Directions

Step 1.

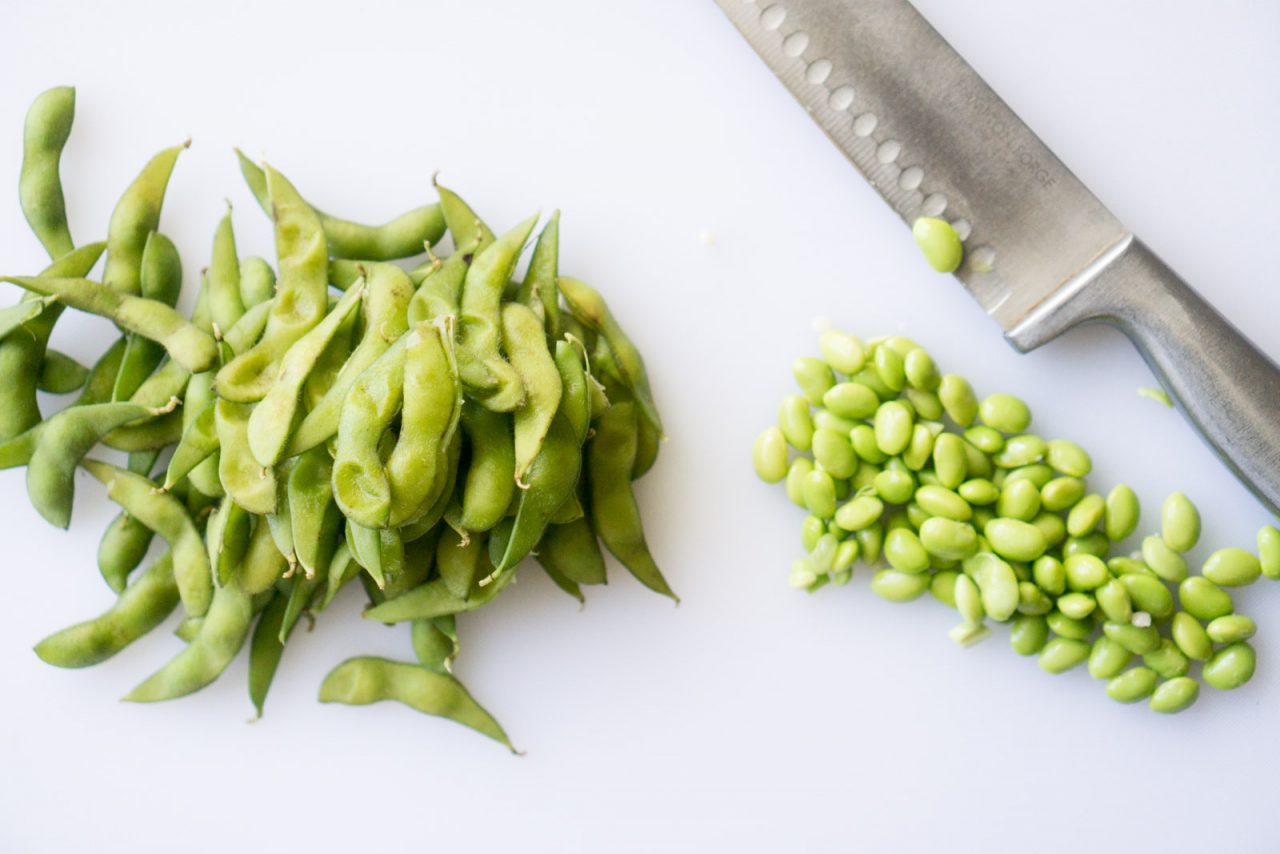
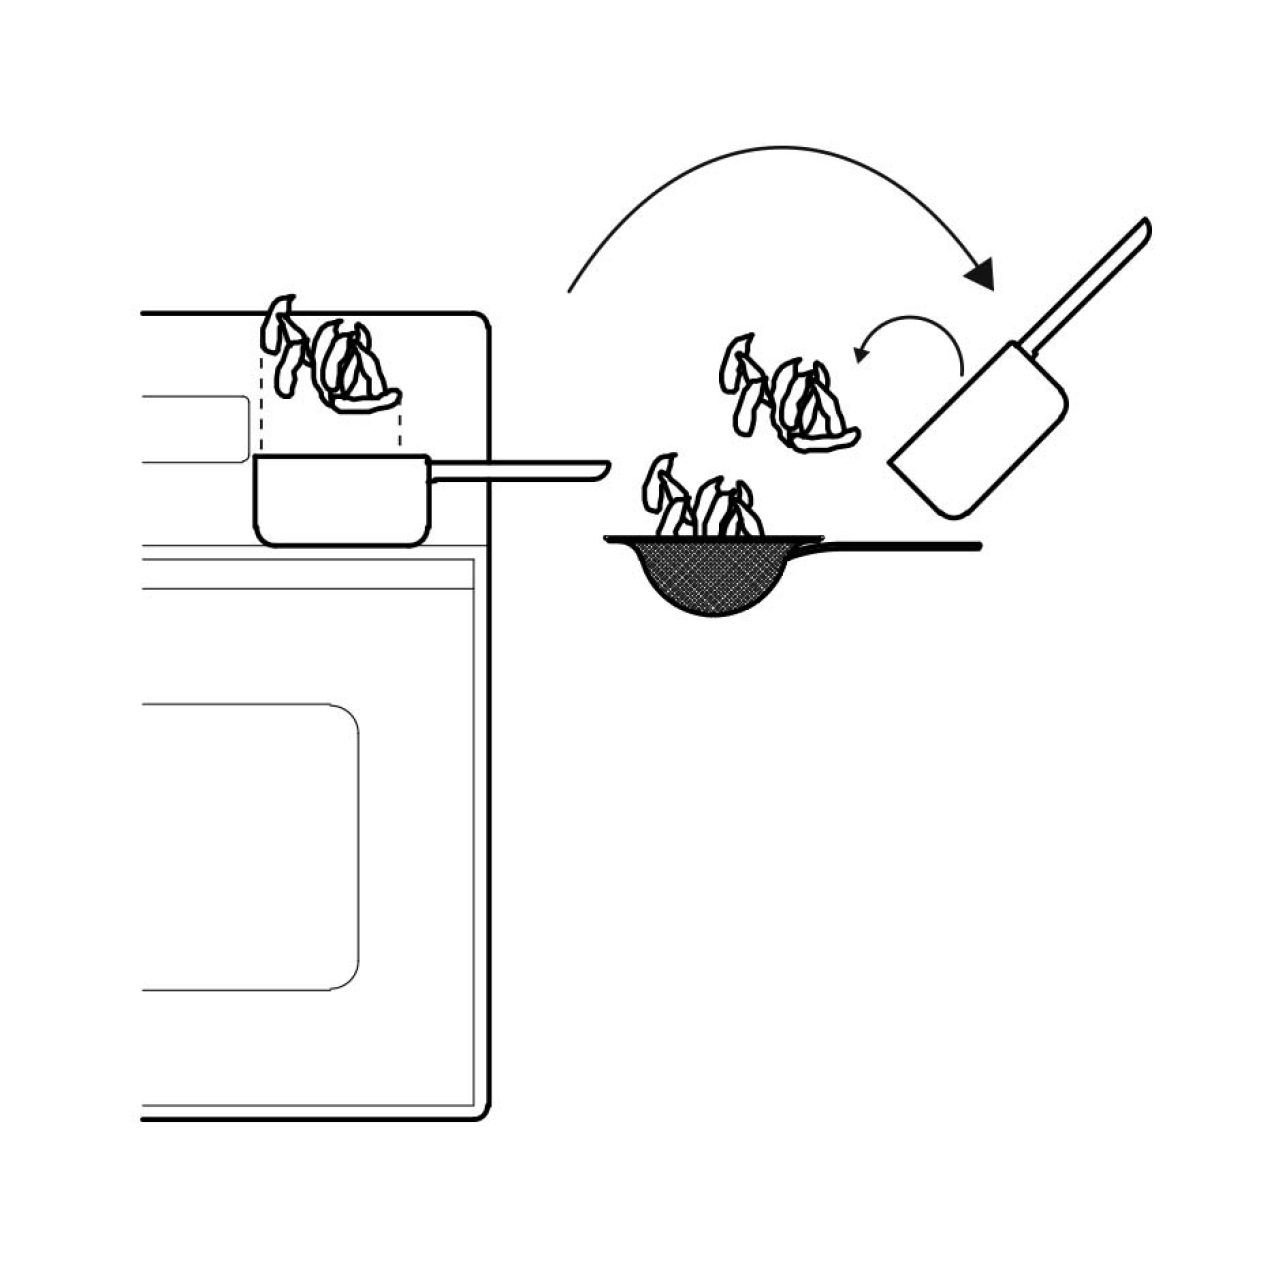
Briefly boil the unshelled edamame in a pot for a few minutes. Drain and cool completely, about 30 minutes.

Step 2.

Briefly boil the Israeli couscous in a pot for a few minutes. Drain and cool completely, about 15 minutes. Add some olive oil to prevent the couscous from sticking.

Step 3.

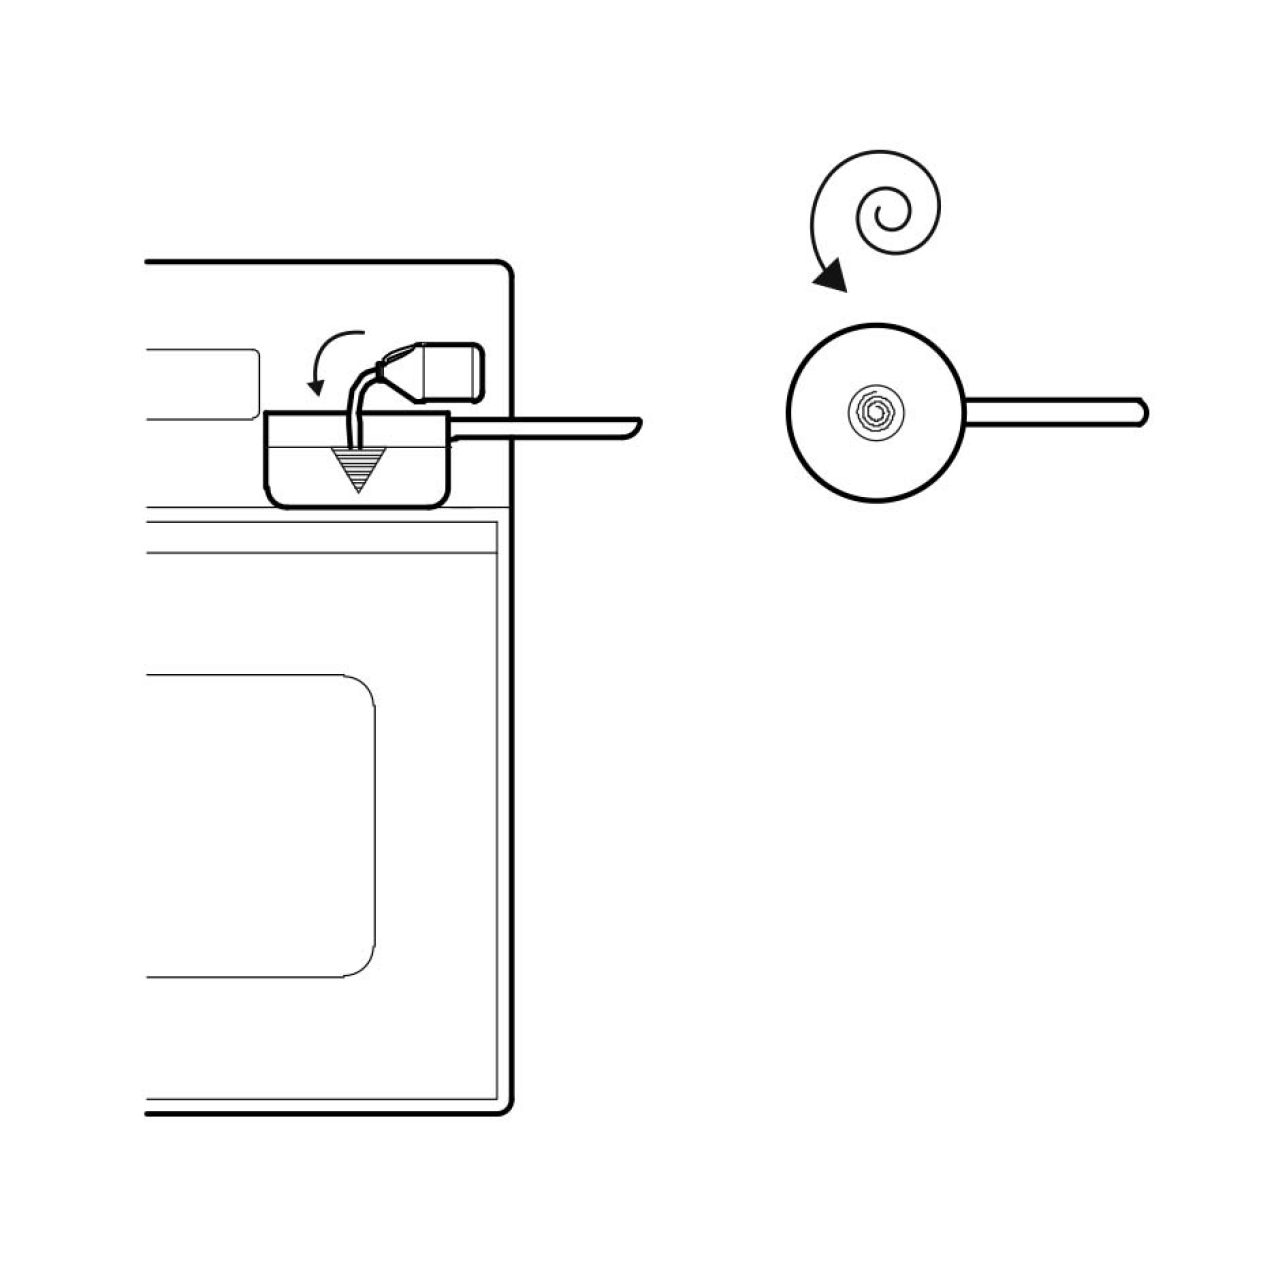
To poach the egg, boil about 3″ of water. Crack open an egg into a ramekin or small bowl.

Step 4.

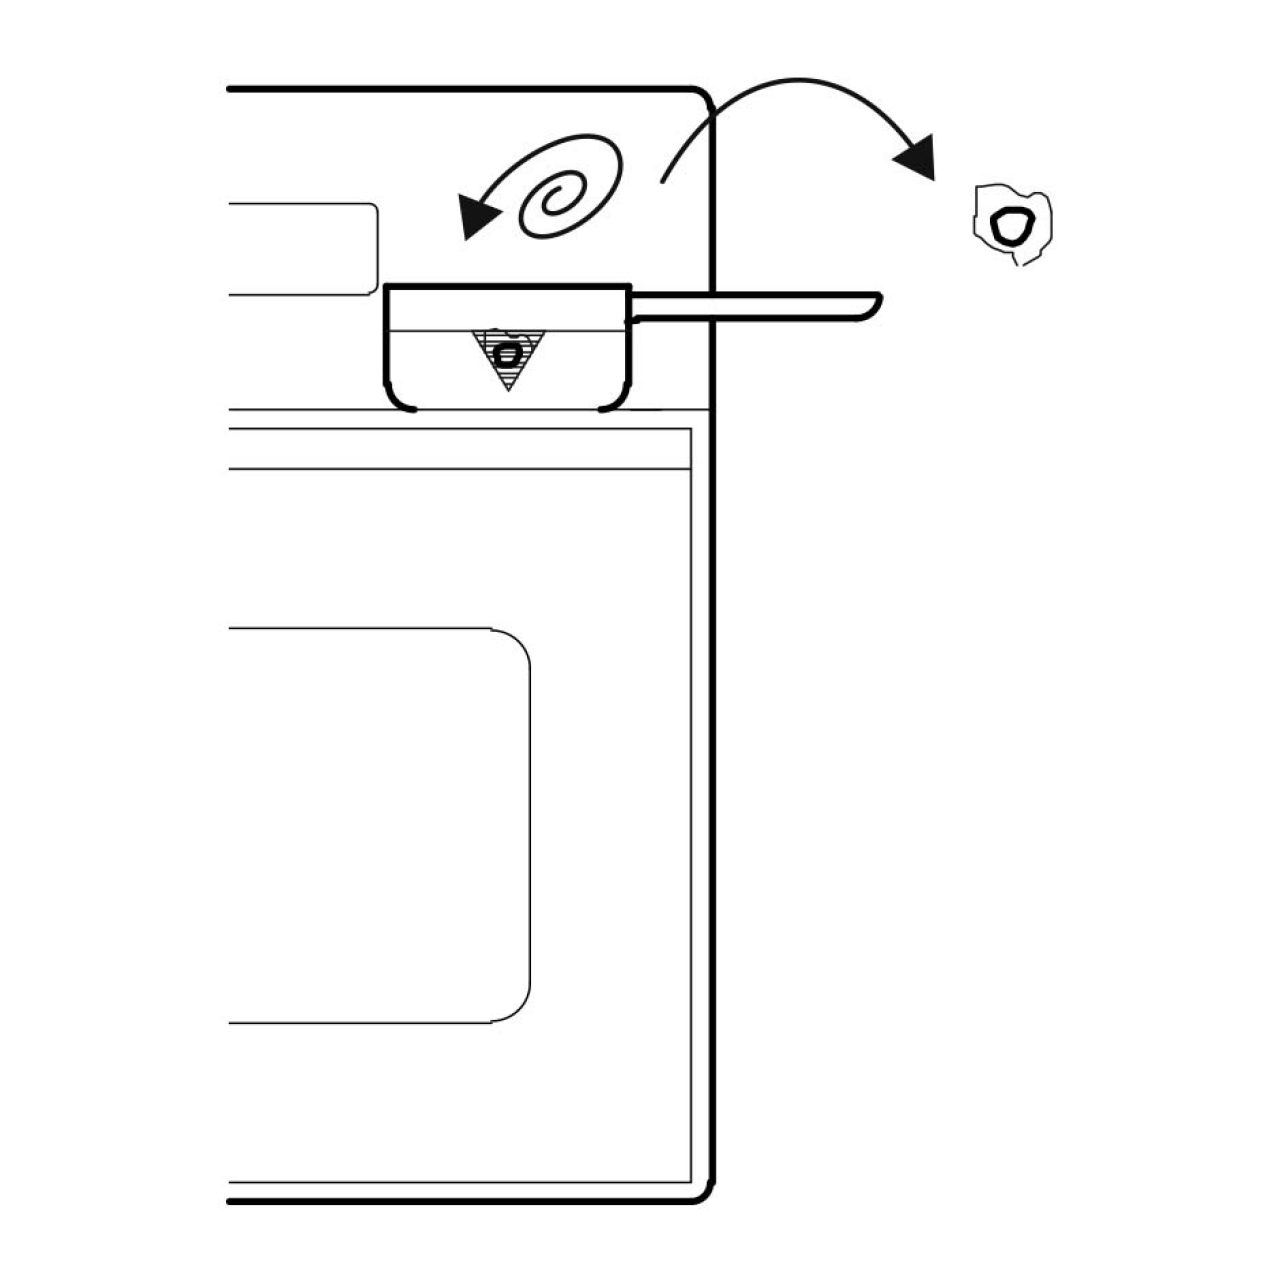
Set a steady vortex by swirling the water in the pot and once it gets going, slowly pour about 1 tbsp of vinegar.

Step 5.

Slowly pour the egg into the vortex. Watch it carefully and use the knife or spoon to hold it together for about 3-5 minutes. Once cooked to desired, carefully scoop out the egg from the pot by using a whisk or spoon. Rinse with water to remove the vinegar.

Step 6.

Un-shell all of the cooled edamame pods and chop them finely.

Step 7.

To assemble, add about 1/2 the portion of couscous into one glass cup. Then, add a layer of the chopped up edamame and spoon over the poached egg. Pour over some olive oil, squeeze some lemon juice, and sprinkle with sea salt.

So last week was perhaps my most terrifying and painful week of 2017. I fell down some stairs (thankfully nobody saw), cut up and bruised myself, was stung by 6 mosquitos on the chest and both shoulders, got kinda sick, got a bunch of pimples on my forehead from the stress, and  locked myself out of both my own home/mom’s home while she’s out of the country. I know-I know, life can be so much worse and I’m very grateful I have food to eat and working limbs. And I’m extremely grateful that this week has significantly improved than that last terrifying/painful week.

My team and I successfully finished busting out our detail drawings on Revit, packed and submitted our exterior envelope set drawings out to our contractor. AutoCAD’s film director contacted me again on Wednesday with a follow up on brainstorming for how we can collaborate! Fingers crossed. I am literally praying every day to God that our proposal be approved by next week (then I can formally announce!) And yes, YOU SHOULD PRAY TOO without even knowing what we’re requesting. I promise it would be exciting.