Matcha Mochi Waffles
In preparation for the breakfast I had to make for my IT team (+ the Superbowl) I’ve been playing with different types of flour and wondered what I could do with the rest of the mochiko in my cabinet. After I asked O what he’d think about mochi waffles, he looked at me incredulously (pfft, what? why? how?)
Well, hell – if there is a will, there is a way.

If there’s anything that’ll “bring me joy” …it’s WAFFLES. Not just any waffles – Belgian waffles. Liege waffles. (Sometimes…toasted homestyle Eggo waffles).
In making this recipe, I have a few confessions:
1) I cringe a little working with yeast. Thankfully, we live in a world of baking powder – the handy dandy replacement to act as the yeast substitute ingredient.
2) I don’t have that awesome liege waffle iron for deeper pockets. However, I did have Lars pearl sugar – which I cannot emphasize enough: is completely life-changing. Pearl sugar contains its crystalized form so that when you bite into the baked good, you not only enjoy the dough but also little instances of sweet, crunchy crystals. If you don’t have it or can’t find it at your local gourmet store, you can order it from Amazon.
I will use pearl sugar at any given opportunity for a baked pie or pastry.


My latest favorite type of waffle: crispy slightly sweet waffle with a sticky, stretchy texture filling inside. Best when served fresh out of mini waffle irons, but also great when re-toasted in the oven.

Oh – and another tip: don’t be afraid of adding more sugar / playing with different toppings. I mixed in 1/4 C semi sweet chocolate chips into my batter and some of my IT friends loved it.


MATCHA MOCHI WAFFLES
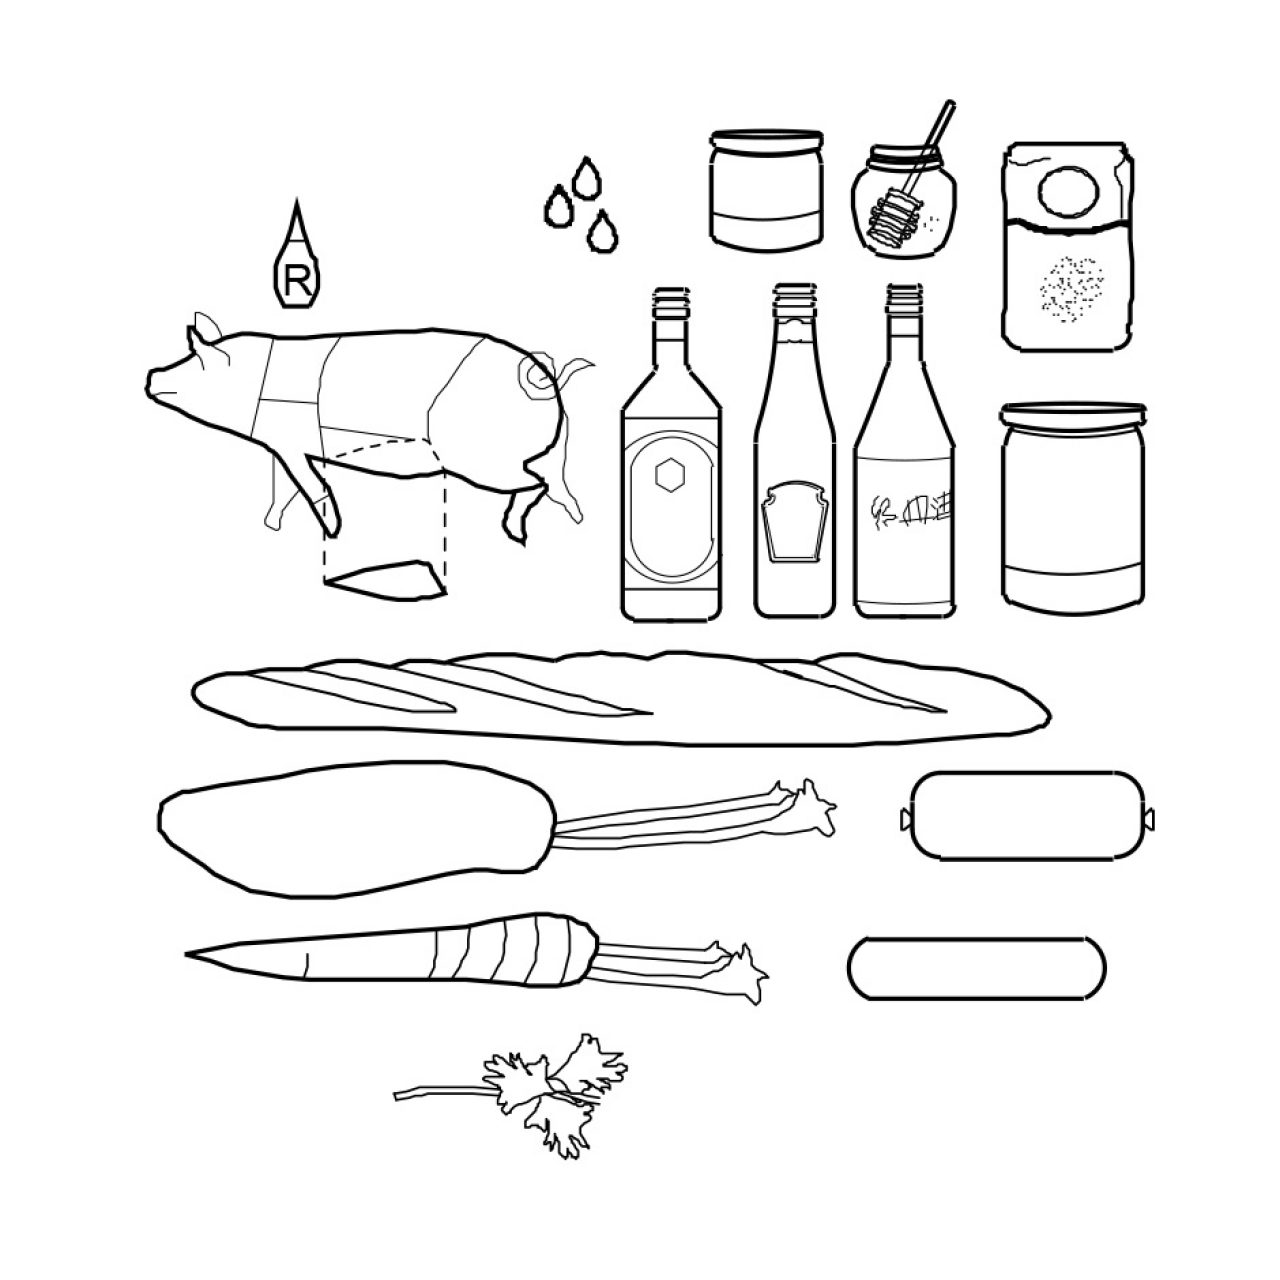
Ingredients
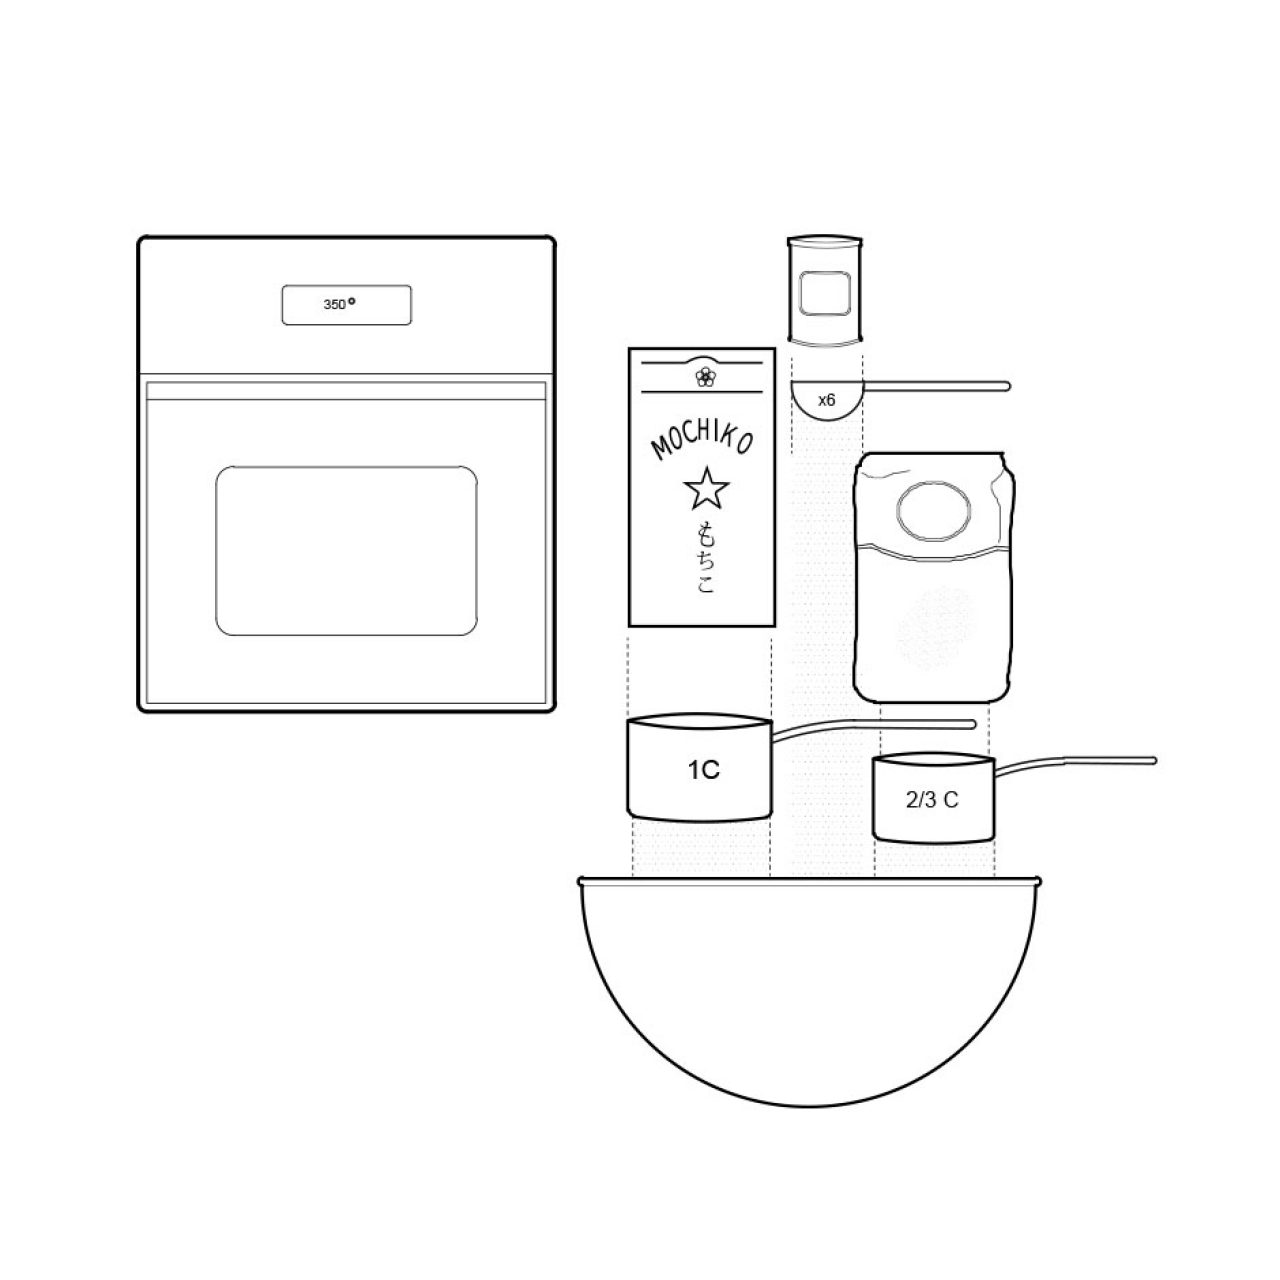
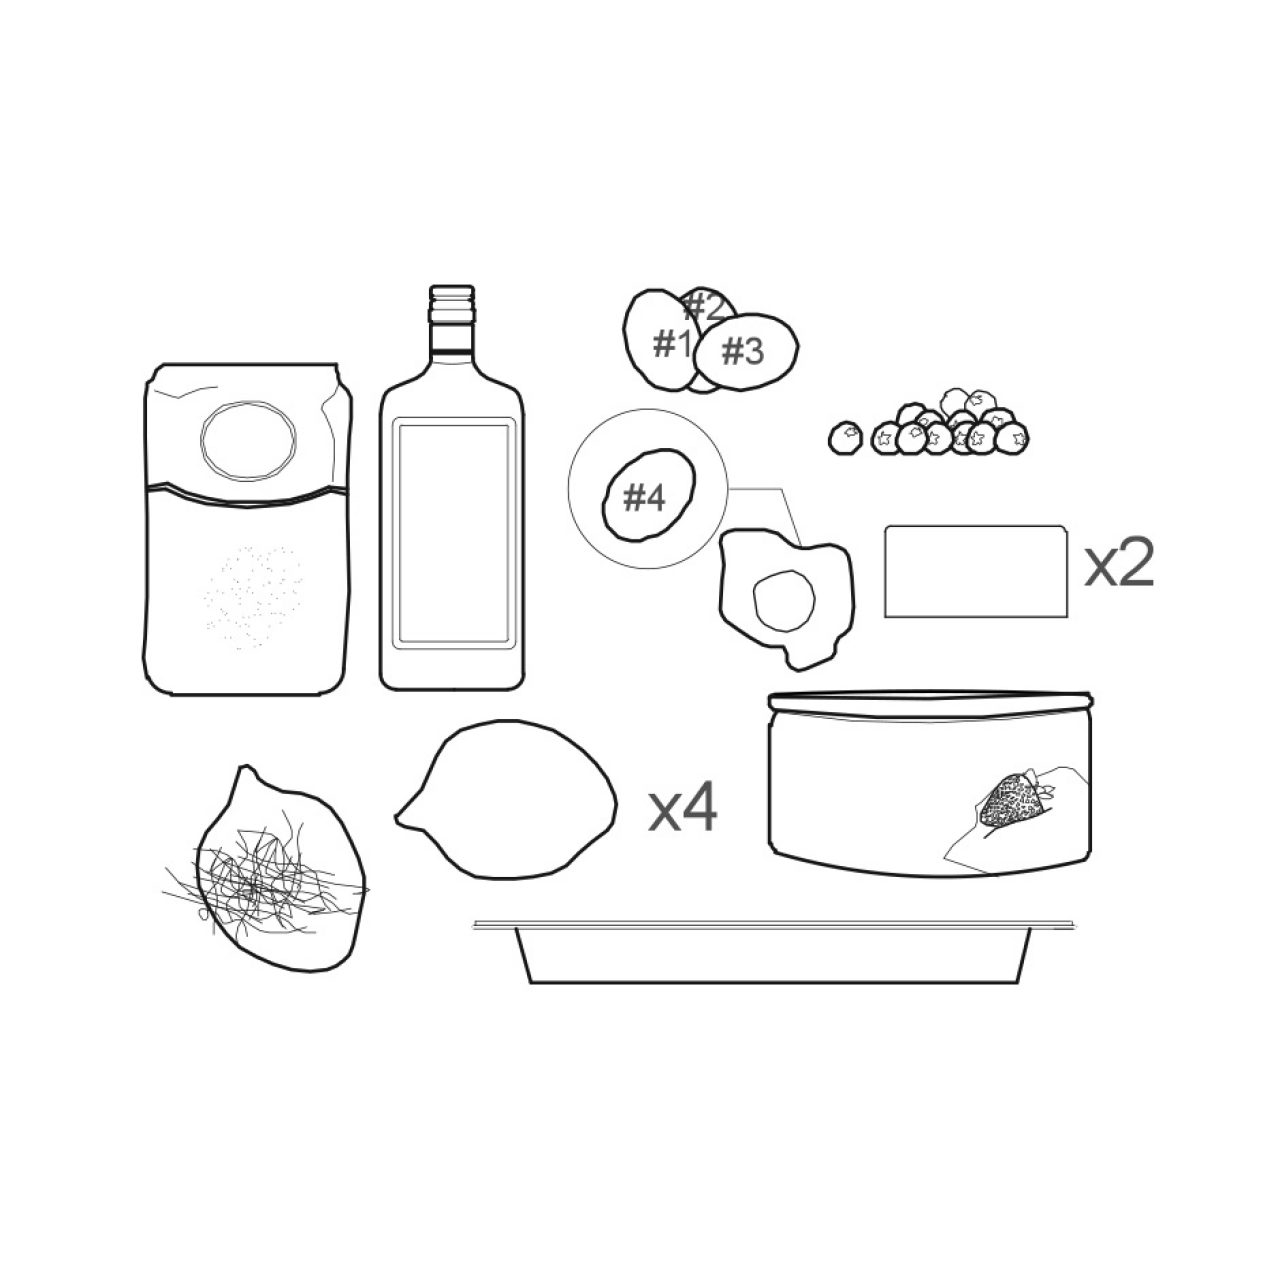
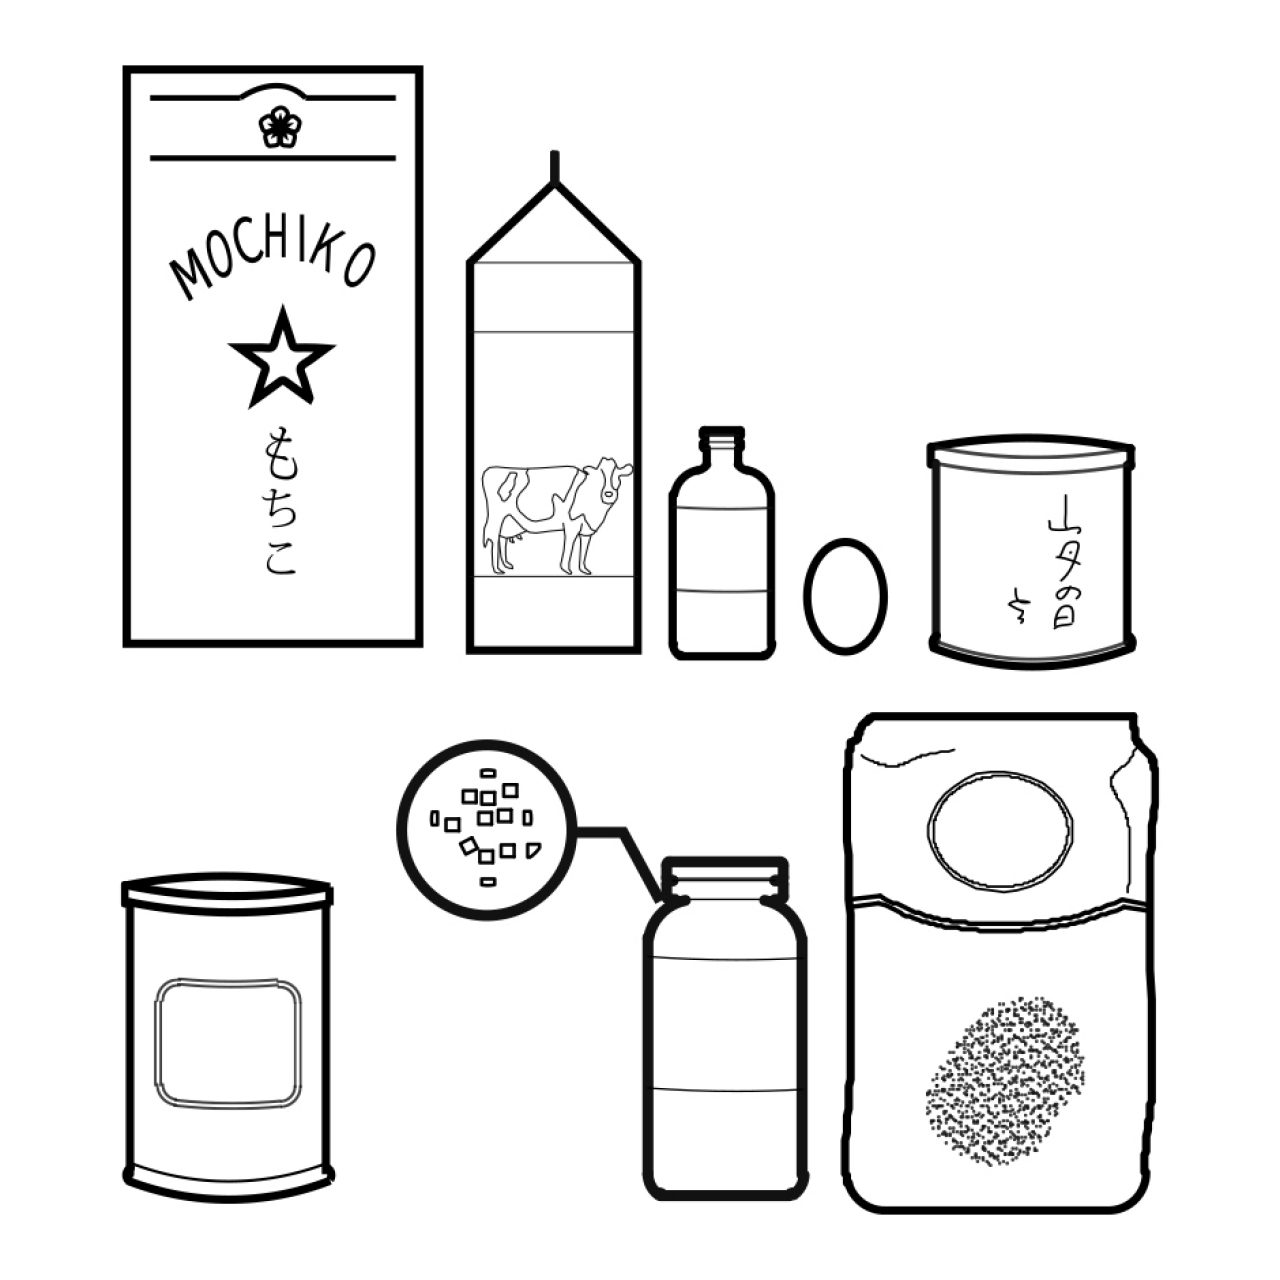
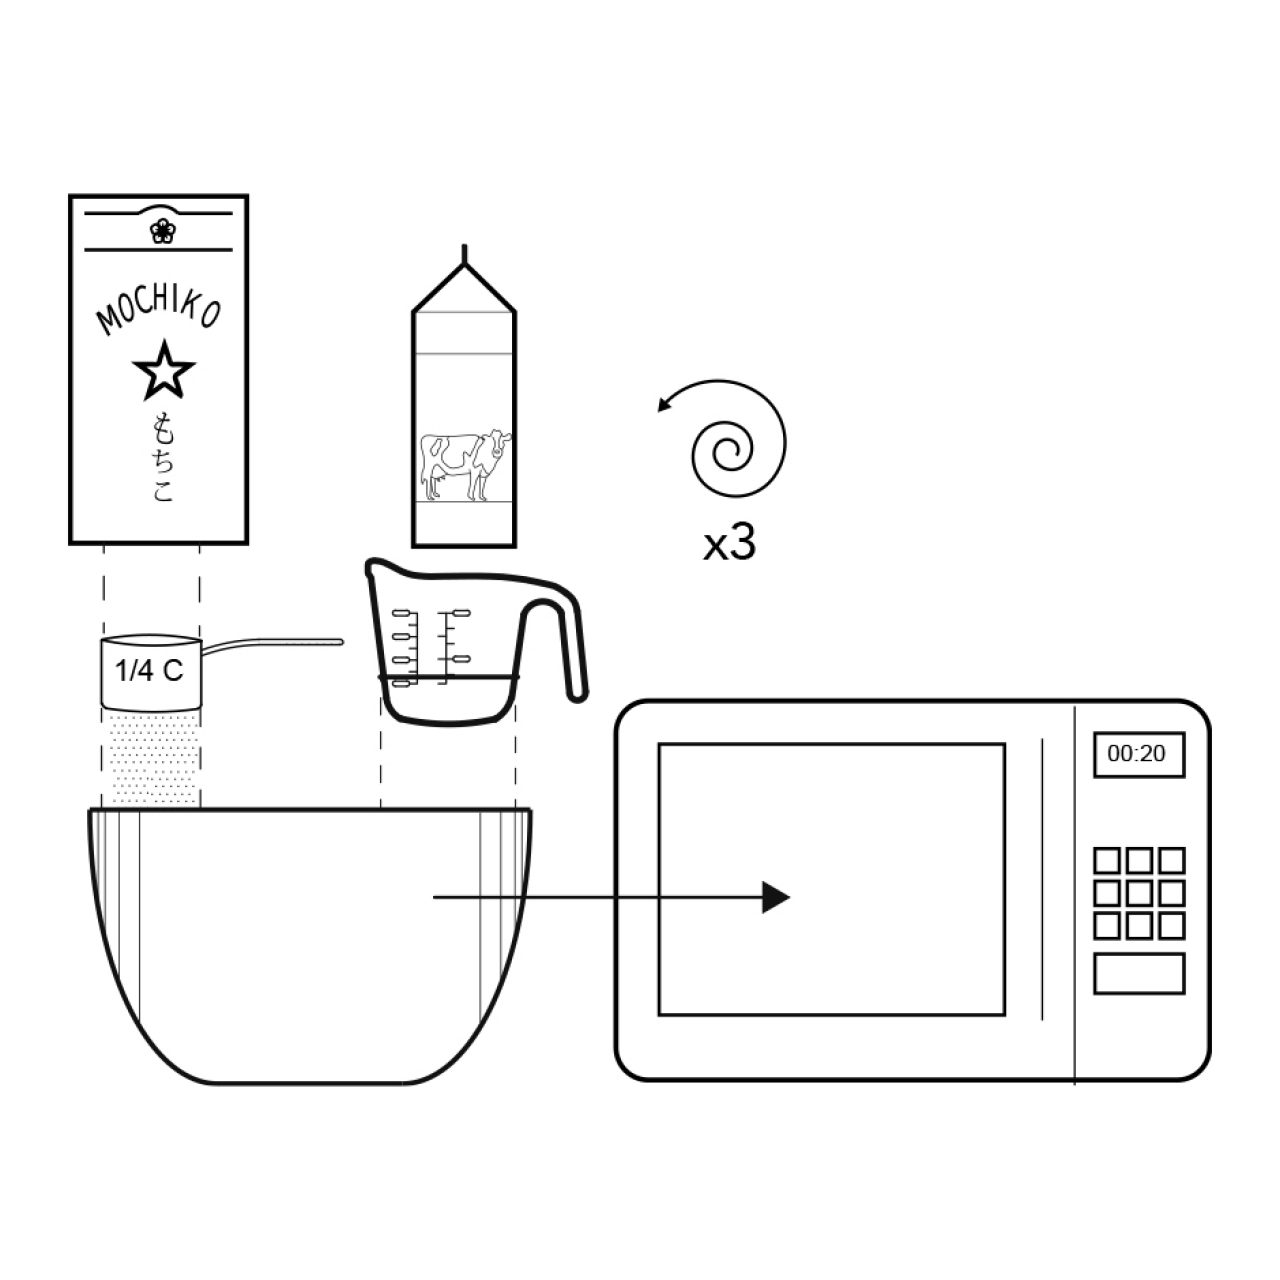
- 1/4 C mochiko
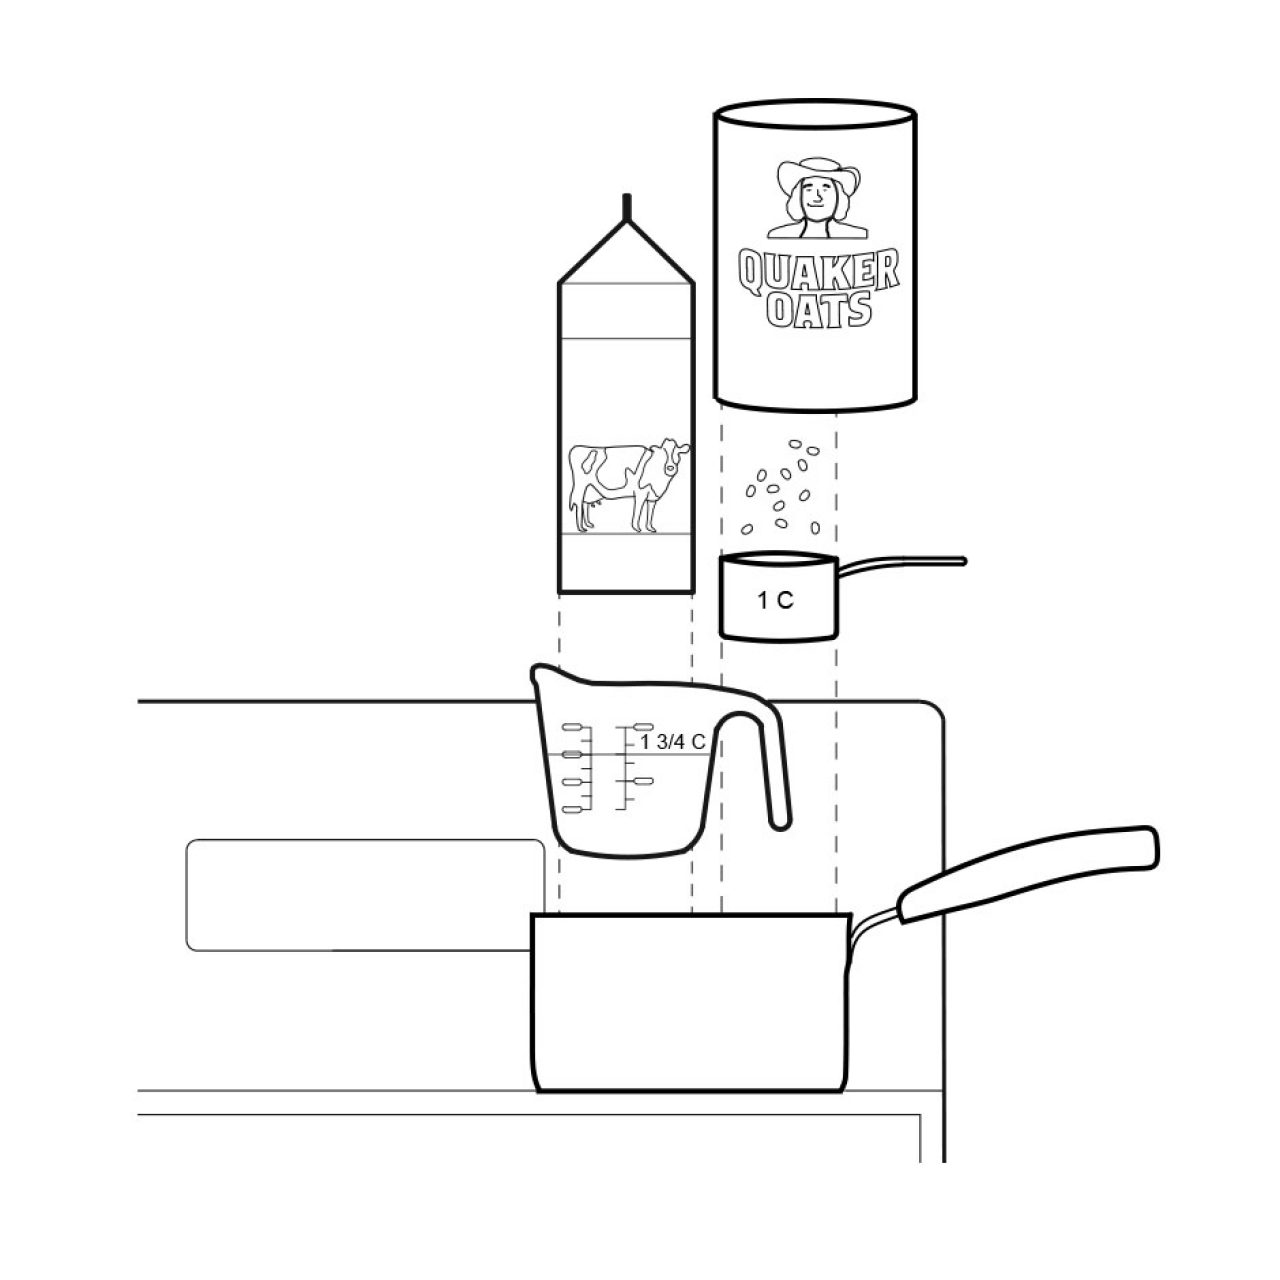
- 3/4 C whole milk
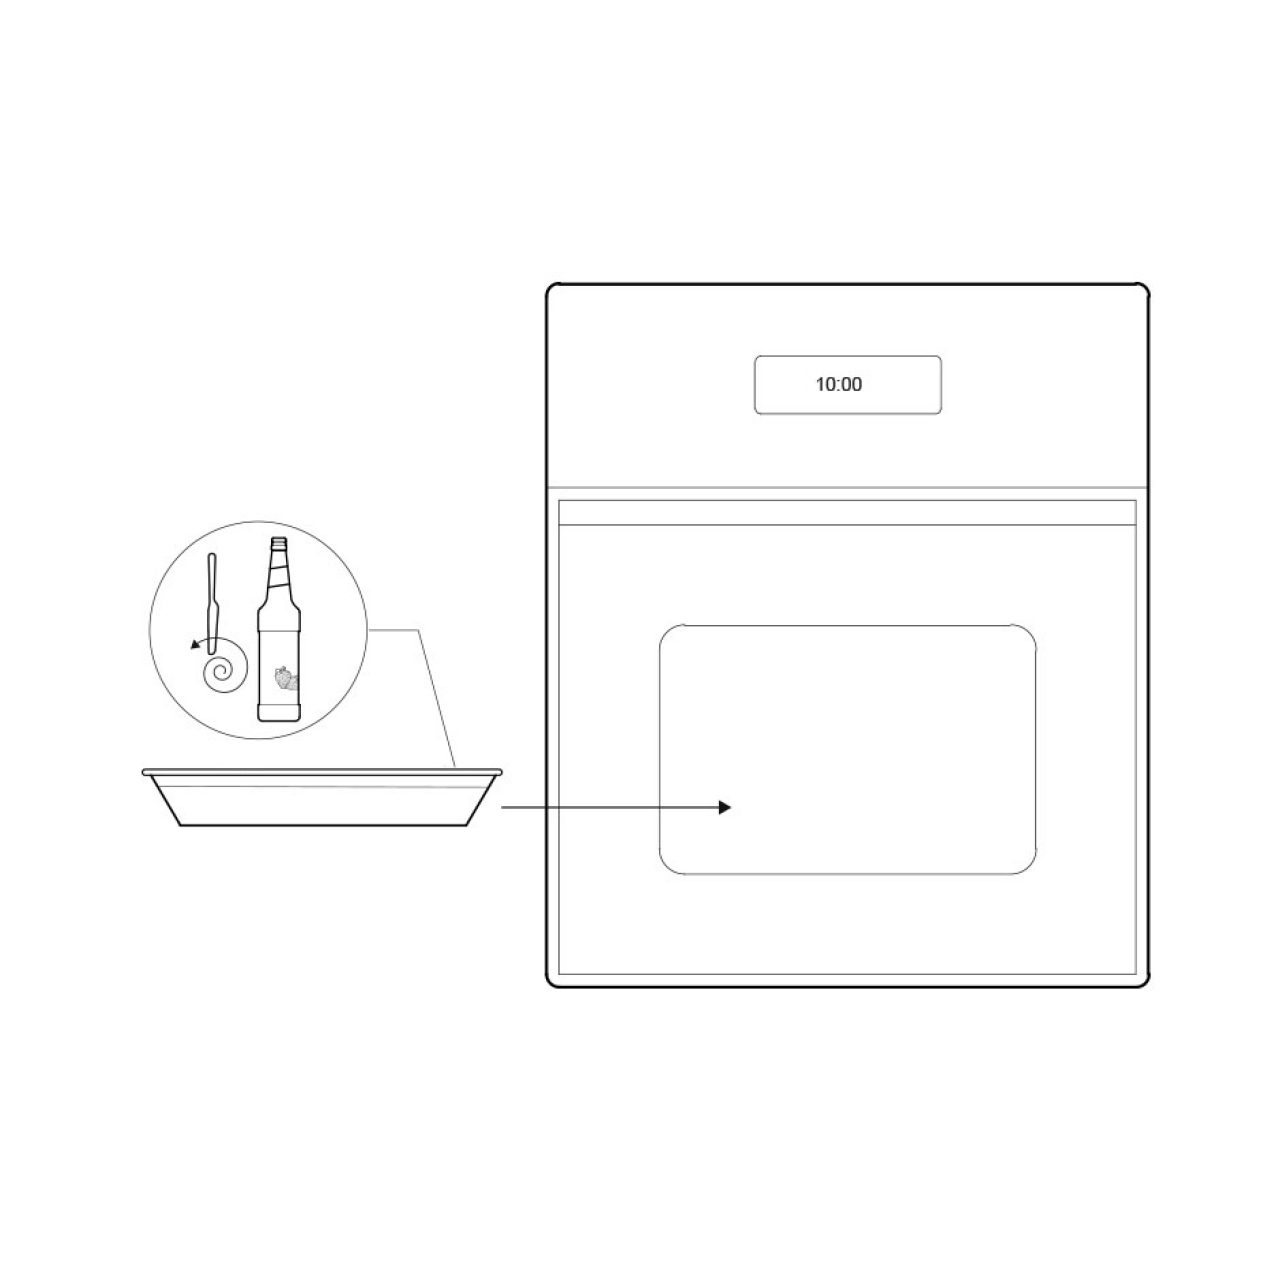
- 1 tsp vanilla extract
- 1 lg egg
- 3 tbsp butter
- 1 1/2 C mochiko
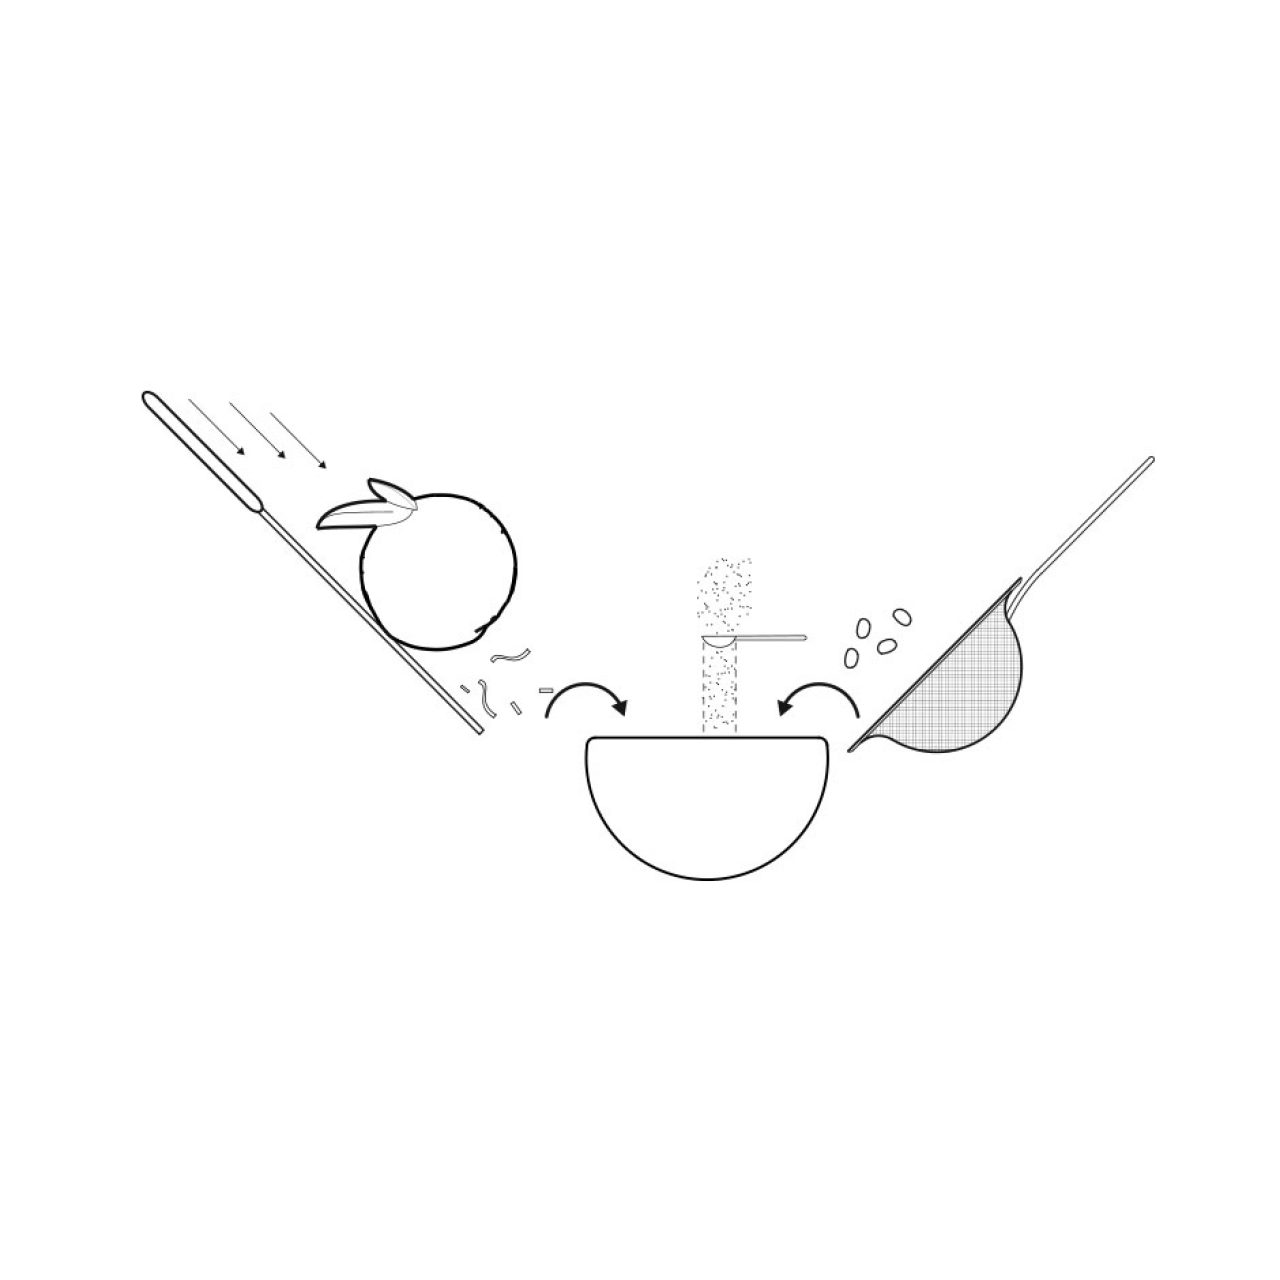
- 2 tbsp matcha powder
- 1/2 C sugar
- 1 1/2 tsp baking powder
- 1/4 tsp sea salt
- 2 tbsp pearl sugar (optional)
Directions
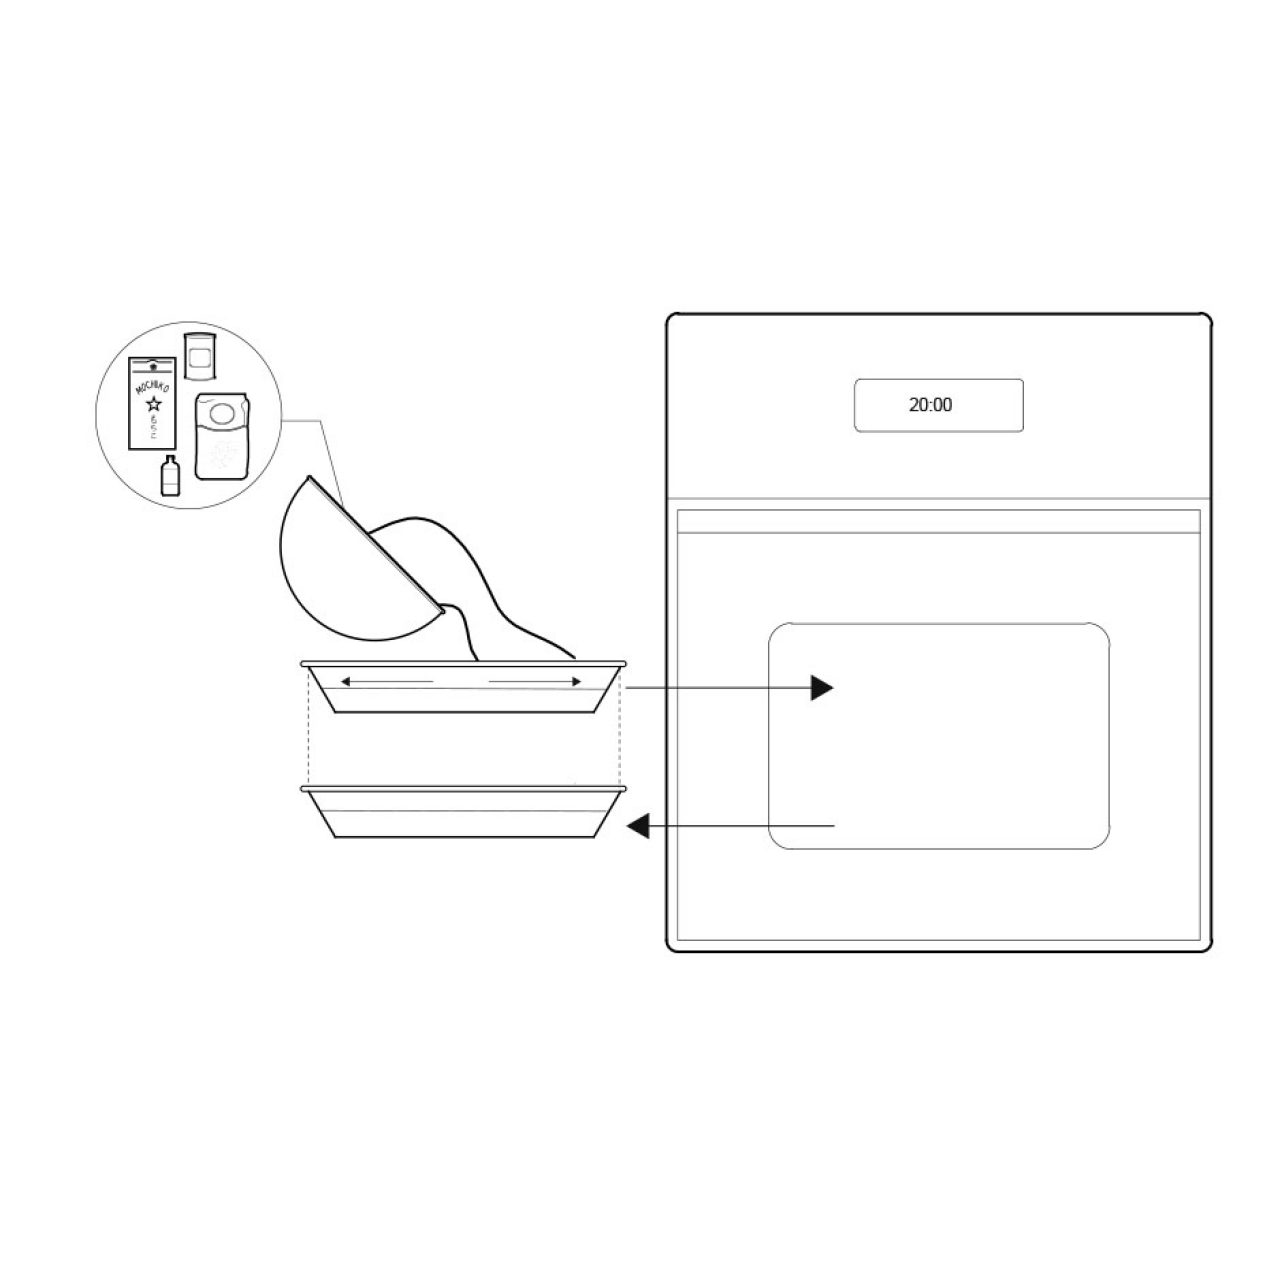
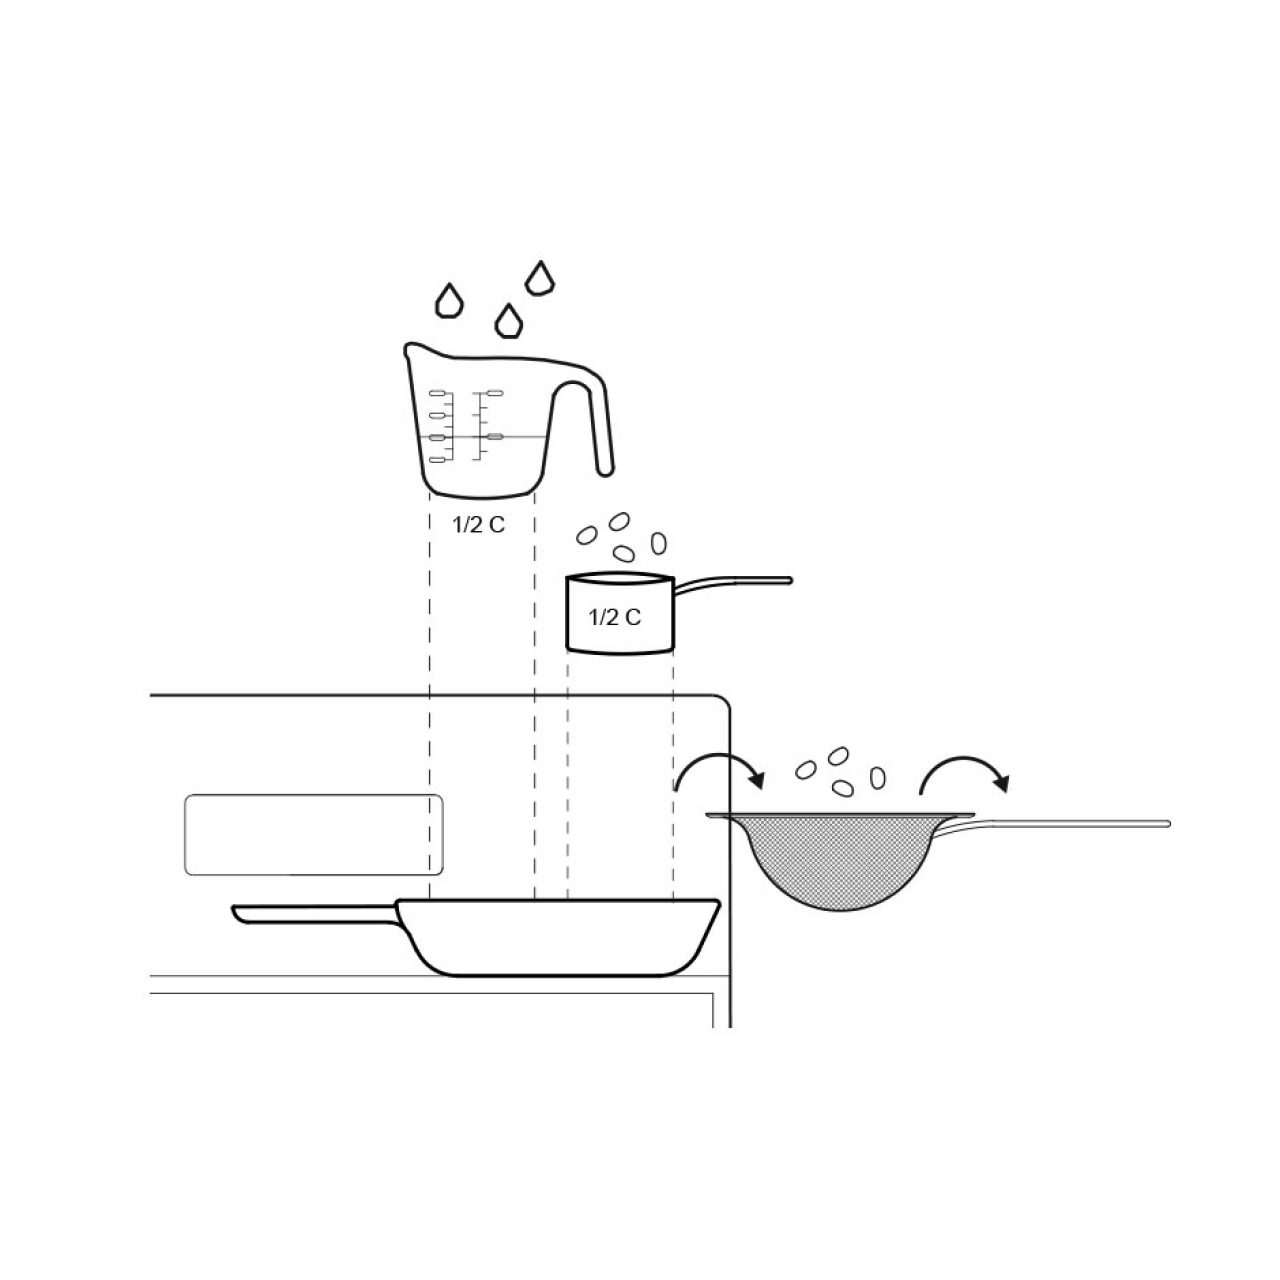
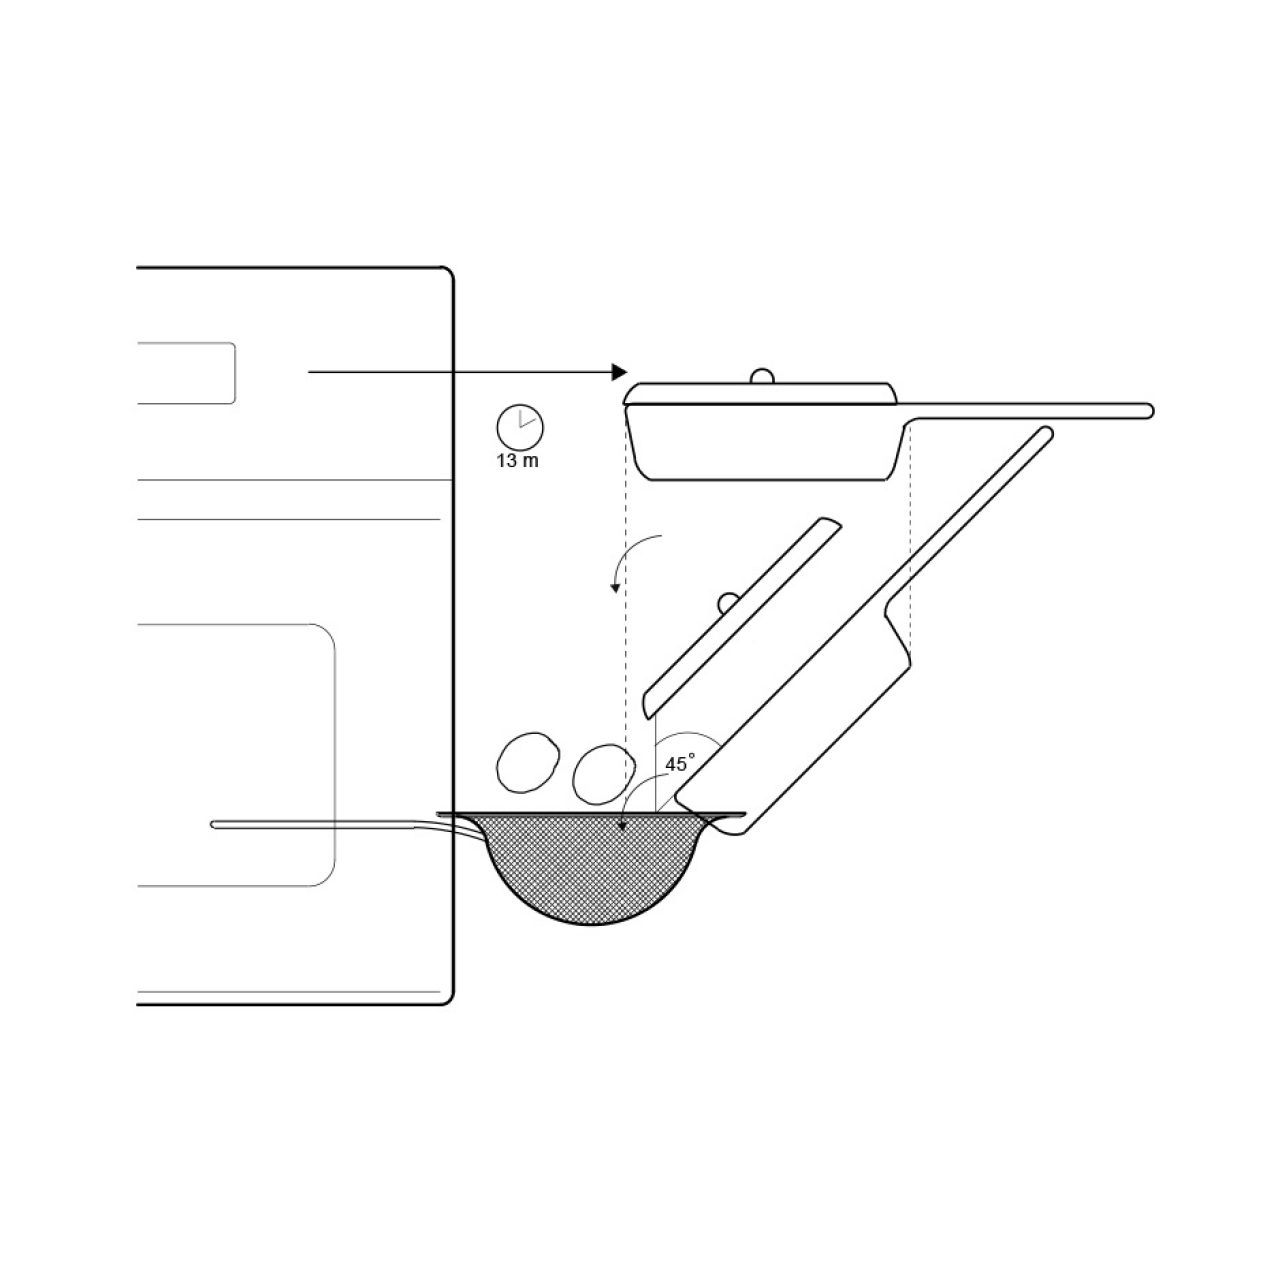
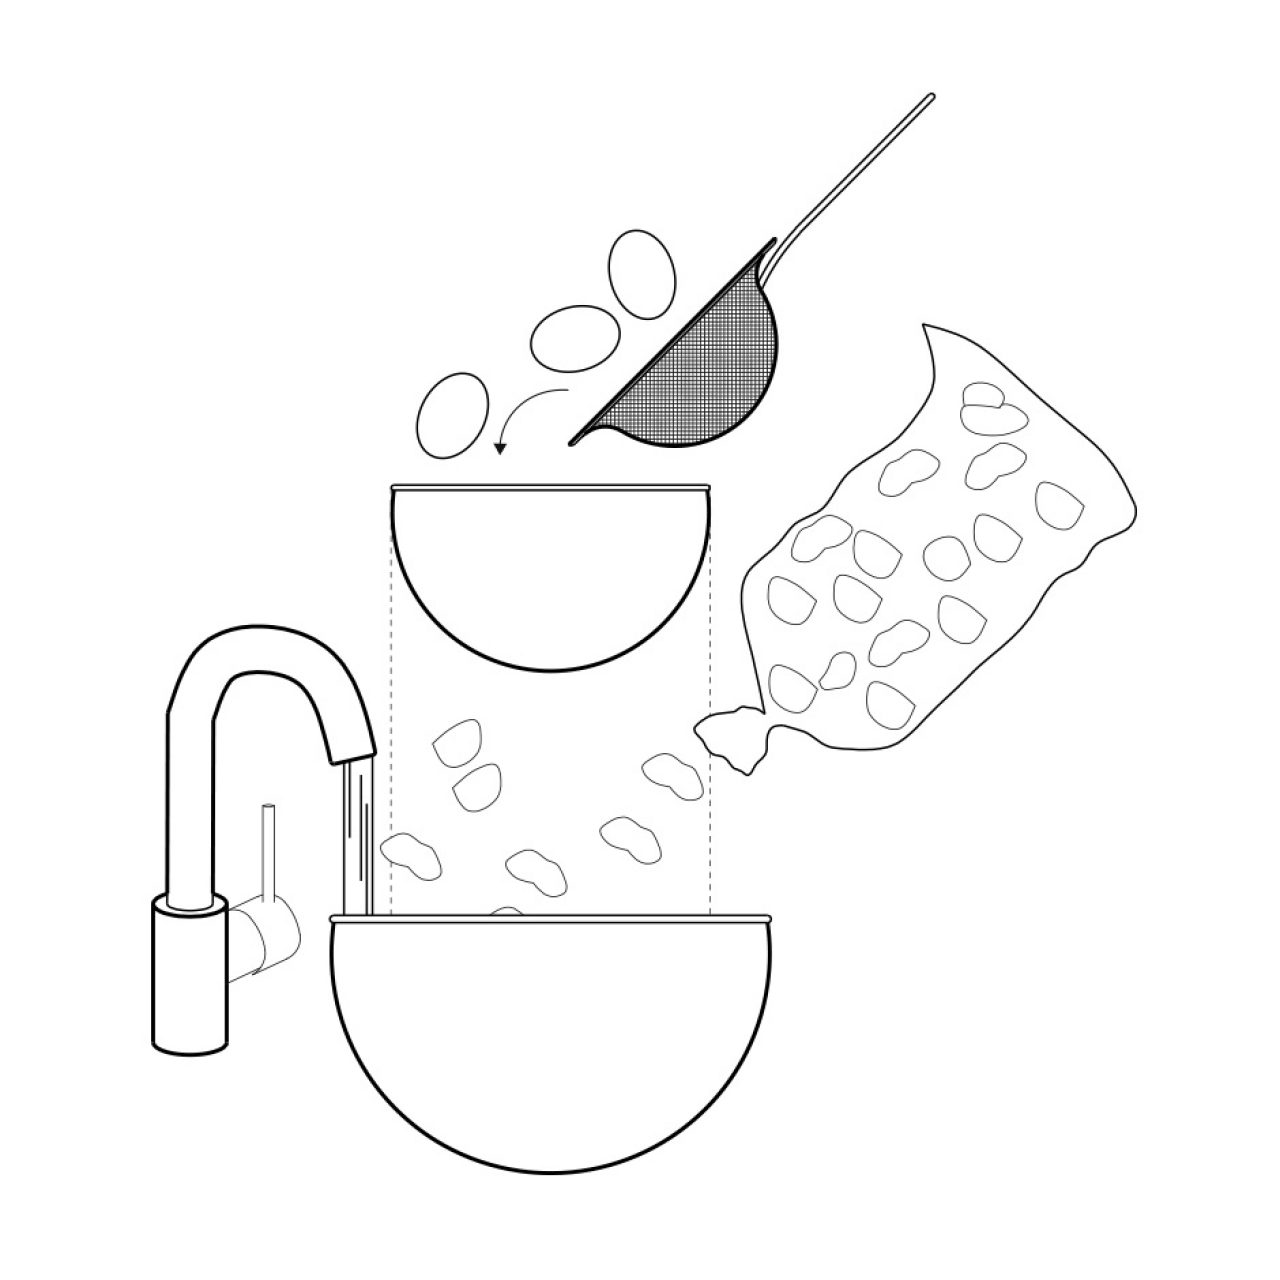
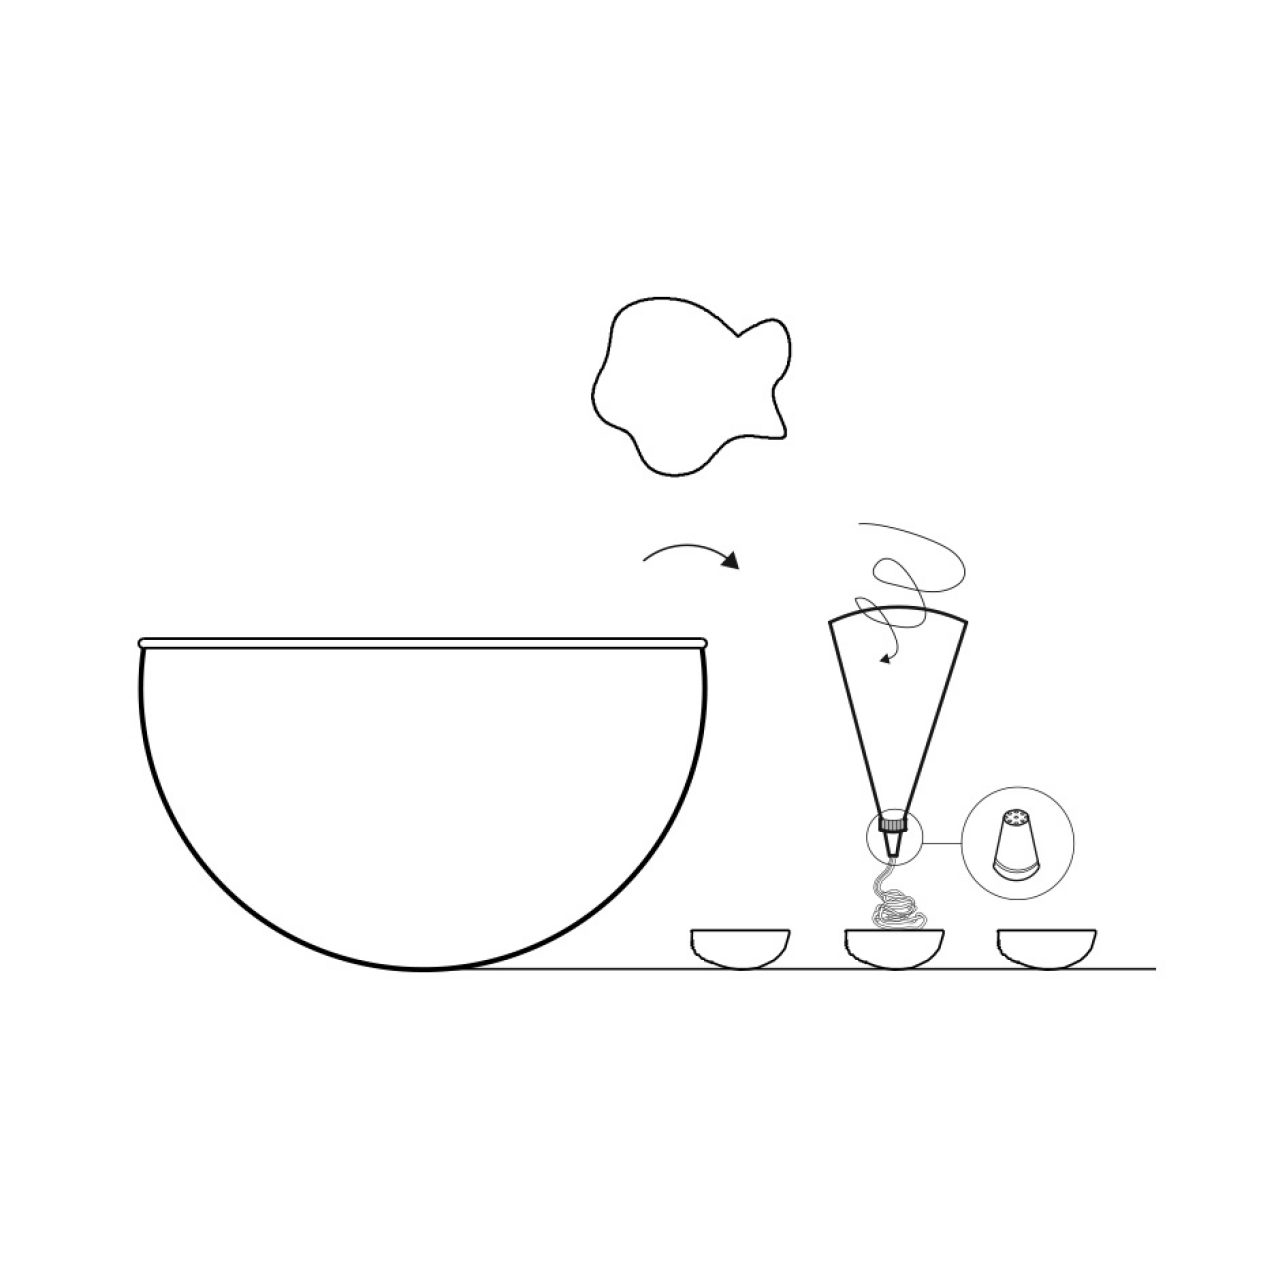
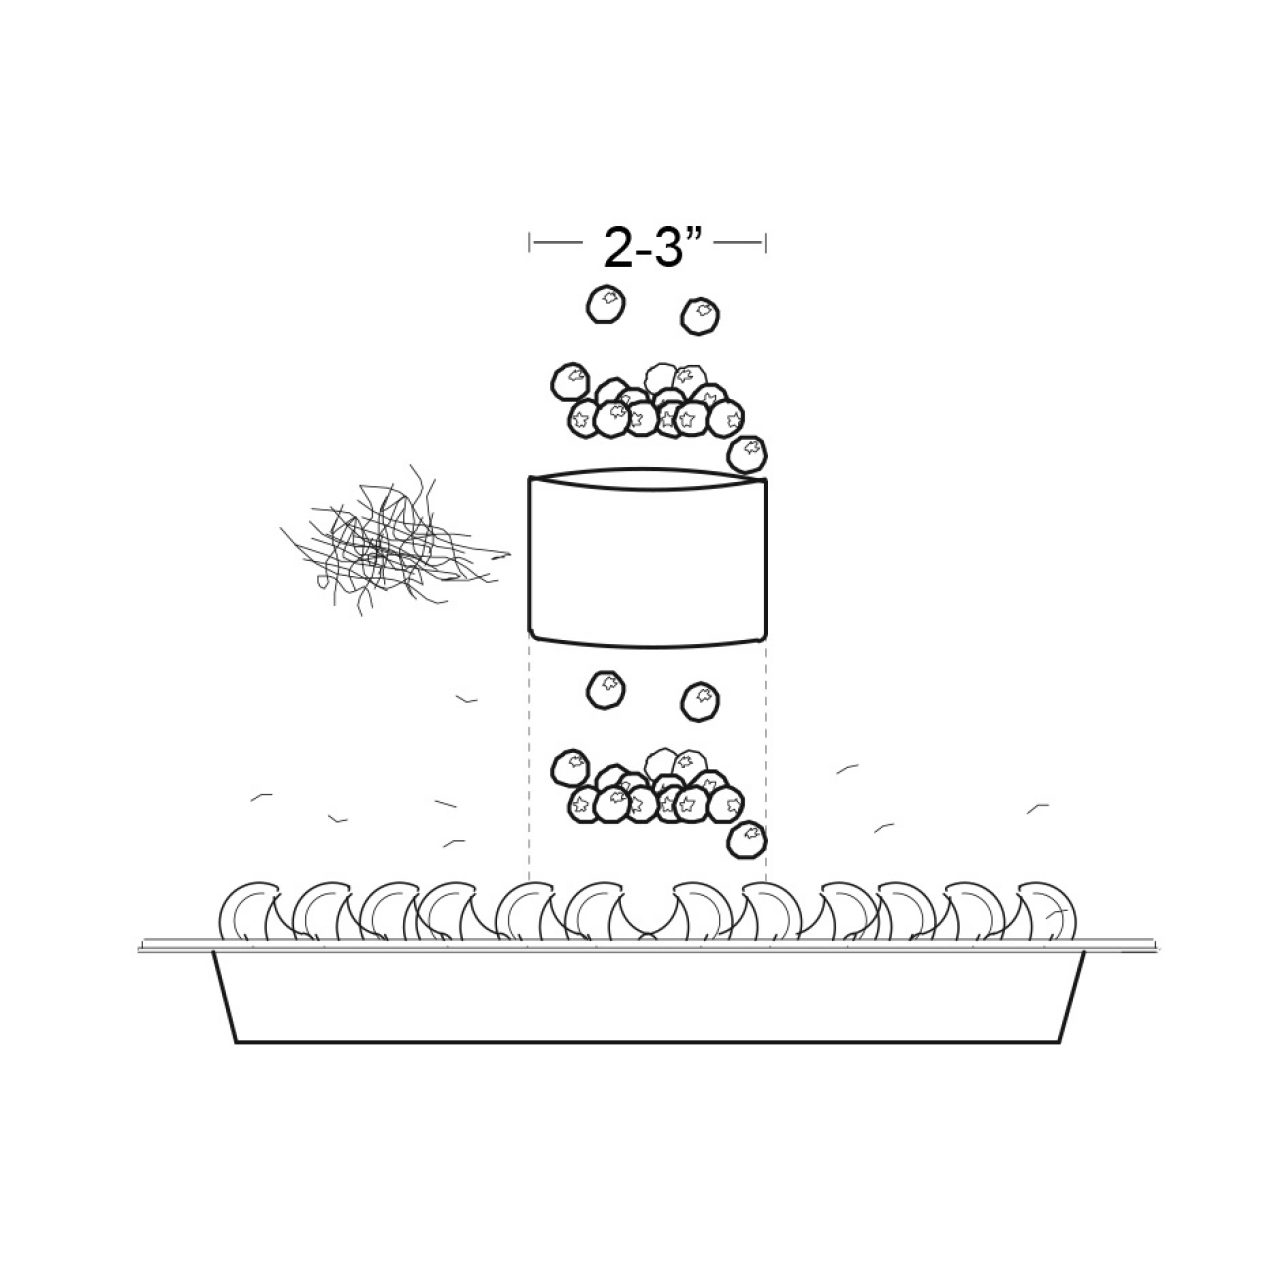
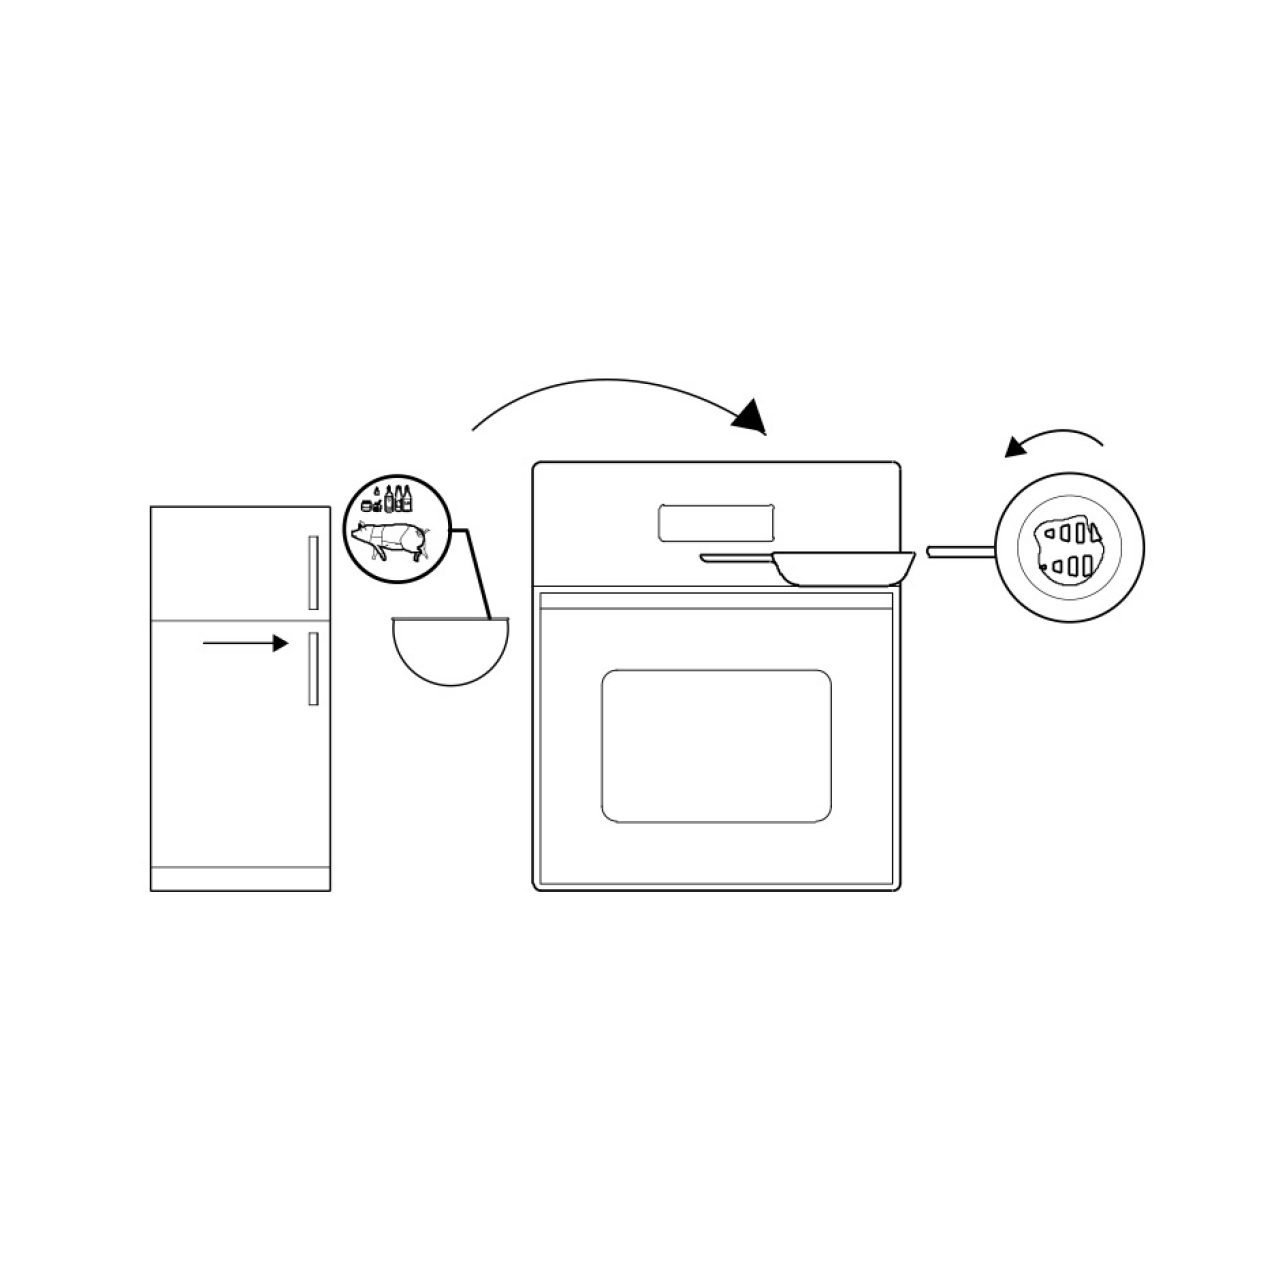
Stir 1/4 cup sweet rice flour and 1/4 cup whole milk in a microwave safe bowl. Heat in the microwave for 60 seconds in intervals of 20 seconds. Stir contents together between each interval. The resulting mixture should come together to form a white sticky dough.
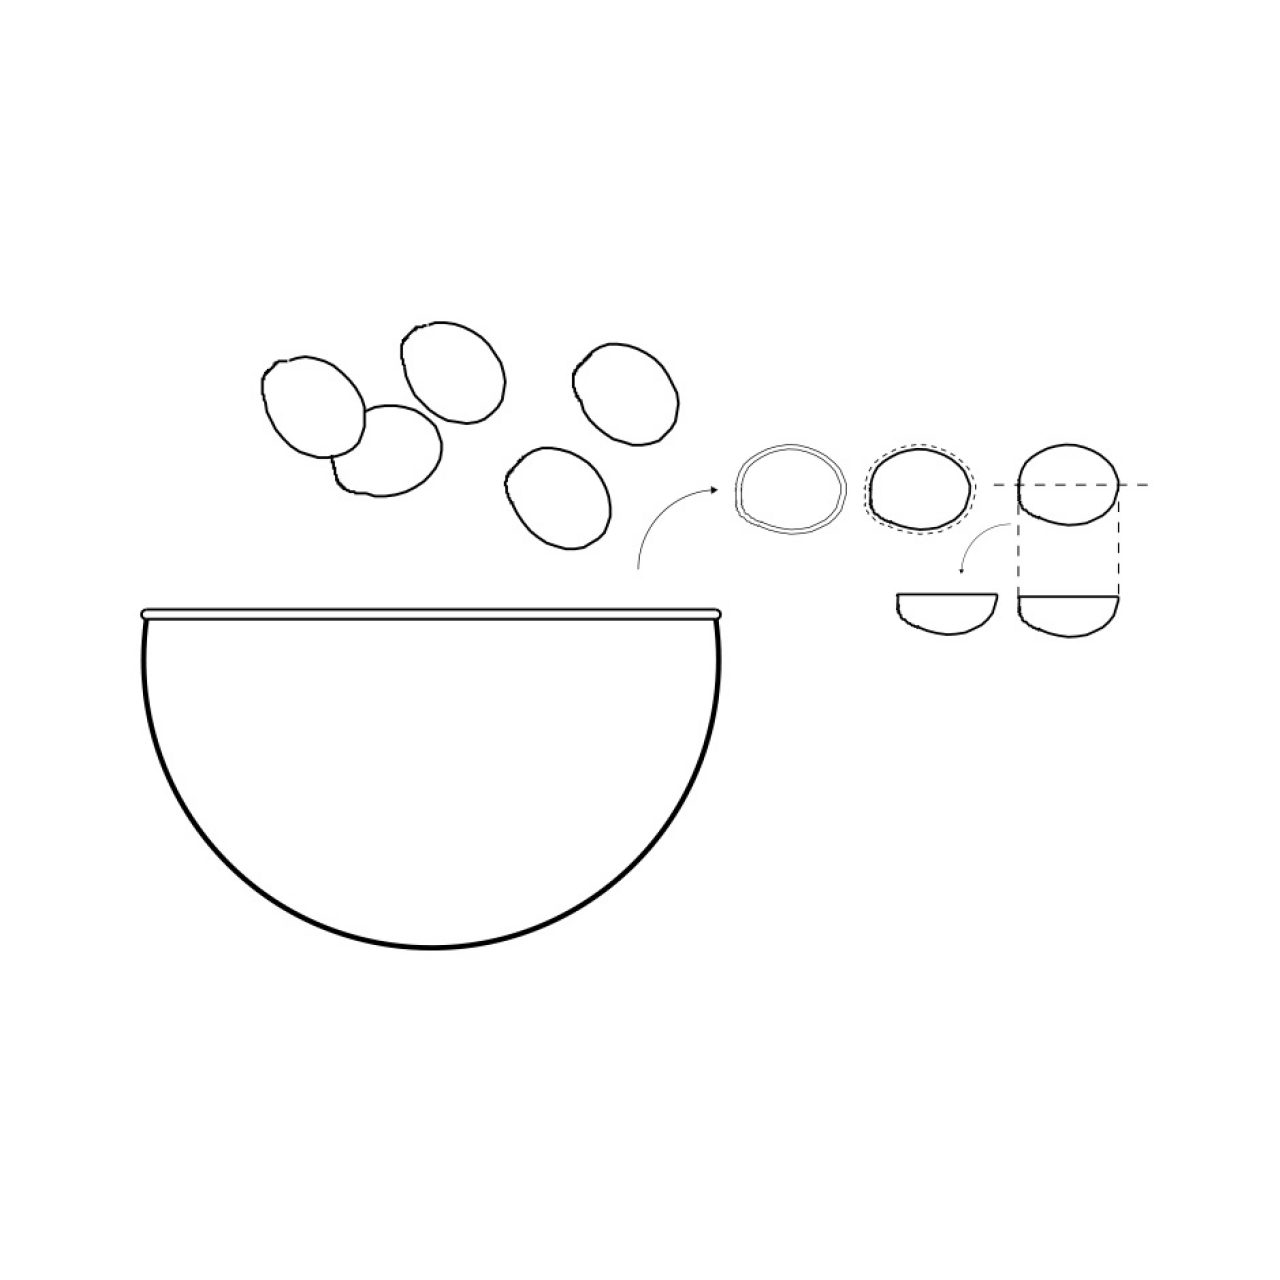
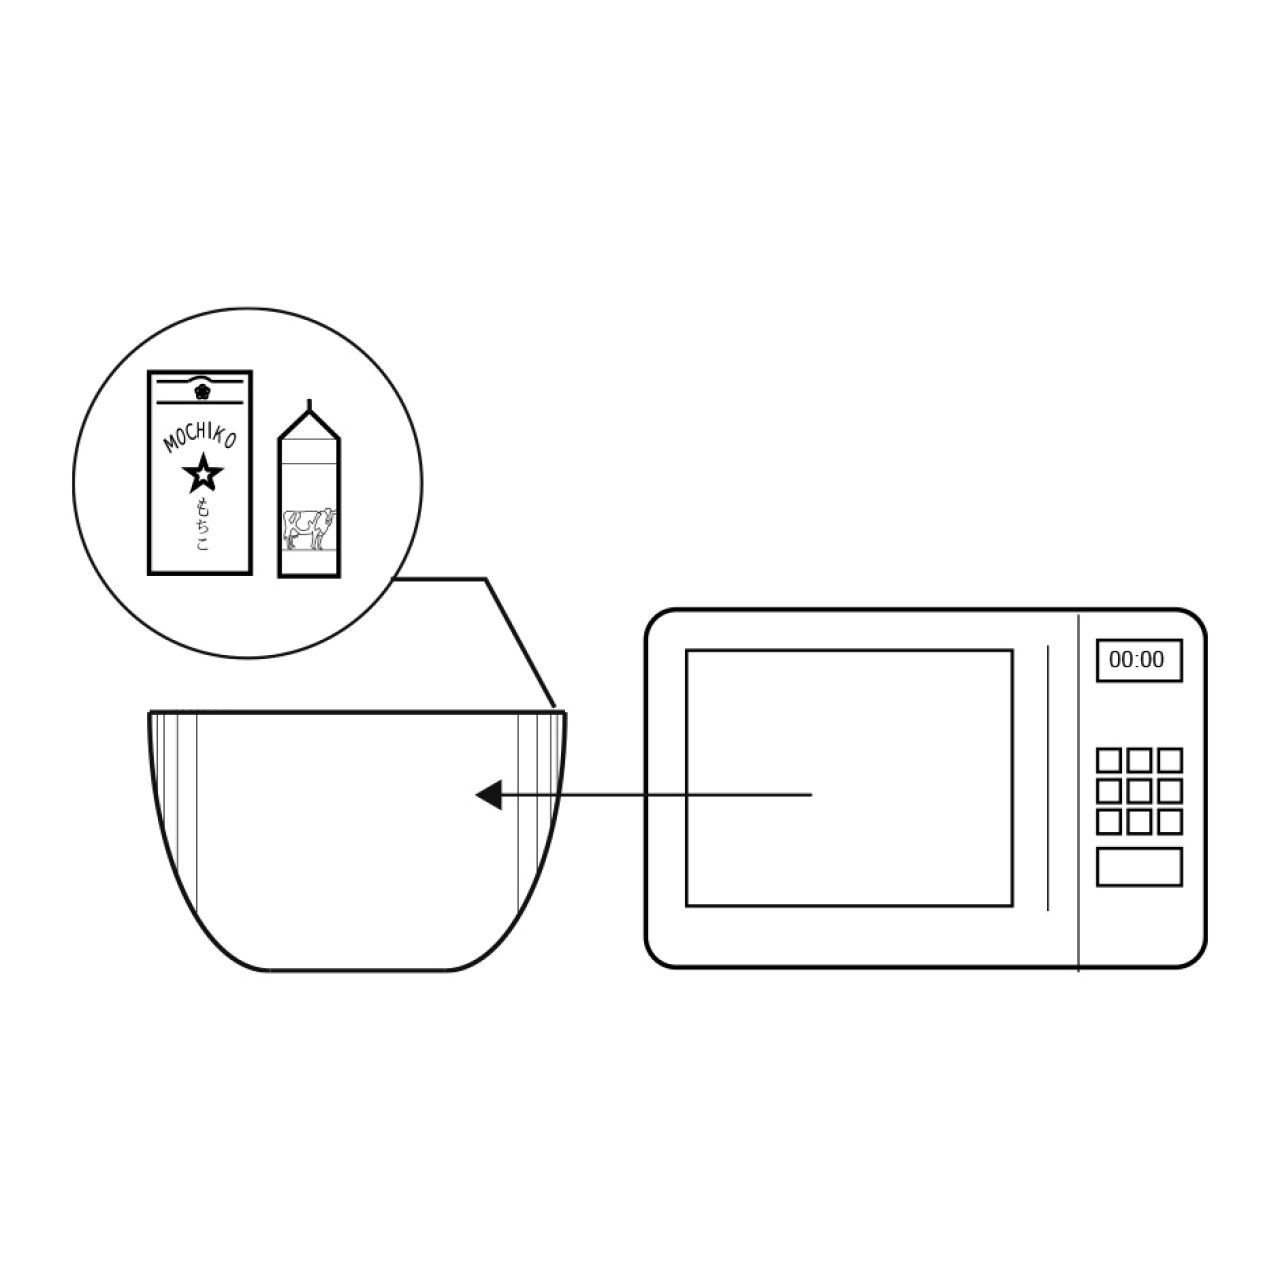
Let the batter cool for about 3 minutes. Transfer the dough to a stand mixer bowl or large bowl.
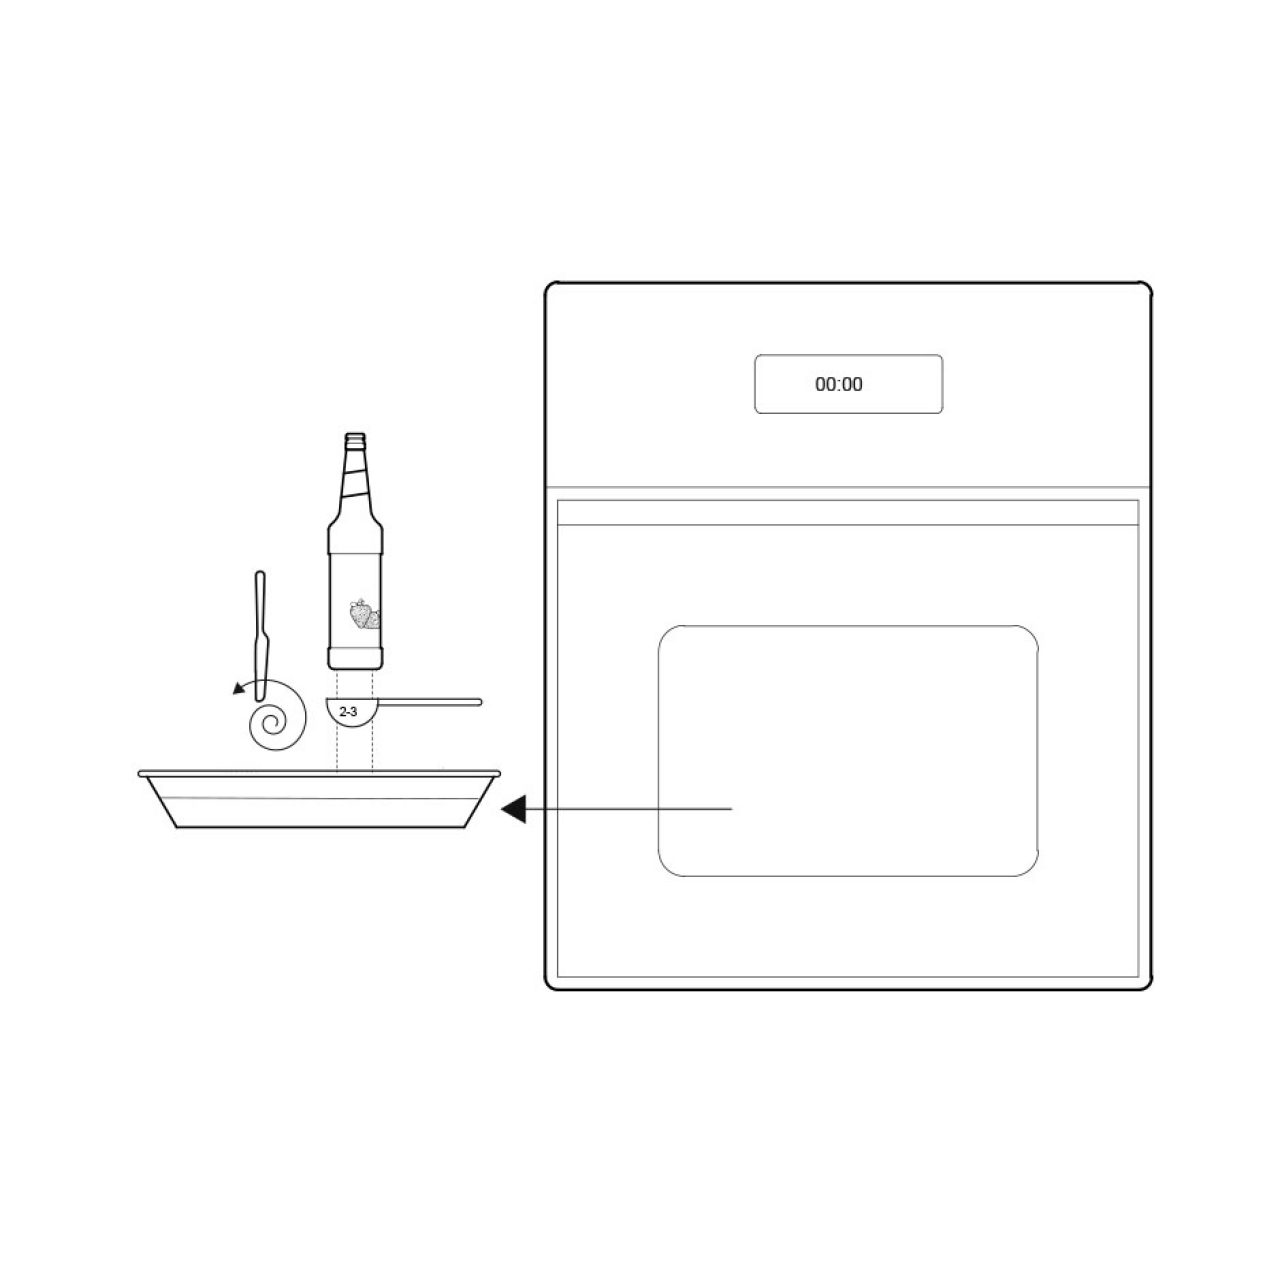
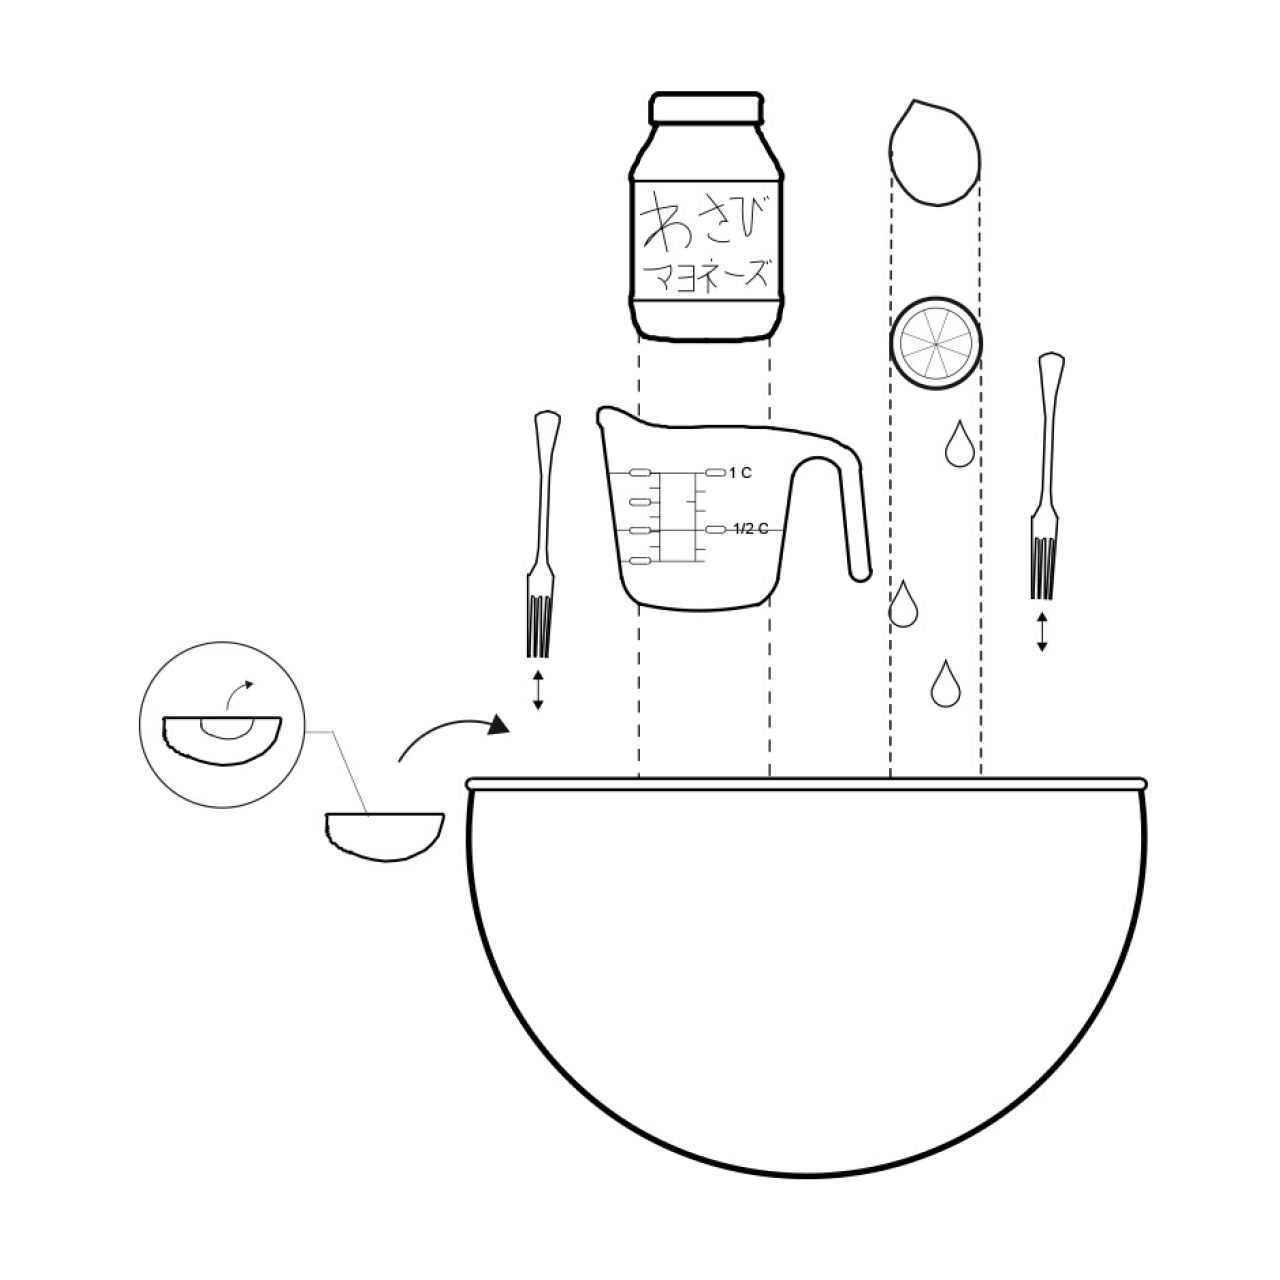
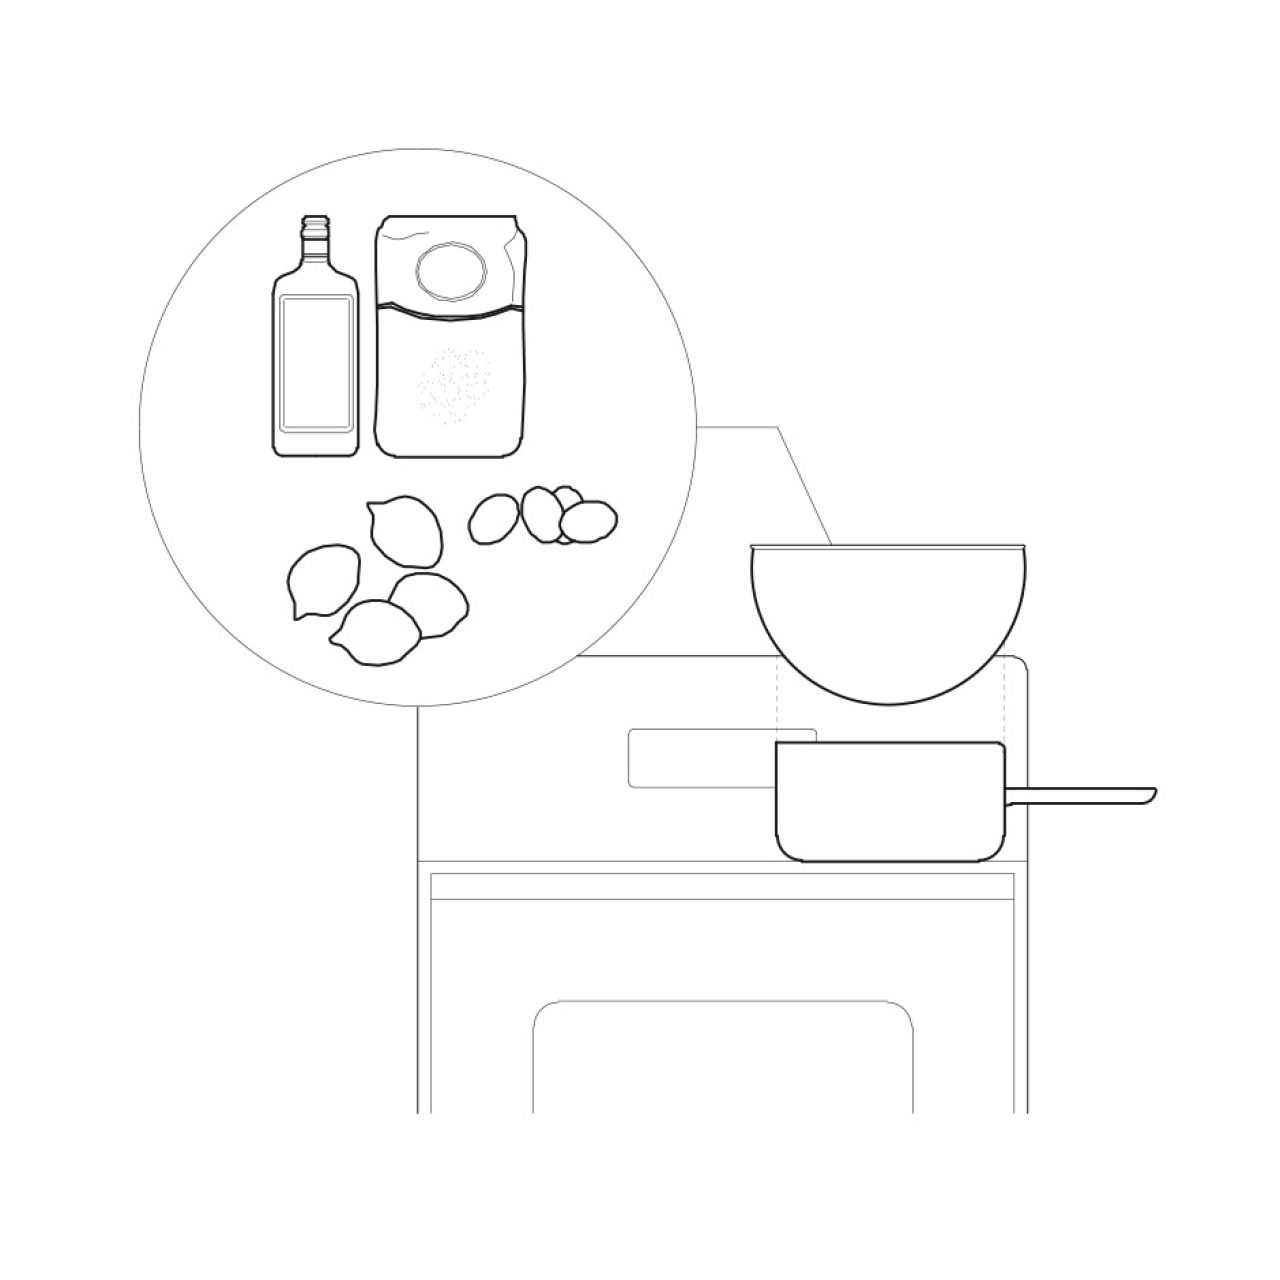
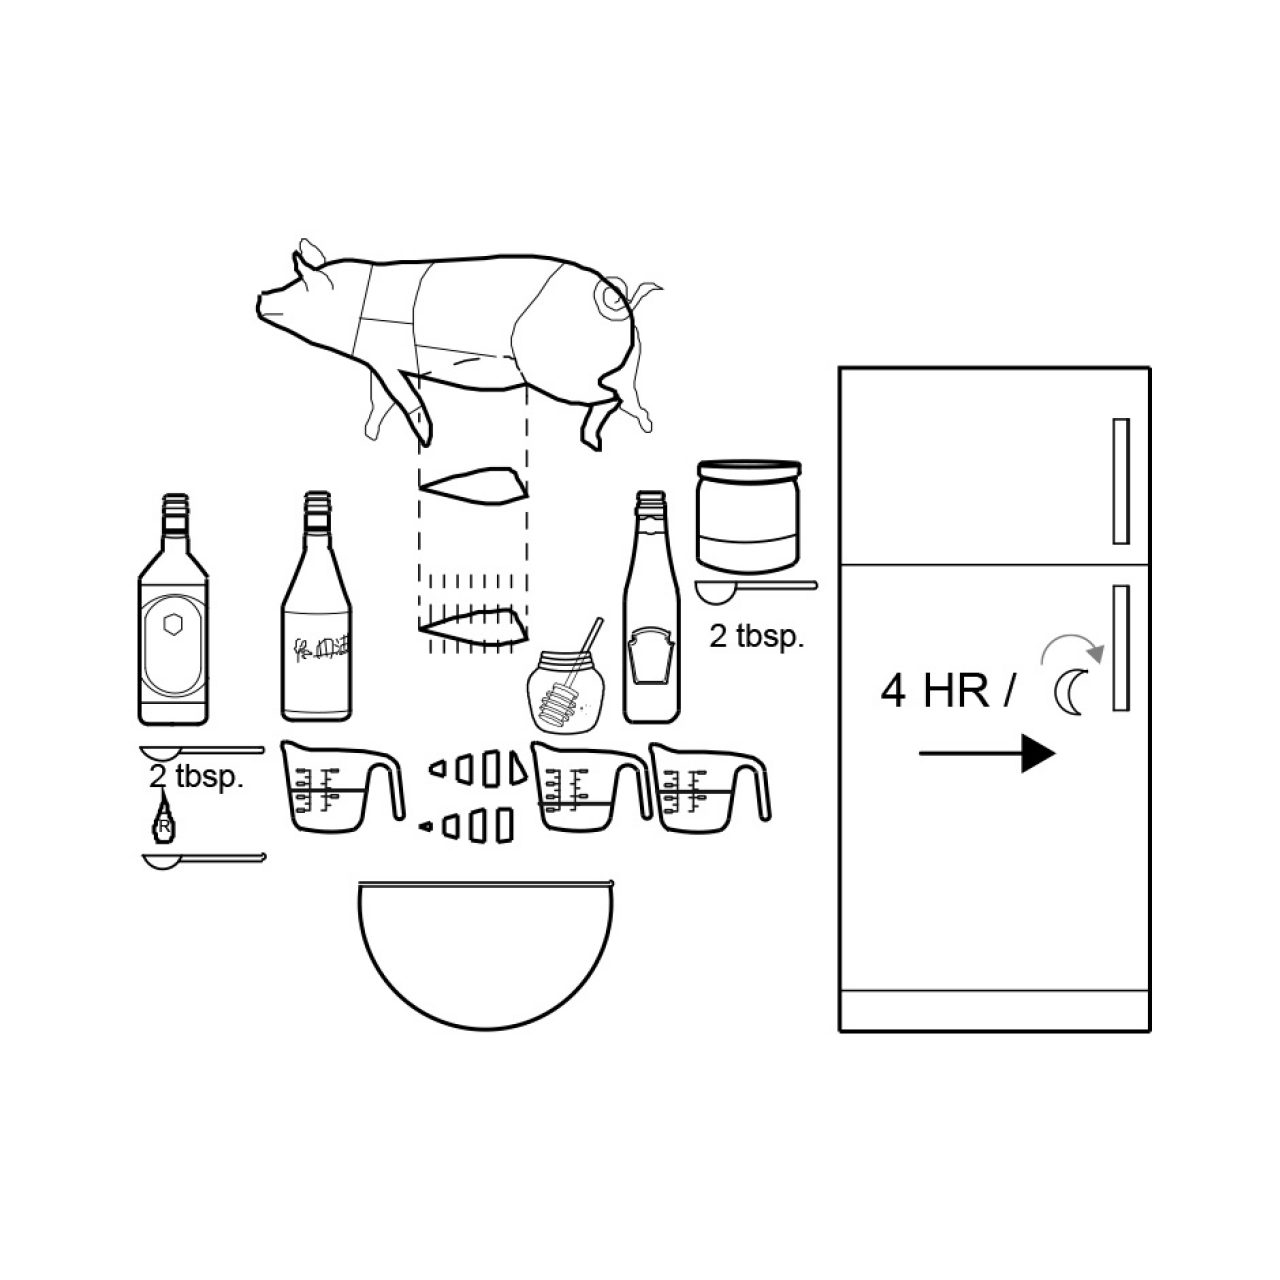
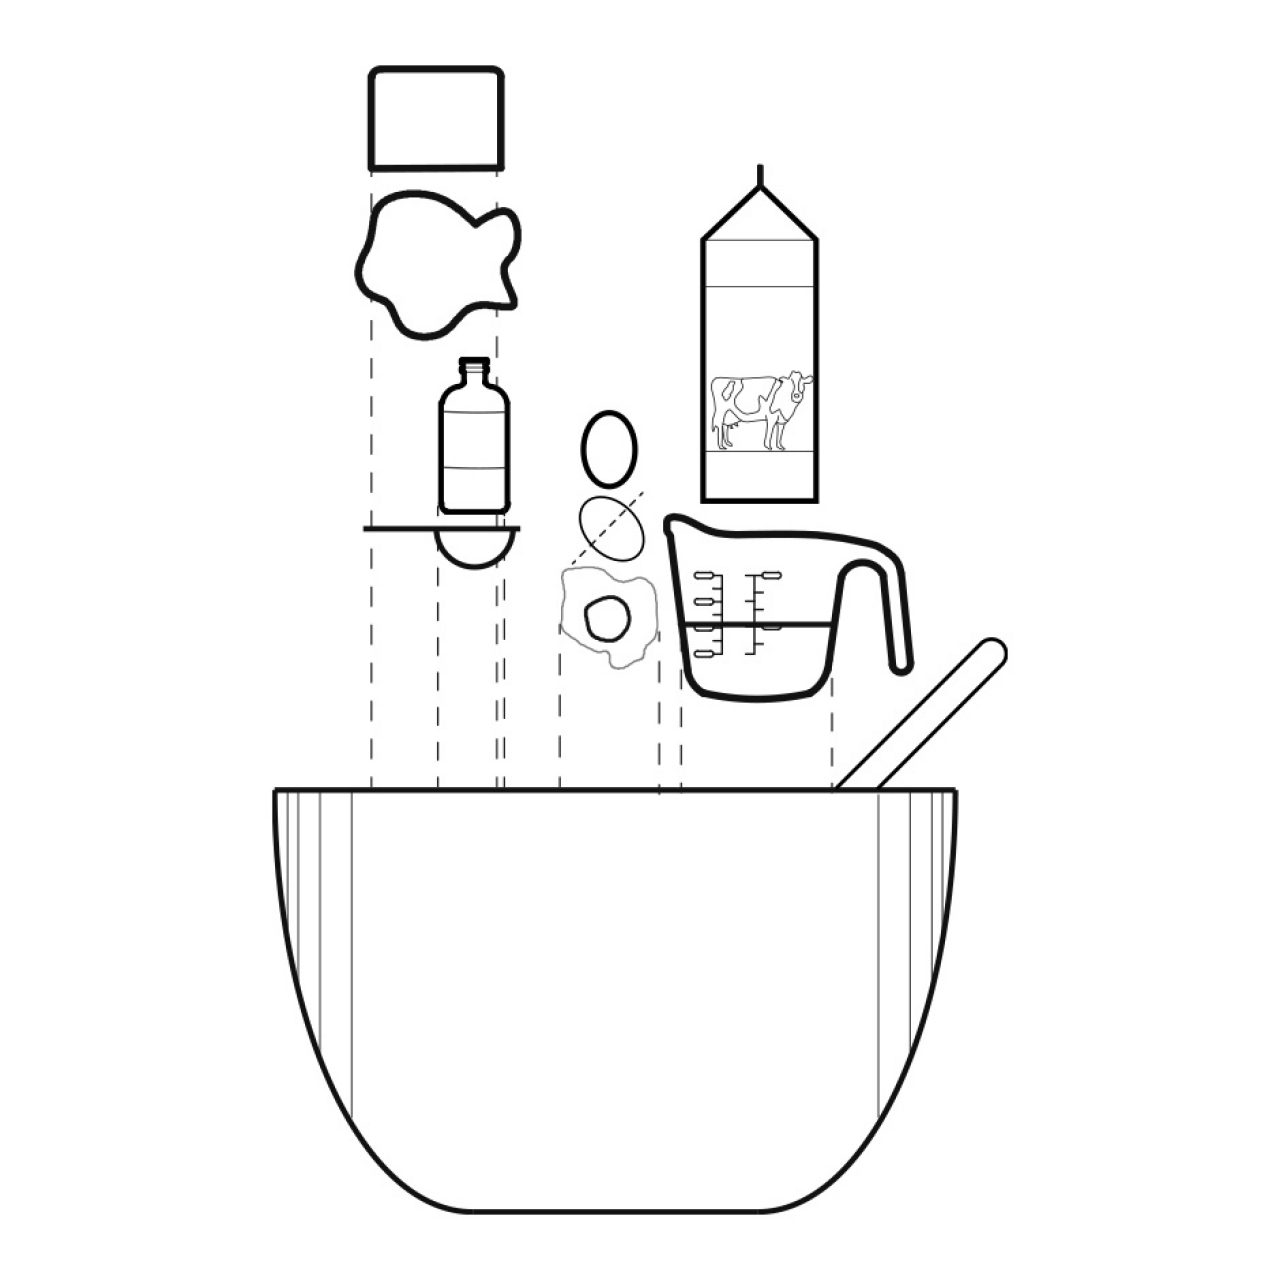
In a small-medium bowl, combine the remaining 1/2 cup milk, vanilla, egg, and melted butter. Pour this batter into the stand mixer or bowl with the milk and mochiko batter. If you have a stand mixer, use the paddle attachment and mix on low speed. If not, mix the batter well until well incorporated.
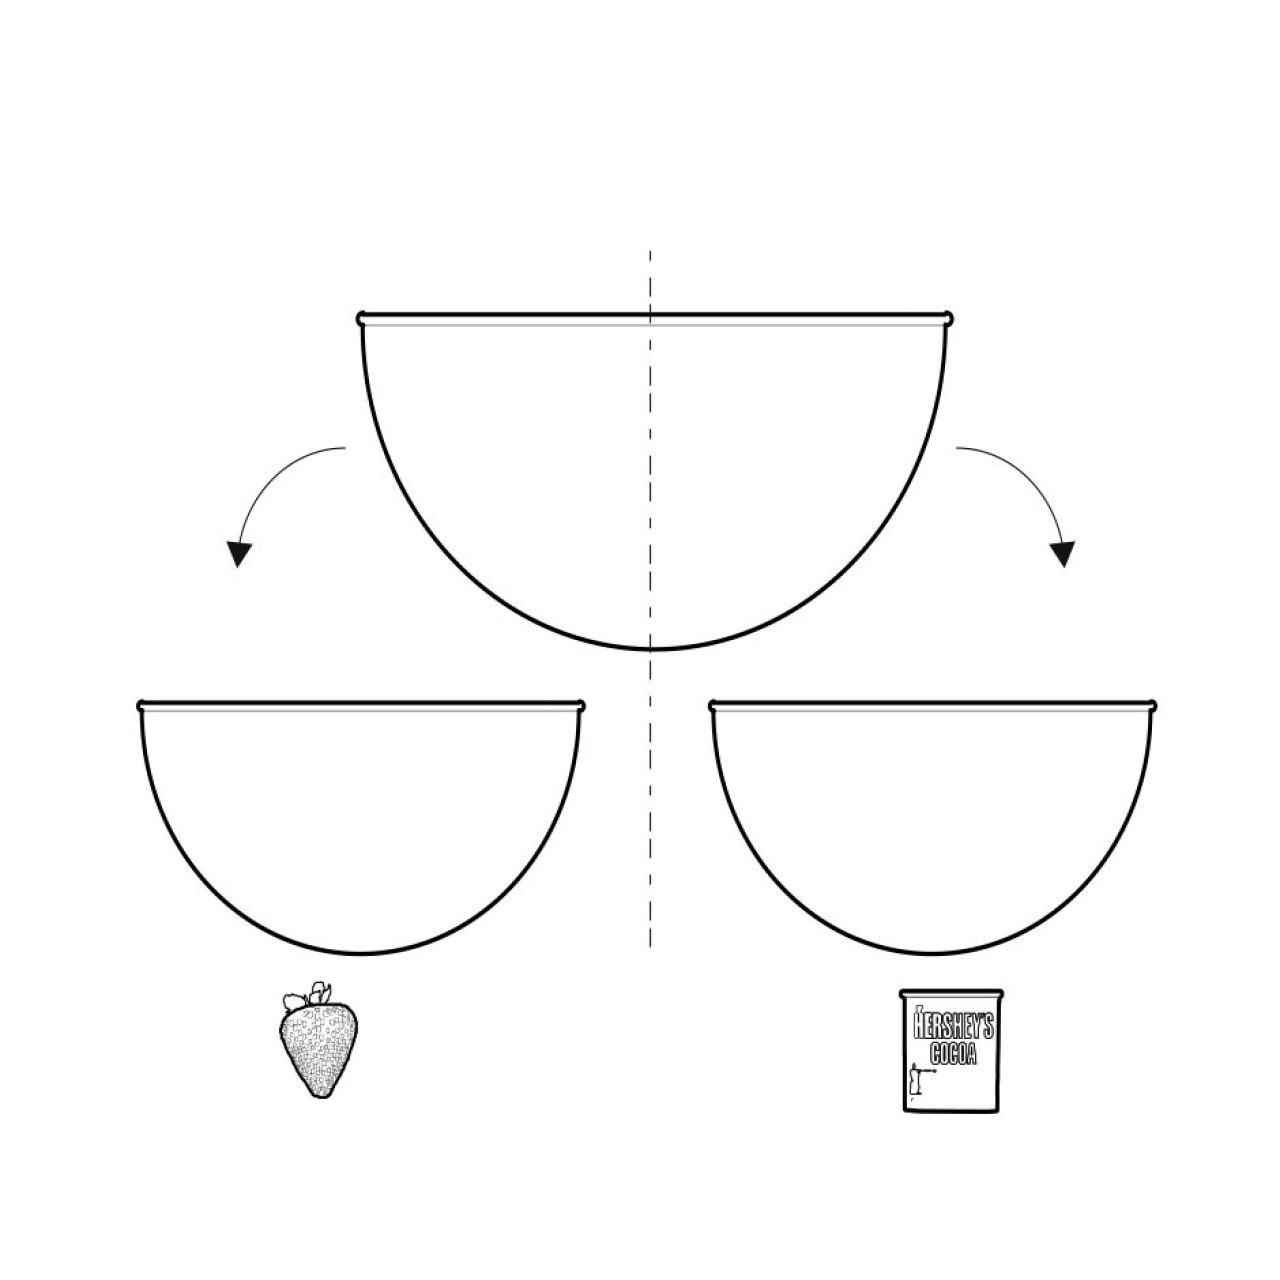
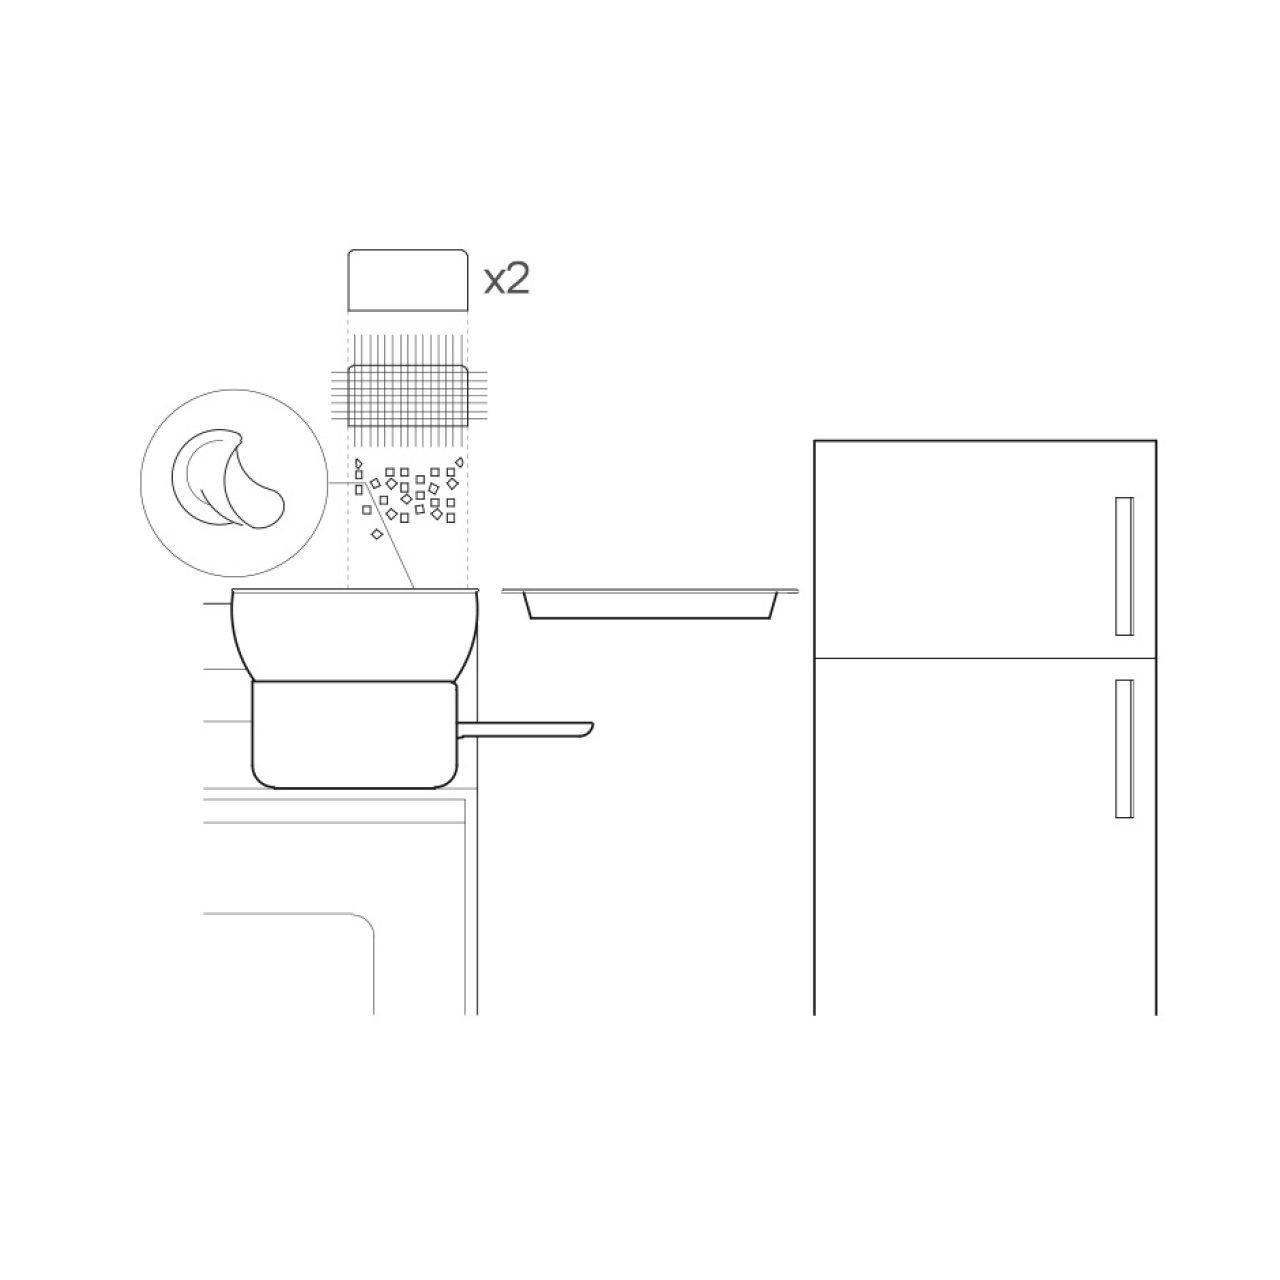
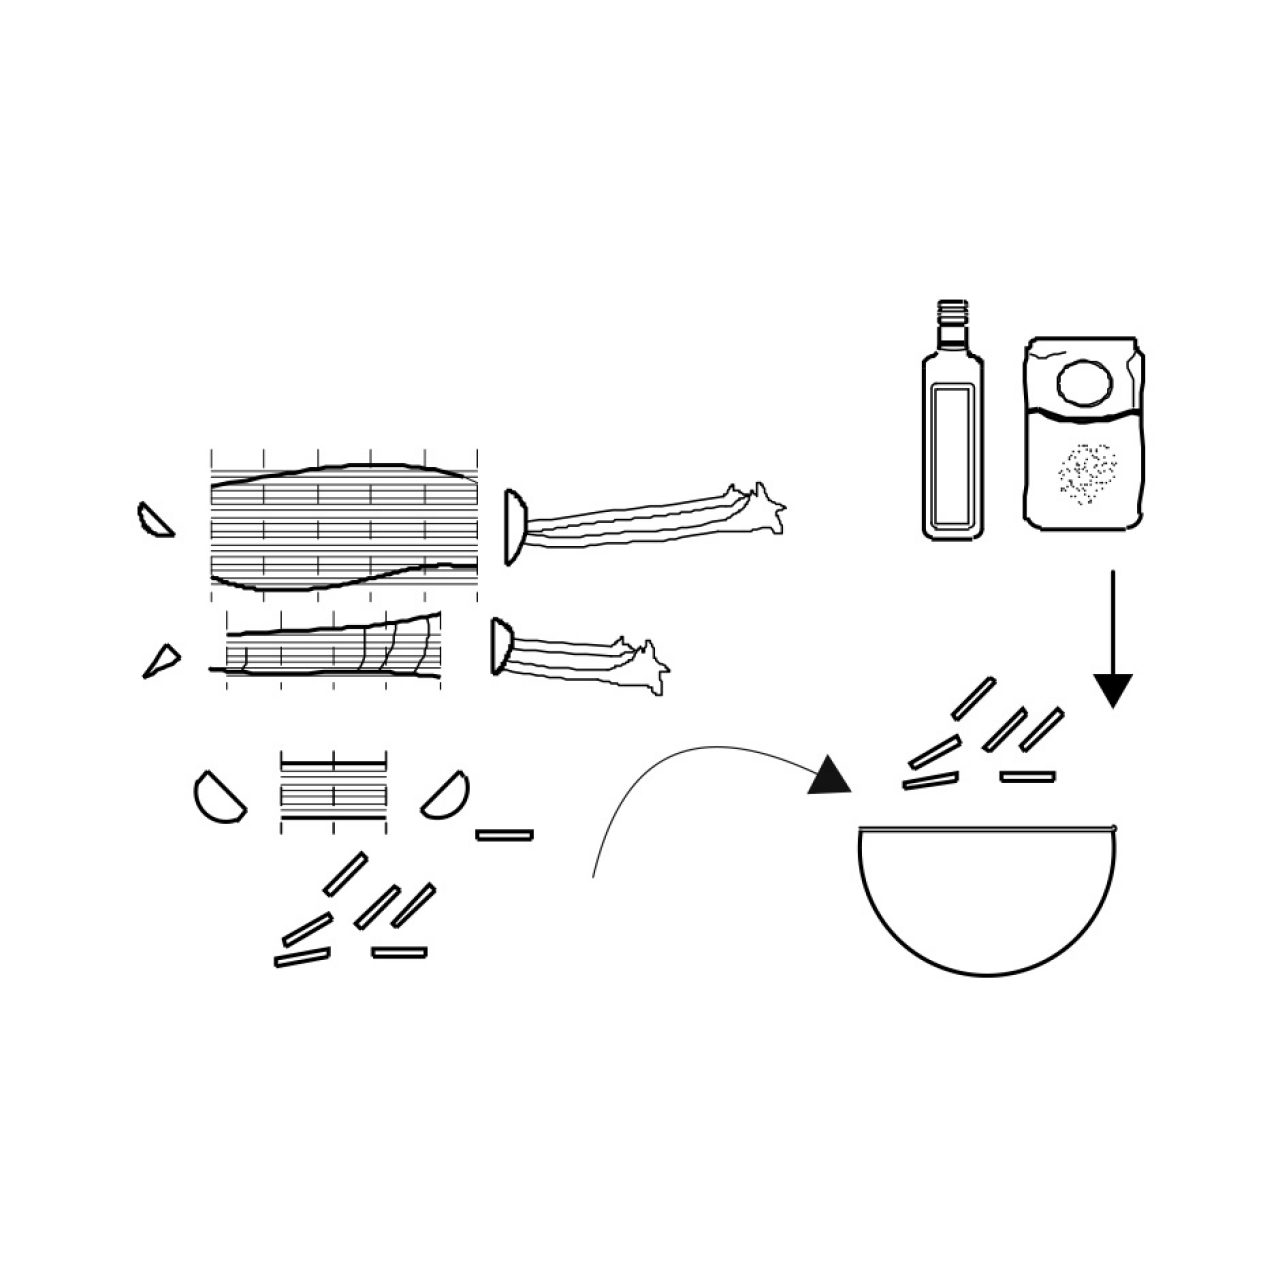
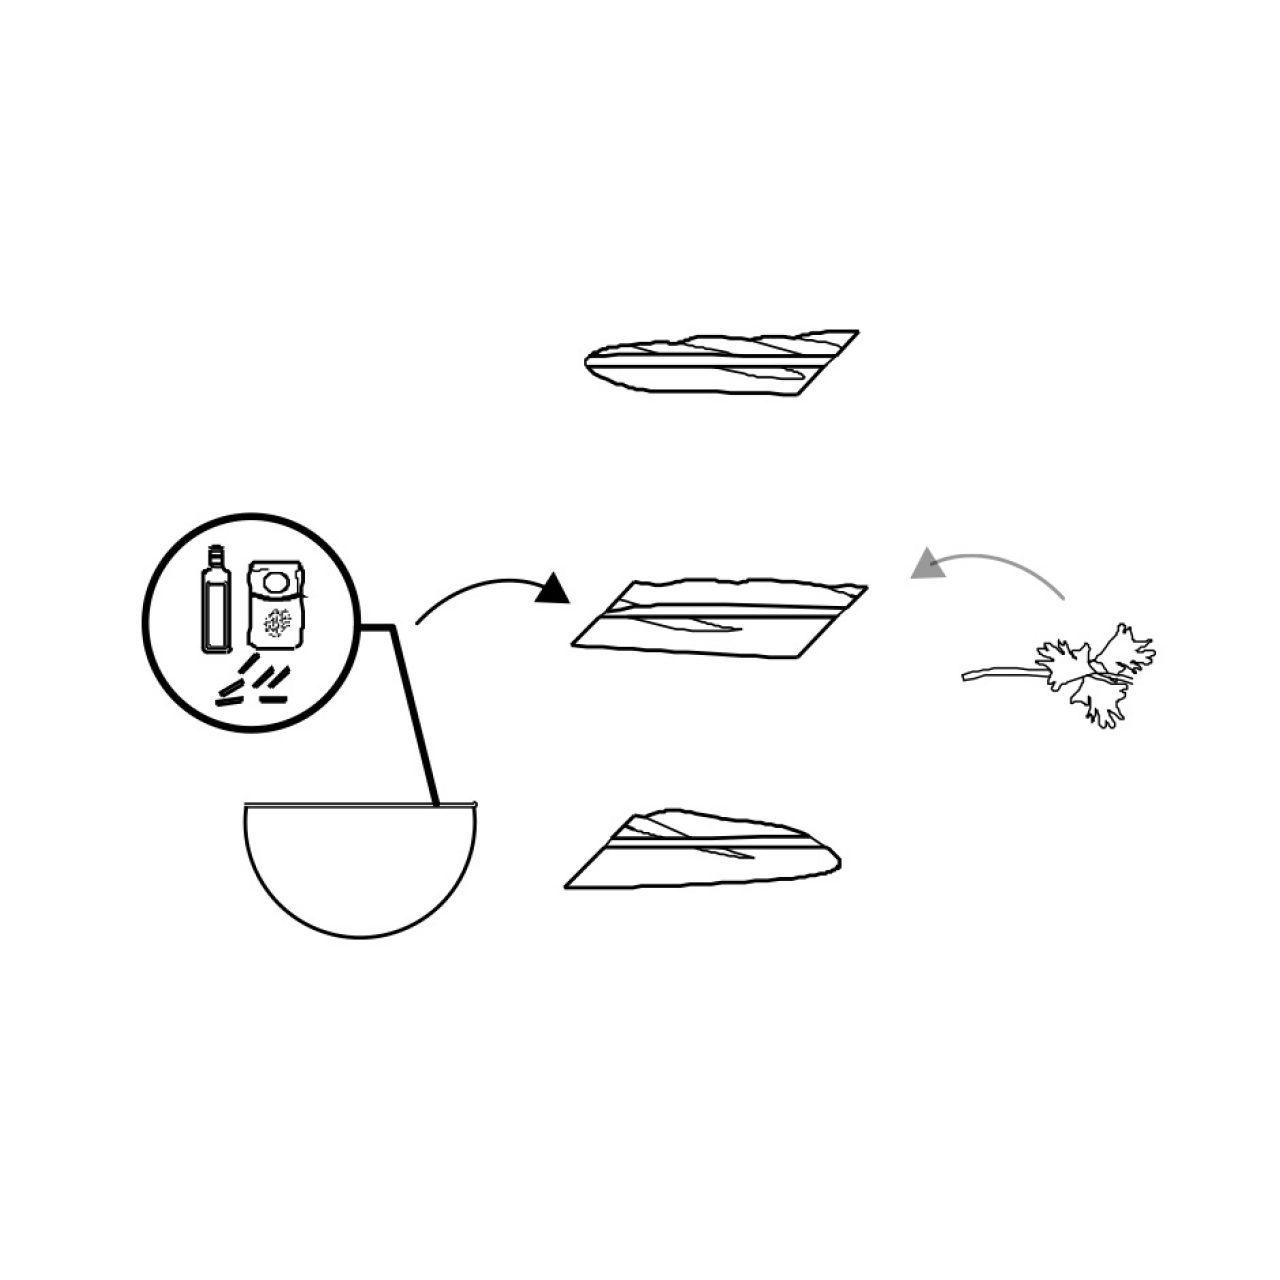
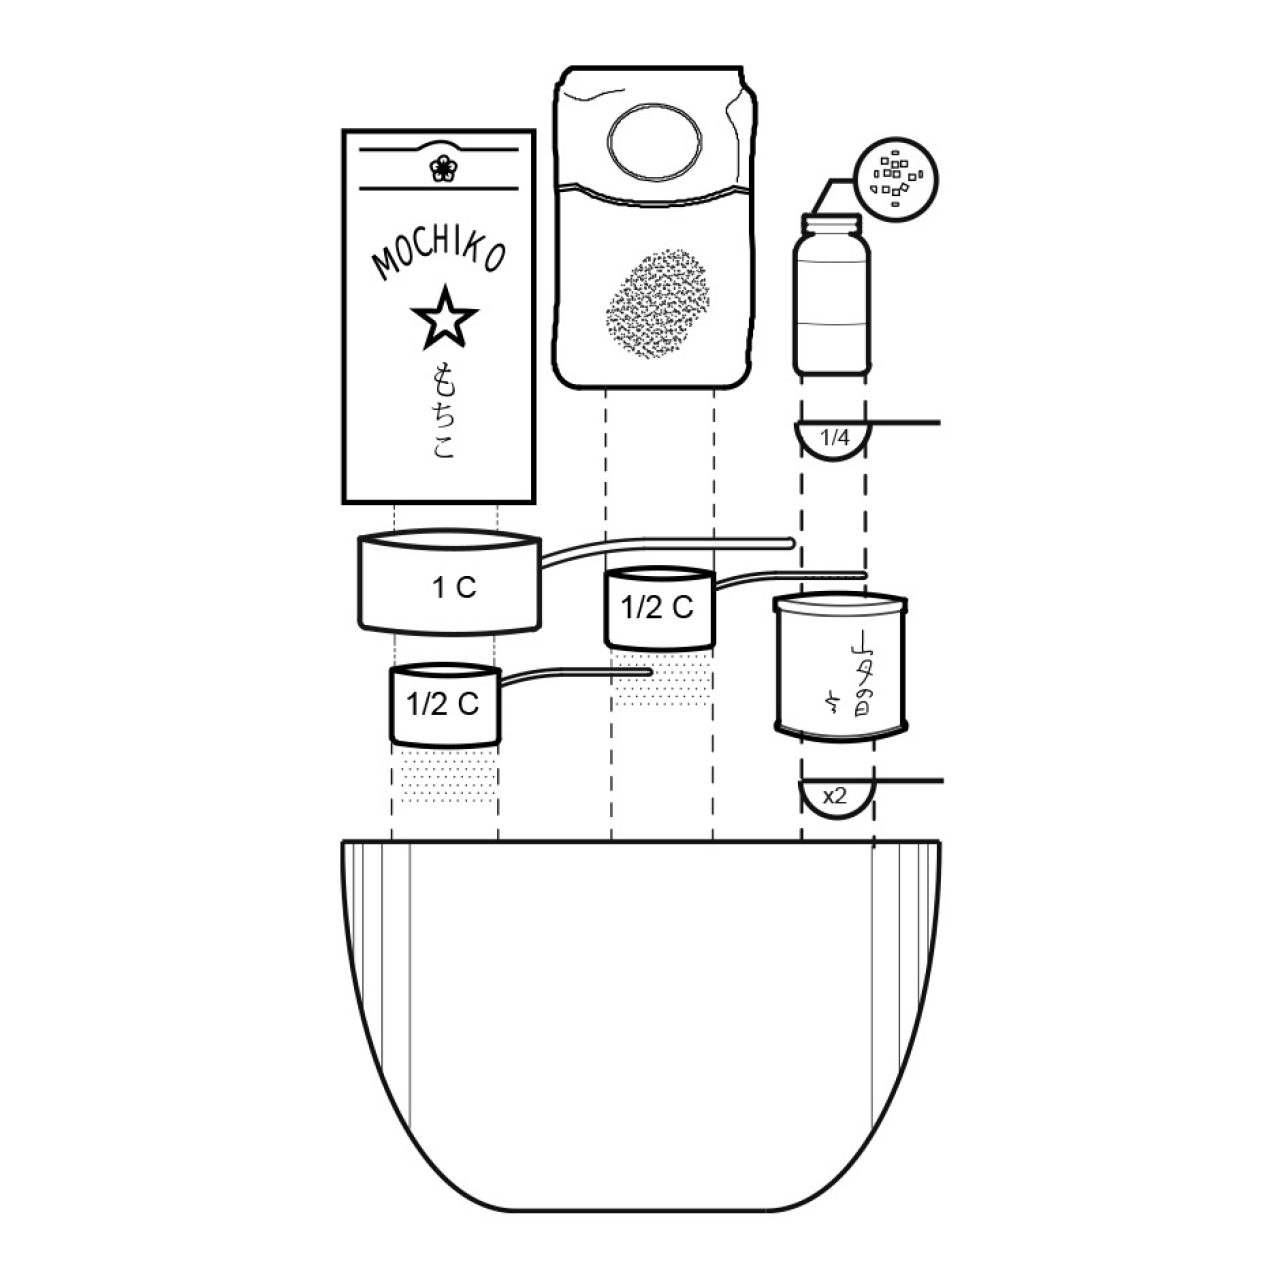
In another bowl, whisk the remaining 1 1/2 C + 2 tbsp sweet rice flour, 1/2 C sugar, 3 tbsp pearl sugar (optional), matcha powder, baking powder, and sea salt into a bowl. Add to mixing bowl and continue to mix on low speed until combine. Increase speed to medium and mix until smooth. Dough will be thick and sticky. If it is too dry, add tablespoons of milk in increments.
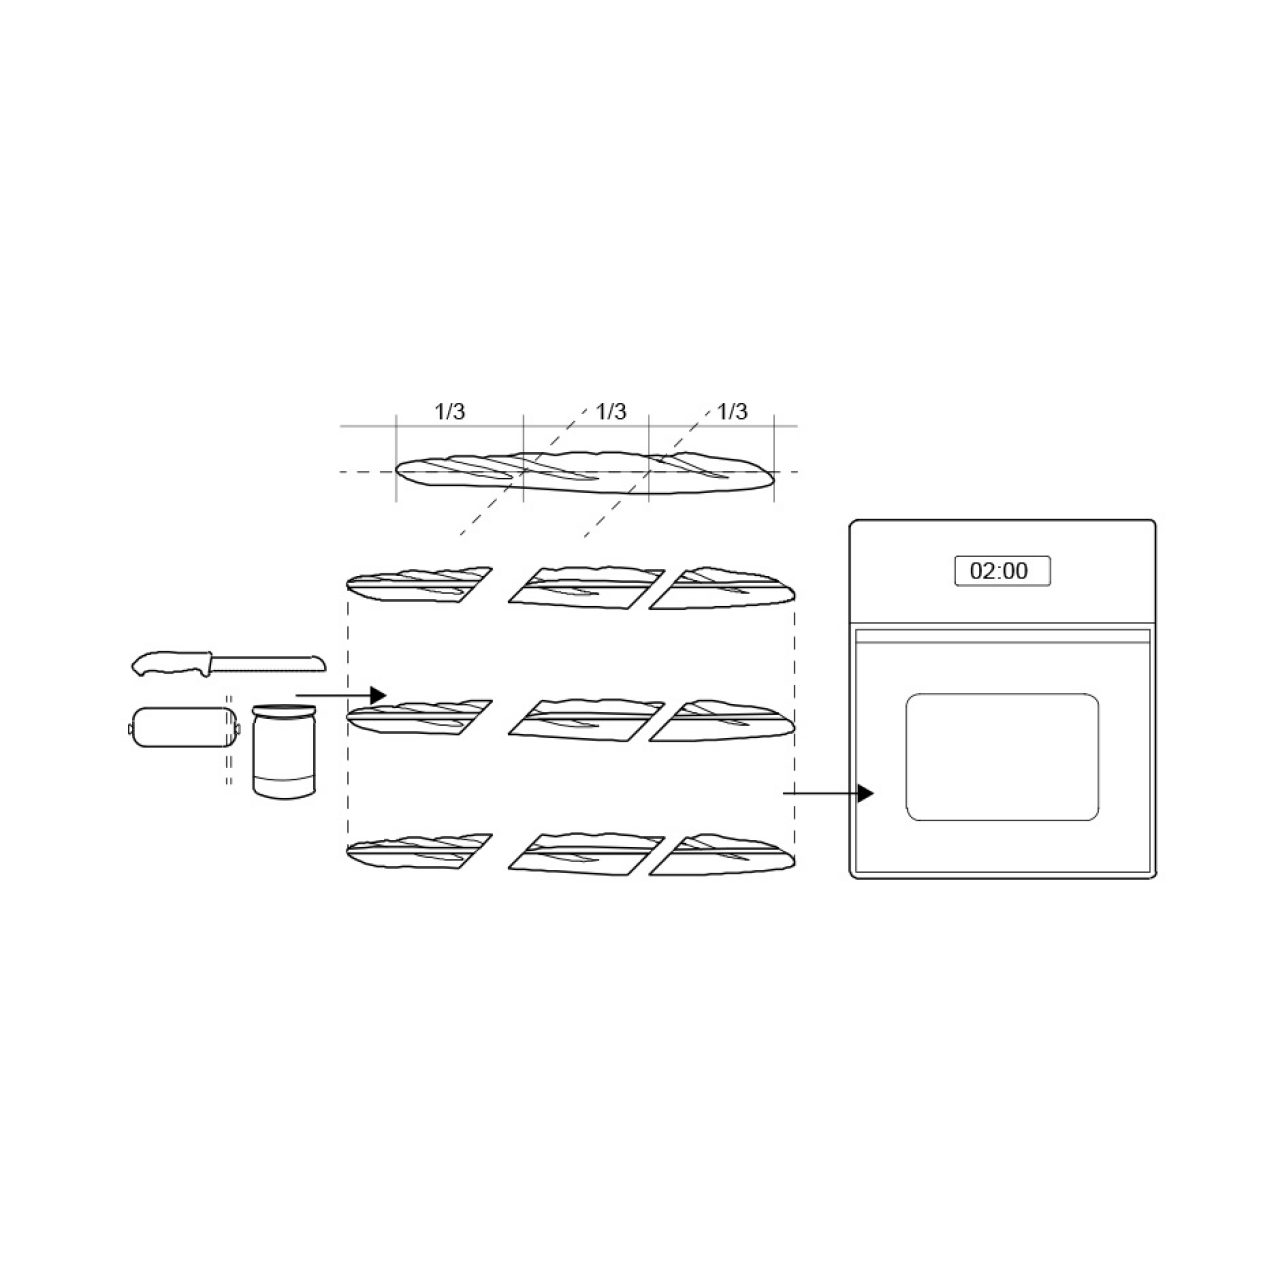
Preheat your waffle iron to medium-high. Lightly coat the waffle iron with a non-stick spray. Add about 3-4 tbsp of waffle batter (depending on size of waffle iron and preferred size waffles) and firmly close the lid. Cook for 6 minutes.